
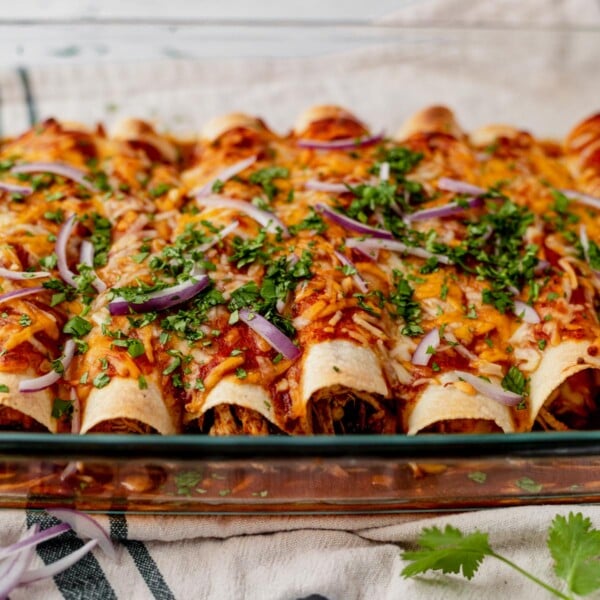
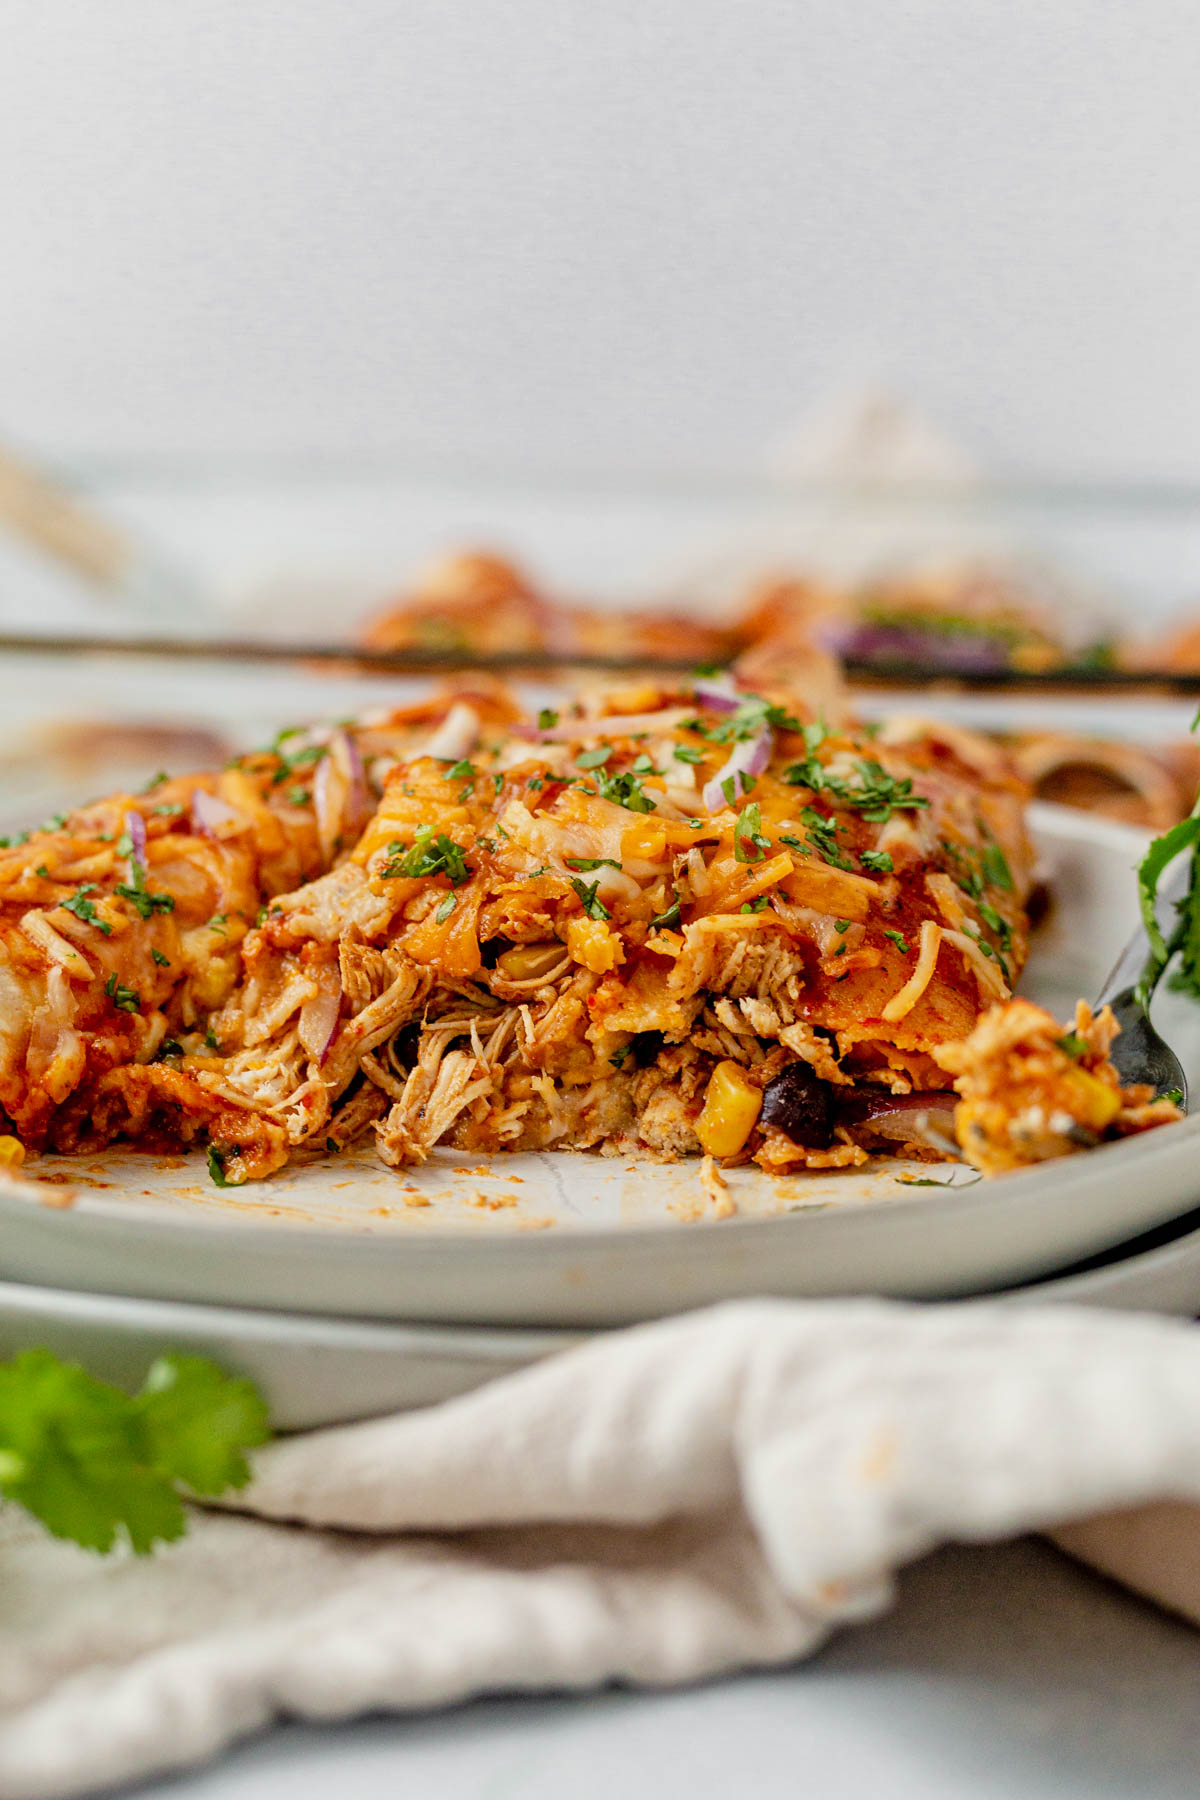
These easy Instant Pot Chicken Enchiladas are filled with tender chicken then topped with enchilada sauce and cheese that melts and bubble in the oven.
We love using this quick and easy homemade gluten-free enchilada sauce for these and Shredded Beef enchiladas.
Table of Contents
- Why We Love Instant Pot Chicken Enchiladas
- Ingredient Notes
- How to Make Instant Pot Chicken Enchiladas
- Prefer to Watch Instead of Read?
- What to serve with Instant Pot Chicken Enchiladas
- FAQs
- Make-Ahead, Storage and Freezing
- Dietary Modifications
- More Mexican-Inspired Recipes
- Instant Pot Chicken Enchiladas Recipe
Why We Love Instant Pot Chicken Enchiladas
We’ve been on a major healthy chicken enchilada kick lately because they’re so easy for weeknights and kids love them. But after making them in the Instant Pot we may not do it any other way.
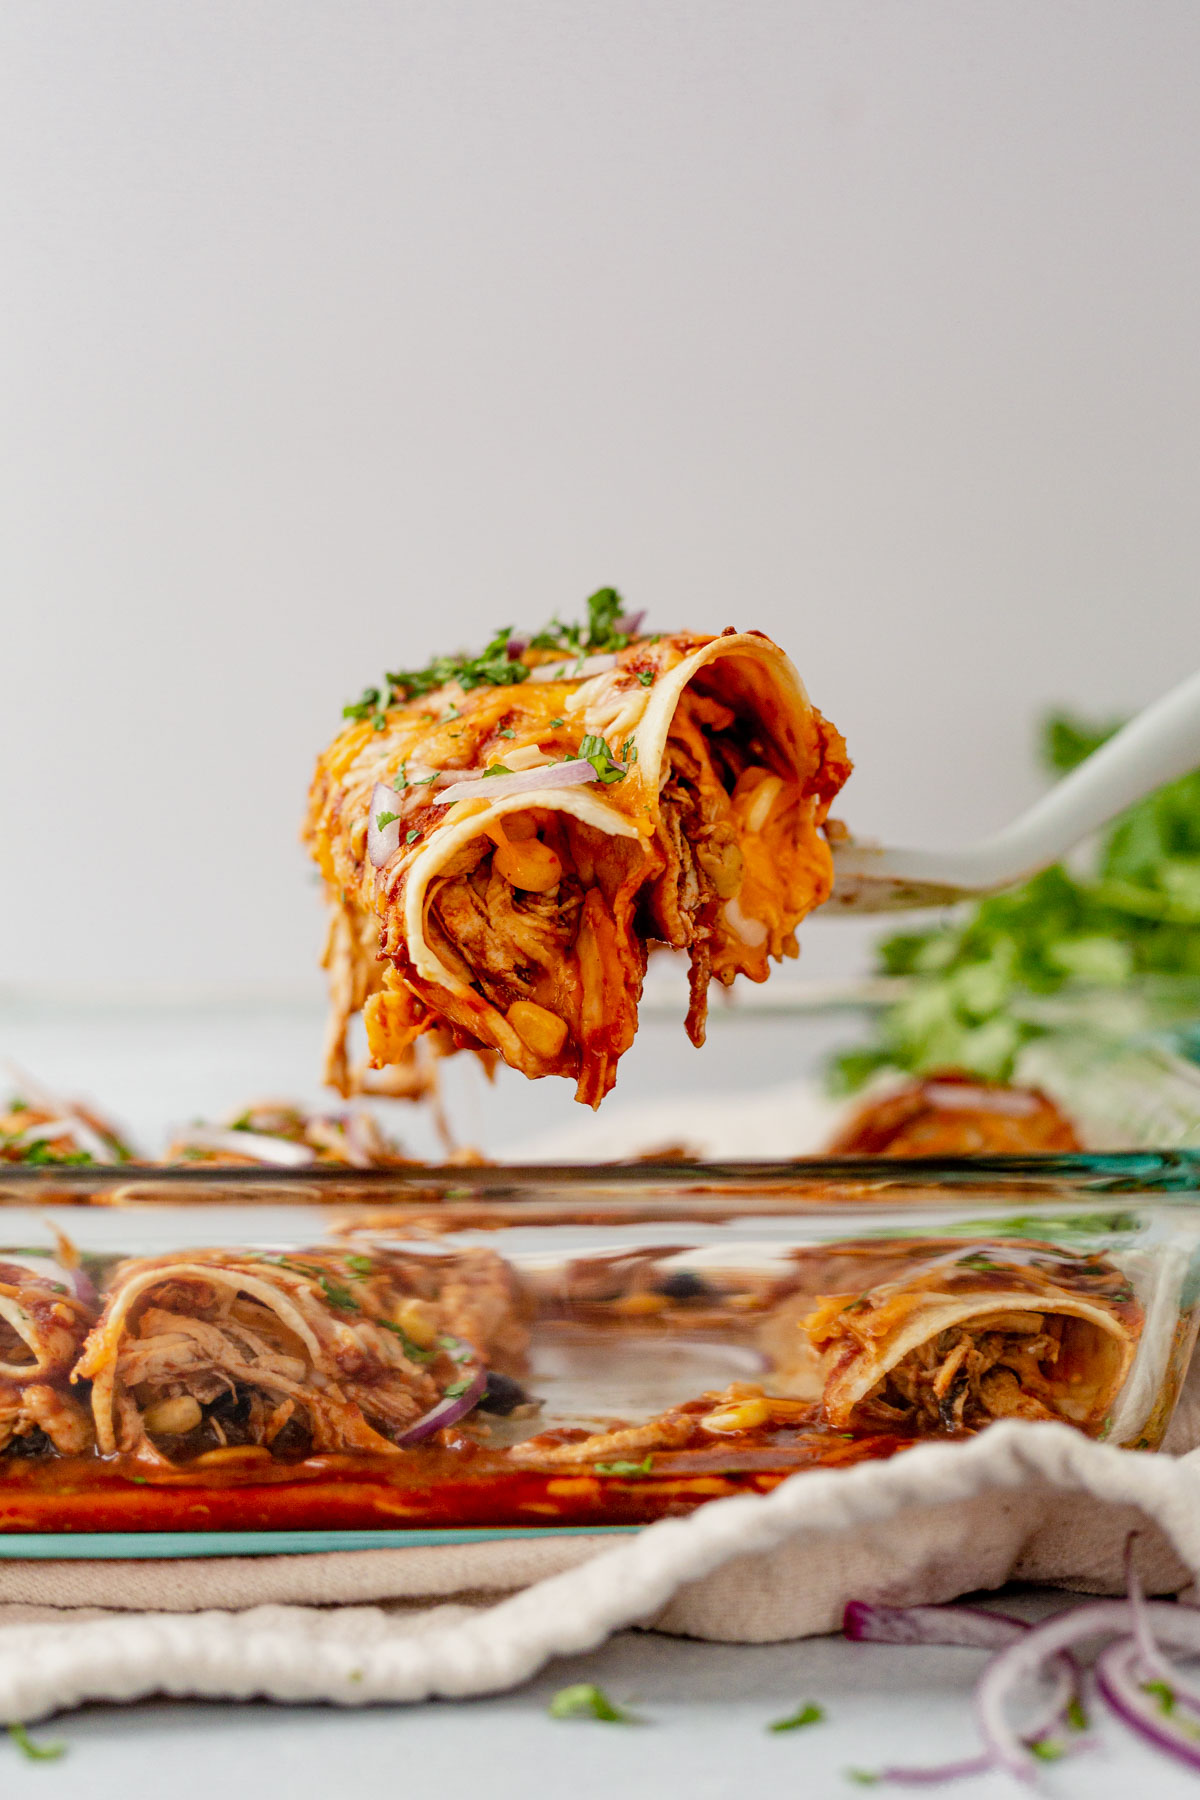
They have so much flavor and the chicken breasts fall apart as you pick them up. And you can even make them if you forget to defrost it! Such a weeknight win.
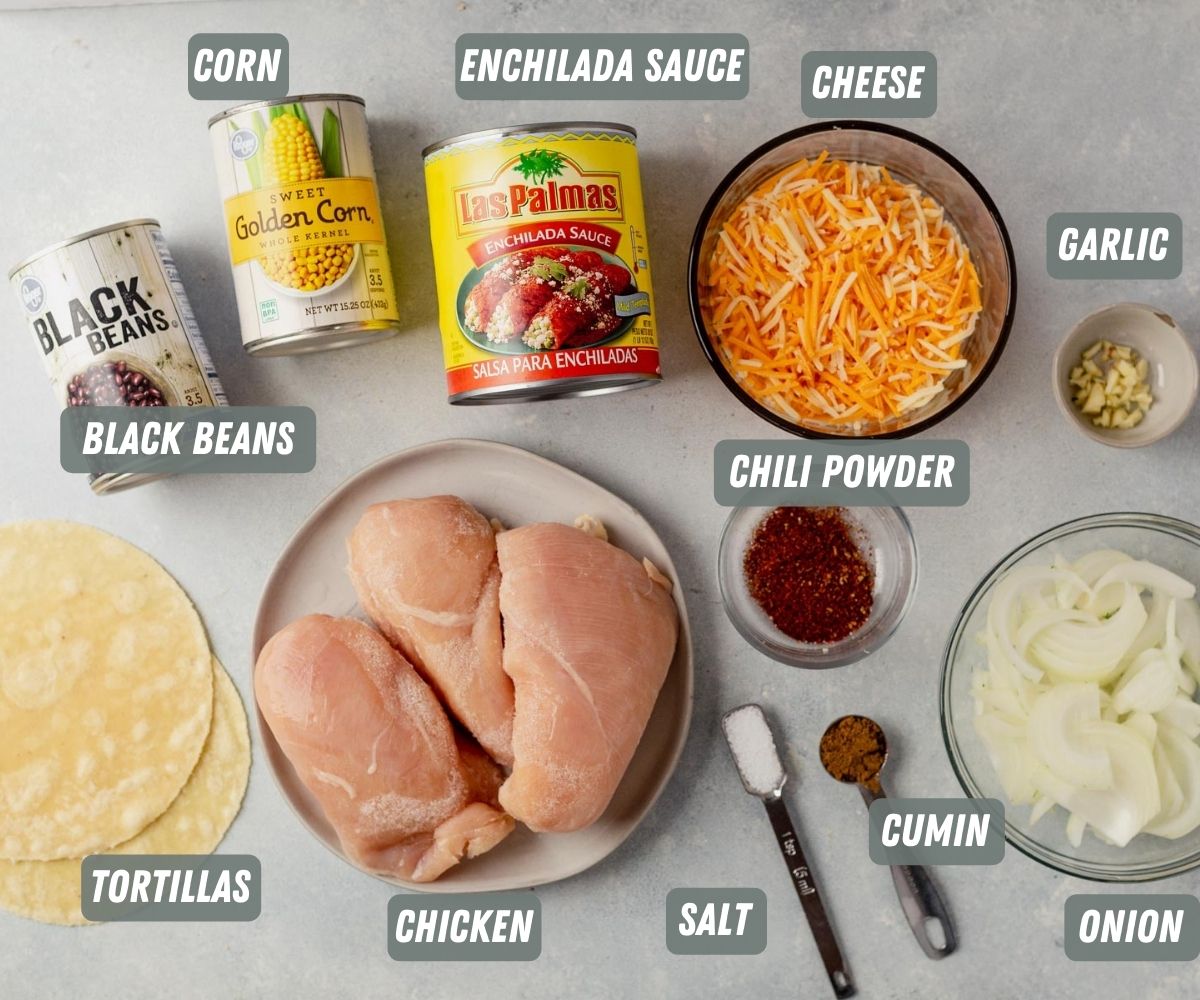
Ingredient Notes
- Chicken breasts: they can be thawed or frozen! Or made Mexican shredded beef instead.
- Spices: salt, chili powder and cumin.
- Yellow onion: we prefer the sweetness of a yellow onion, however, if you have a white onion on hand that works too.
- Garlic: this is a staple in all cooking, especially Mexican-inspired meals. Use fresh garlic when possible!
- Corn and black beans: we love the extra crunch and fiber, but they can be left out!
- Enchilada sauce: We like to use a store bought enchilada sauce (usually Siete), but you can absolutely make your own if you have a recipe you love.
- Tortillas: I love using corn tortillas or grain free tortillas (like Siete) to keep them gluten free. Flour tortillas work well too and you can usually stuff them a little more because they’re larger.
- Cheese: melted, bubbly cheese is inside and on top of this Instant Pot chicken enchiladas. Pour our cashew queso on top if you want a dairy free option.
- Toppings: fresh cilantro, lime juice, sour cream, tomatoes and avocado.
How to Make Instant Pot Chicken Enchiladas
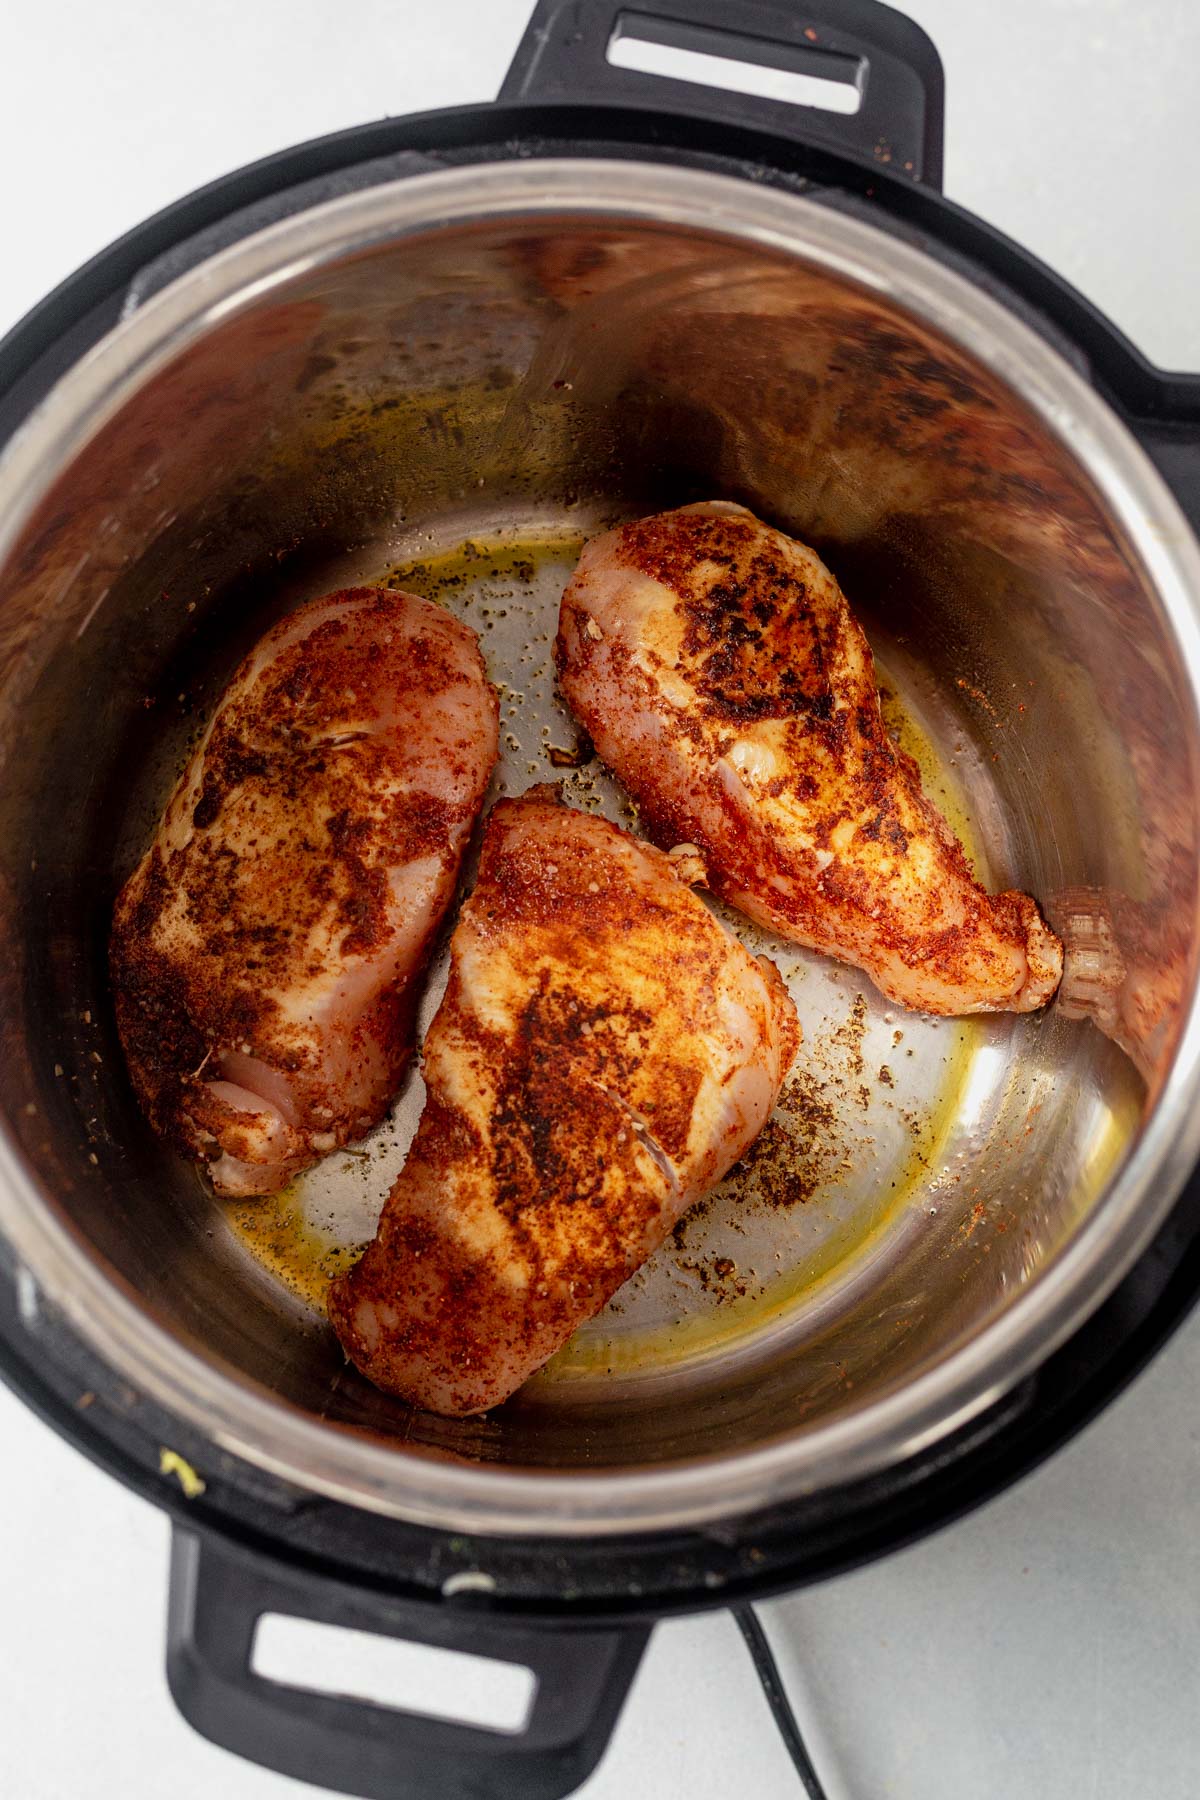
Sear the chicken and saute the onion
- Add olive oil to the Instant Pot and set it to saute mode. Season both sides of the chicken with kosher salt, chili powder and cumin and use your fingers to rub it in.
- When the oil is hot, add the chicken breast and sear on both sides for about 2 minutes, then remove it to a cutting board or plate.
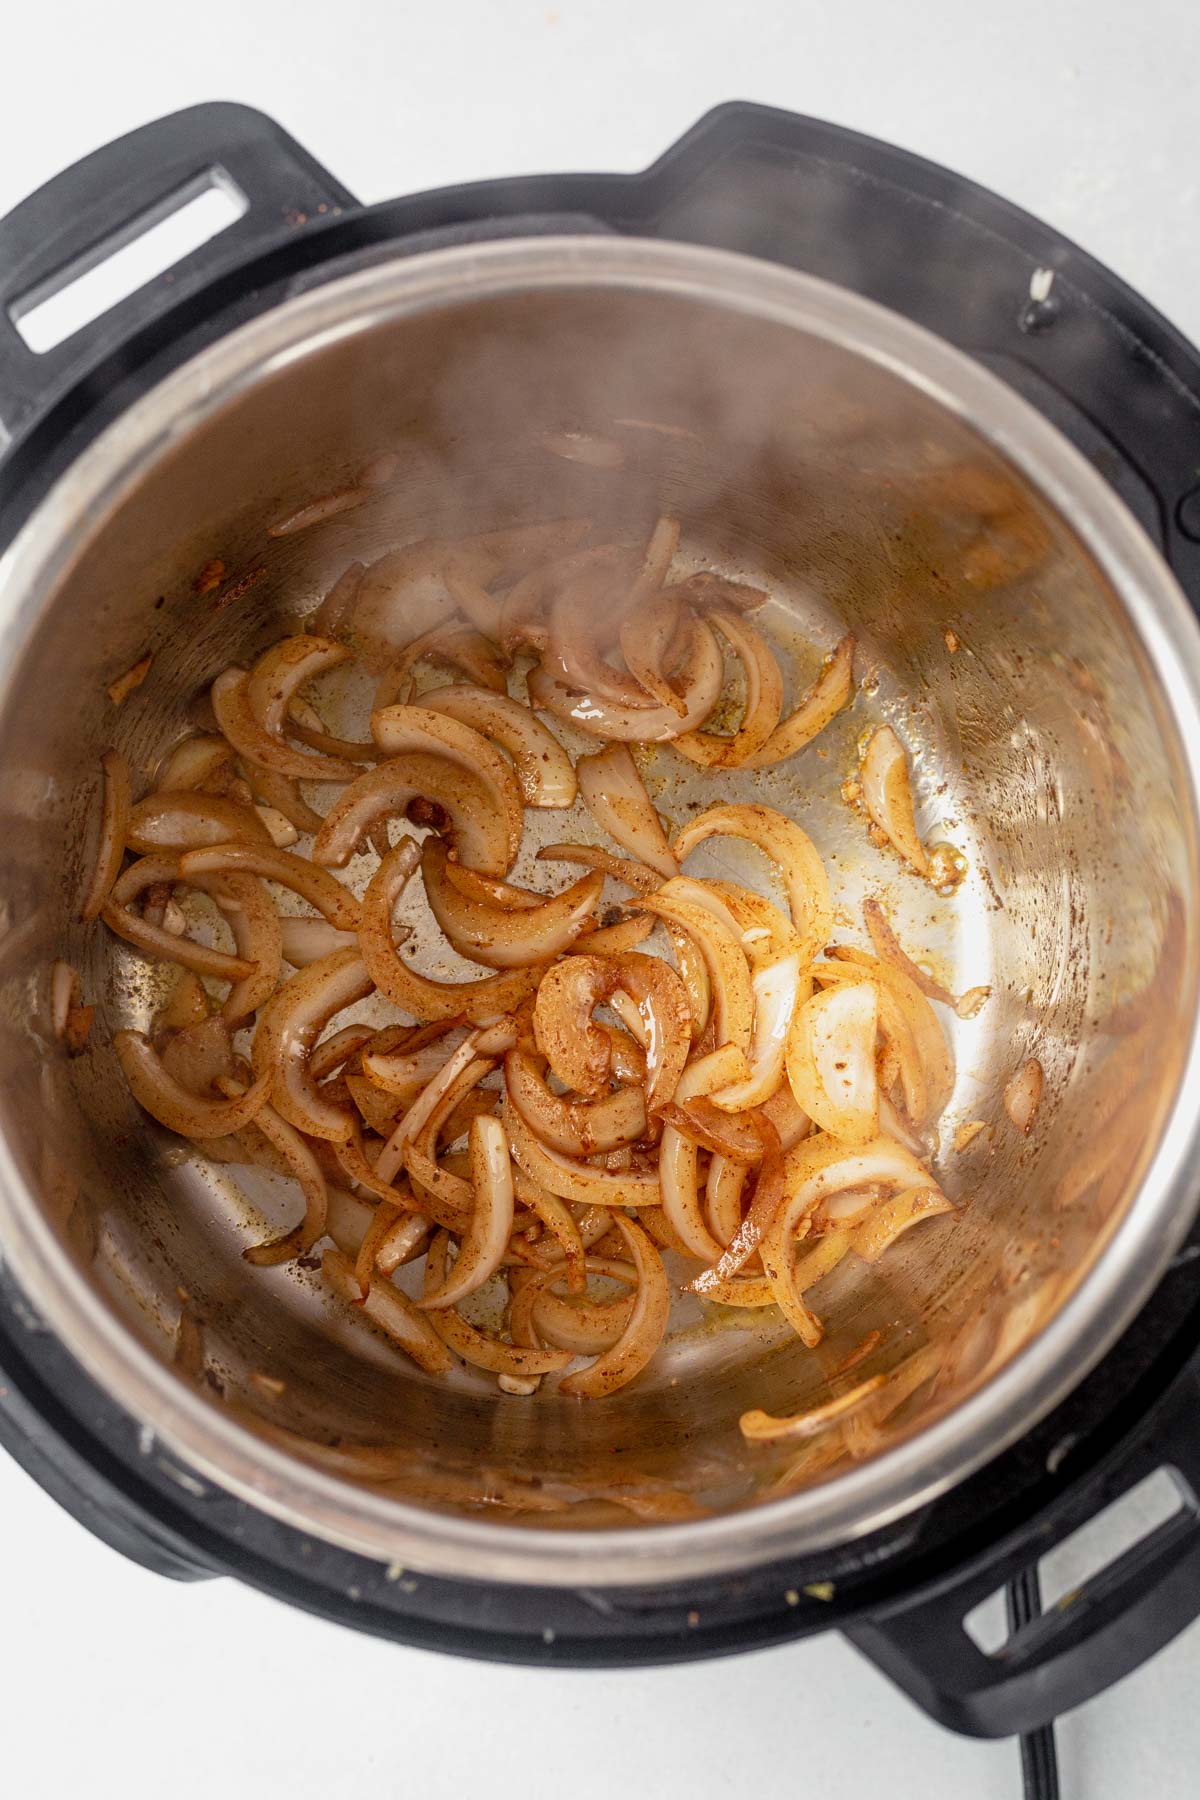
- Drizzle in more oil, then the sliced onion and stir to cook and sweat the onions until they’re translucent. Add the garlic and cook for another 1-2 minutes.
Cook and shred the chicken
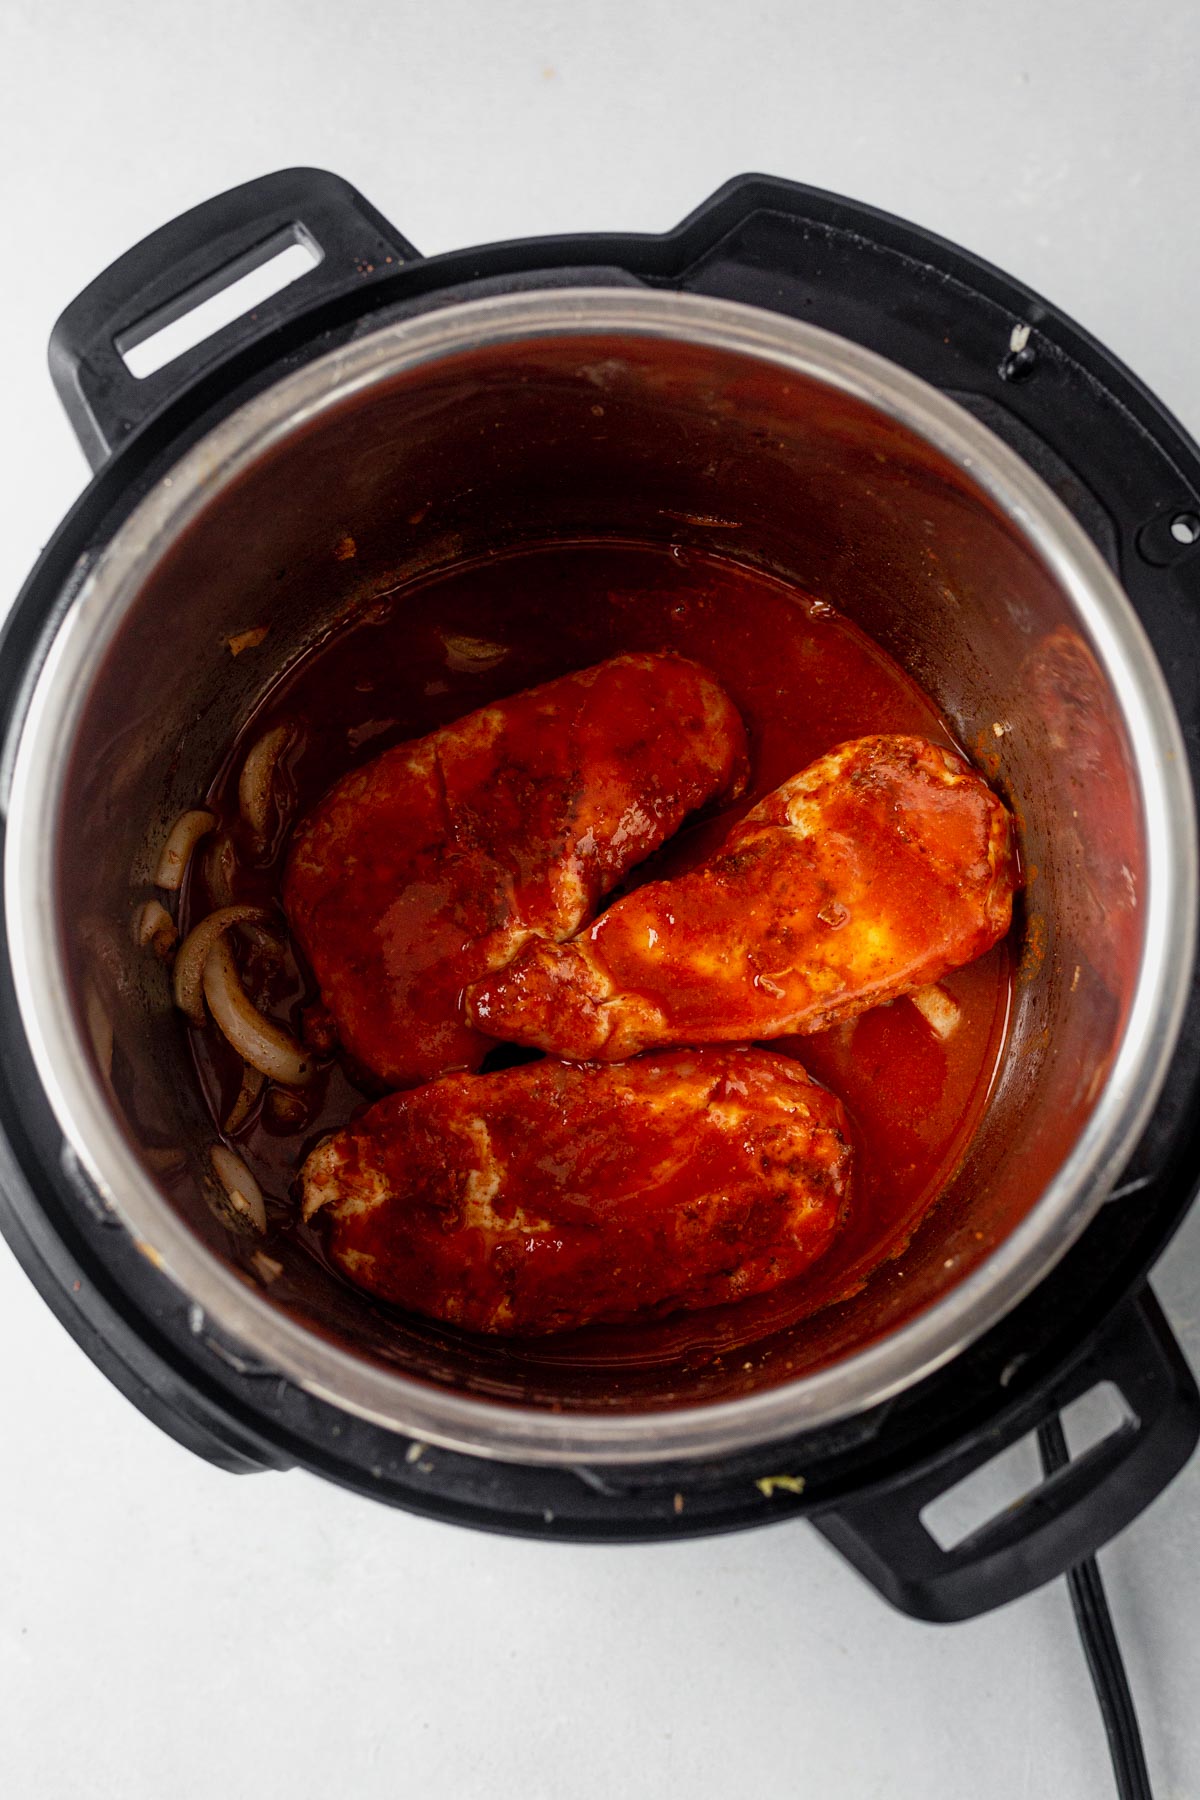
- Place the chicken back on top then add 1 1/2 cups of enchilada sauce. Stir slightly to combine and cover the chicken with the sauce. Close the lid and make sure the vent is set to the sealing position. Pressure cook (manual cook) on high pressure for 8 minutes.
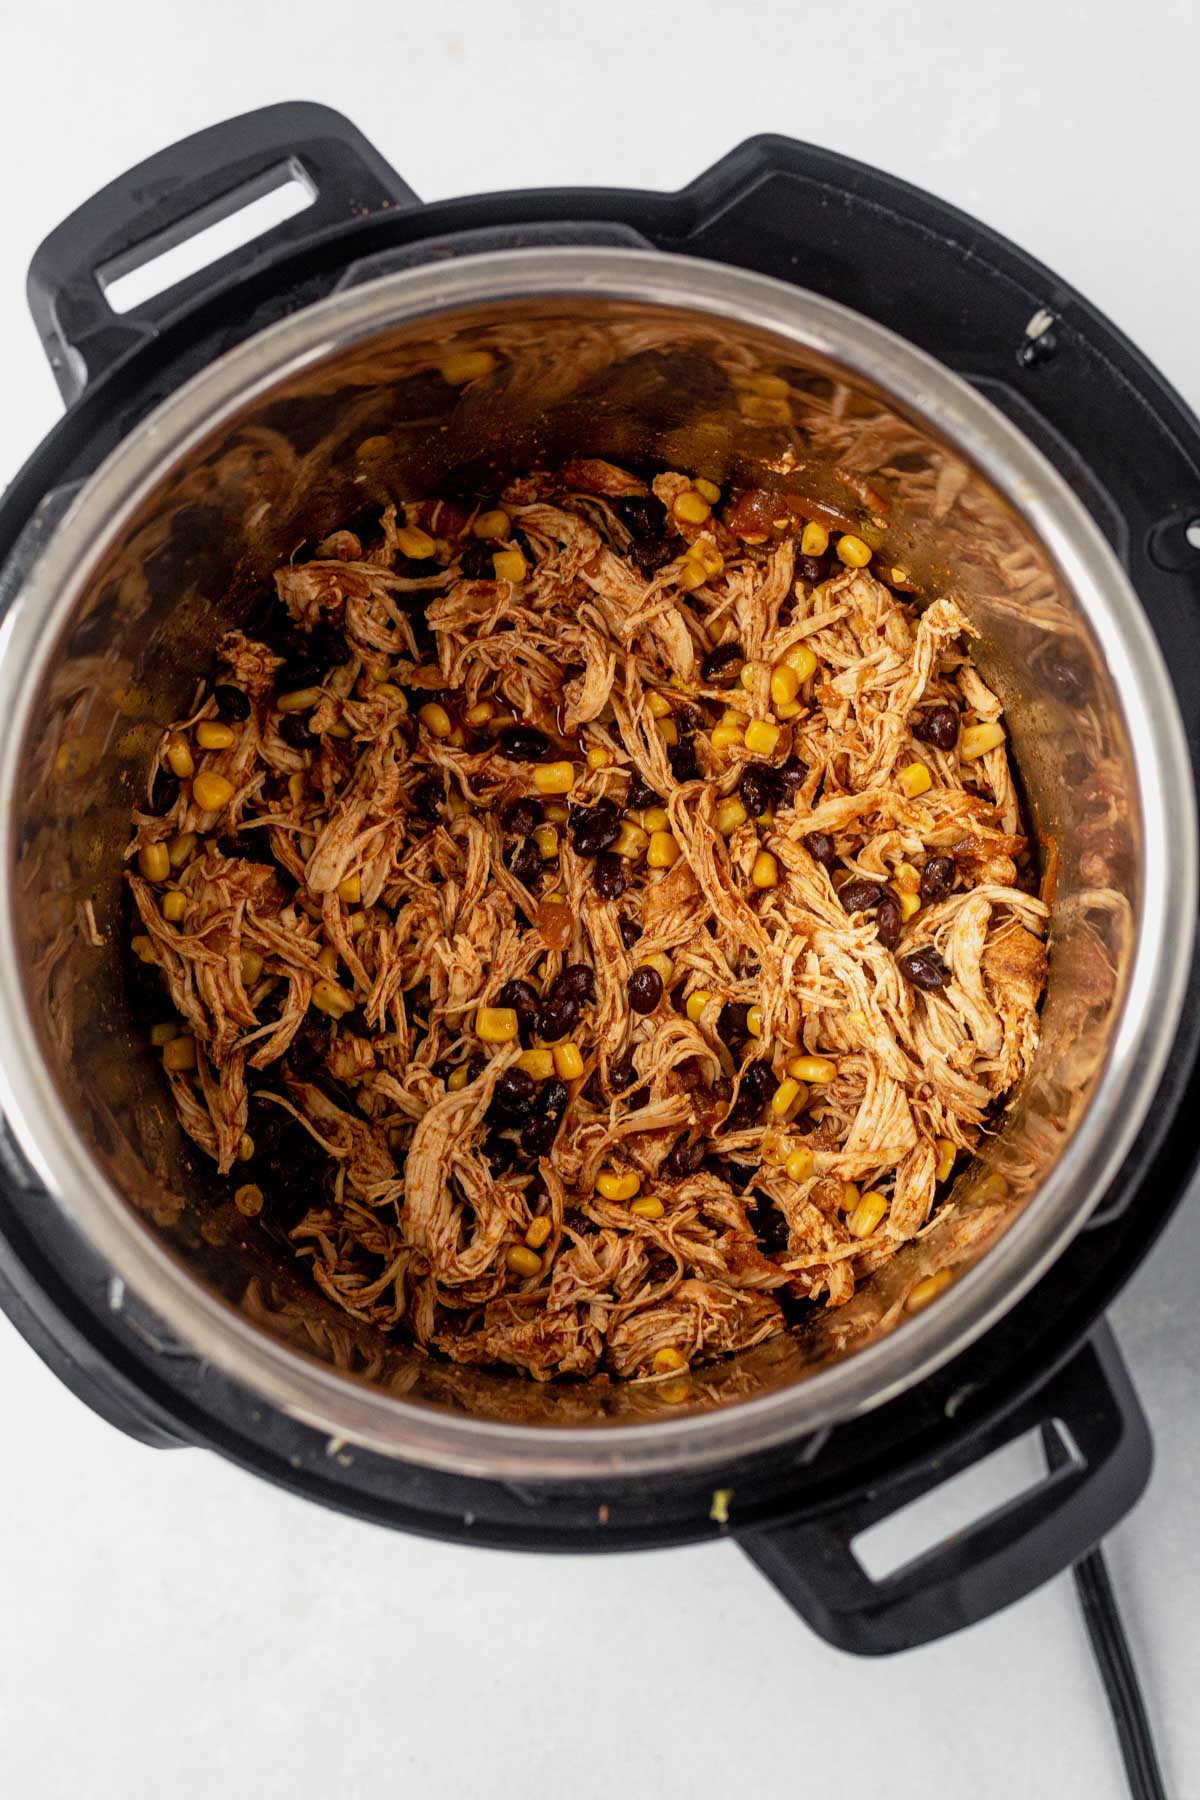
- Turn the knob to the venting position to quick release and let the steam out immediately. Transfer the chicken to a cutting to shred then place it back in the Instant Pot and stir with the sauce, corn and black beans.
Stuff and bake
- Warm the tortillas in the microwave for about 30 seconds to make them soft and more pliable. We also have instructions on warming them in the oven or in a pan in this post on how to soften tortillas for enchiladas.
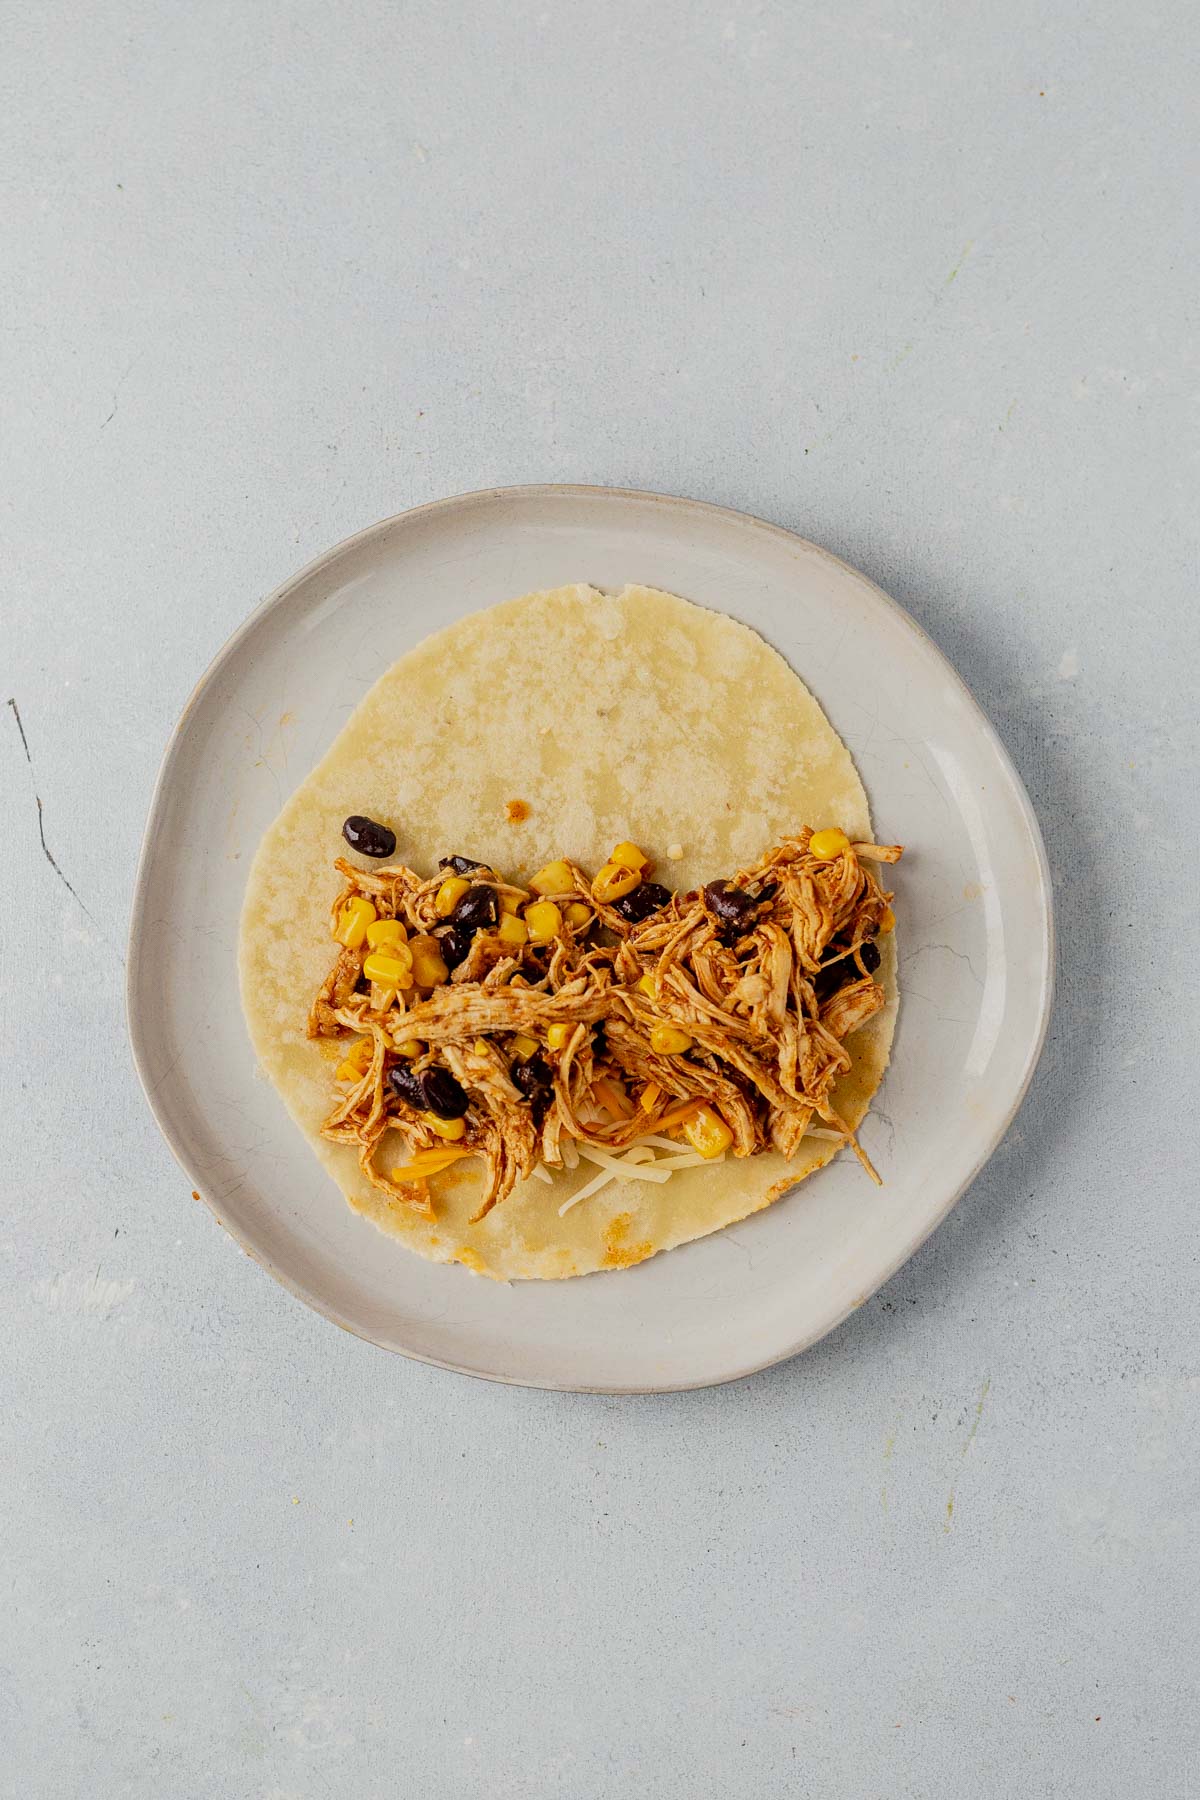
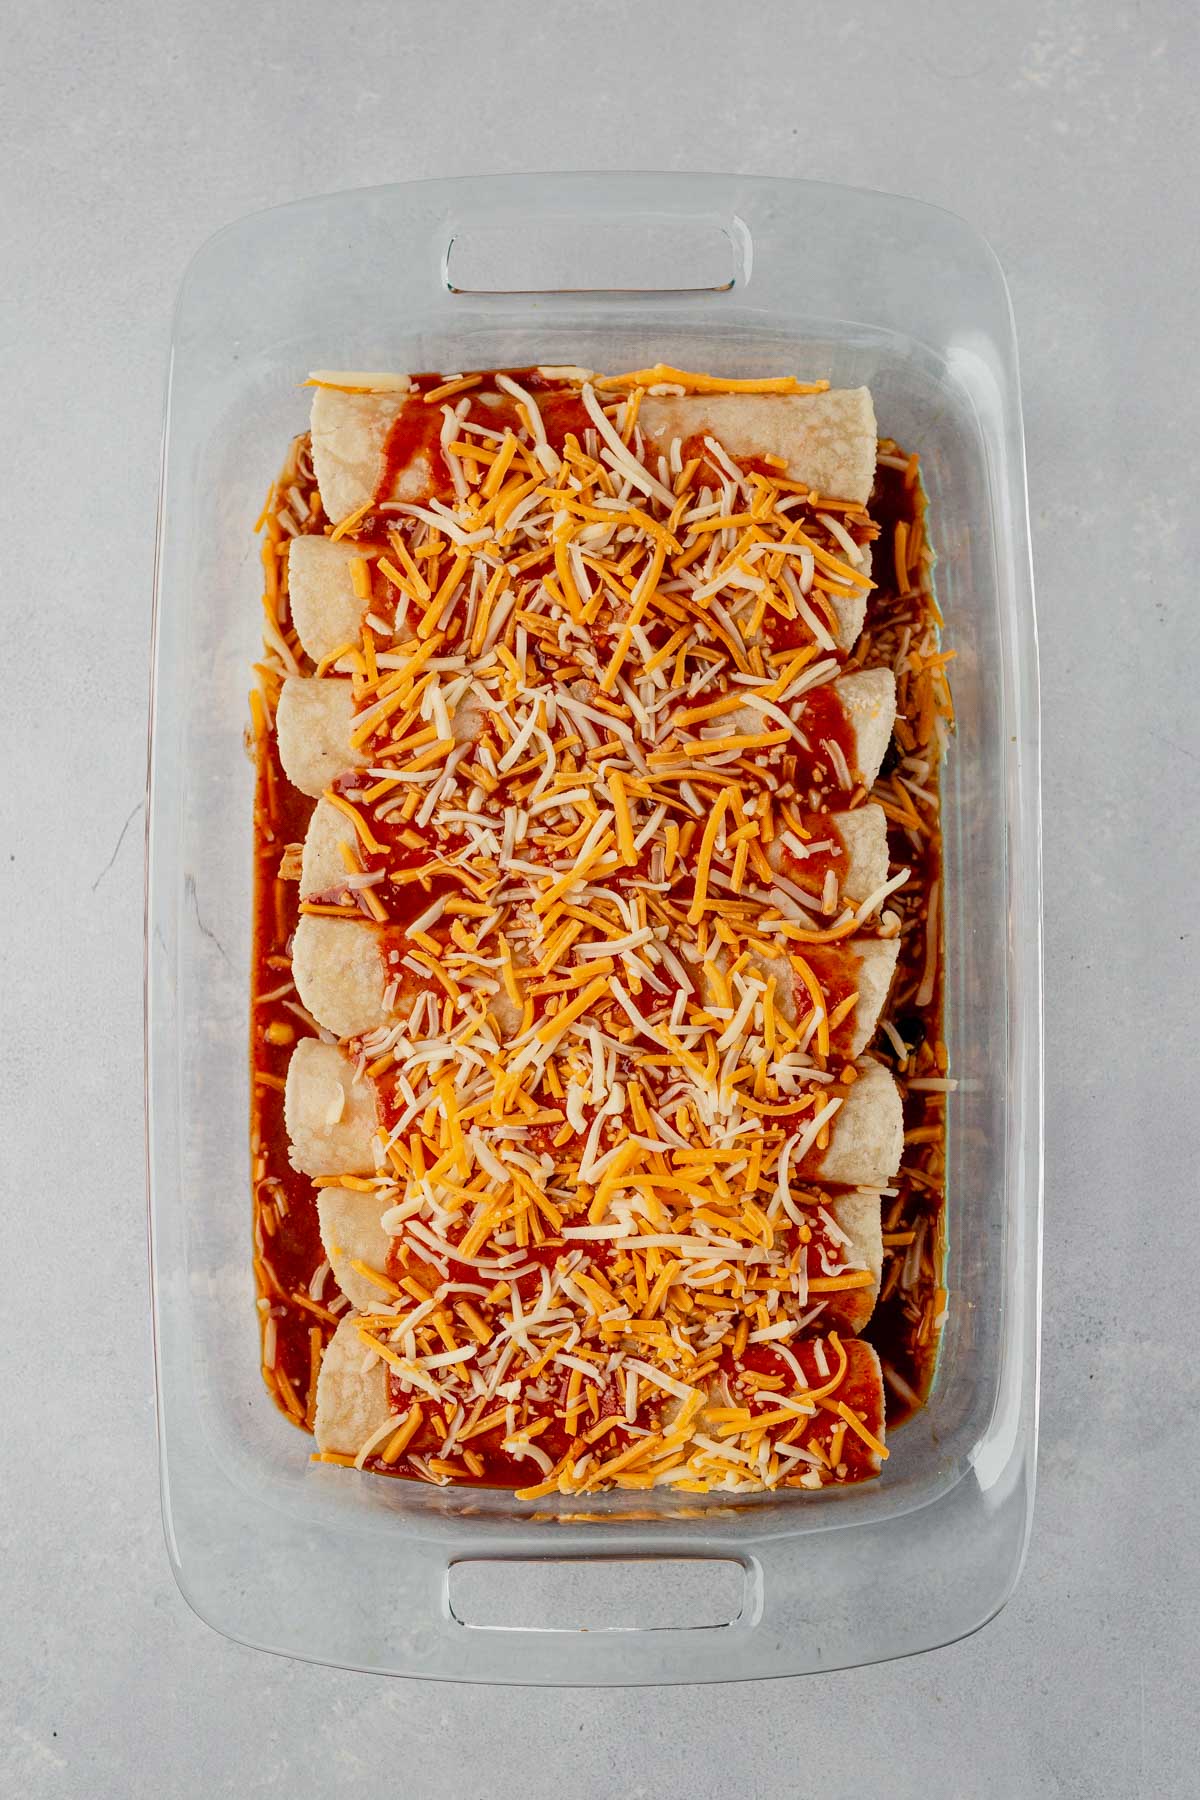
- Sprinkle shredded cheese on each tortilla then top evenly with the chicken mixture. Roll the enchiladas tightly and arrange them in a baking dish with the seam side down. Top with more enchilada sauce and shredded cheese.
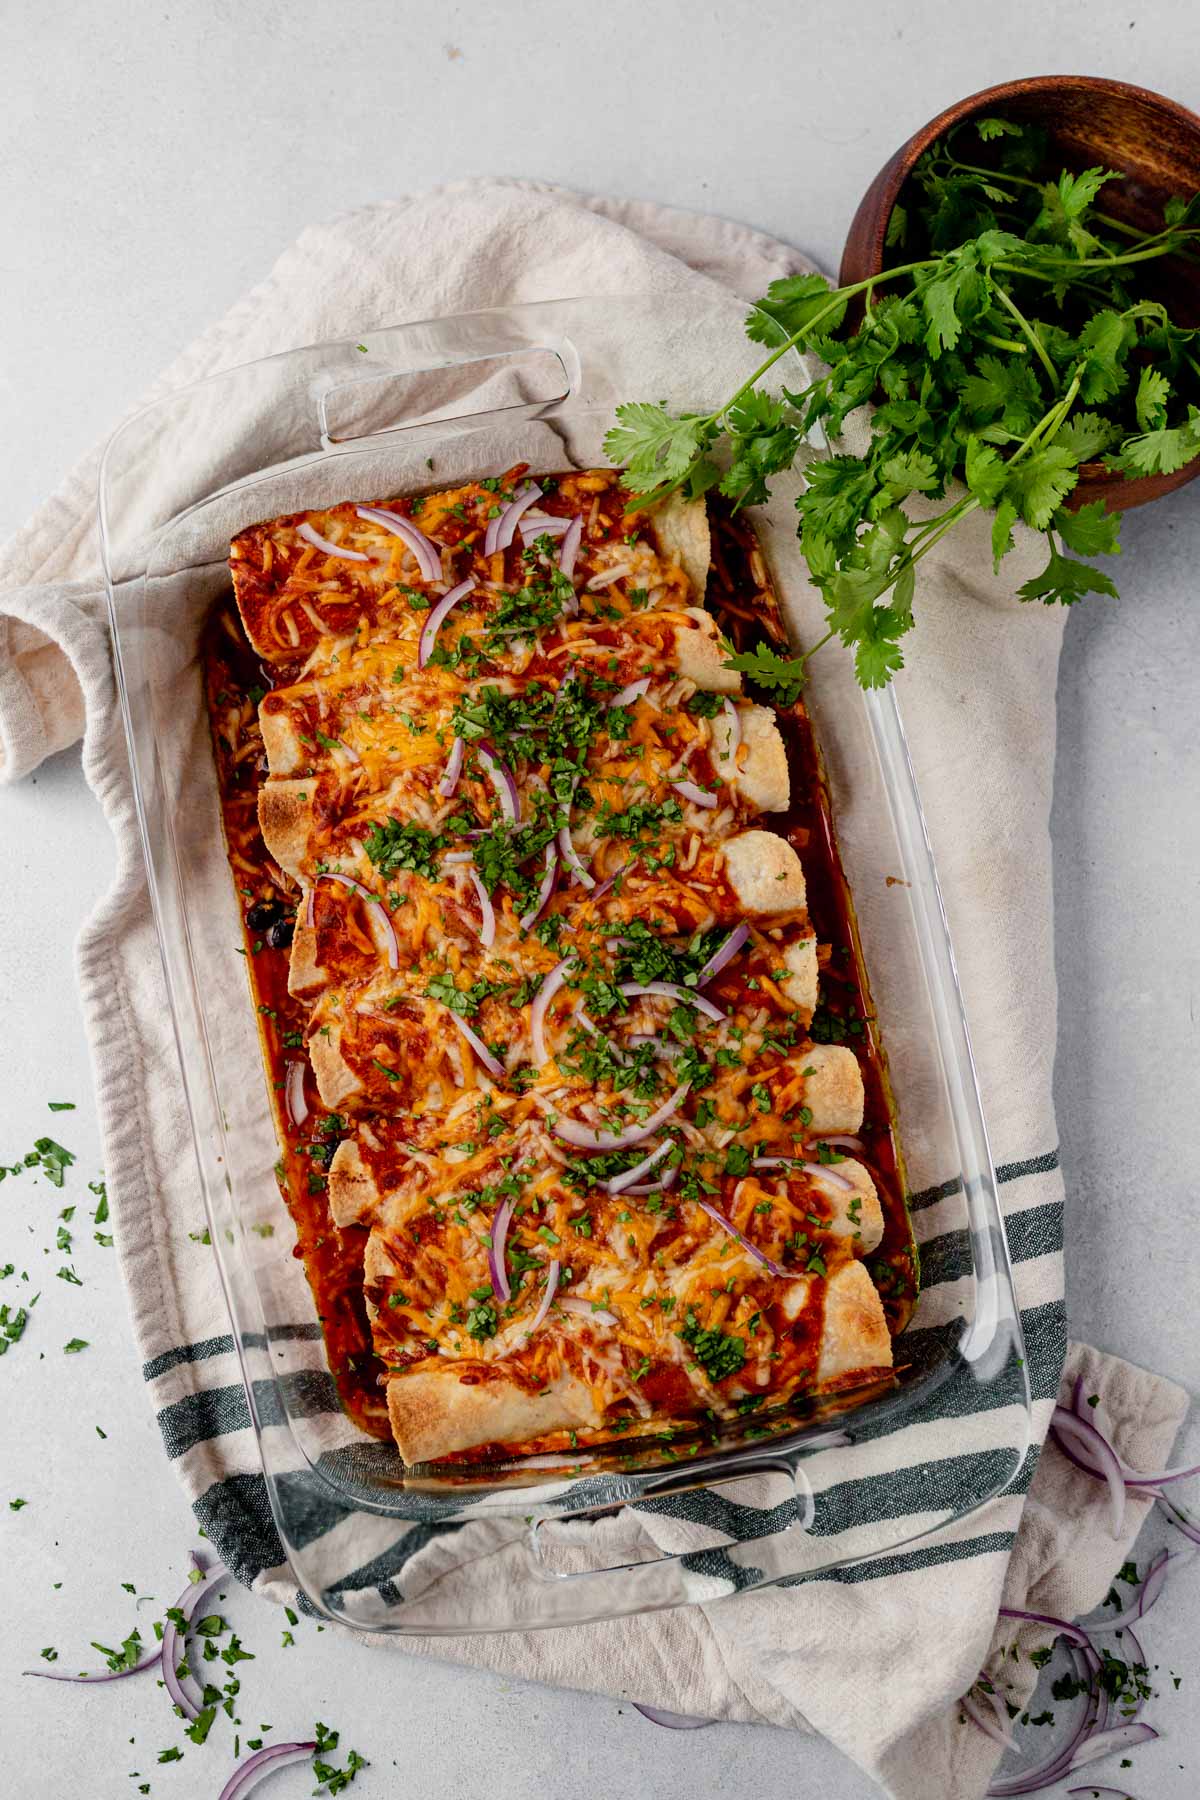
- Bake at 350°F for 15-20 minutes until melted and bubbly. You can cover them with foil if they start too brown too much on top.
Prefer to Watch Instead of Read?
What to serve with Instant Pot Chicken Enchiladas
- Coconut rice
- Spanish rice
- Refried Beans
- Mango pineapple salsa
- Cashew queso
- Creamy jalapeno ranch
- Mexican street corn pasta salad
- Cucumber tomato avocado salad
FAQs
The tortilla you use is a personal preference, in my opinion. I’ve tried these with corn tortillas, Siete grain free tortillas and flour tortillas and all are great. We usually opt for grain free and gluten free.
Nothing about the recipe changes! You may be able to stuff more filling into them because they’re usually larger than corn toritllas.
There isn’t a true sub for enchilada sauce, however, you could use a jar of salsa, like in our Instant Pot Salsa Chicken, or taco sauce.
I try to evenly distribute the filling into the tortillas, but the amount of chicken you use will dictate this. We love to freeze extra filling for enchiladas another night or use it in tacos or on top of sweet potato nachos.
Make-Ahead, Storage and Freezing
- Make ahead: make the filling up to three days in advance and store it in the fridge. Stuff and bake the enchiladas when you’re ready to serve. You can also roll up the enchiladas and cover them in foil then top with more sauce and cheese right before baking.
- Storage: allow any leftover to cool completely then store in an air tight container in the fridge for up to 3 days.
- To freeze: Make the enchiladas all the way through, including topping them with cheese. Cover them in plastic wrap then foil and freezer for up to 3 months. Remove the plastic wrap and bake them from frozen at 350°F for 30 minutes then remove the foil and bake for another 10 minutes.
Dietary Modifications
- Dairy-free: omit the cheese inside and on top of the enchiladas and pour our cashew queso on top before serving.
- Gluten-free: use corn or grain free tortillas
- More veggies: add a sliced bell peppers to the filling when you saute the onion.
More Mexican-Inspired Recipes
- Ground turkey enchiladas
- Healthy chicken enchiladas
- Turkey taco stuffed peppers
- Instant Pot salsa chicken
- Slow cooker Mexican chicken quinoa casserole
Instant Pot Chicken Enchiladas
Save this Recipe!
Ingredients
- 2 tablespoons avocado or olive oil divided
- 1 1/2 lbs boneless skinless chicken breast
- 1 teaspoon kosher salt
- 2 teaspoons chili powder
- 1 teaspoon cumin
- 1 small yellow onion sliced
- 3 cloves garlic minced
- 3 cups homemade red enchilada sauce or your favorite store bought (i.e Siete) divided
- 1 cup black beans drained and rinsed
- 1 cup canned corn drained
- 12 corn or grain free tortillas (or 9 flour tortillas)
- 1 1/2 cups shredded Monterey jack cheese cheddar cheese or Mexican cheese *see notes for dairy free
- toppings: cilantro lime juice, sour cream, tomatoes, avocado,
Instructions
Make the filling
- Preheat the oven to 350°F and spray a 9×13 inch casserole dish with non stick spray and set aside.
- Pouor 1 tablespoon of avocado oil or olive oil to the Instant Pot and set it to saute mode. Season both sides of the chicken with kosher salt, chili powder and cumin and use your fingers to rub it in.
- When the oil is hot, add the chicken breast and sear on both sides for about 2 minutes. It doesn’t need to cook all the way, it’s just to create a crispy brown crust.
- Remove the seared chicken to a cutting board or plate and add the remaining oil to the bottom of the Instant Pot. Add the sliced onion and stir to cook and sweat the onions until they’re translucent then add the garlic and cook for another 1-2 minutes.
- Place the chicken on top then add 1 1/2 cups of the enchilada sauce and stir to combine. Close the lid and make sure the vent is set to the sealing position. Pressure cook (manual cook) on high pressure for 8 minutes (11 minutes for frozen chicken breast). When the time is up, turn the vent to let the steam out immediately. I like to use a wooden spoon to turn the valve and place a kitchen towel over the steam.
Fill and bake
- Open the lid and carefully remove the chicken to a cutting board. Use two forks to shred the chicken then place it back in the Instant Pot with the black bean and corn then stir to combine.
- Place the tortillas on a microwave safe plate and cover with a damp paper towel. Warm in the microwave for about 30 seconds to make them soft and more pliable.
- Pour another 1/2 cup of the enchilada sauce into the bottom of the prepared baking dish. Sprinkle 1 1/2 cup of the shredded cheese to each tortilla then top evenly with the shredded chicken. Roll the enchiladas tightly and arrange in the baking dish. Top with the reamining cup of enchilada sauce and more shredded cheese or the vegan cheese.
- Bake in the preheated oven for 15-20 minutes, until melted and bubbly. Serve warm and garnish with your favorite toppings.
Notes
- Make ahead: make the filling up to three days in advance and store it in the fridge. Stuff and bake the enchiladas when you’re ready to serve. You can also roll up the enchiladas and cover them in foil then top with more sauce and cheese right before baking.
- Storage: allow any leftover to cool completely then store in an air tight container in the fridge for up to 3 days.
- To freeze: Make the enchiladas all the way through, including topping them with cheese. Cover them in plastic wrap then foil and freezer for up to 3 months. Remove the plastic wrap and bake them from frozen at 350°F for 30 minutes then remove the foil and bake for another 10 minutes.
- Dairy-free: omit the cheese inside and on top of the enchiladas and pour our cashew queso on top before serving.
- Add more veggies: add a sliced bell peppers to the filling when you saute the onion.
Video
Equipment
Nutrition
Nutrition information is automatically calculated, so should only be used as an approximation.
This post may contain affiliate links. Read our disclosure policy.


To freeze instructions: does “make all the way through” mean to bake as well and the reheat instructions take that into account? Or should they be made through to topping with cheese, then wrap and freeze. Final bake when ready to pull from the freezer and eat? Tried these tonight and hoping to prep some for postpartum in a few months!
Hi Kaylee. Yes, bake them first. Then let them cool completely, wrap tightly, and freeze.
When ready to eat, thaw overnight in the fridge if possible, then reheat covered at 350°F until warmed through (about 20–30 minutes).
The preparation for this recipe was much more work than described. The outcome was great! Just took longer than anticipated.
Great feedback, Emma! Thank you!