

I started making this version during a week I was trying to eat a little more fruit and a lot more greens without forcing myself into another smoothie. It is now on rotation for slow mornings, post-workout, and honestly — afternoons where I need something cold and bright that isn’t another iced coffee.
Why You’ll Love This Pineapple Green Juice
- Tastes tropical, not grassy
- No juicer required — blender + strainer
- 5 minutes, 6 ingredients, naturally sweet
- Loaded with vitamin C, bromelain, and greens
- Batch-friendly and freezer-friendly
Look for more green drinks? Try a hormone healing green smoothie, mango spinach smoothie, or creamy banana avocado smoothie next.
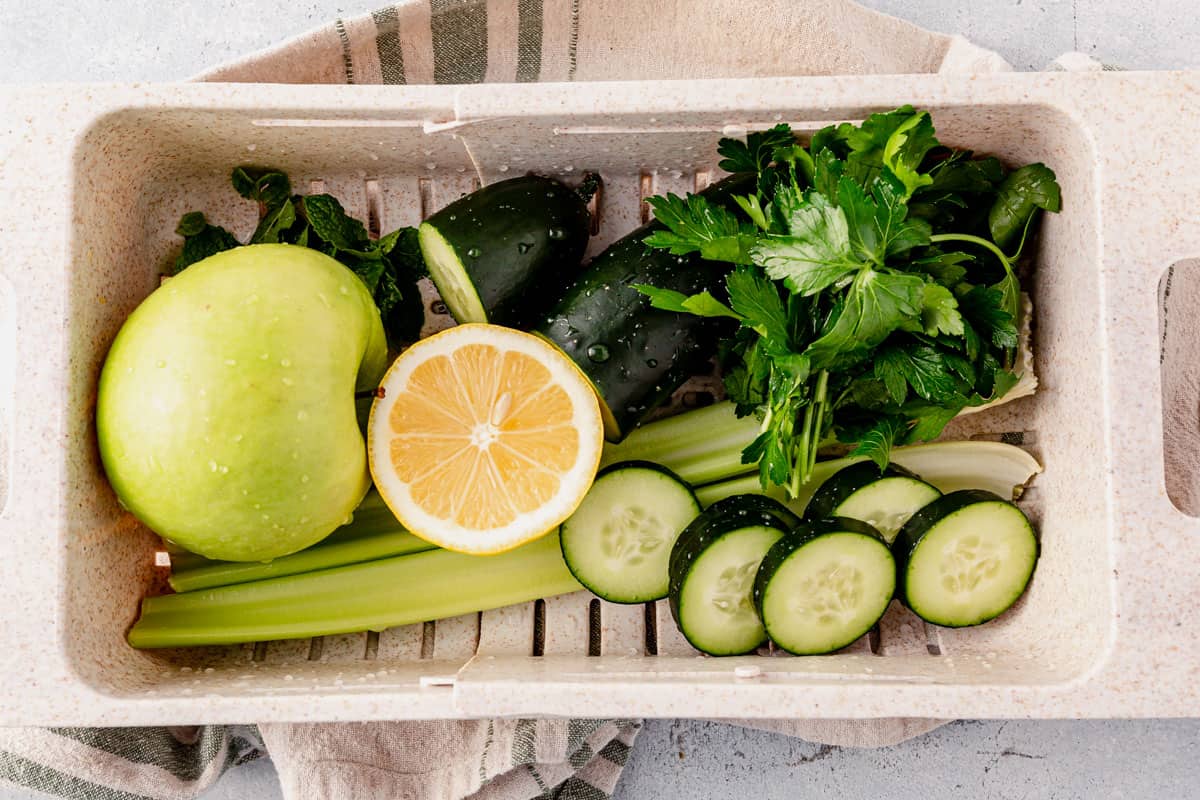
Ingredients and Why they Work
- Fresh pineapple: 2 cups cubed. The sweetener, the flavor lead, and the source of bromelain (the enzyme in pineapple that helps with digestion).
- Baby spinach: 2 packed cups. Mild green, blends down to almost nothing flavor-wise.
- English cucumber: 1 cup chopped. Hydration and volume without muddying flavor.
- Green apple: 1 medium, cored. Adds brightness and a little tart edge.
- Fresh ginger: ½ inch, peeled (optional). Start here, but add more if you love ginger like me.
- Fresh lemon juice: 2 tablespoons. Keeps color vibrant and balances the sweetness.
- Cold water: ½ to ¾ cup, to help the blender move.
- Optional boosts: a few mint leaves, kale instead of spinach, or a scoop of collagen.
How to Make Pineapple Green Juice in a Blender
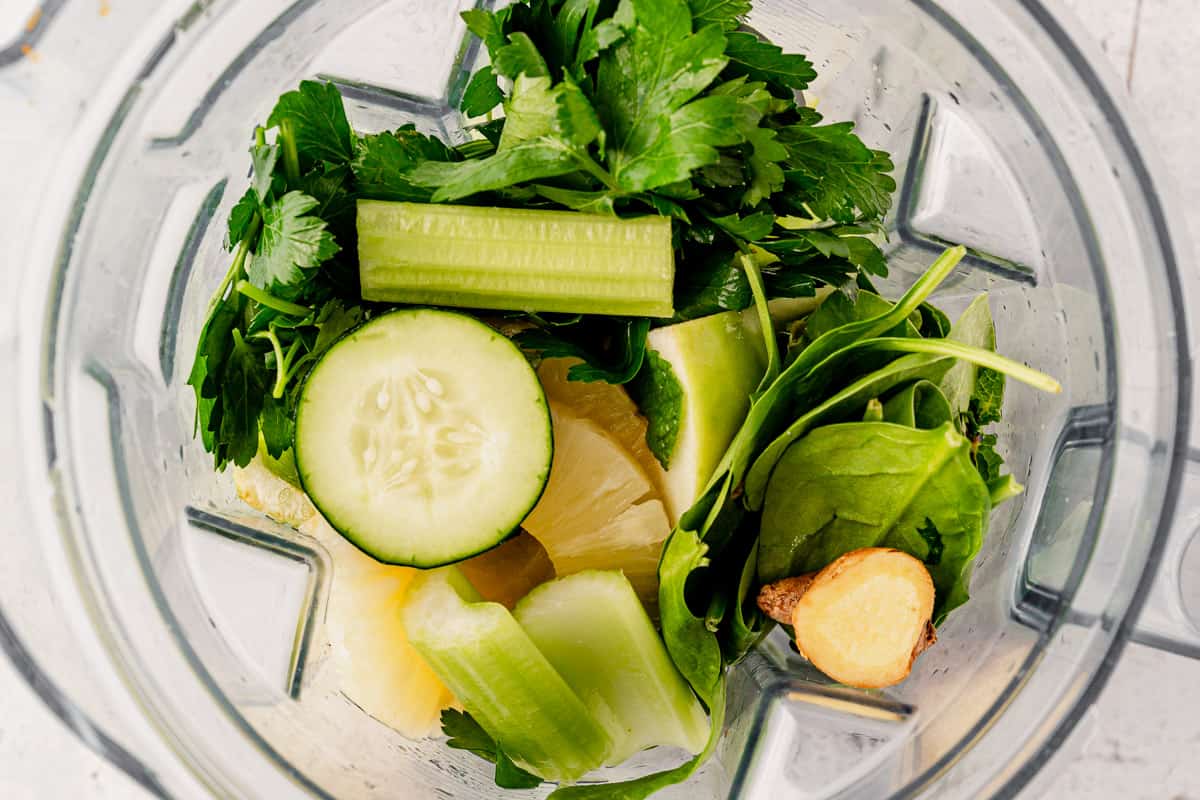
- Add to the blender: Add the cucumber, apple, ginger, lemon juice, and water to the blender first so the blades move freely. Add the pineapple, then the spinach on top.

- Blend: Blend on high 60–90 seconds, until completely smooth and no green flecks remain.
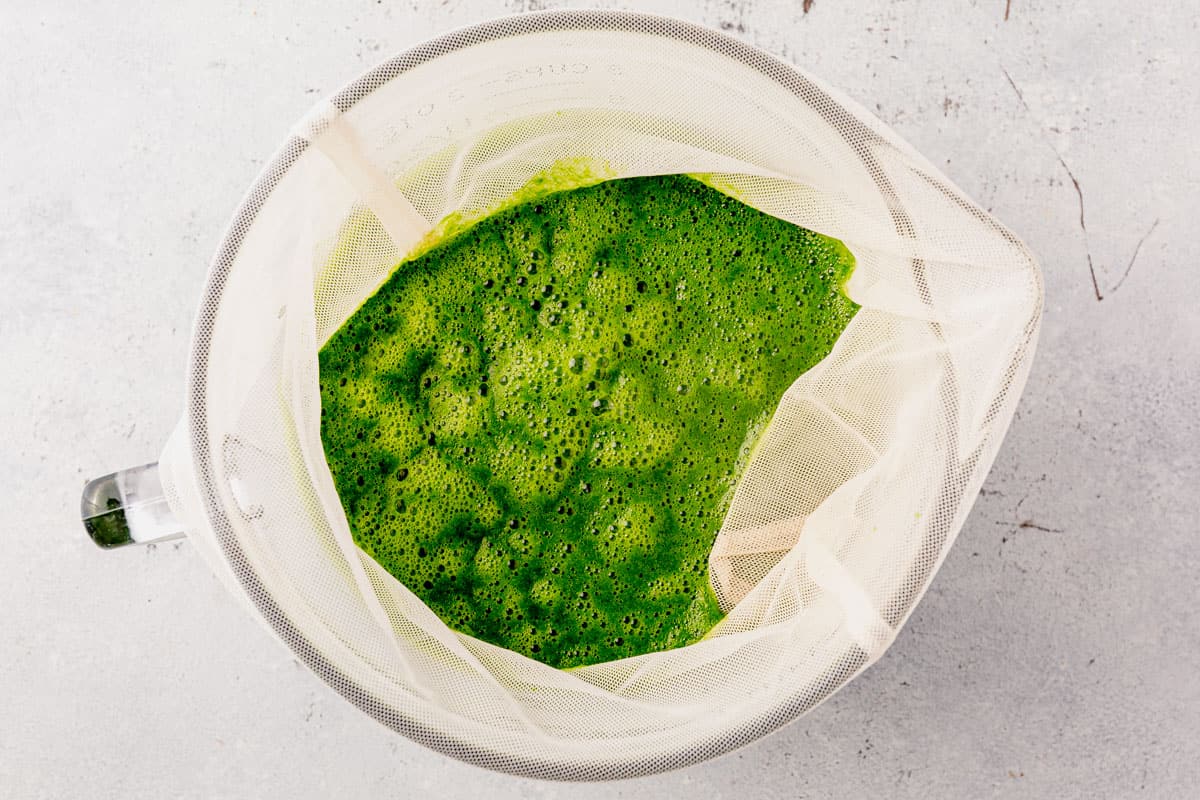
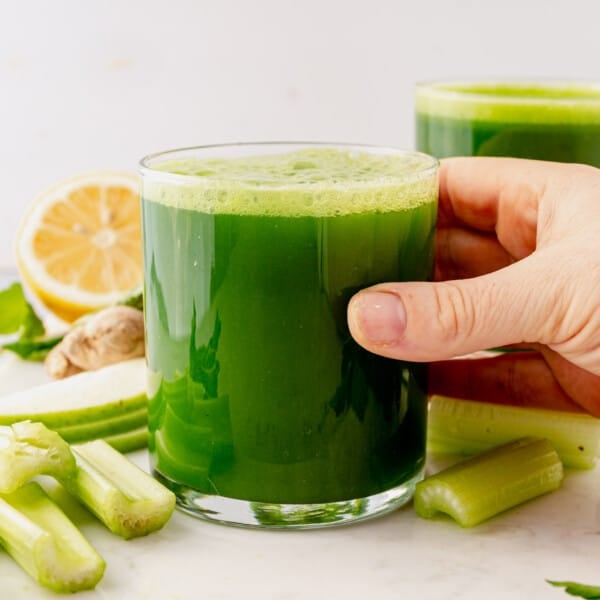
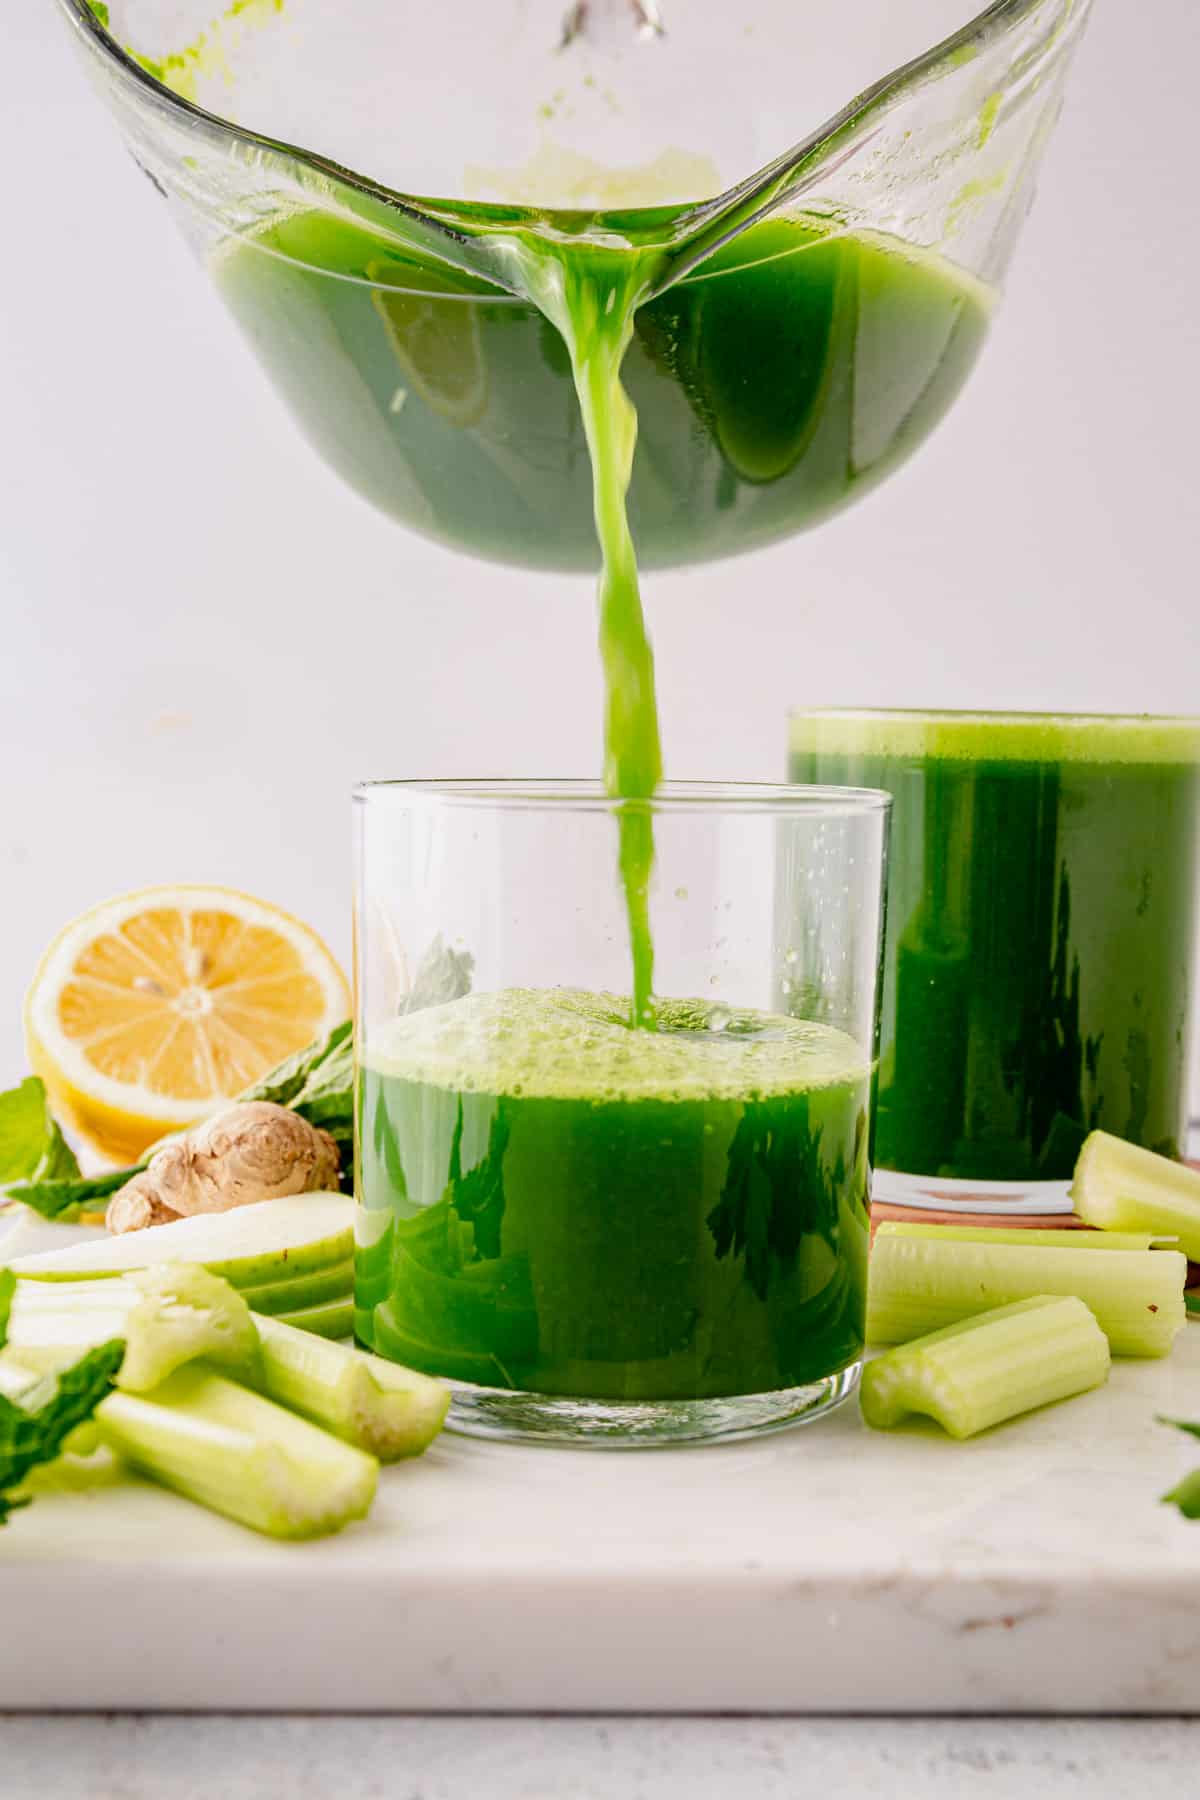
- Strain the juice: Strain through a fine mesh strainer or nut milk bag into a pitcher, pressing with the back of a spoon. Pour over ice and serve immediately, or refrigerate up to 3 days in airtight glass jars.
How to Make it In a Juice Instead
Juice in this order: spinach, cucumber, apple, ginger, then pineapple last (the pineapple pushes everything through and cleans the auger). Stir in fresh lemon juice at the end. Makes about 16 ounces.
To Strain or Not to Strain?
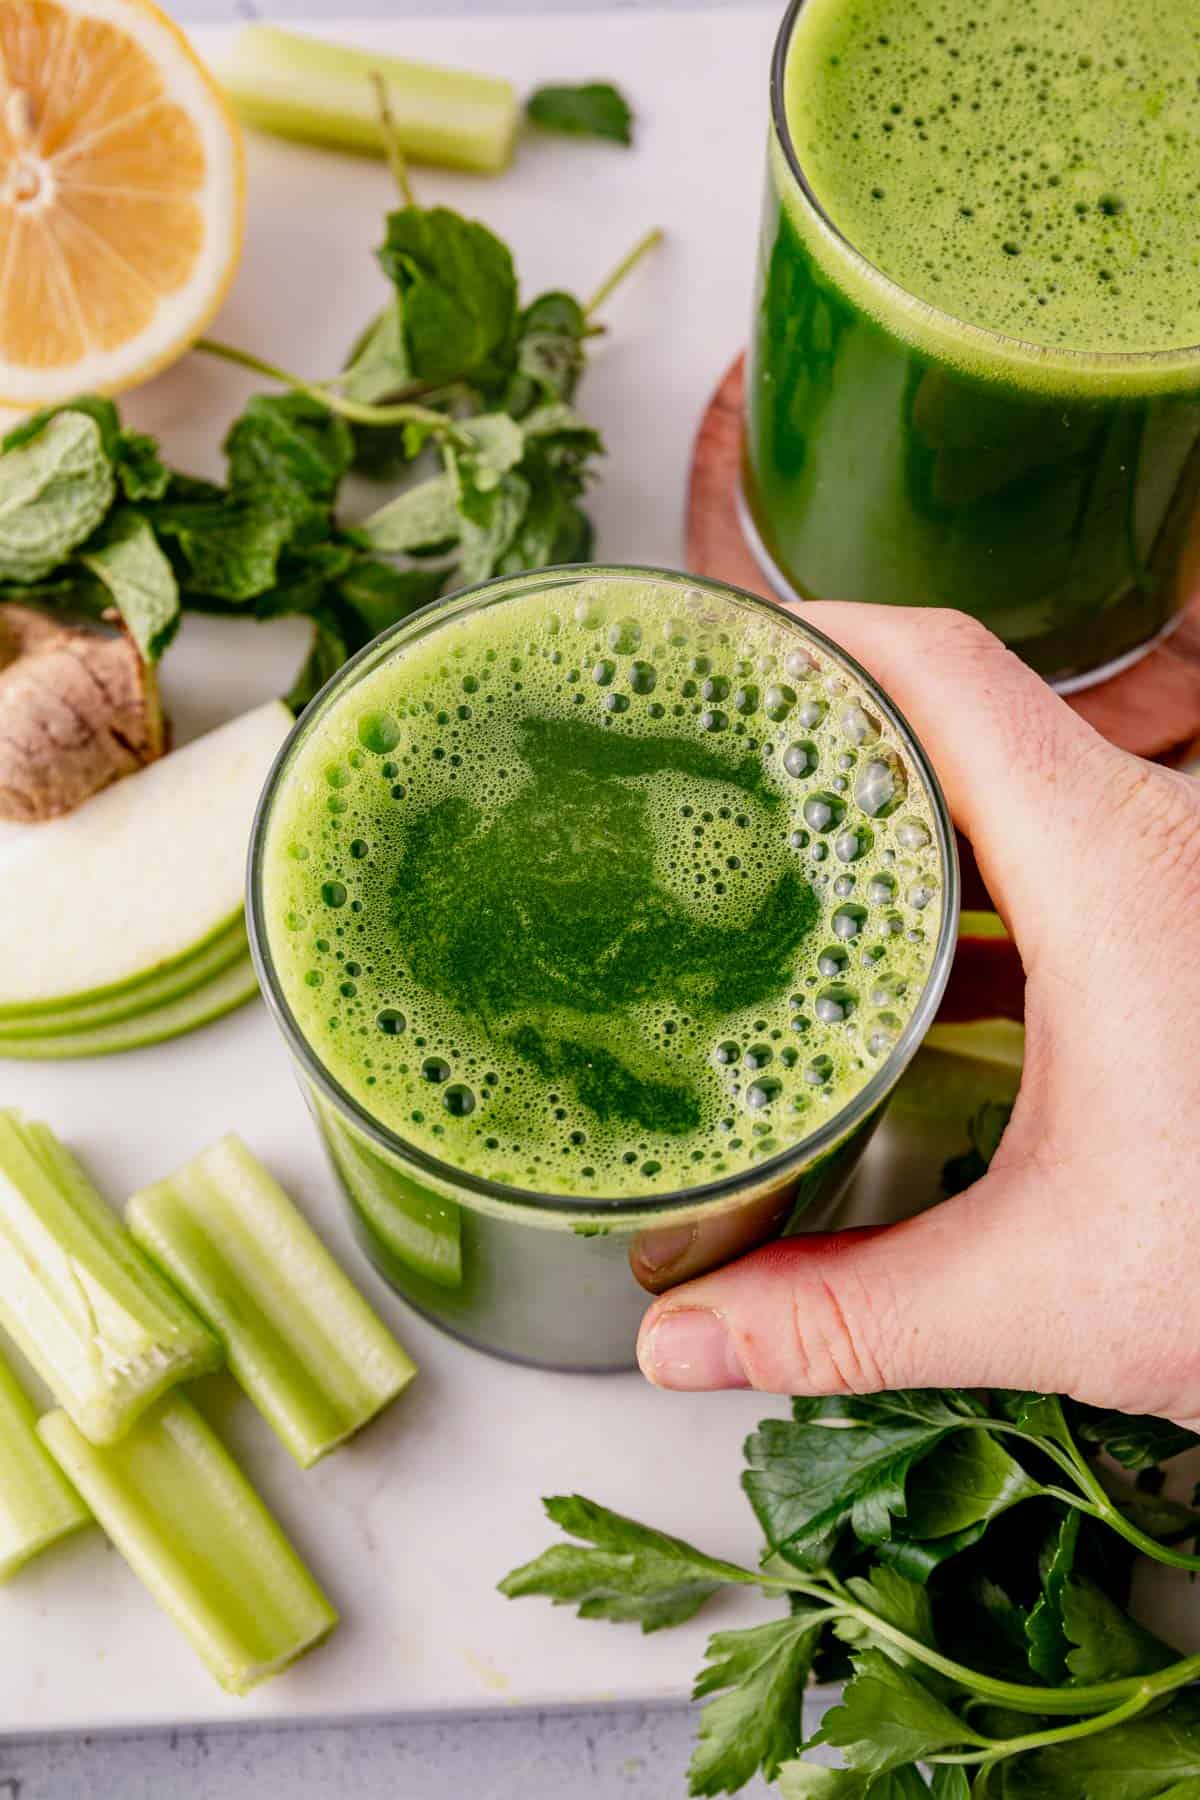
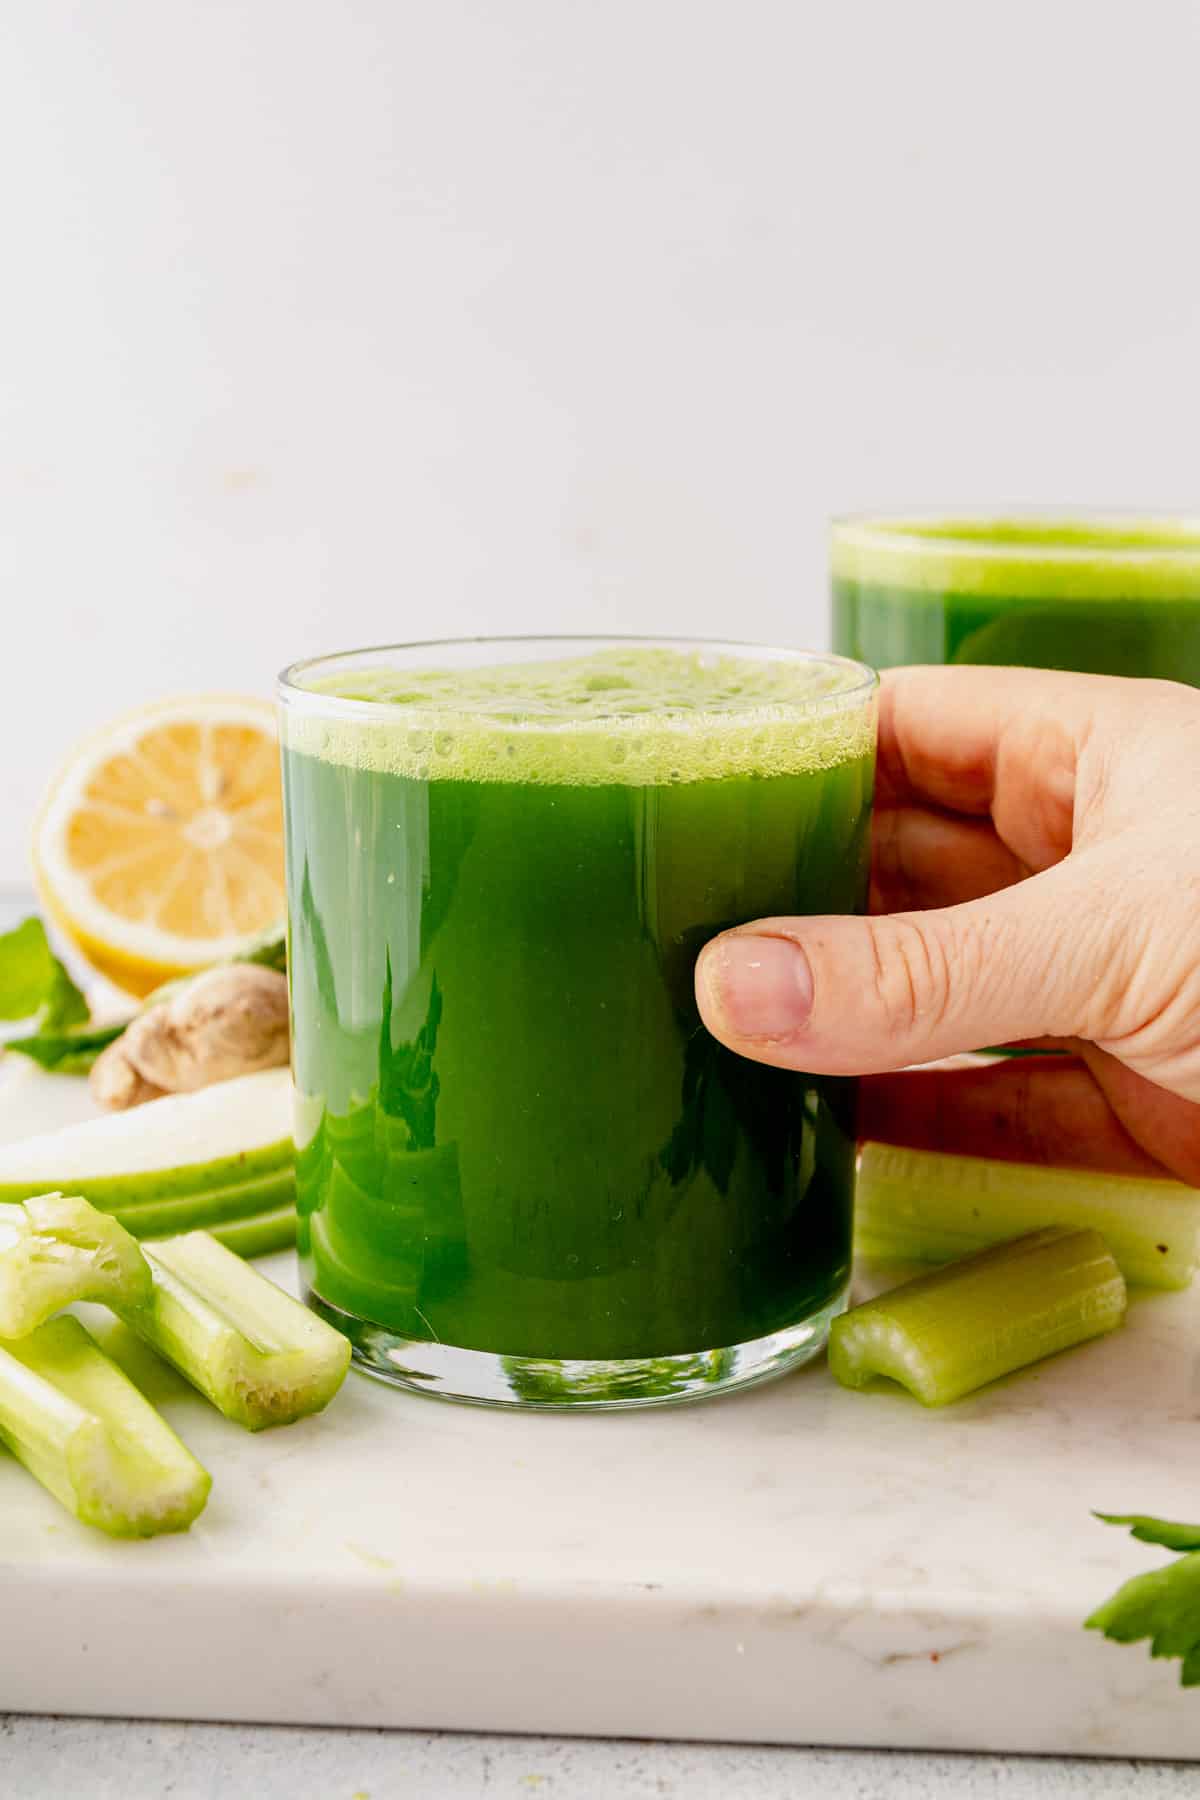
Strain for a clear, juice-bar style drink that’s smoother, lighter, easier to sip fast.
Skip straining for a higher-fiber version that will keep you full longer and is closer to a thin smoothie. Both are legit; one is just a different drink.
Tips for the Best-Tasting Green Juice
- Freeze pineapple in 2-cup portions so green juice becomes a 5-minute routine.
- Use very cold pineapple and cucumber — temperature does half the work on flavor.
- Start with spinach before committing to kale. Kale is delicious here but will taste greener.
- Taste before straining; add more lemon if it’s flat, more apple if it’s sharp.
How to Store, Batch, and Freeze Green Juice
Fridge: 2–3 days in airtight glass. Shake before drinking.
Freezer: pour into silicone ice cube trays, freeze, and drop 2–3 cubes into sparkling water for a lightly sweet green spritz.
To double the recipe, blend in two batches rather than overloading the blender.
What to Serve With Pineapple Green Juice
With protein chocolate chip cookies as a midday pick-me-up
A slice of grated egg avocado toast or protein breakfast sandwiches for an easy breakfast
Alongside Vanilla Almond Granola with Greek yogurt
As the “something bright” next to Everything Bagel Casserole on weekend mornings.
Pineapple Green Juice FAQs
No. This recipe works in any standard blender; you strain the pulp at the end through a fine mesh strainer or nut milk bag.
Yes. Use 1½ cups packed kale (stems removed) in place of the spinach. Expect a slightly earthier, more savory juice.
Up to 3 days in an airtight glass jar in the fridge. Drink within 24 hours for peak flavor and nutrients.
It’s a vitamin-C, bromelain, and polyphenol boost in a glass. It’s not a meal replacement, it’s a drink, but it’s a great way to land a serving of leafy greens before noon.
Yes, but the juice will be less sweet. Add ½ a banana or 3 more pineapple chunks to compensate.
Yes — batch up to 3 days ahead, store in airtight glass, and give it a hard shake before serving.
No added sugar. The sweetness comes from fresh pineapple and green apple.
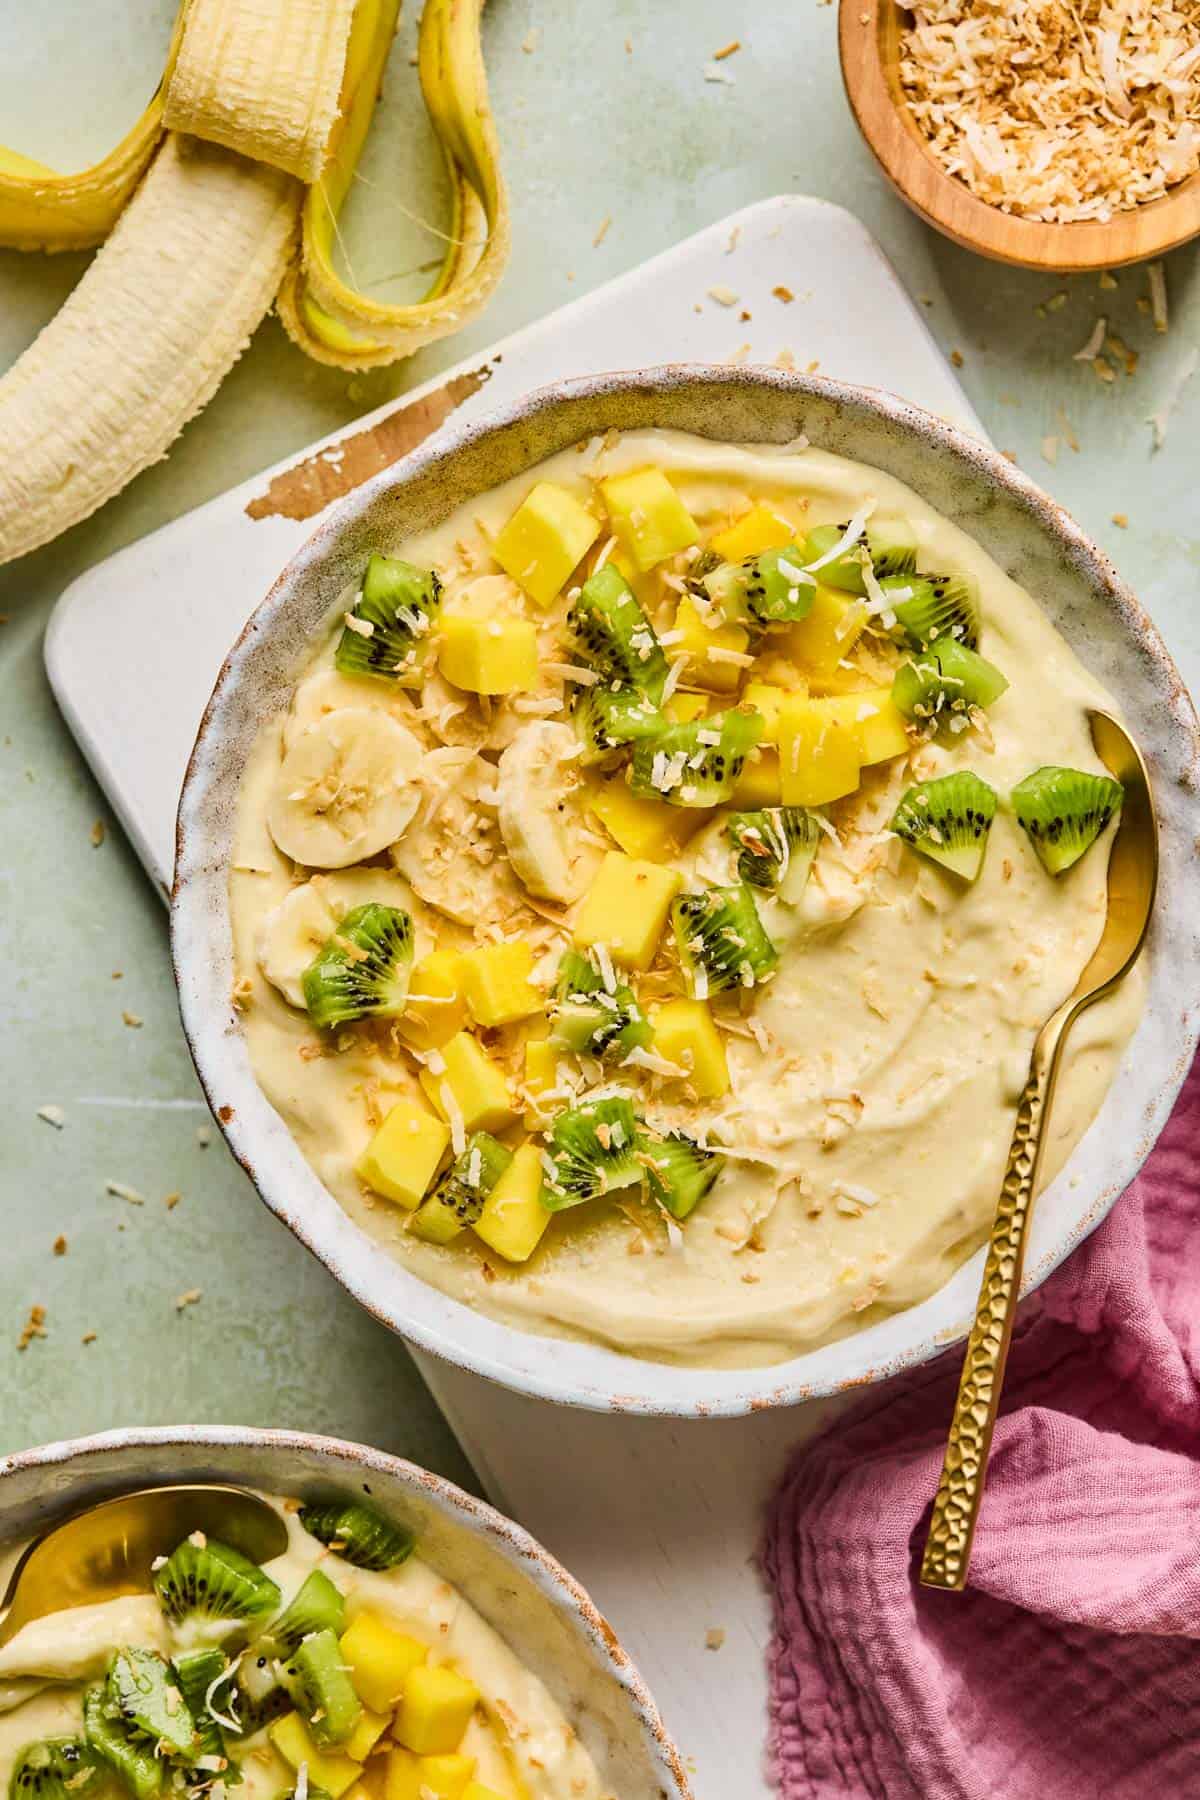
Feels like Breakfast on the Beach!
- Thick and delicious with tons of coconut flavor
- Takes 5 minutes to make
- Easy to customize with your favorite toppings
- Full of healthy fats
- Add protein powder for a complete breakfast
- Sweet tropical flavors
Love refreshing smoothies? Try this pitaya smoothie bowl, blueberry raspberry smoothie, or tropical kale smoothie next!

Why You’ll Love This Smoothie Bowl
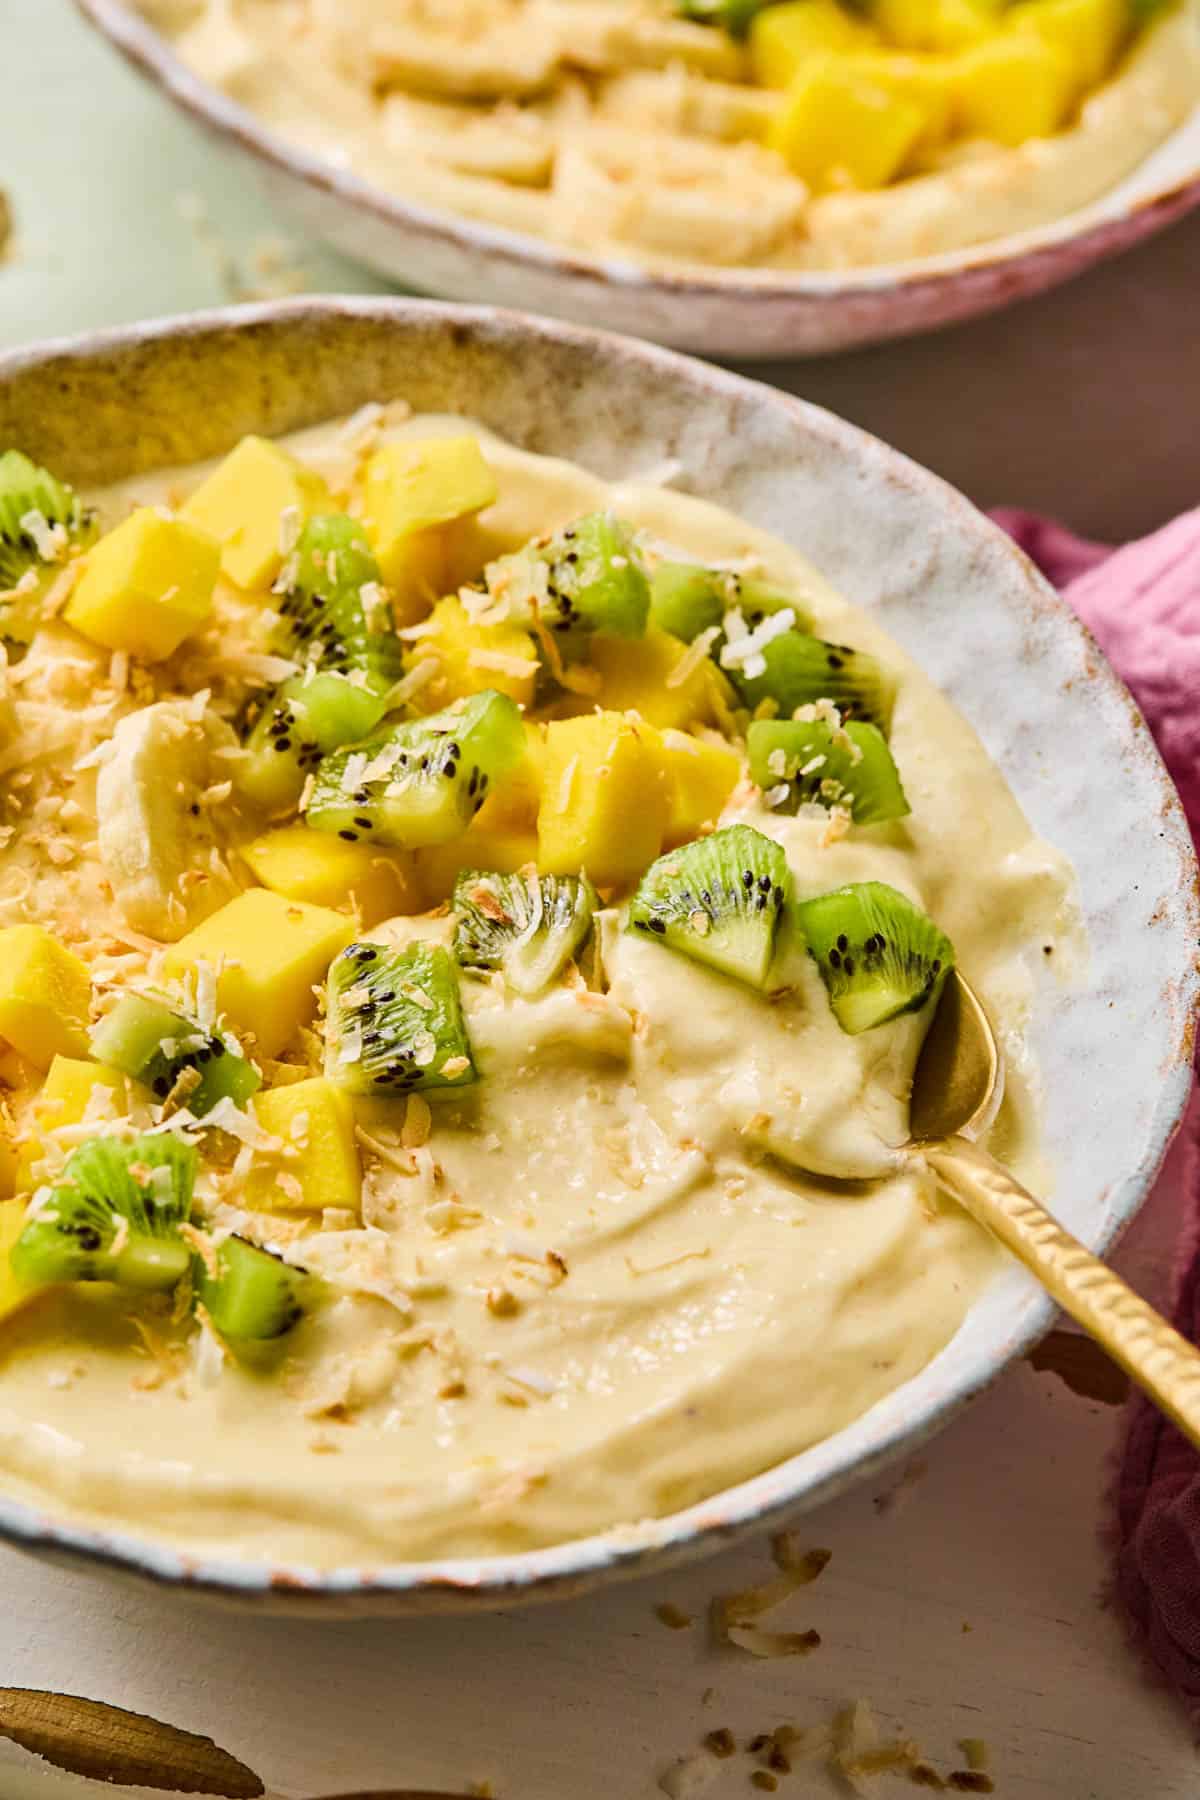
- Thick enough to scoop with a spoon. Not a drink.
- 5 minutes from freezer to bowl.
- One blender, no extra dishes.
- Add 25g of protein with a scoop of vanilla protein powder. Full breakfast, full morning.
- Naturally Gluten-Free, Paleo, Dairy-Free, and Vegan. No swaps needed.
- Pre-portion the fruit ahead so weekday mornings are zero decisions.
Ingredients You’ll Need

- Frozen banana. One whole. Banana is the texture anchor; don’t skip.
- Frozen pineapple. ¾ cup. Pre-cut from the freezer aisle works.
- Frozen mango. ½ cup. Same rule.
- Full-fat coconut milk. ⅓ cup, from the can. Shake the can well before measuring or you’ll pour off only the watery part.
- Coconut extract. Optional, ¼ teaspoon. Boosts the coconut flavor without making it taste like sunscreen. A little goes a long way.
- Vanilla protein powder. Optional, one 25g scoop. I use Be Well by Kelly because the ingredient list is short. If you add protein powder, add an extra splash of coconut milk to keep it blendable.
- Toppings. Whatever’s in the kitchen: shredded coconut, chia seeds, fresh fruit, granola, nut butter.
How to Make a Coconut Smoothie Bowl

- Add the Frozen Fruit First. Dump all the frozen into a high-speed blender. Don’t add the liquid yet. Start dry.
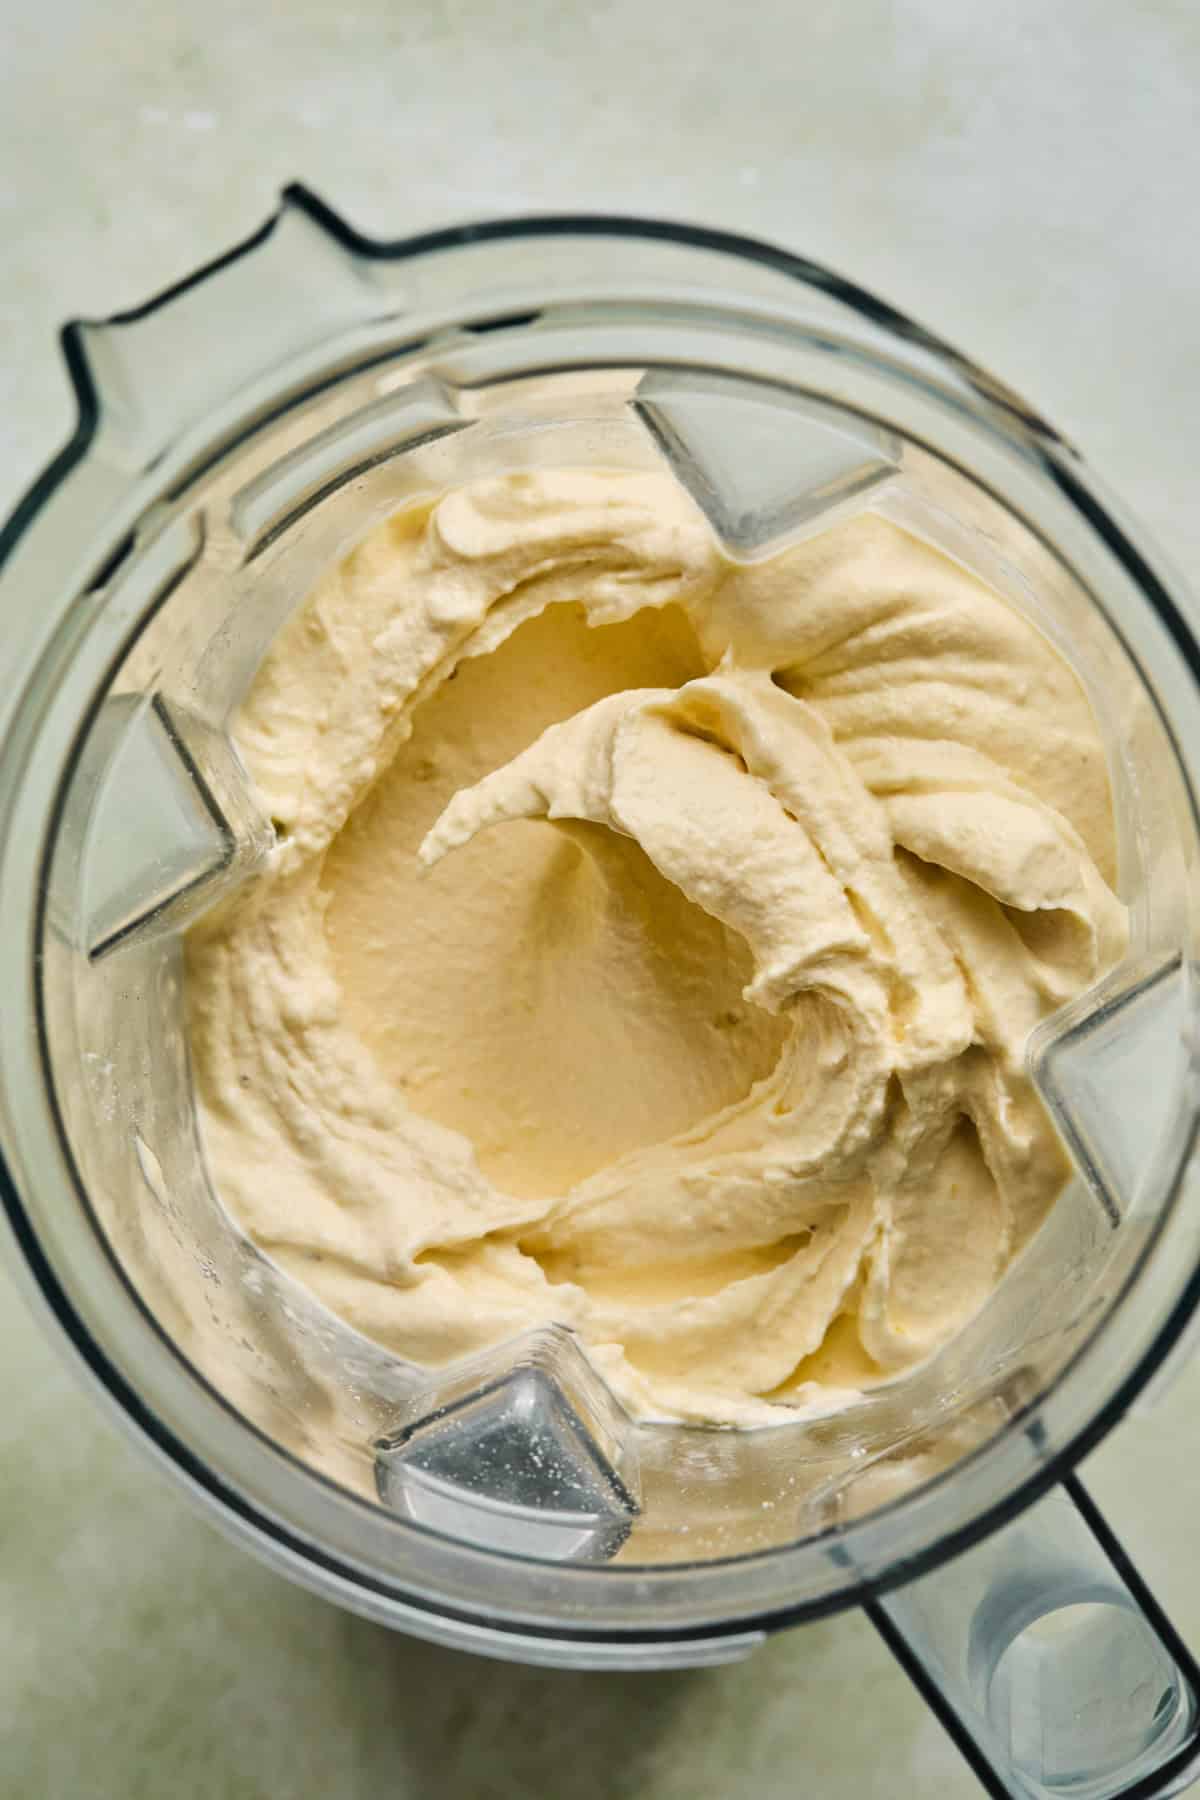
- Add the Liquid Slowly. Add the coconut milk, coconut extract, and protein powder if using. Blend on low first, then high. Stop and stir or tamp down as needed. If the blender stalls, add coconut milk one tablespoon at a time until it moves. Don’t drown it.
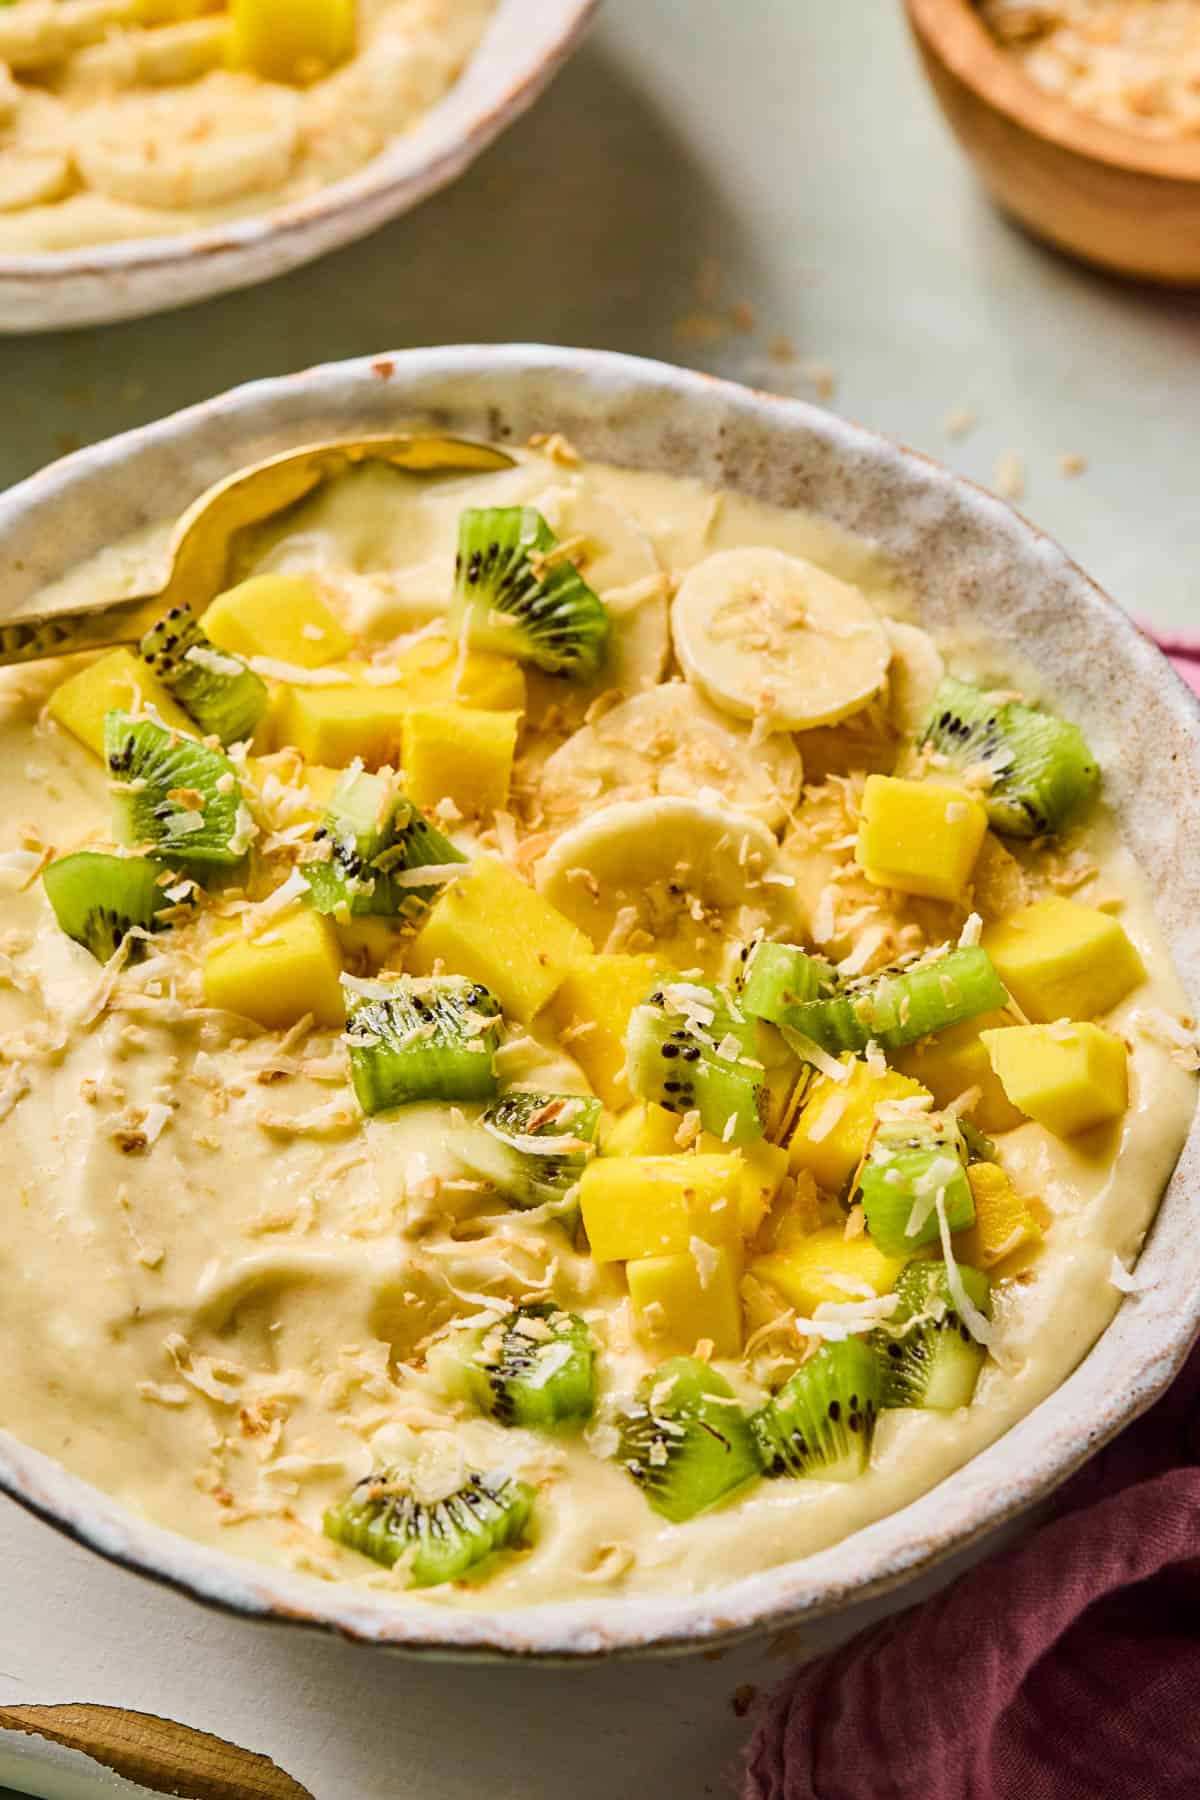
- Pour and Top. Pile the toppings on, hit it with a drizzle of nut butter or honey if you want, and serve immediately. Smoothie bowls melt fast.
Coconut Smoothie Bowl Toppings
The toppings are where you make it yours. A few that work:
- Chia seeds: crunch and fiber. Half a tablespoon goes a long way.
- Granola: crunch. Use one with chunky clusters.
- Shredded coconut or coconut flakes: doubles down on the coconut.
- Nut butter: coconut almond butter, macadamia butter, or cashew butter for a tropical feel. Warm it slightly so it drizzles.
- Extra fruit: kiwi, banana slices, mango, fresh pineapple. Sparingly, because there’s already a lot of fruit in the bowl.
- Bee pollen, hemp hearts, or cacao nibs if you want to lean health-y.
Prefer a more decadent smoothie? Try our cake batter protein shake, chocolate peanut butter protein smoothie, or chocolate and cherry smoothie.
FAQS
Too much liquid. Add more frozen fruit a handful at a time and blend until it thickens. Or remember the rule for next time: 2 parts frozen fruit to 1 part liquid, max.
Not enough liquid, fruit not chopped small enough, or the blender isn’t powerful enough. Stop, scrape the sides, tamp the fruit toward the blades, and pulse instead of running on high.
Yes. The recipe works as-is without protein powder. If you do add protein, add an extra splash of coconut milk so it blends.
Yes. With coconut milk and a plant-based protein powder, it’s naturally Gluten-Free, Dairy-Free, Paleo, and Vegan.
Yes. Pre-portion the frozen fruit into individual zip-top bags. In the morning, dump one bag in the blender, add coconut milk and protein powder, and blend.
Store the smoothie base (without toppings) in an airtight container in the fridge for up to 1 day. After that, it separates and loses creaminess. Give it a stir or a quick re-blend before serving.
Coconut Smoothie Bowl
Save this Recipe!
Ingredients
- 1 frozen banana
- 3/4 cup frozen pineapple
- 1/2 cup frozen mango
- 1/3 cup full fat coconut milk shaken
- 1/4 teaspoon coconut extract optional
- 1 scoop (25g) vanilla protein powder optional
- Toppings: mango, banana, granola, chia seeds, cherries, nut butter, or coconut
Instructions
- Add all ingredients to a highs-speed blender. Blend on high for 1-2 minutes until a smooth and thick consistency. If you don't have a high powered blender it may take a little longer or you may need to add another splash of coconut milk.1 frozen banana, 3/4 cup frozen pineapple, 1/2 cup frozen mango, 1/3 cup full fat coconut milk, 1/4 teaspoon coconut extract, 1 scoop (25g) vanilla protein powder
- Pour into a bowl and top with your favorite toppingsToppings: mango, banana, granola, chia seeds, cherries, nut butter, or coconut
Notes
- Use frozen fruit as the base.
- Start with less liquid and add more as needed to get the desired texture.
- Use a high-speed blender for best results.
Nutrition
Nutrition information is automatically calculated, so should only be used as an approximation.
Tips for Thick Smoothie Bowls
- Use frozen fruit as the base.
- Start with less liquid and add more as needed.
- Use a high-speed blender for best results.
Prep and Storage Tips
Prep ahead: Pre-portion the frozen fruit into individual zip-top bags so weekday mornings are just dump-and-blend.
Storage: Store the smoothie base in an airtight container in the fridge for up to 1 day. It separates after that.
Freezing: Store in a freezer-safe container for up to a month. Thaw in the fridge overnight, give it a stir, and pour into the bowl.
More Smoothie Recipes
Pineapple Green Juice
Save this Recipe!
Ingredients
- 1 1/2 cups water
- 1 cup ice
- 2 cups kale or spinach
- 1 green apple cored and cut into chunks
- 1 cup pineapple fresh or canned with no sugar added
- 1/2 cup parsley leaves
- 1 tablespoon fresh mint
- 1 medium cucumber quartered
- 2 celery stalks roughly chopped
- 1 inch piece of ginger peeled
- Juice from 1 lemon
Instructions
- Wash all vegetables and fruits well. Add water to a high-speed blender then add the rest of the ingredients. Blend on the highest setting for at least one minute, until completely combined and is similar to a smoothie consistency.1 1/2 cups water, 1 cup ice, 2 cups kale or spinach, 1 green apple, 1 cup pineapple, 1/2 cup parsley leaves, 1 tablespoon fresh mint, 1 medium cucumber, 2 celery stalks, 1 inch piece of ginger, Juice from 1 lemon
- To separate the juice from the pulp, place a nut milk bag or fine mesh seive over a large glass measuring bowl (I use an 8 cup glass measuring bowl). Pour the juice mixture into the bowl through the nut milk bag, squeezing the mixture through the bag so all of the liquid and pulp is separated. Reserve the pulp to put in muffins or crackers.
- Drink immediately or place in a sealed glass jar in the refrigerator for up to 2 days. Shake well before drinking. This recipe doubles well.
Notes
Video
Nutrition
Nutrition information is automatically calculated, so should only be used as an approximation.
FAQs
It’s filled with only natural ingredients and tons of veggies so it’s actually recommended to drink green juice every day, especially if you don’t feel like you’re getting enough nutrients from your diet.
Avoid putting ingredients with little to no juice in a green juice like avocados, berries and bananas. Although certain fruits and veggies can be juiced, it’s important to take stock of your body and what food works for you. For example, be mindful of the amount of sugar in fruits like pears and pineapple if you’re trying to balance blood sugar. If you’re sensitive to gut issues, be mindful of juicing cruciferous vegetables like broccoli.
You don’t need a juicer to juice vegetables, you can use a blender. They key to making this green juice recipe in the blender is having a quality nut milk bag (I like the Rawsome Creations Nut Milk Bag).
Molly’s Tips
- You don’t need a fancy juicer. All you need is a blender and a Rawsome Creations Nut Milk Bag to get the benefits of juicing at home.
- After you strain the juice through the nut milk bag, you’re left with the pulp from the vegetables. I tend to compost mine, but you can use it for other recipes if you don’t want to toss it. Here are 20 unique uses for leftover juice pulp.
- If you plan to fresh green juice frequently (or any juice), investing in a masticating is worth it because they extract the most fiber and reduce waste. Although centrifugal juicers is a great option too. You can learn the difference between each kind of juicer to decide which is best for you.
This post may contain affiliate links. Read our disclosure policy.


Is there any reason not to drink the pump as well?
Nope, you can drink the pulp!
Looming forward to getting your heathtjy smoothies.
Love this recipe! It was so easy to make and delicious
I love it! Looks so refreshing and healthy!
This green juice looks so refreshing! Love the healthy benefits of juicing!
Looks like a great recipe to use as the weather warms up!