The Secret to Perfectly Crispy Cast Iron Skillet Chicken Thighs

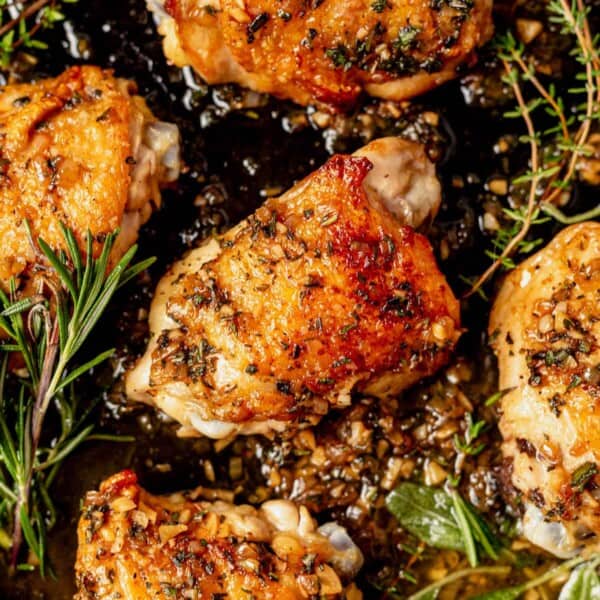
If you want crispy, golden-brown chicken thighs with juicy, tender meat, a cast iron skillet is the way to go. The heavy-duty pan retains heat evenly, creating that restaurant-quality sear while locking in all the flavor. Plus, it’s a one-pan wonder—start on the stovetop and finish in the oven for effortless, foolproof chicken thighs every time.
The secrets to the crispiest chicken thighs are to pat the chicken dry, use a screaming hot pan, cook it skin-side down first, and finish it in the oven. Don’t forget the amazing pan sauce!
Pair it with roasted broccoli and carrots, Boursin mashed potatoes, or a simple salad, and you have a weeknight dinner that tastes gourmet.
Need another quick chicken dinner? Try boursin chicken, pesto chicken, or cilantro lime chicken thighs.
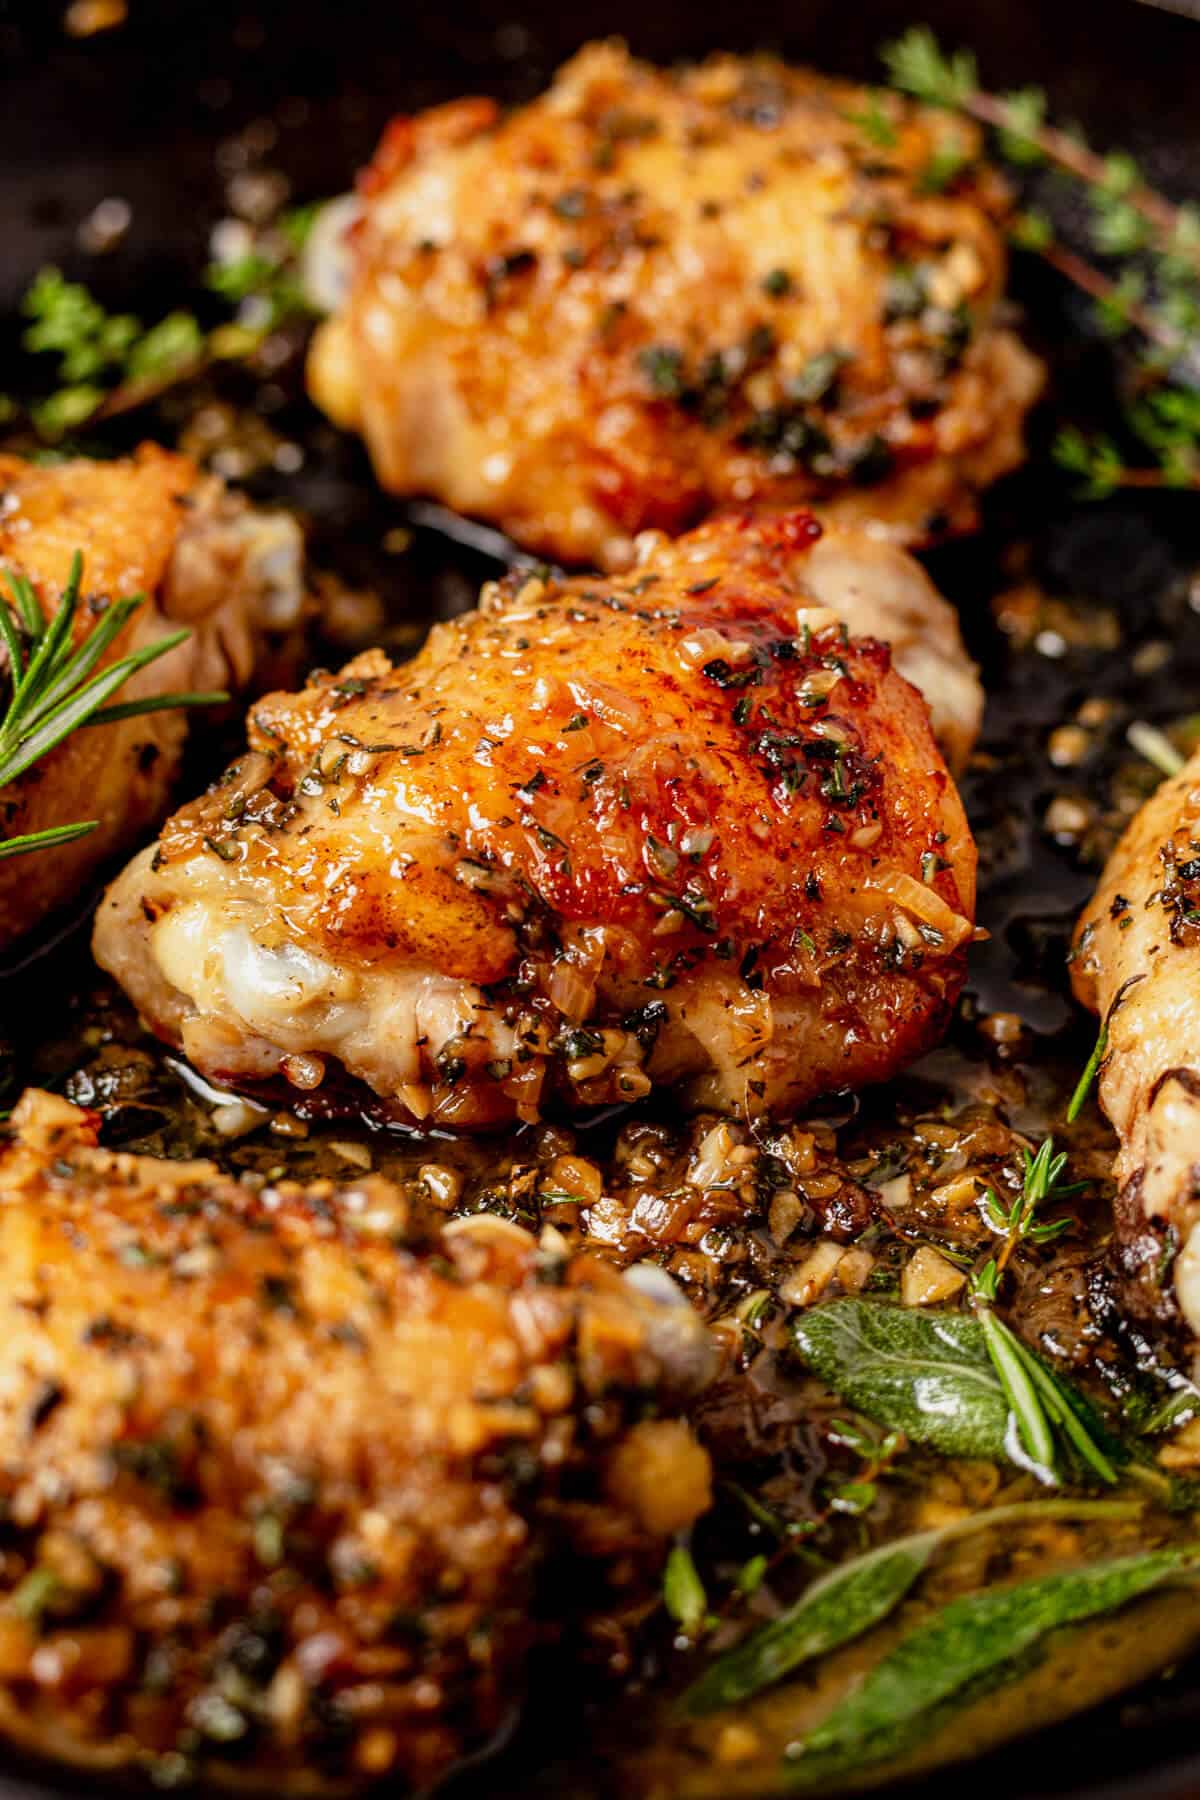
It’s a go-to dinner to serve when you don’t know what to have for dinner because it’s always delicious, and it goes with just about any side dish like our grilled peach salad or crispy air fryer smashed potatoes.
Ingredients You Need
Here are the ingredients, plus a few swaps, for this crispy chicken thigh recipe. Jump down to the recipe card for exact measurements.
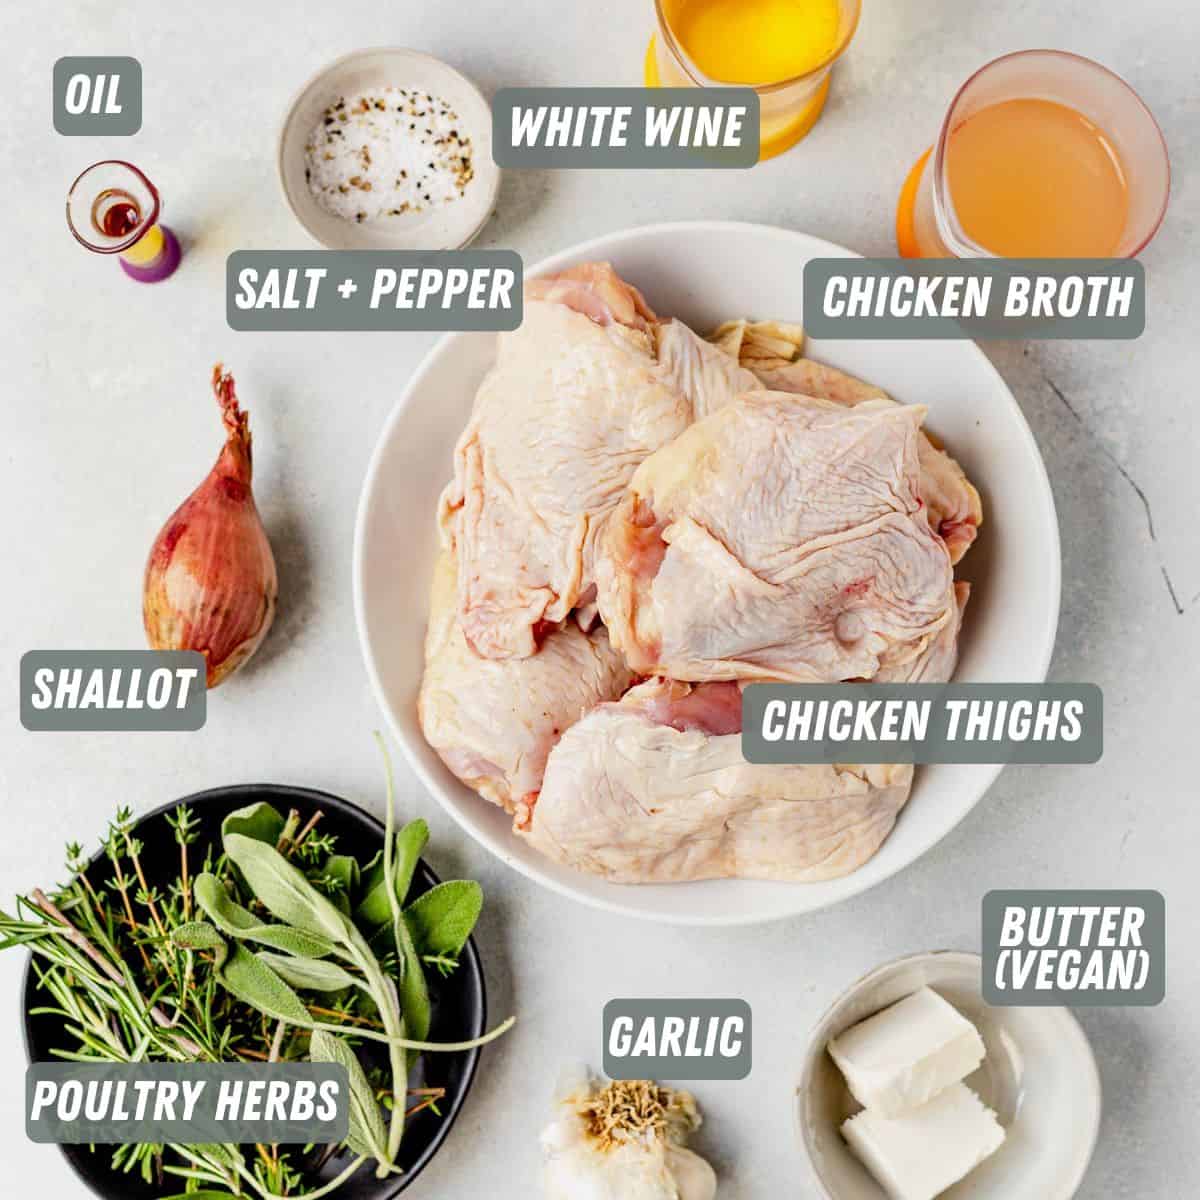
- Oil: start the recipe with a drizzle of oil to get the chicken skin crispy. We like to use avocado oil because it has a high smoke point, but olive oil is another good option.
- Chicken thighs: the skin and bone in this recipe add so much flavor, however, swap this for boneless skinless chicken thighs if you prefer.
- Shallot: this is a small and mild onion that starts the base of the pan sauce. I tested this with a yellow onion as well and didn’t love how the sauce came together, so omit the onion altogether if you don’t have a shallot handy.
- Garlic cloves: don’t go easy on the fresh garlic, we’re cooking it until golden brown so it caramelizes slightly. Measure with your heart.
- White whine: deglaze the pan with this to get all the crispy brown bits from the chicken into the sauce. The alcohol cooks off and leaves a really rich flavor. Swap this for chicken broth if you don’t want to cook with wine.
- Chicken broth: Bone broth is a great option too.
- Fresh herbs: poultry herbs like rosemary, sage, and thyme are perfect.
Serve them with boursin mashed potatoes and delicata squash salad for the perfect meal.
How to Make Cast Iron Skillet Chicken Thighs
Here are the step-by-step directions to make this chicken recipe. Skip down to the recipe card for full instructions or watch the video to make it with me.

- Sear the chicken: pat the chicken thighs with a paper towel to get as much moisture off as possible. Drizzle oil in the bottom of a cast iron pan on the stove top over medium high heat. Place chicken thighs skin side down in the hot skillet and let it sear without moving for at least 5 minutes so the skin crisps. You’ll know it’s ready to flip when the skin no longer sticks to the pan and is a deep golden brown color. Carefully transfer skillet to a preheated oven and roast for 12-15 minutes, or until the internal temperature reaches 165°F.
- Make the sauce: carefully remove the chicken thighs from the oven and transfer them to a clean plate or cutting board to rest while you make the sauce. Add the minced shallot to the bottom of the skillet with the pan drippings over medium heat. Cook until soft then add the minced garlic and cook until fragrant. Pour in the wine and simmer for 3-4 minutes until it reduces in half.
- Finish the sauce: pour in the chicken broth and continue to simmer for another 3-4 minutes, until the sauce reduces by half again. Stir in the butter and fresh chopped herbs and cook for a few minutes until melted and soft.
- Serve: Remove the pan from the heat and add the chicken thighs back to the skillet. Top chicken thighs with the sauce and serve right away.
Expert Tips
- Let the chicken sit out (covered) for 10-15 minutes prior to cooking. This brings it closer to room temperature before searing. A cold chicken thigh can bring down the heat of the pan and result in less crispy skin.
- Pat the chicken really dry for the crispiest skin.
- Use a meat thermometer to check the internal temperature of the chicken. Remove it from the heat 5-10° before it reaches 165 to allow for carryover cooking while it rests.
Recipe FAQs
Chicken thighs take about 20 minutes to make in a pan, whether you cook them all on the stovetop or transfer them to the oven.
Searing chicken thighs over very high heat before baking helps create the best crispy skin. This combination of searing and baking gives you the best of both worlds: crispy skin and evenly cooked tender chicken thighs.
The oil has a high smoke point, which allows the chicken to sear at a high heat, which achieves crispy skin. While the butter is used mostly for flavor at the end to baste the chicken!
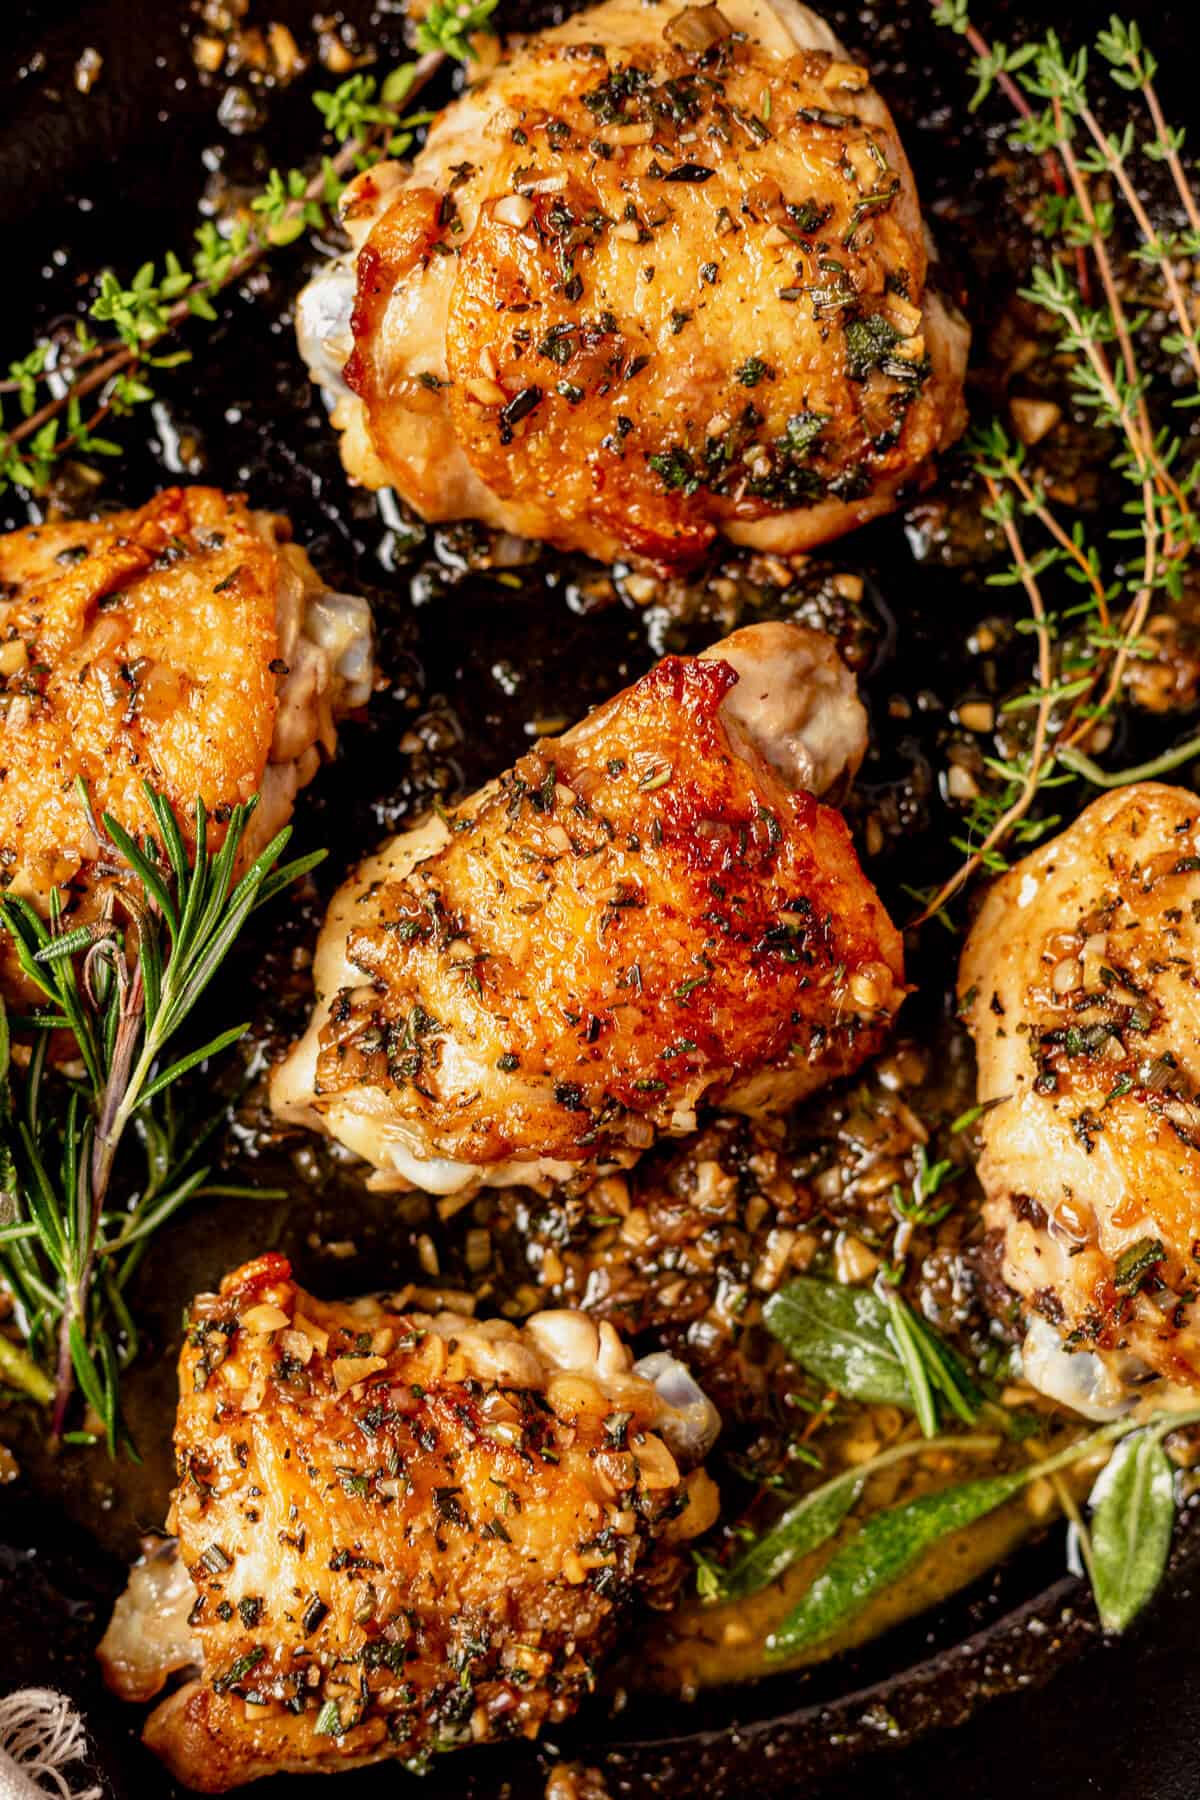
Cast Iron Chicken Side Dishes
This cast iron chicken thighs recipe goes well with any side, but it’s especially good with veggies or a salad, making it such a healthy meal too. Here are our favorites side dishes!
- Air fryer smashed potatoes
- Peach burrata salad or grilled peach salad (in the summer!)
- Air fryer butternut squash
- Instant Pot asparagus
- Shaved brussel sprout salad (a personal favorite!)
- Pear salad with goat cheese
- Pesto-roasted potatoes
- Rosemary roasted sweet potatoes
- Crispy balsamic Brussel sprouts
- Cauliflower rice
How to Store and Reheat
Store: place leftover chicken thighs in an airtight container in the fridge for up to 3 days. The sauce will firm up in the fridge but will melt again when reheated.
Reheat: place the chicken in an oven-safe dish or a sheet pan and spoon the sauce on top. Bake at 350°F until warmed through. Spoon the sauce over the chicken again to serve.
If you make this recipe, I’d love for you to give it a star rating ★ below. You can also tag me on Instagram so I can see it!
More Simple Chicken Recipes
- Cilantro lime chicken
- One pot Hawaiian chicken with coconut rice
- Air fryer orange chicken
- Hot honey chicken tenders
- Blackened chicken tenders
Cast Iron Skillet Chicken Thighs
Save this Recipe!
Ingredients
- 4-6 bone-in skin-on chicken thighs all the same size
- Salt and pepper to taste
- 1 tablespoon olive oil or avocado oil
- 1 medium shallot minced
- 6 cloves garlic minced
- 1/2 cup white wine (can sub more chicken broth)
- 1/2 cup chicken broth
- 2 tablespoons unsalted butter ghee or vegan butter work too
- 1 tablespoon EACH: fresh chopped sage, rosemary, and thyme
Instructions
- Preheat oven to 425°. Pat the chicken thighs dry really well then season chicken thighs generously with salt and pepper.4-6 bone-in skin-on chicken thighs, Salt and pepper to taste
- Heat oil in a 12" cast-iron skillet over high heat until the oil is hot and rippling (not smoking yet). I like to use avocado oil because it has a higher flash (smoke) point so you can sear the chicken thighs at a higher heat without smoking. Do not put the chicken into a pan that isn’t hot enough or you won’t get the crispy skin. A drop of water should sizzle on the surface of the pan when it’s ready.1 tablespoon olive oil
- Place the chicken thighs skin side down and sear without moving for 5-7 minutes. The skin will turn crispy golden brown and the skin should easily remove from the pan when it’s ready. Flip the chicken over and carefully transfer it to the oven to roast for 12-15 minutes, or until a meat thermometer reads 155°F in the thickest part of the chicken. This allows for 10 degrees of carryover cooking when you let it rest. This is a good time to prep and chop the rest of the ingredients for the pan sauce.
- Carefully (using two hot pads) remove the skillet from the oven and transfer the chicken to a cutting board.
- Drain off all but a few tablespoons of the rendered chicken fat and place the pan back on the stovetop over medium-high heat. Add the chopped shallots and minced garlic and cook, stirring frequently for about 30 seconds, until the garlic is just golden brown.1 medium shallot, 6 cloves garlic
- Add the white wine (or 1/2 cup chicken stock) and bring the mixture to a boil then reduce the heat to medium and simmer for 3-4 minutes, until the mixture has reduced by about half. Add the chicken broth and repeat until all of the liquid has been reduced by half. Stir in the butter until it’s melted then add the fresh herbs.1/2 cup white wine, 1/2 cup chicken broth, 2 tablespoons unsalted butter, 1 tablespoon EACH: fresh chopped sage, rosemary, and thyme
- Your sauce is ready when you see visible streaks that slowly close when you drag a spoon through it. If not, keep on reducing! Taste the sauce and add more salt and pepper as needed.
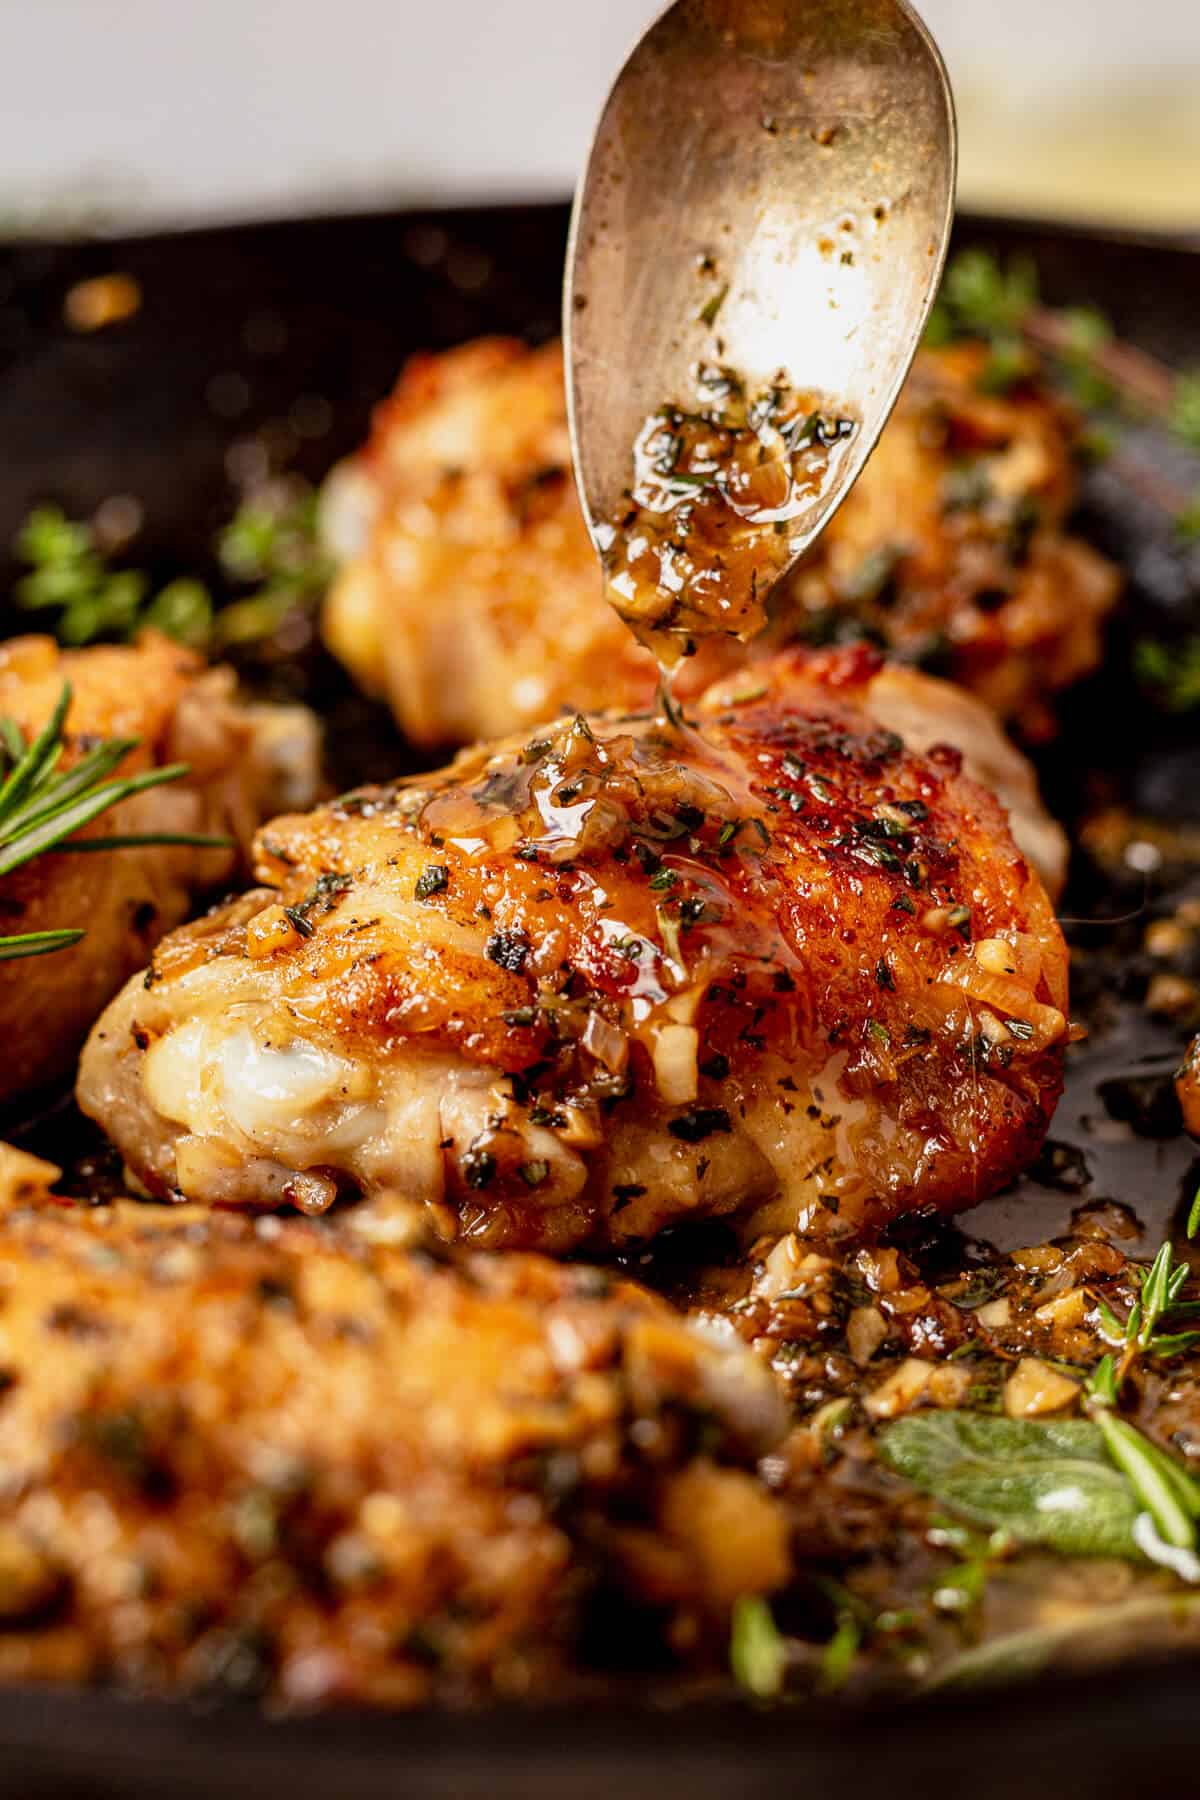
- Remove from the heat, nestle the chicken thighs back in the pan and spoon the sauce over them to coat. serve right away.
Notes
Video
Equipment
- Cast Iron Skillet
Nutrition
Nutrition information is automatically calculated, so should only be used as an approximation.
This post may contain affiliate links. Read our disclosure policy.



Very nice indeed. Thank you so much for sharing! I love cast iron and have a few incredible pieces that have been passed down. The all-in-one skillet rocks! This recipe is easy to follow with delicious results. I didn’t use onions since shallots weren’t on-hand and it was still delish. I’ll definitely use them next go-round since I plan to make this, and use the technique, again and again. Best wishes Molly 🙂
Thank you so much for taking the time to share, Jennifer! So glad you loved it!
Feel like I should let you know that this has been my go-to recipe for years. We always happen to have the ingredients on hand, so if I don’t know what to make then this is what we have! Always a huge hit in my house.
Thank you!!!
This is a delicious and super easy recipe. The directions are spot on. Chicken comes out super crispy. Reheat in an air fryer or toaster oven the next day for still perfectly crispy thighs. You can put this on repeat and change it up with different spices. Thank You Molly!
Thank you so much!! I take a lot of time writing the directions, so that feedback is so nice to hear! Appreciate it! Love the tip for air frying. How long did you air fry to reheat? I’m sure everyone will love to know!
Can’t wait to make it. I didn’t see a temperature for the oven. I’m guessing 375 will do. We’ll see. Thank you!
Hey there! It’s up at the top of the recipe card. It’s 425!
Husband loved it
Love that! Thanks!
I just made this recipe and it’s so delicious. Highly recommend you chop your onions and garlic and head of time. Deliciousness awaits you
Thank you, Mary!
Delicious and full of flavor!!!
So glad you think so!
This was absolutely delicious! We don’t like rosemary so we subbed with some parsley. Will definitely be making this again!
Delicious!!!
This was very very tasty!
I bag to scroll and search though on where to use the butter 🙂
So glad you caught that! Thanks! I updated the recipe.