

Three ingredients. Twenty minutes. The most-used protein in my fridge every single week.
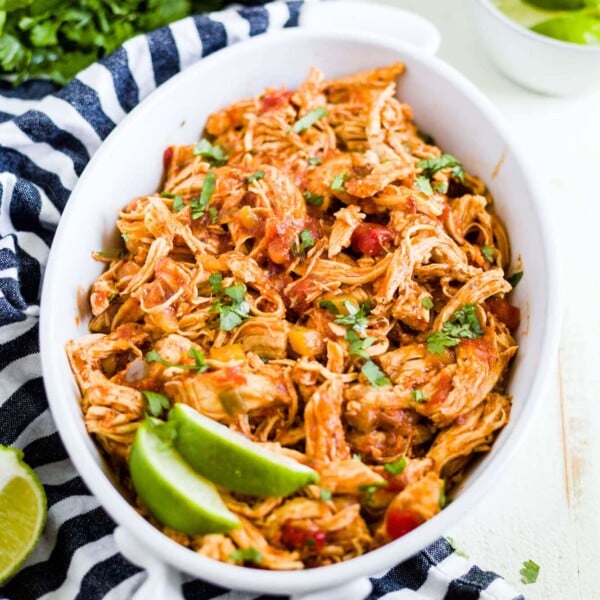
This Instant Pot salsa chicken is the kind of recipe that sounds too simple to be this good. You add chicken, dump in a jar of salsa, let the Instant Pot do its thing, and what comes out is incredibly juicy, shreddable chicken that tastes like it’s been braising for hours.
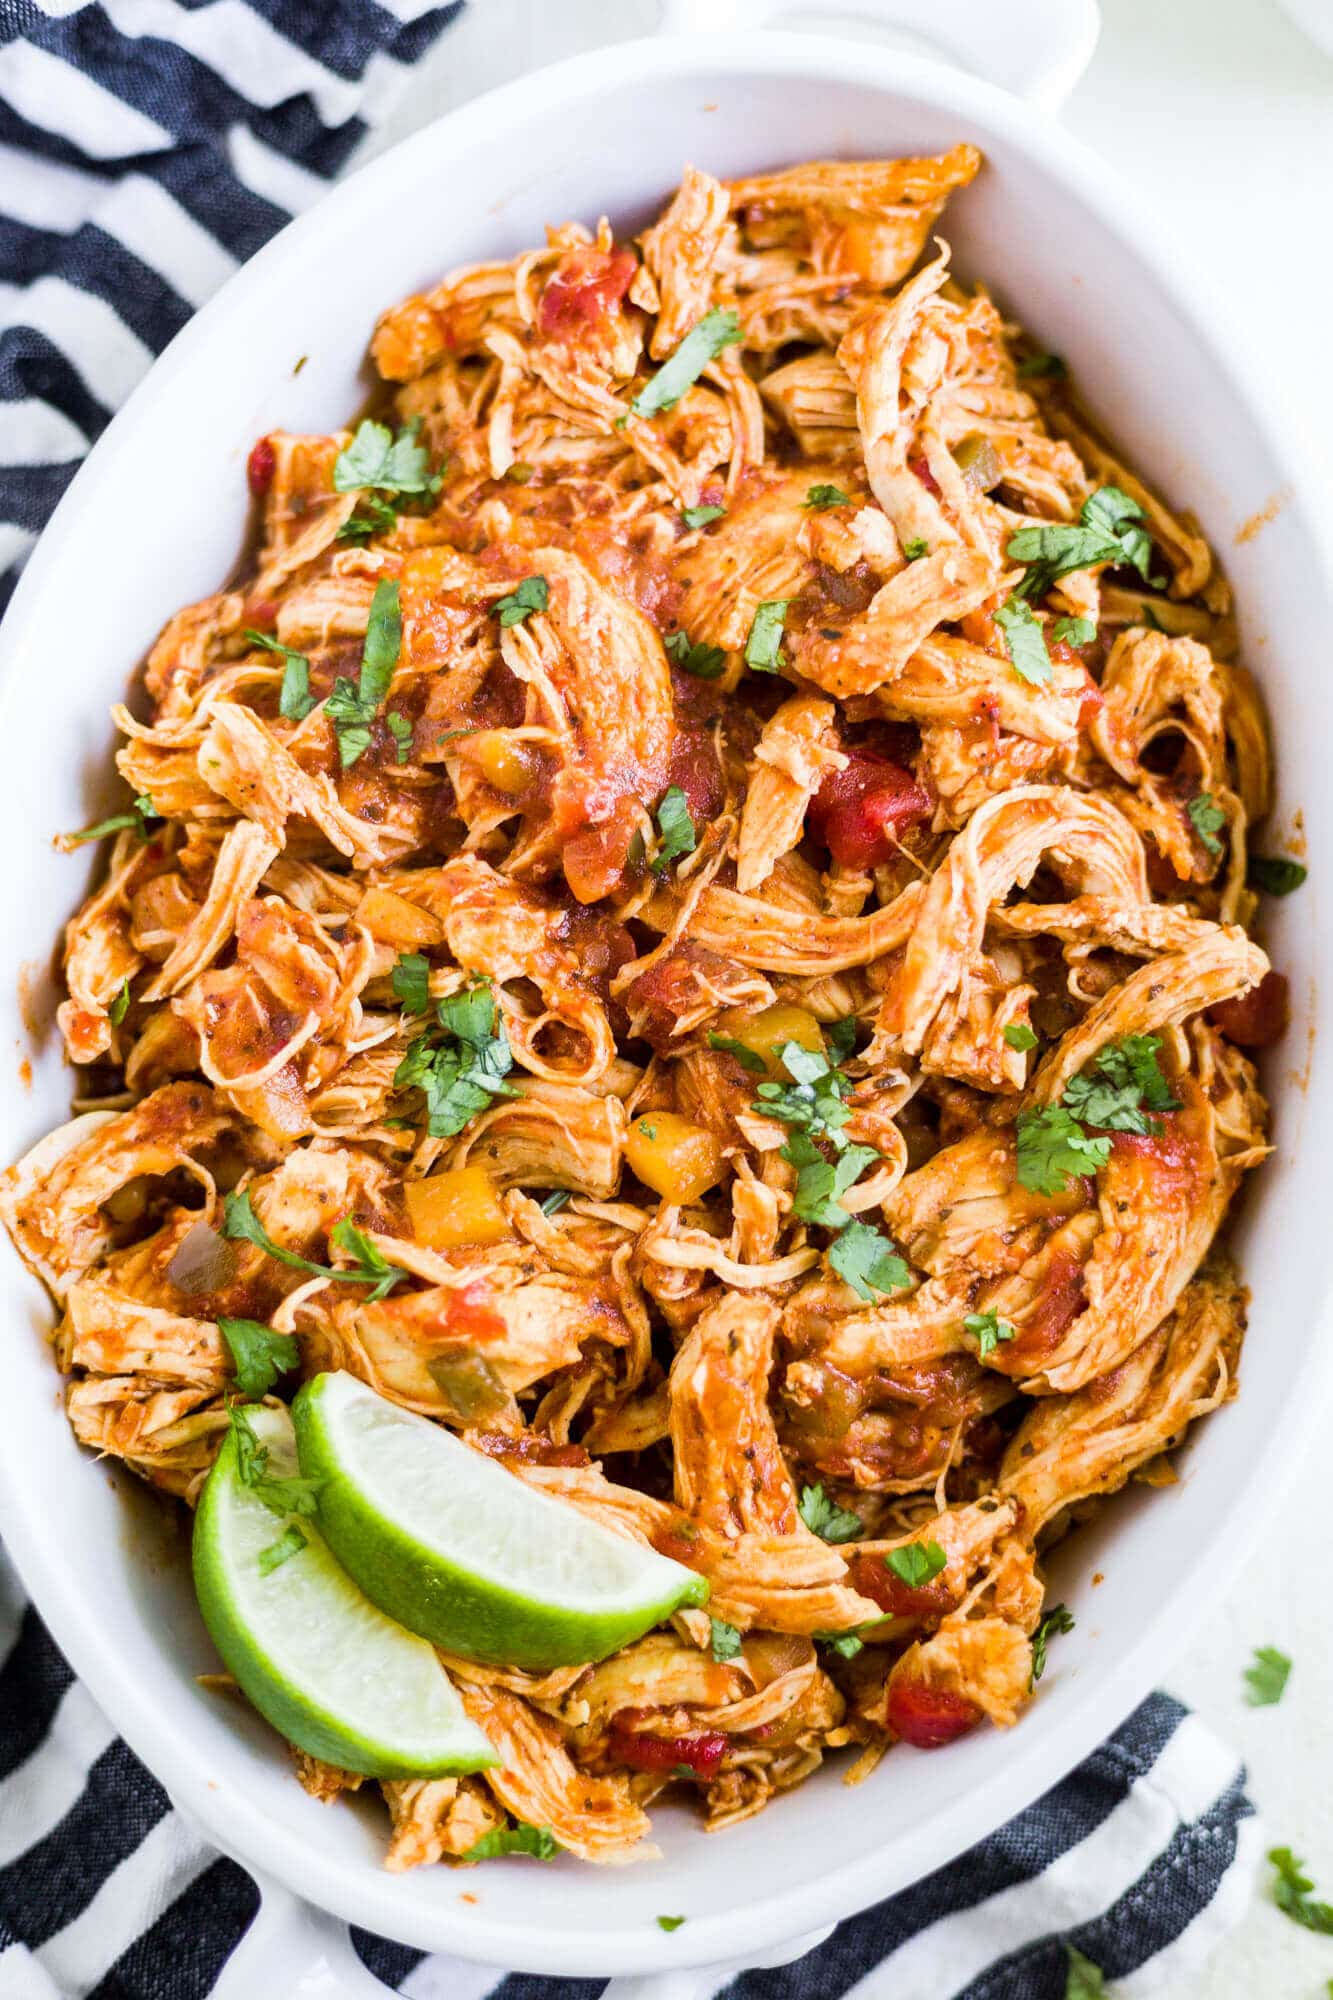
I make a batch on Sunday and it goes into tacos on Monday, grain bowls on Tuesday, quesadillas on Wednesday. It keeps in the fridge for five days and freezes perfectly. This is the one.
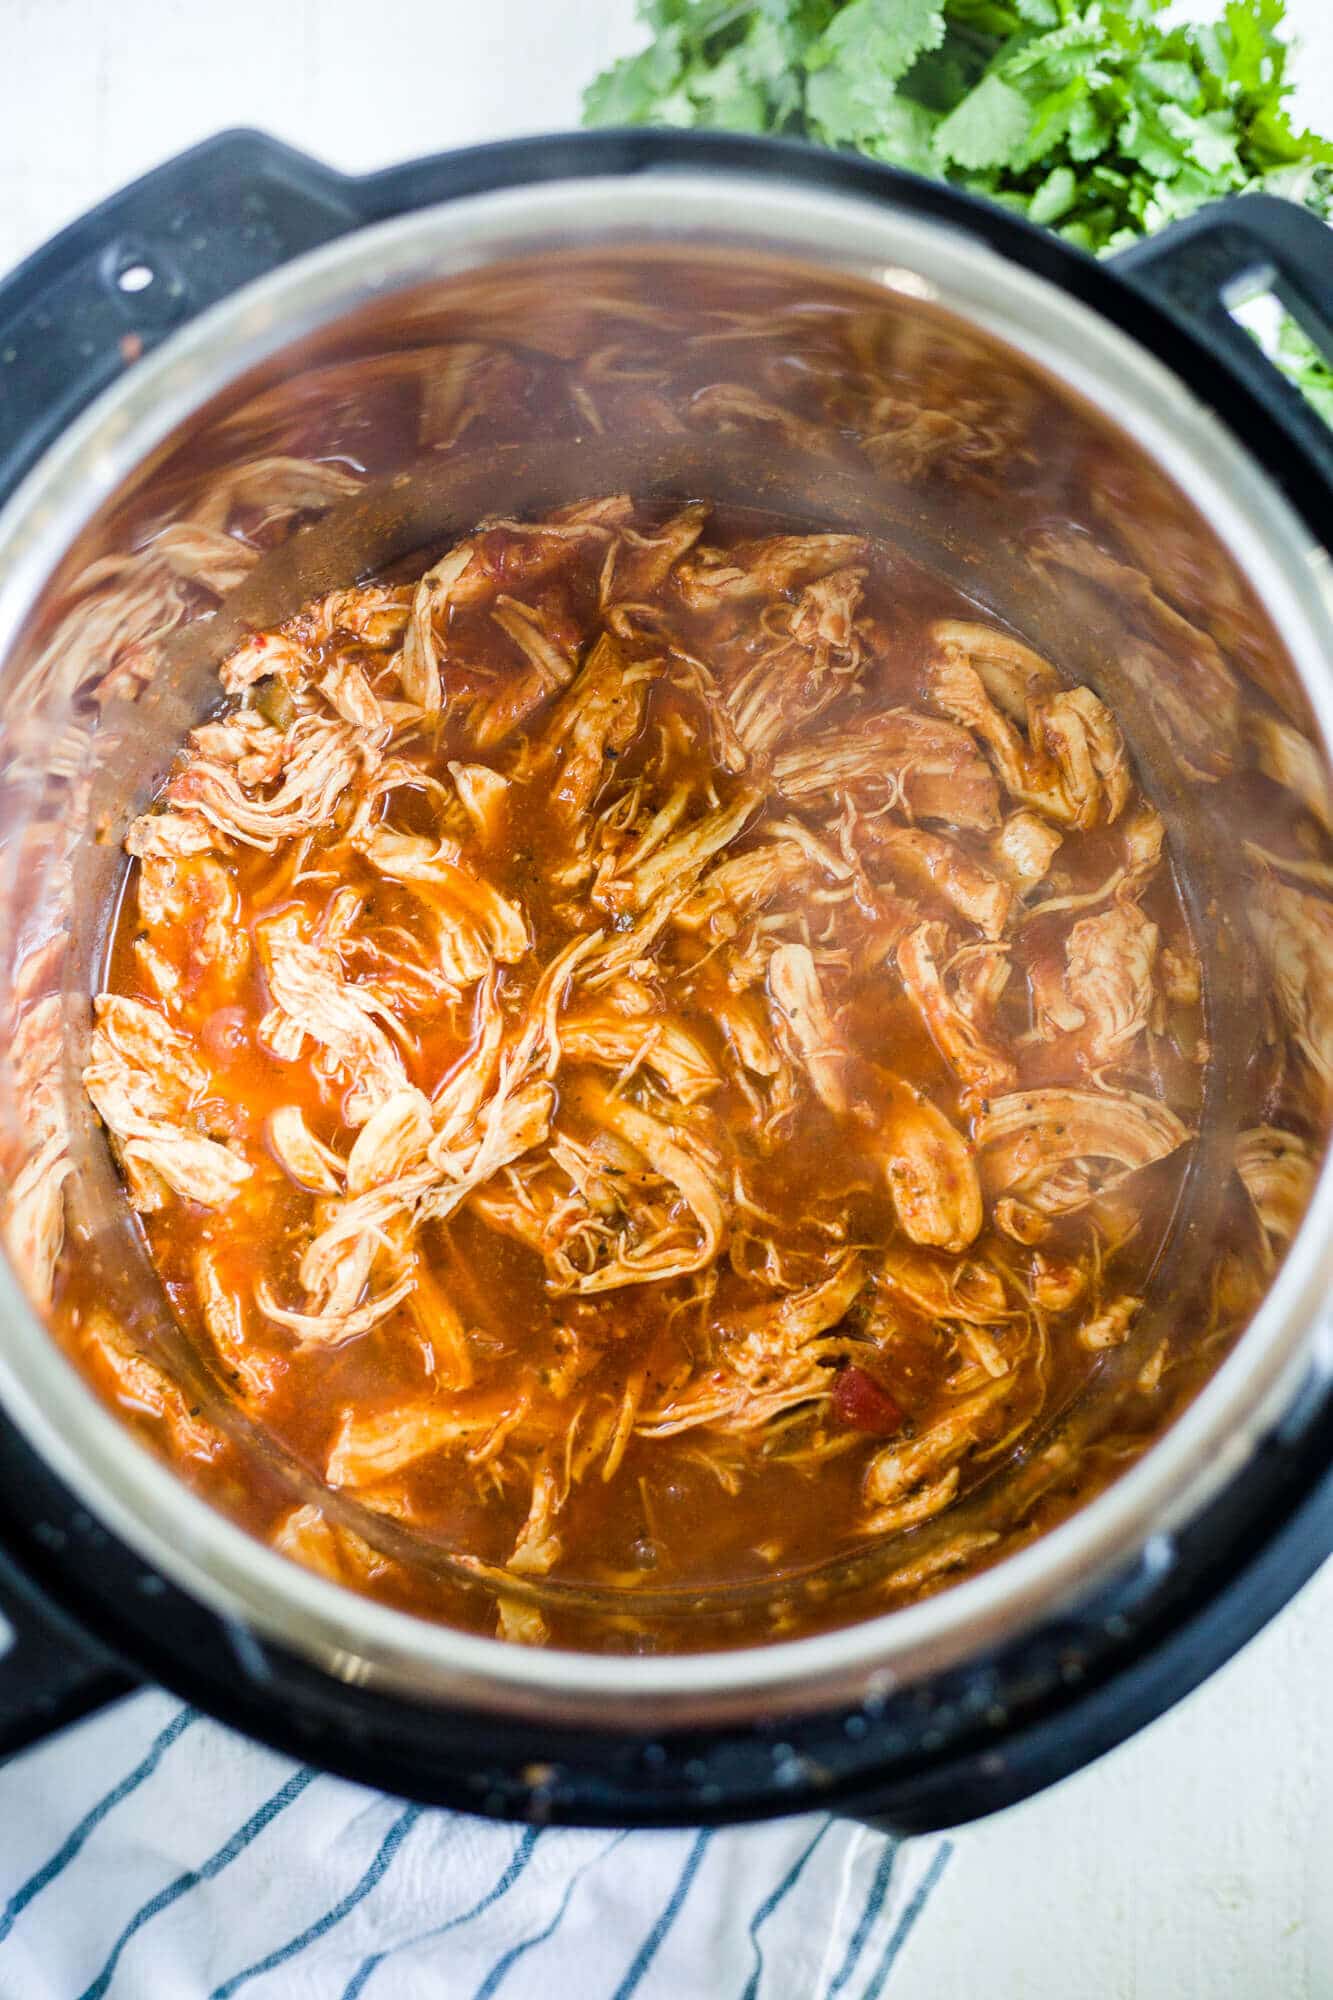
Here’s the thing about pressure cooking chicken: the sealed environment traps all the moisture that would normally evaporate.
Combined with the liquid from the salsa, the chicken essentially braises in its own steam. That’s why this method produces noticeably juicier chicken than stovetop or baked versions and why it works even if you’re using leaner chicken breasts.
The key is the salsa. You want a thicker salsa here something with body, not the watery kind. Thick and chunky jarred salsa or a restaurant-style salsa works best. If your salsa is very thin and liquid, the result can be watery. Rao’s, Frontera, and Trader Joe’s brand all work well.
Want the creamy version?
Add 4 ounces of cream cheese (cubed) on top of the chicken before you seal the lid. It melts right in during cooking. Stir it into the shredded chicken at the end. The result is rich, almost dip-like, and incredible stuffed into baked potatoes or spooned over rice. This version also freezes well.
Ingredients You’ll Need
- Chicken — Boneless, skinless chicken breasts or thighs both work. Thighs are more forgiving (harder to overcook), breasts shred a bit cleaner. Your call.
- Salsa — The star ingredient, so use one you’d actually eat with chips. Thick and chunky > watery. One 16-ounce jar is the sweet spot.
- Spices — Cumin and garlic powder pull the flavor forward. That’s it.
- Optional: cream cheese — See the variation below. It turns this into something completely different.
Need more easy Instant Pot recipes? Try Instant Pot country style ribs, Instant Pot taco soup, or Instant Pot chicken enchiladas next.
How to Make Instant Pot Salsa Chicken
1️⃣ Add ingredients. Place chicken breasts in the Instant Pot and pour salsa on top. No need to stir!
2️⃣ Pressure cook. Seal the lid and cook on High Pressure for 10 minutes (15 minutes if frozen).
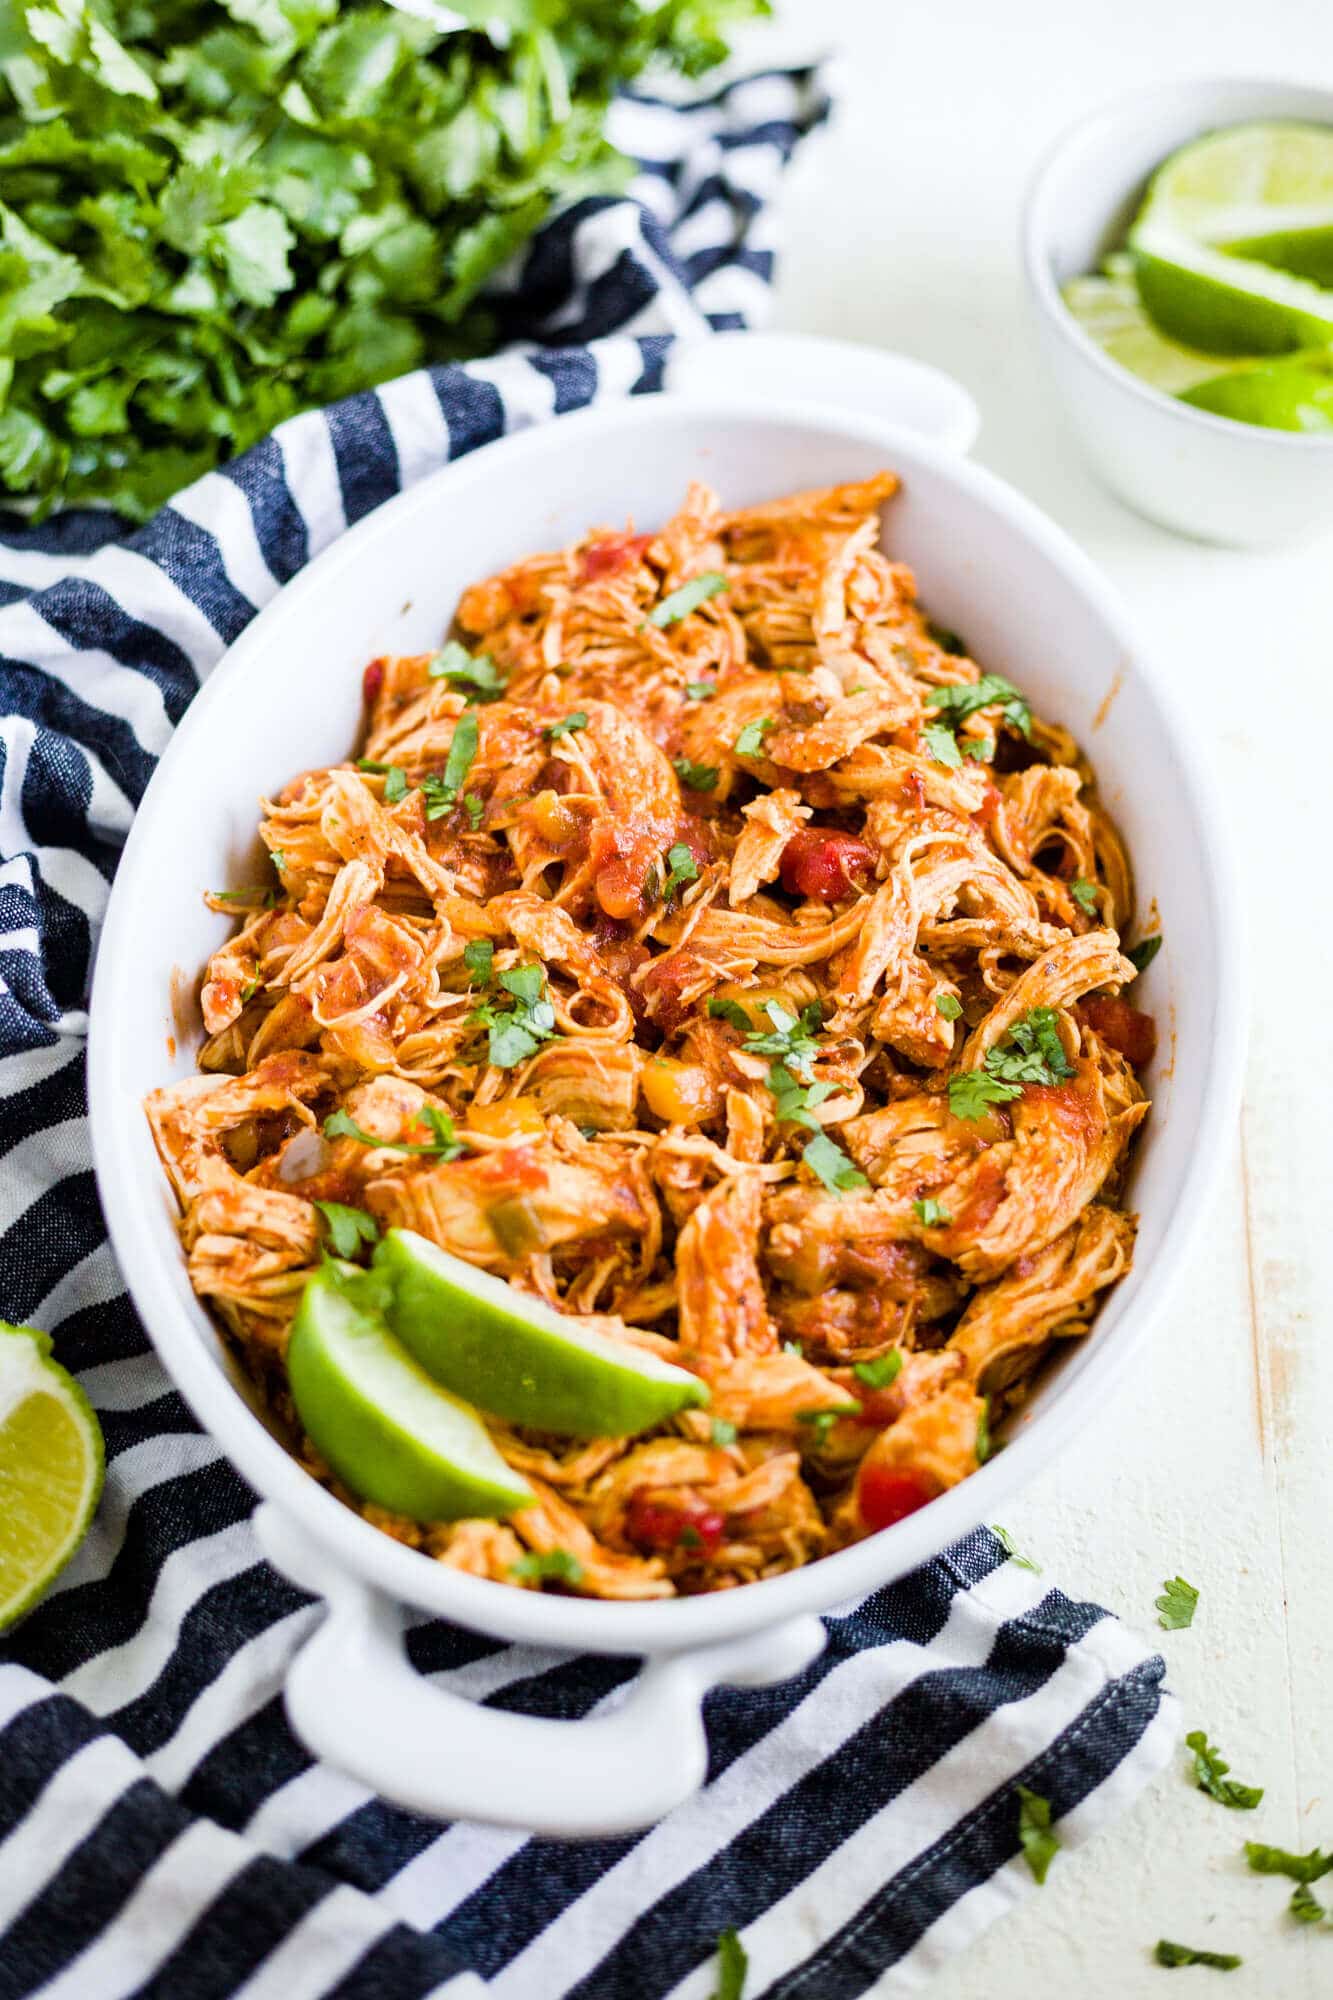
3️⃣ Shred & serve. Use two forks to shred the chicken, then mix it back into the sauce.
That’s it! Dinner is done in 20 minutes.
Ways to Use Salsa Chicken
- Tacos — Warm tortillas, this chicken, pickled red onion, cilantro. Done.
- Burrito bowls — Over cilantro lime rice with black beans, corn, avocado, and a drizzle of sour cream.
- Quesadillas — The cream cheese version is especially good here.
- Enchiladas — Use it as the filling, pour over red or green sauce, bake at 375°F for 20 minutes.
- Stuffed baked potatoes — Pile the creamy version on a split potato with shredded cheddar.
- Meal prep bowls — Portion over rice or quinoa with whatever vegetables you have. It holds up in the fridge for five days.
How to Store & Meal Prep
Reheat: Warm in the microwave or stovetop with extra salsa.
Refrigerator: Store in an airtight container for up to 4 days.
Freezer: Freeze shredded salsa chicken for up to 3 months.
FAQs
Yes. Add 5 minutes to the cook time (so 20–25 minutes on high pressure instead of 15–20). Everything else stays the same. The Instant Pot will just take a few extra minutes to come to pressure.
Almost always the salsa. Watery jarred salsas release a lot of liquid under pressure. Switch to a thicker, chunkier salsa next time. If it’s already done and watery, hit the Sauté function for a few minutes after shredding the liquid will reduce quickly.
Yes. Cook on low for 6–8 hours or high for 3–4 hours. The result is equally tender, just different in texture (slower cooking gives it a slightly more pulled quality). The cream cheese variation works in the slow cooker too add it in the last 30 minutes.
Up to five days in the fridge in an airtight container. It freezes well for up to three months. Freeze in portioned bags for the easiest weeknight meal prep.
Both work. Thighs are more forgiving (they stay juicy even if you go a few minutes over), and they have more flavor from the fat. Breasts shred a bit more cleanly and are leaner. If you’re meal prepping and want it to last in the fridge without drying out on reheating, go with thighs.
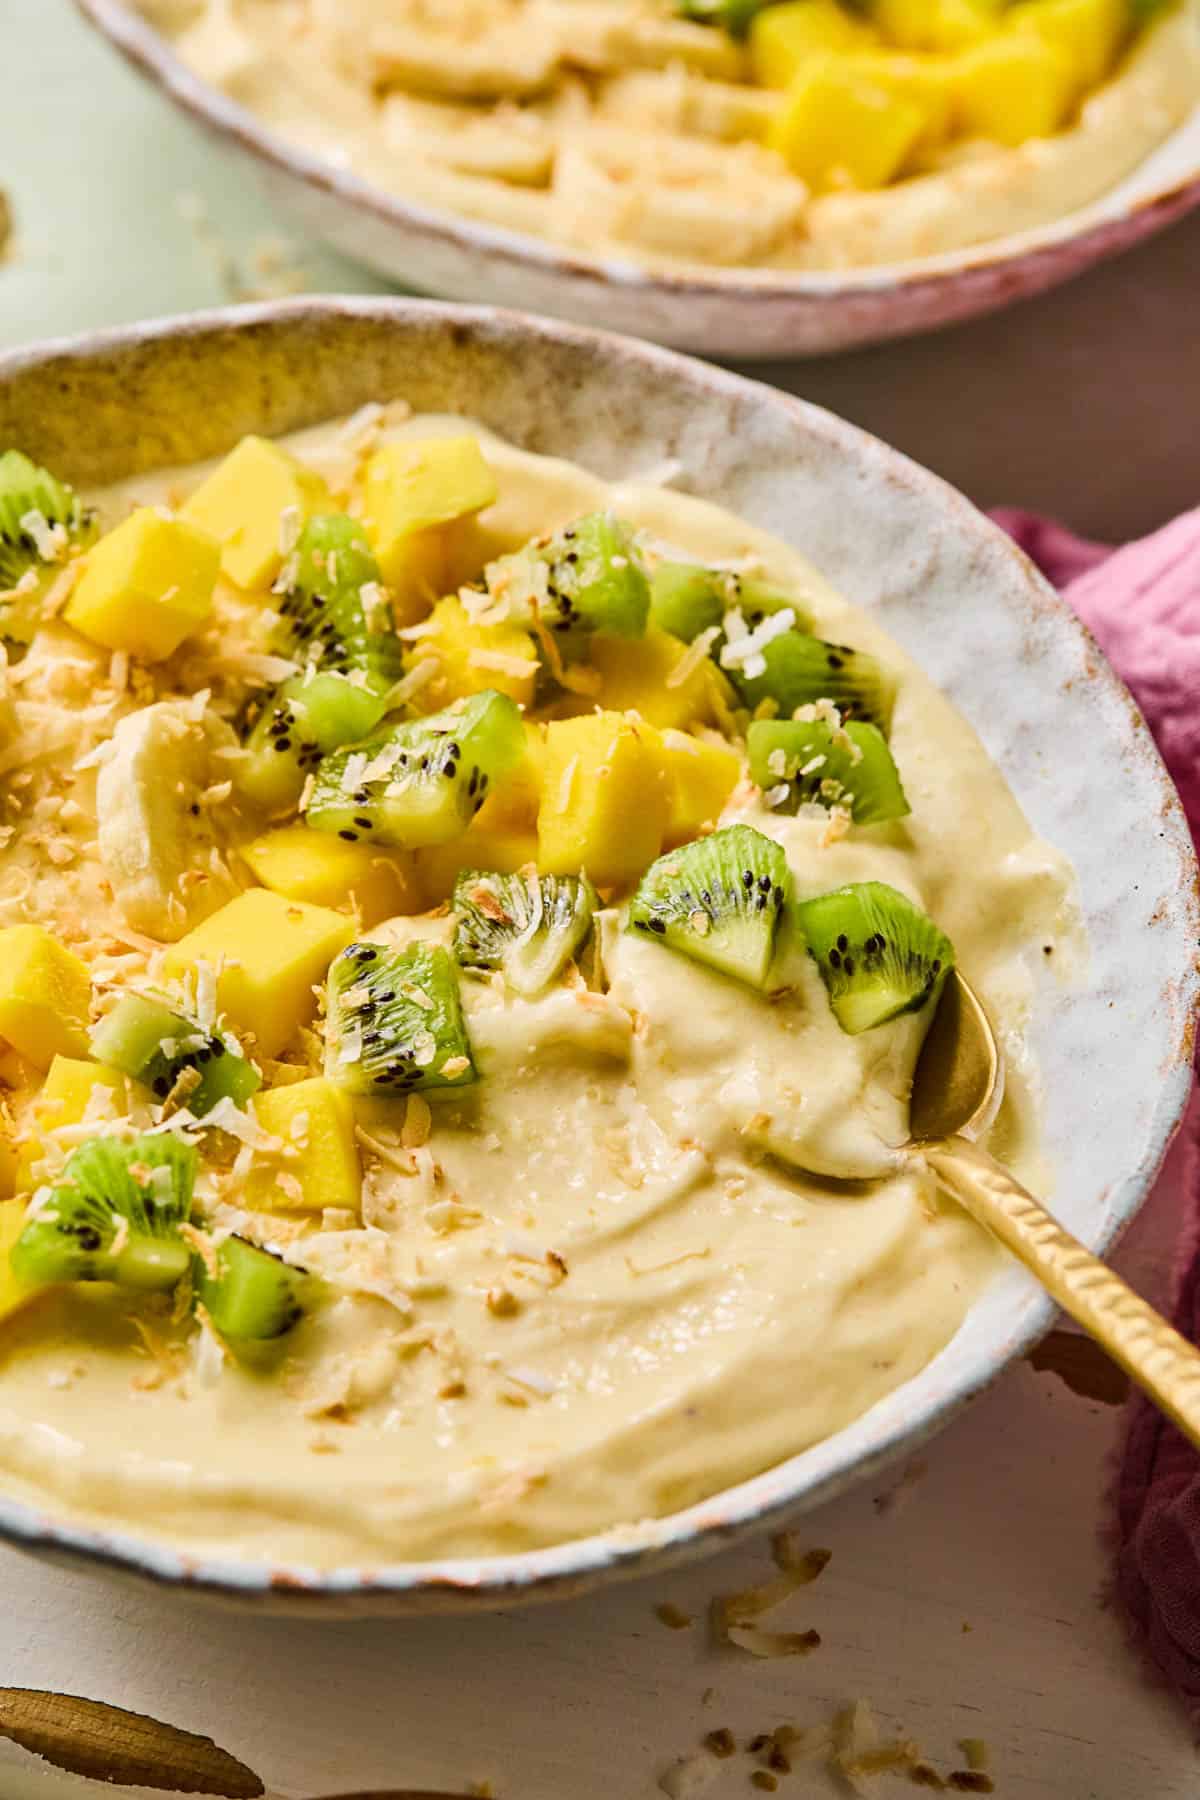
Feels like Breakfast on the Beach!
- Thick and delicious with tons of coconut flavor
- Takes 5 minutes to make
- Easy to customize with your favorite toppings
- Full of healthy fats
- Add protein powder for a complete breakfast
- Sweet tropical flavors
Love refreshing smoothies? Try this pitaya smoothie bowl, blueberry raspberry smoothie, or tropical kale smoothie next!

Why You’ll Love This Smoothie Bowl
- Thick enough to scoop with a spoon. Not a drink.
- 5 minutes from freezer to bowl.
- One blender, no extra dishes.
- Add 25g of protein with a scoop of vanilla protein powder. Full breakfast, full morning.
- Naturally Gluten-Free, Paleo, Dairy-Free, and Vegan. No swaps needed.
- Pre-portion the fruit ahead so weekday mornings are zero decisions.
Ingredients You’ll Need

- Frozen banana. One whole. Banana is the texture anchor; don’t skip.
- Frozen pineapple. ¾ cup. Pre-cut from the freezer aisle works.
- Frozen mango. ½ cup. Same rule.
- Full-fat coconut milk. ⅓ cup, from the can. Shake the can well before measuring or you’ll pour off only the watery part.
- Coconut extract. Optional, ¼ teaspoon. Boosts the coconut flavor without making it taste like sunscreen. A little goes a long way.
- Vanilla protein powder. Optional, one 25g scoop. I use Be Well by Kelly because the ingredient list is short. If you add protein powder, add an extra splash of coconut milk to keep it blendable.
- Toppings. Whatever’s in the kitchen: shredded coconut, chia seeds, fresh fruit, granola, nut butter.
How to Make a Coconut Smoothie Bowl

- Add the Frozen Fruit First. Dump all the frozen into a high-speed blender. Don’t add the liquid yet. Start dry.
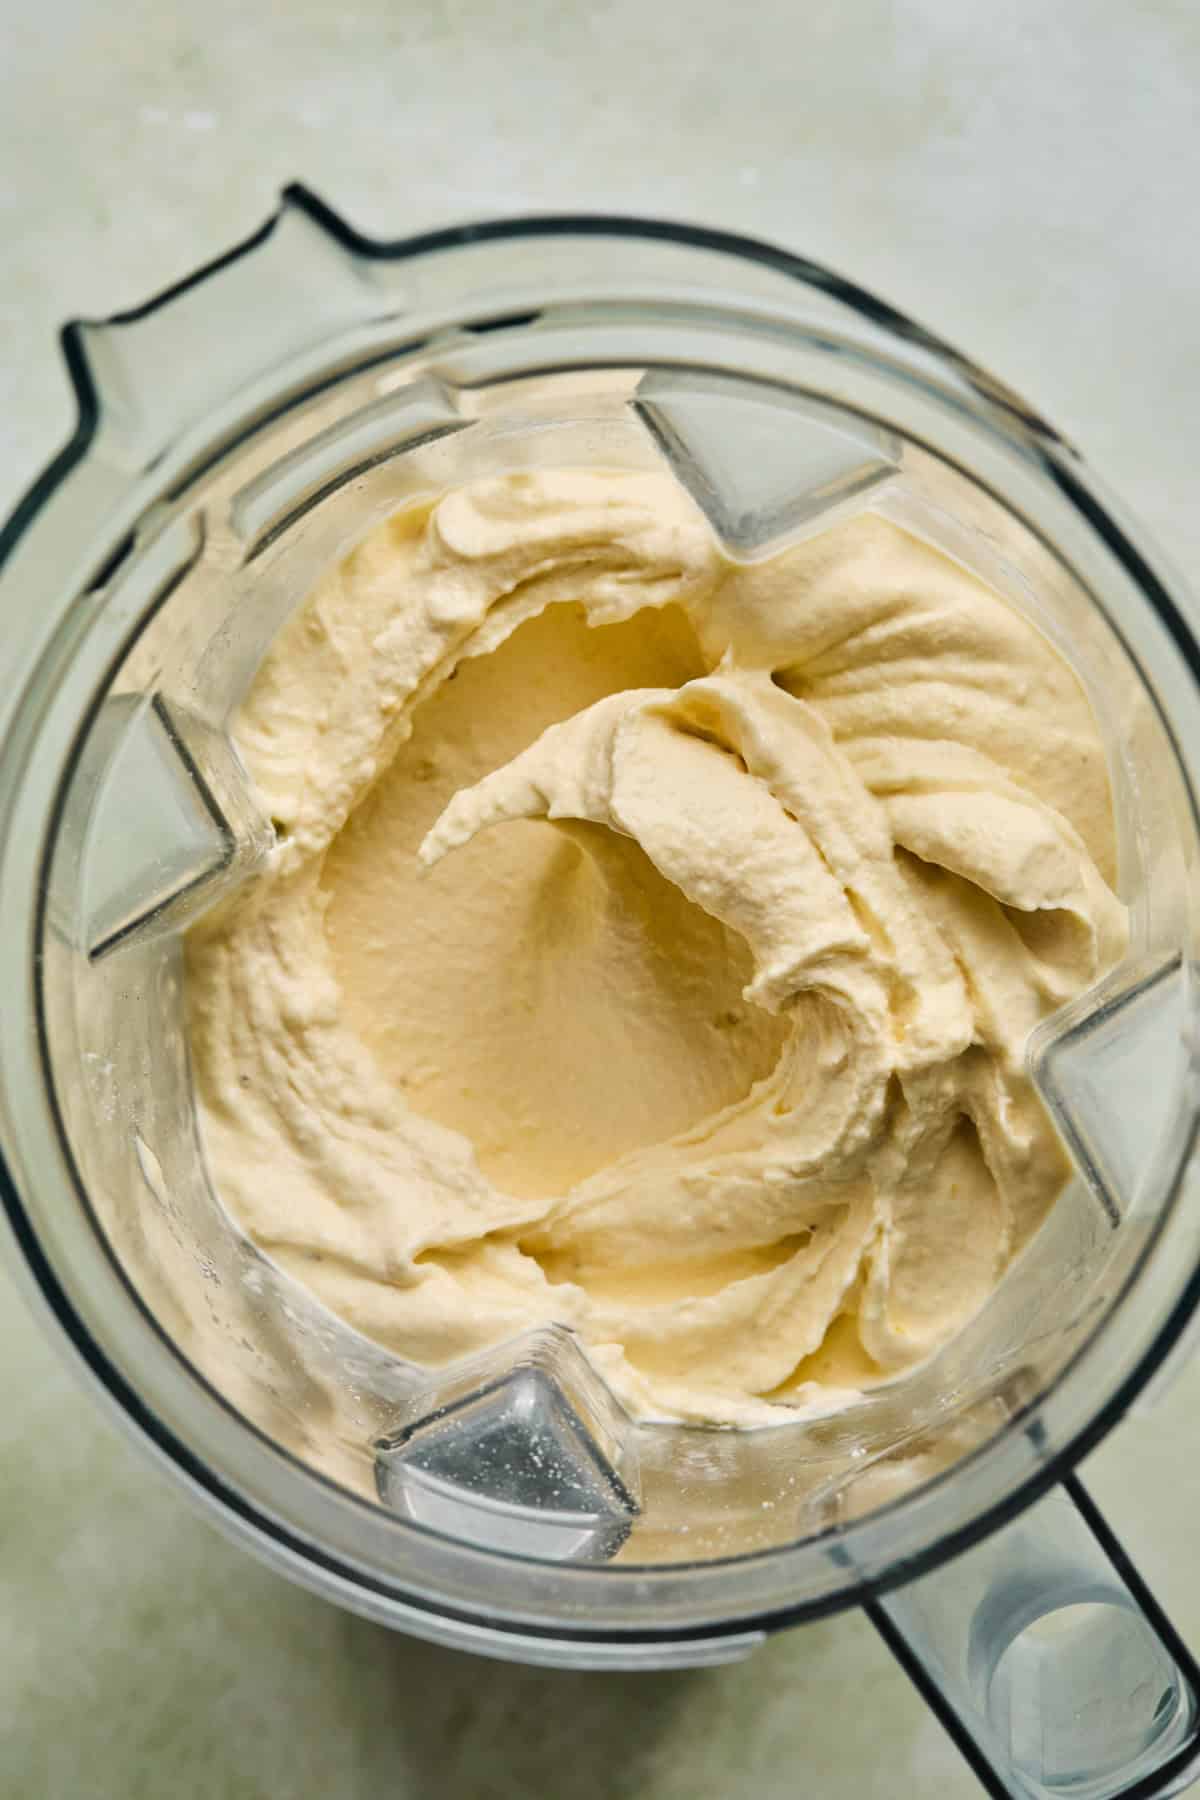
- Add the Liquid Slowly. Add the coconut milk, coconut extract, and protein powder if using. Blend on low first, then high. Stop and stir or tamp down as needed. If the blender stalls, add coconut milk one tablespoon at a time until it moves. Don’t drown it.
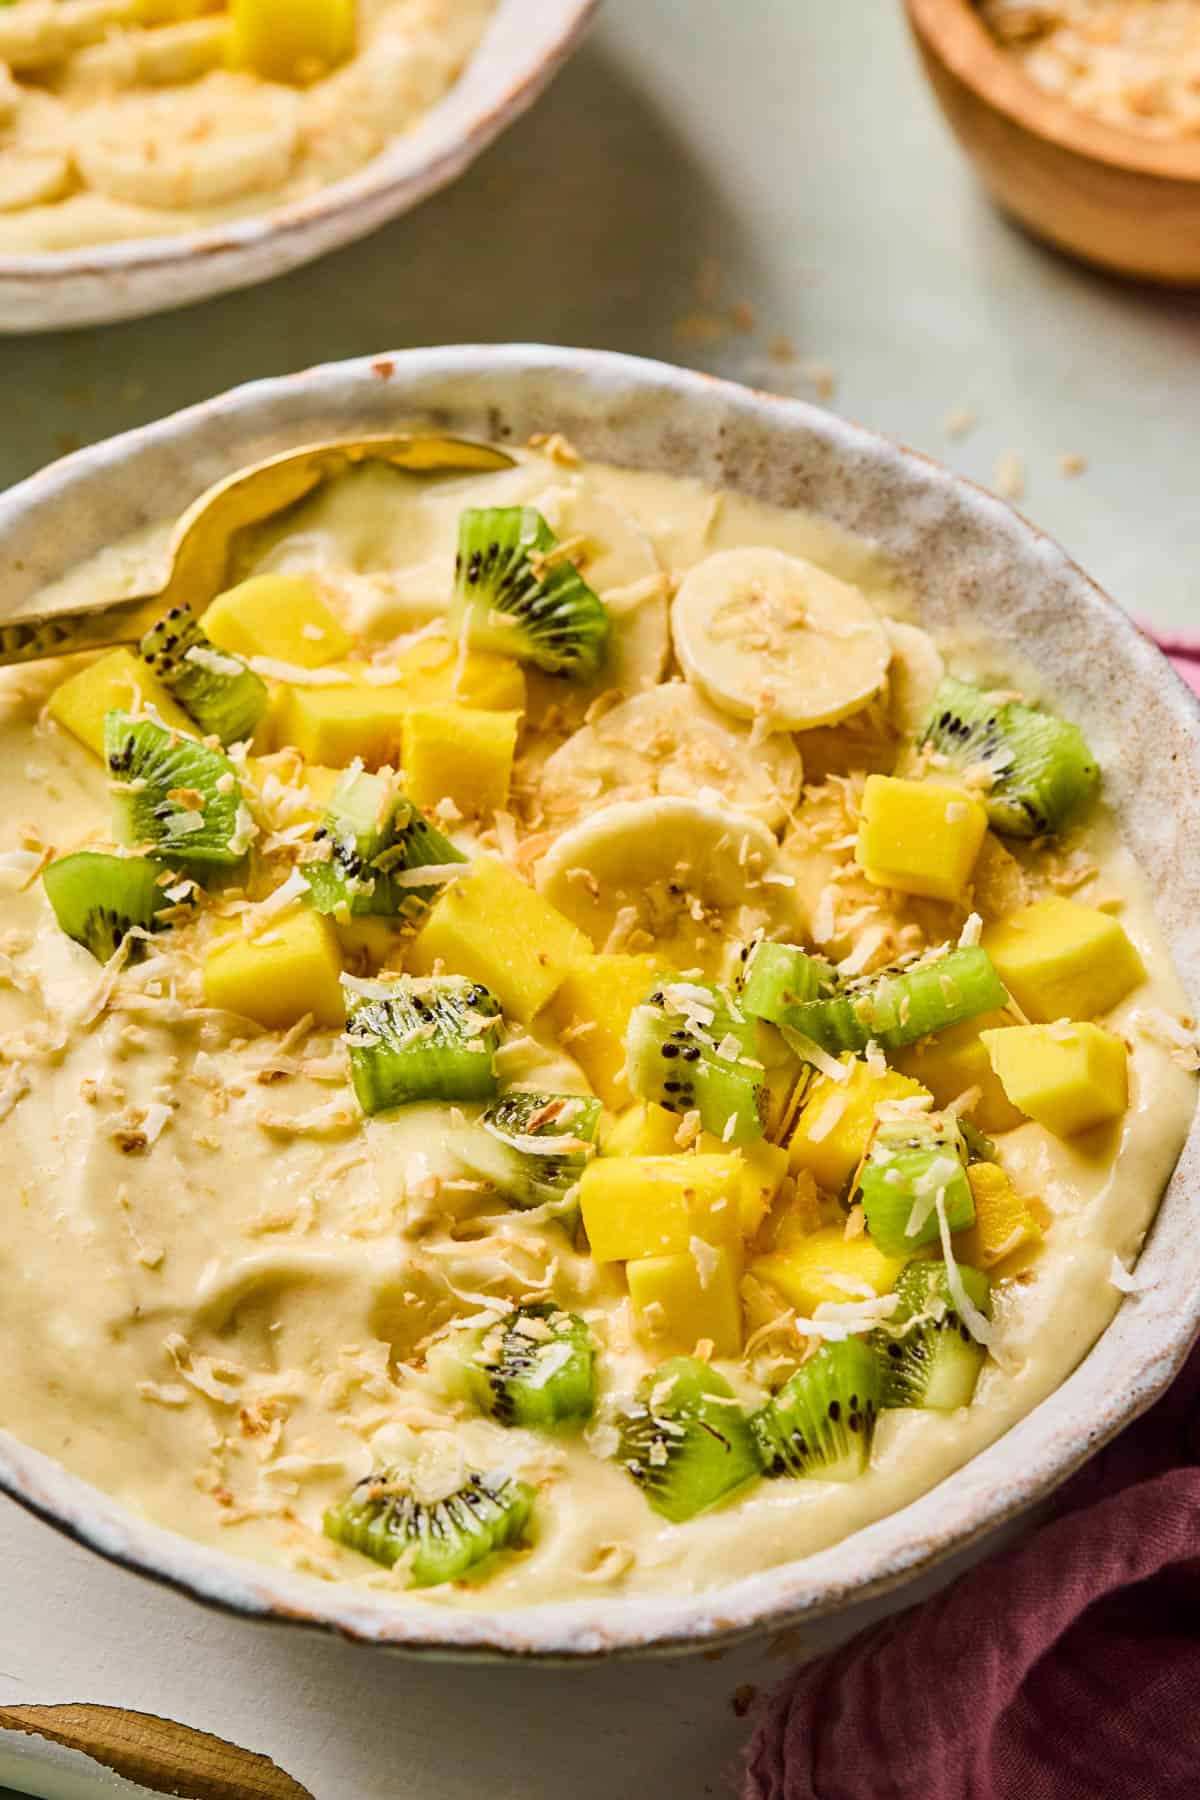
- Pour and Top. Pile the toppings on, hit it with a drizzle of nut butter or honey if you want, and serve immediately. Smoothie bowls melt fast.
Coconut Smoothie Bowl Toppings
The toppings are where you make it yours. A few that work:
- Chia seeds: crunch and fiber. Half a tablespoon goes a long way.
- Granola: crunch. Use one with chunky clusters.
- Shredded coconut or coconut flakes: doubles down on the coconut.
- Nut butter: coconut almond butter, macadamia butter, or cashew butter for a tropical feel. Warm it slightly so it drizzles.
- Extra fruit: kiwi, banana slices, mango, fresh pineapple. Sparingly, because there’s already a lot of fruit in the bowl.
- Bee pollen, hemp hearts, or cacao nibs if you want to lean health-y.
Prefer a more decadent smoothie? Try our cake batter protein shake, chocolate peanut butter protein smoothie, or chocolate and cherry smoothie.
FAQS
Too much liquid. Add more frozen fruit a handful at a time and blend until it thickens. Or remember the rule for next time: 2 parts frozen fruit to 1 part liquid, max.
Not enough liquid, fruit not chopped small enough, or the blender isn’t powerful enough. Stop, scrape the sides, tamp the fruit toward the blades, and pulse instead of running on high.
Yes. The recipe works as-is without protein powder. If you do add protein, add an extra splash of coconut milk so it blends.
Yes. With coconut milk and a plant-based protein powder, it’s naturally Gluten-Free, Dairy-Free, Paleo, and Vegan.
Yes. Pre-portion the frozen fruit into individual zip-top bags. In the morning, dump one bag in the blender, add coconut milk and protein powder, and blend.
Store the smoothie base (without toppings) in an airtight container in the fridge for up to 1 day. After that, it separates and loses creaminess. Give it a stir or a quick re-blend before serving.
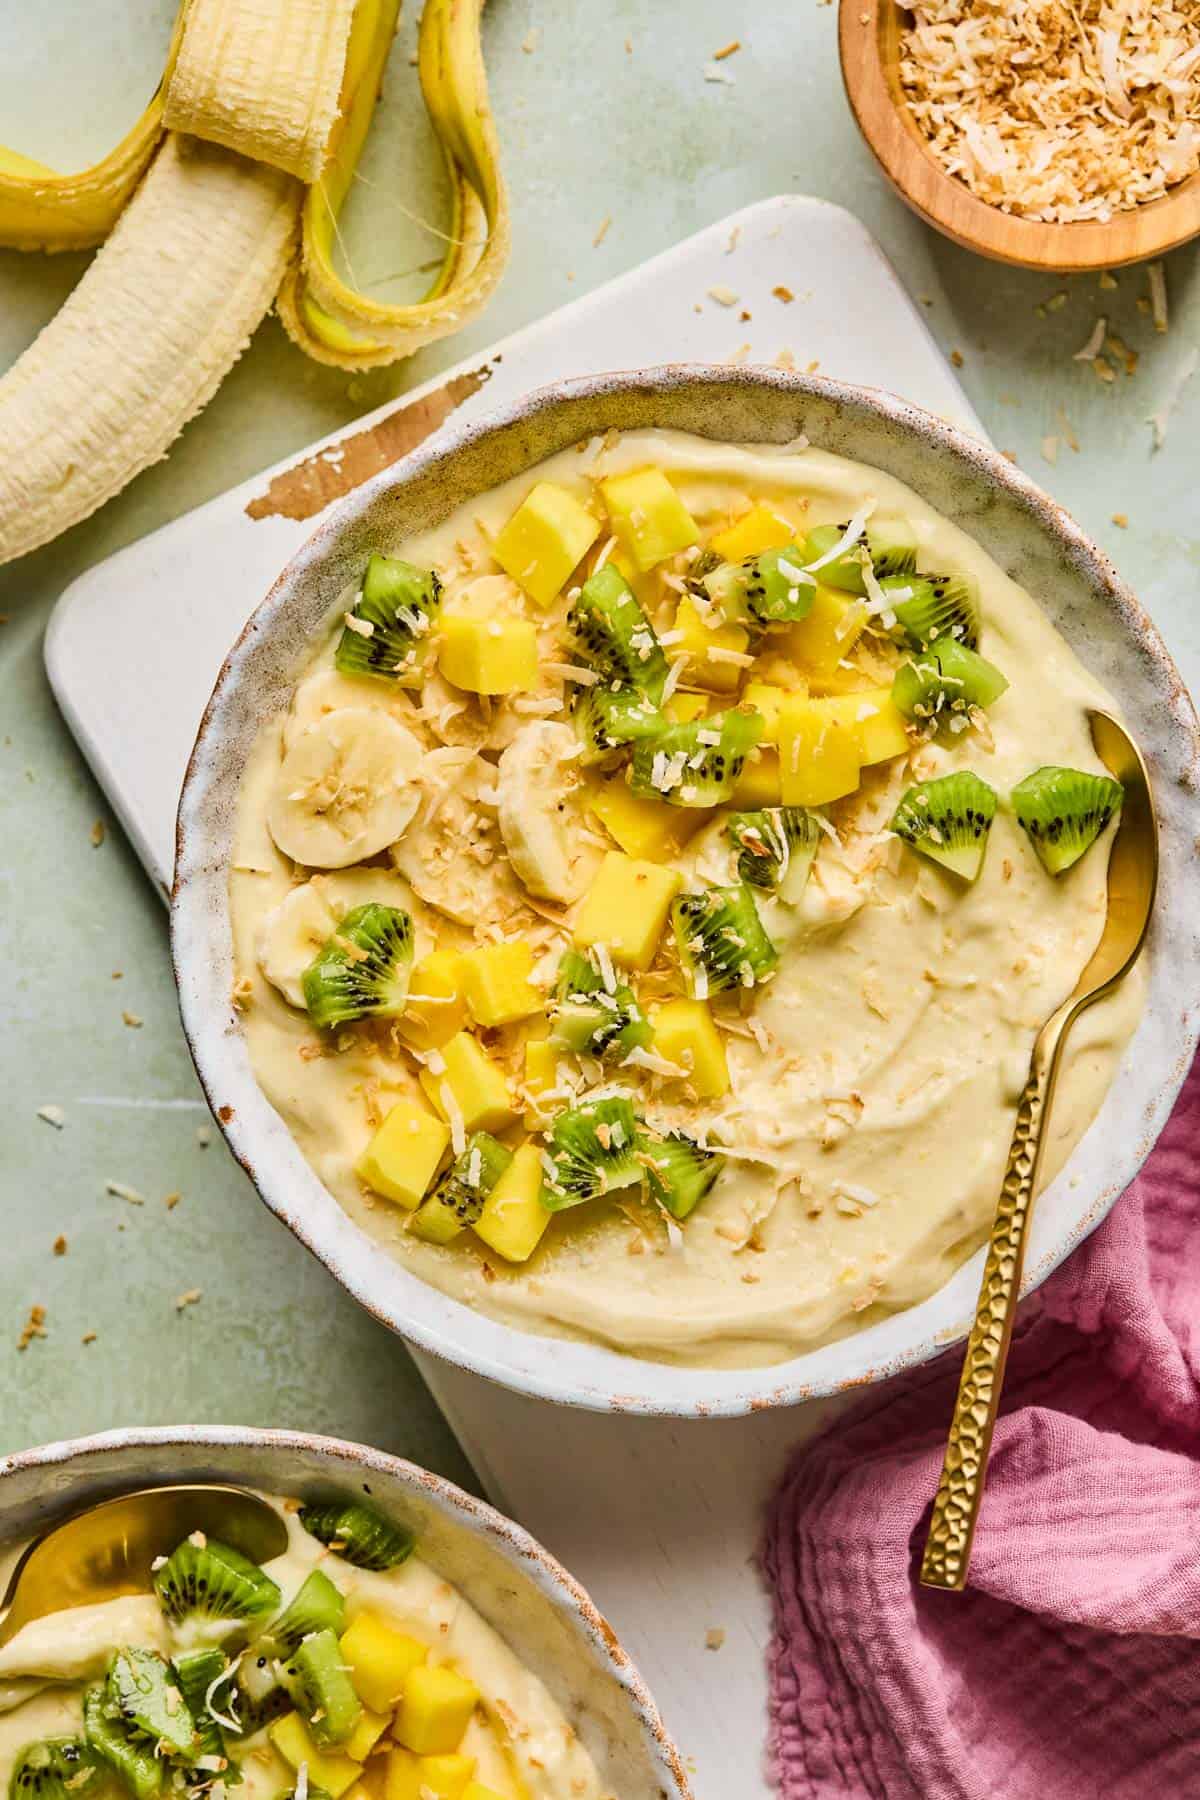
Coconut Smoothie Bowl
Save this Recipe!
Ingredients
- 1 frozen banana
- 3/4 cup frozen pineapple
- 1/2 cup frozen mango
- 1/3 cup full fat coconut milk shaken
- 1/4 teaspoon coconut extract optional
- 1 scoop (25g) vanilla protein powder optional
- Toppings: mango, banana, granola, chia seeds, cherries, nut butter, or coconut
Instructions
- Add all ingredients to a highs-speed blender. Blend on high for 1-2 minutes until a smooth and thick consistency. If you don't have a high powered blender it may take a little longer or you may need to add another splash of coconut milk.1 frozen banana, 3/4 cup frozen pineapple, 1/2 cup frozen mango, 1/3 cup full fat coconut milk, 1/4 teaspoon coconut extract, 1 scoop (25g) vanilla protein powder
- Pour into a bowl and top with your favorite toppingsToppings: mango, banana, granola, chia seeds, cherries, nut butter, or coconut
Notes
- Use frozen fruit as the base.
- Start with less liquid and add more as needed to get the desired texture.
- Use a high-speed blender for best results.
Nutrition
Nutrition information is automatically calculated, so should only be used as an approximation.
Tips for Thick Smoothie Bowls
- Use frozen fruit as the base.
- Start with less liquid and add more as needed.
- Use a high-speed blender for best results.
Prep and Storage Tips
Prep ahead: Pre-portion the frozen fruit into individual zip-top bags so weekday mornings are just dump-and-blend.
Storage: Store the smoothie base in an airtight container in the fridge for up to 1 day. It separates after that.
Freezing: Store in a freezer-safe container for up to a month. Thaw in the fridge overnight, give it a stir, and pour into the bowl.
More Smoothie Recipes
Instant Pot Salsa Chicken
Save this Recipe!
Ingredients
- 2 lbs boneless skinless chicken breast
- Salt and pepper to taste
- 1 1/4 cups chicken broth or stock
- 1 (16oz) jar mild salsa or your favorite salsa!
- 2 Tablespoons taco seasoning
- Fresh lime juice and chopped cilantro
Instructions
- Season both sides of the chicken with salt and pepper then place in the bottom of the stainless steel instant pot. Pour the chicken broth over it and add the jar of salsa, covering the chicken breast.2 lbs boneless skinless chicken breast, Salt and pepper to taste, 1 1/4 cups chicken broth, 1 (16oz) jar mild salsa
- Lock the lid on the instant pot and make sure the valve is set to “sealing.” Pressure cook (Manual) on high for 8 minutes for thawed chicken and 15 minutes for frozen chicken. The instant pot will beep and then take about 10 minutes to come to pressure before counting down the cook time. It may take longer for the IP to come to pressure if the chicken is frozen.
- When the timer goes off, allow the pressure cooker to naturally release (do nothing) for about 5 minutes then use a spoon or towel to turn the valve to “venting” to quick release pressure.
- Open the lid and transfer the chicken to a cutting board. Set the instant pot to saute mode. Add the taco seasoning and stir well. Allow to simmer and thicken.2 Tablespoons taco seasoning
- Shred the chicken with two forks. Place the shredded chicken back in the Instant Pot with the cooking liquid. Top with fresh lime juice and chopped cilantro if desired.
- Serve as tacos, over rice, with fajitas or in enchiladas.
Notes
- Use a thick salsa for best results watery salsa = watery chicken. Rao’s, Frontera, or Trader Joe’s all work well.
- Chicken thighs are more forgiving than breasts and stay juicier on reheating.
- For the cream cheese variation: add 4 ounces of cubed cream cheese before sealing. Stir in after shredding.
- Frozen chicken: add 5 minutes to cook time.
- Storage: refrigerator up to 5 days, freezer up to 3 months.
Nutrition
Nutrition information is automatically calculated, so should only be used as an approximation.
This post may contain affiliate links. Read our disclosure policy.


