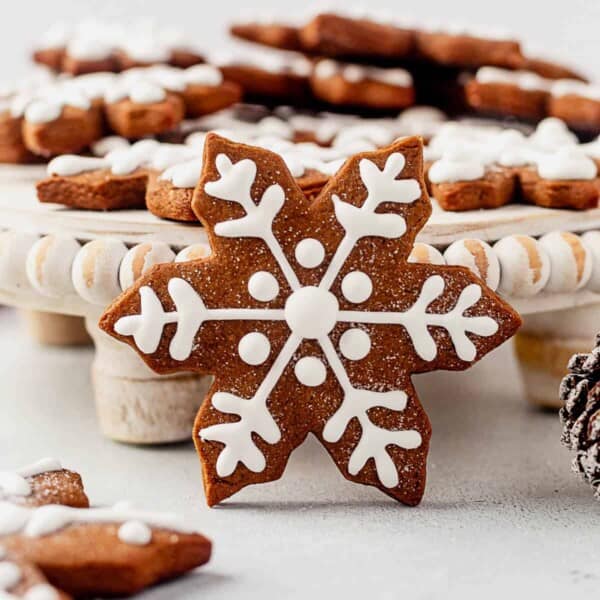
Gingerbread snowflake cookies are a cozy and fun cookie to make for the holidays. The cookie dough comes together quickly and the baked cookies are dressed up with easy royal icing.
Need more holiday cookies? Try these Italian sprinkle cookies, hot cocoa cookies, maple sugar cookies, or Christmas tree meringue cookies next.
Molasses and gingerbread spices are some of my favorite ingredients for baking, especially during the holiday season. I love molasses cookies and ginger cookies this time of year, so of course I love gingerbread cookies. And I love these gluten-free gingerbread cookies because they’re soft AND hold their shape.
The Best Snowflake Cookies
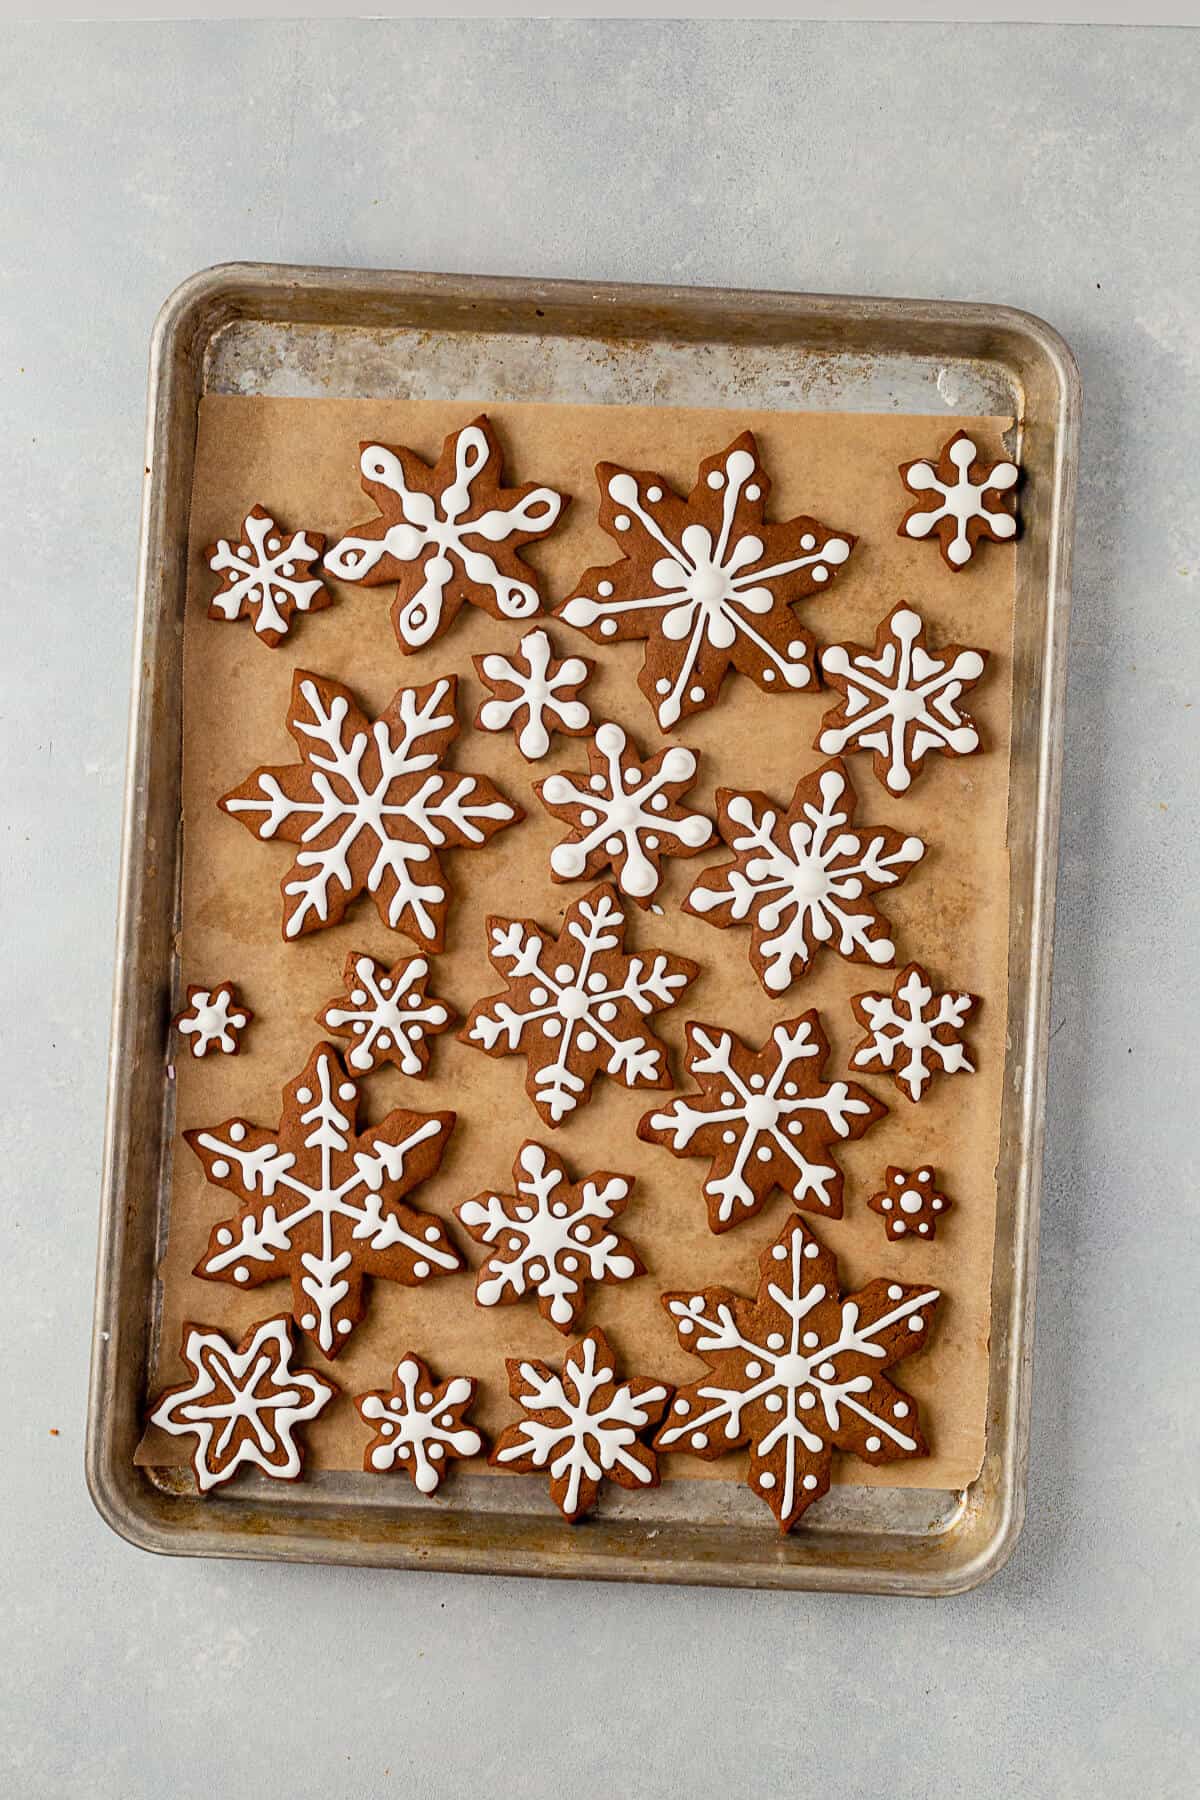
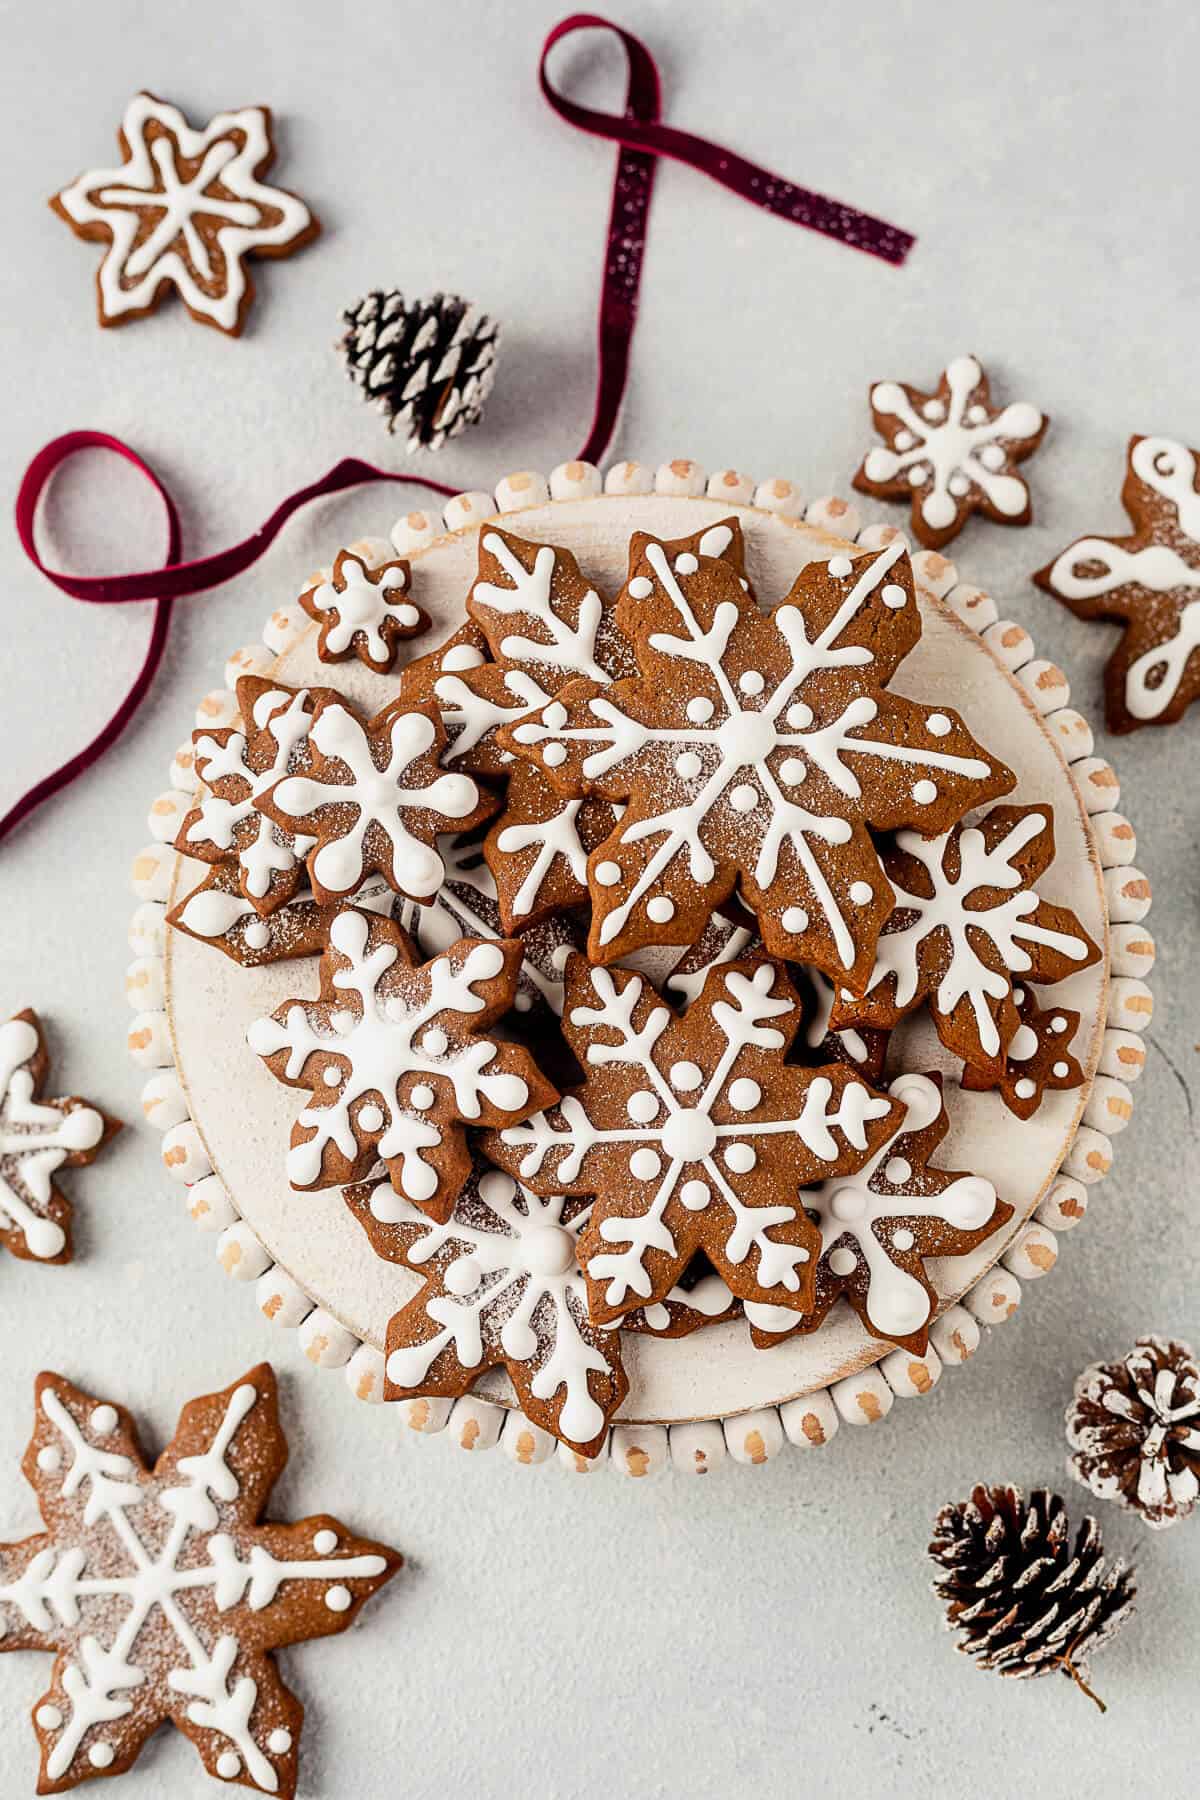
To go along with this best in class ginger cook list, I thought this cookie would be the perfect base for snowflake cookies because the contrast from the white snowflake icing is so stark and beautiful. This is a showstopper among all the Christmas cookies.
The gingerbread cut out cookie dough comes together quick, and is perfect for freezing for another day. The dough itself is perfectly chewy and keeps it shape. Cut them out, bake them, and get creative with your snowflake icing designs!
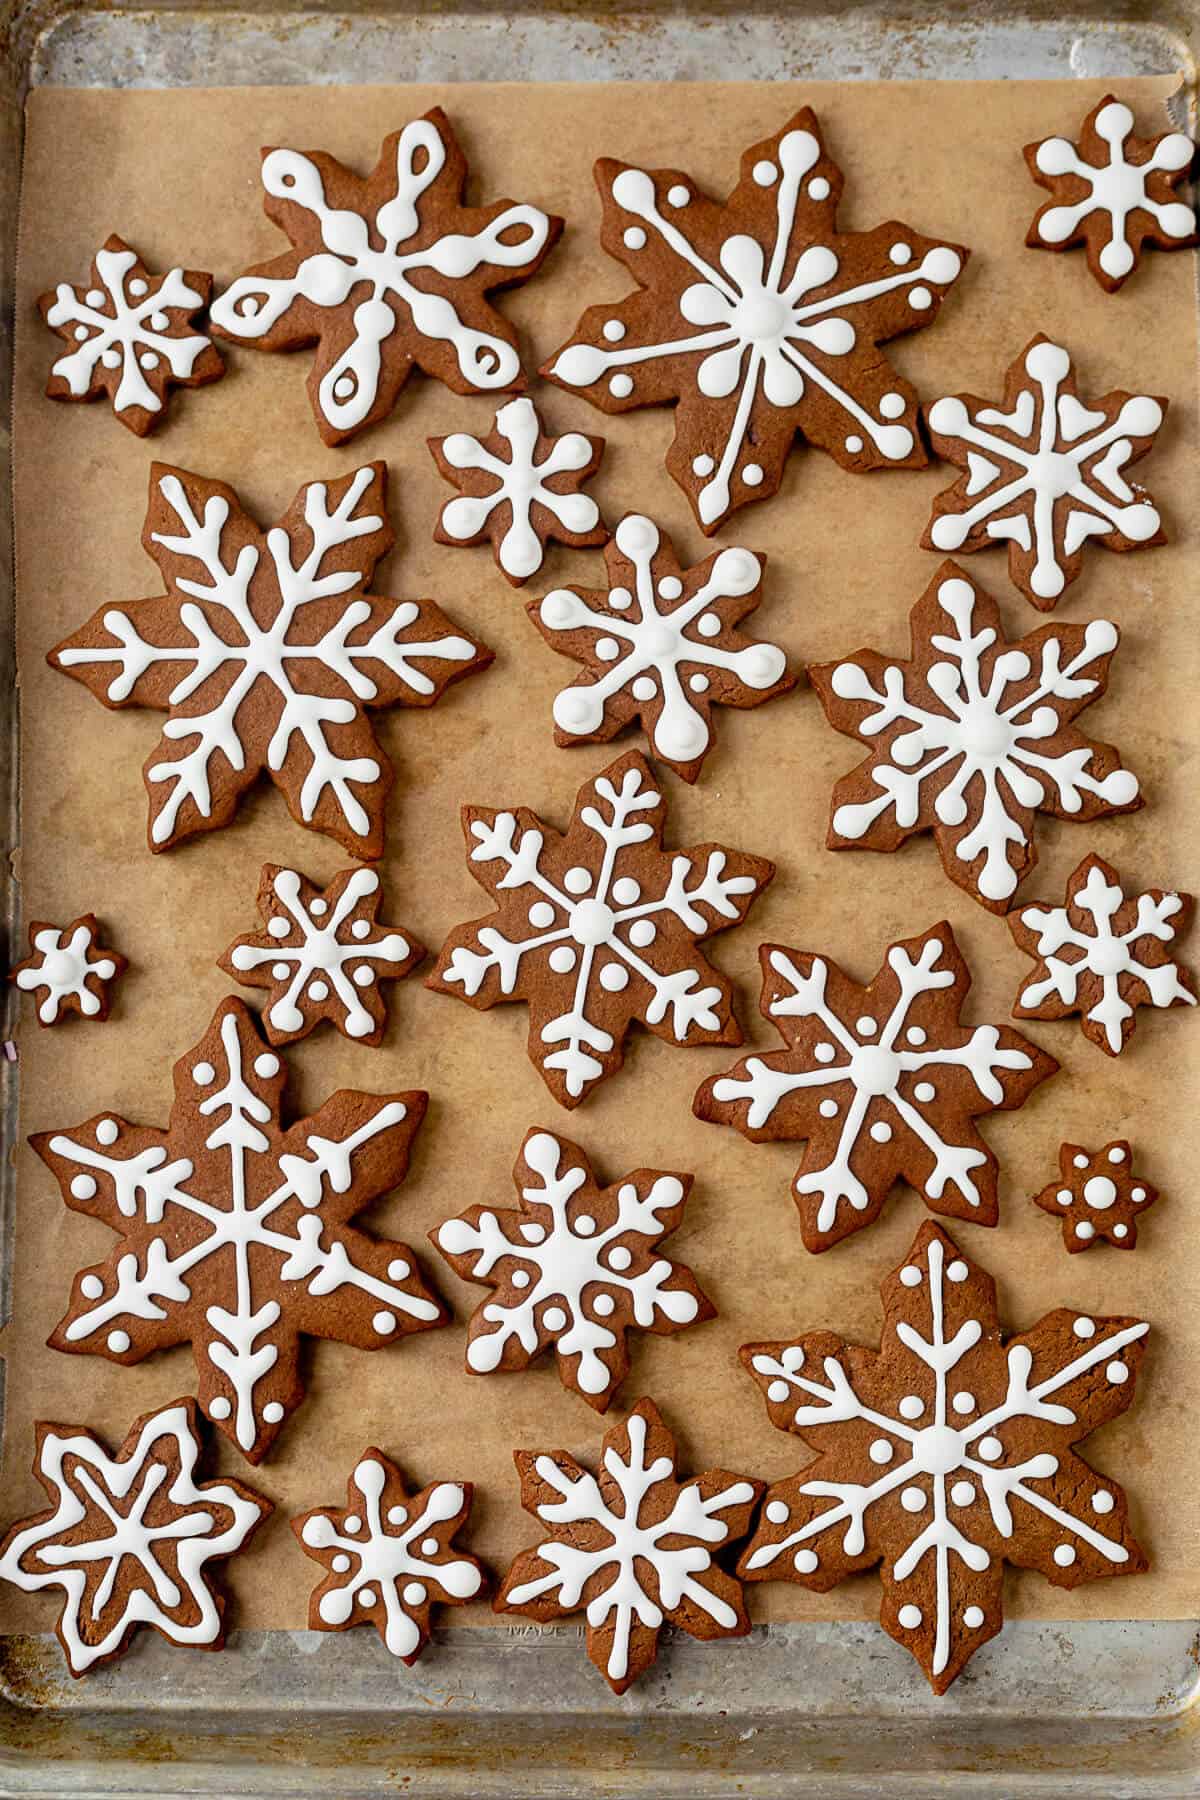
We had a blast getting creative and decorating our snowflake cookies to each be unique! They’re also a great cookie to make with kids.
If you prefer a traditional cut cut out cookie (instead of gingerbread), use our classic sugar cookie dough and follow the instructions to cut out and ice them here.
And if you’re craving the gingerbread flavor in the morning, then you have to make these gingerbread cinnamon rolls. We love making them with our daughter too!
Ingredient Notes
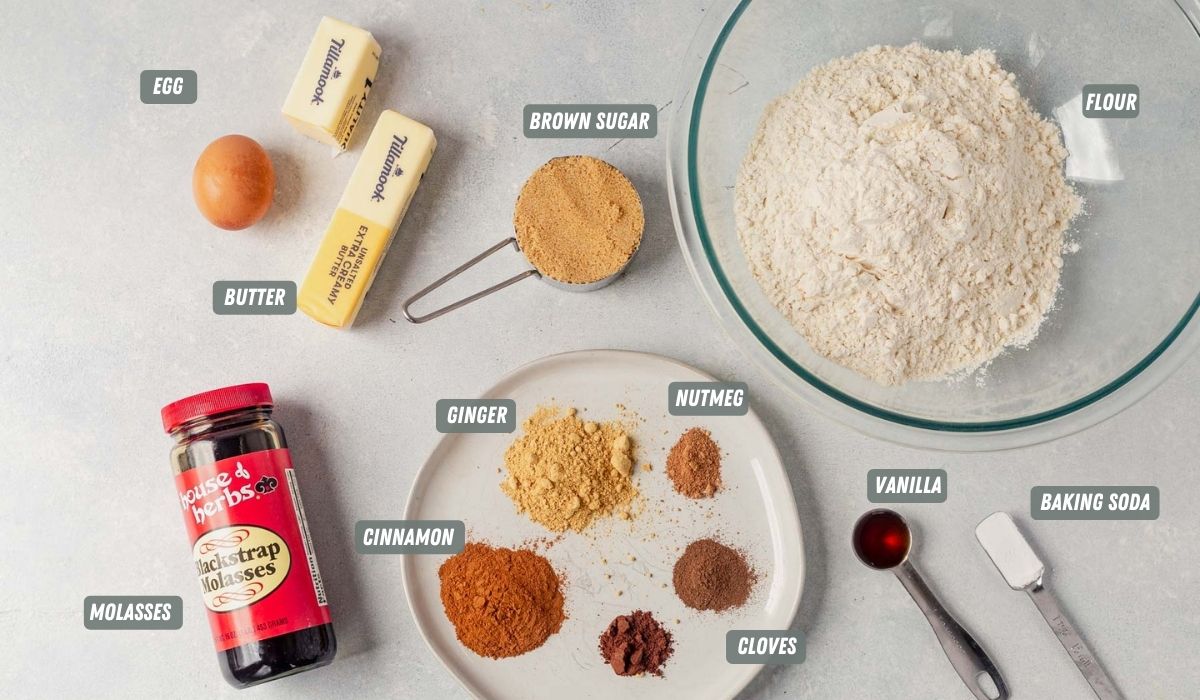
- All purpose flour: use the spoon and level method to make sure you’re measuring correctly. We’ve also tested these with a 1:1 gluten free flour (like Bob’s Red Mill) and it works well.
- Baking soda: double check the expiration date to make sure it’s good for the best results.
- Gingerbread spices: cinnamon, ginger, nutmeg, cloves and salt
- Unsalted butter: grab a high quality butter because it really makes the difference in these cookies.
- Light brown sugar: the extra moisture in brown sugar gives these cookies the famous chewy center.
- Unsulphured molasses: this is extracted from mature sugar cane, where the cane juice is clarified and concentrated. Sulphured molasses is made with sulfur dioxide to preserve the sugarcane because the sugarcane didn’t have as much time to mature.
- Egg: do your best to use a room temperature egg because it blends more evenly into the batter.
- Vanilla extract: like the flour, a quality vanilla extract goes a long way.
- Royal icing ingredients:Confectioners sugar, meringue powder, vanilla and water.

Equipment to Make Snowflake Cookies
- Baking sheets (these are my particular favorite cookie sheets)
- Parchment paper is my go-to for lining the cookie sheet.
- Snowflake cookie cutter: there are so many options out there,depending on the look you’re going fo. We used these Snowflake cookie cutters because I like the variation of snowflake sizes. But also love these classic snowflake cookie cutters.
- Bowls for mixing
- Stand mixer fitted with the paddle attachment or bowl and an electric mixer.
- Piping bag
- Wilton No. 2 Tip
How to Make Snowflake Cookies
Here are the basic steps, with images, for this snowflake cookies recipe. Skip down to the recipe card below for the full printable recipe.
Wet ingredients: In a large mixing bowl with an electric mixer or a stand mixer fitted with the paddle attachment, beat butter and brown sugar together for 2-3 minutes. Do not skip this step. Add the molasses, egg, and vanilla and beat again for 1-2 minutes, stopping to scrape down the sides and bottom of the bowl as needed.
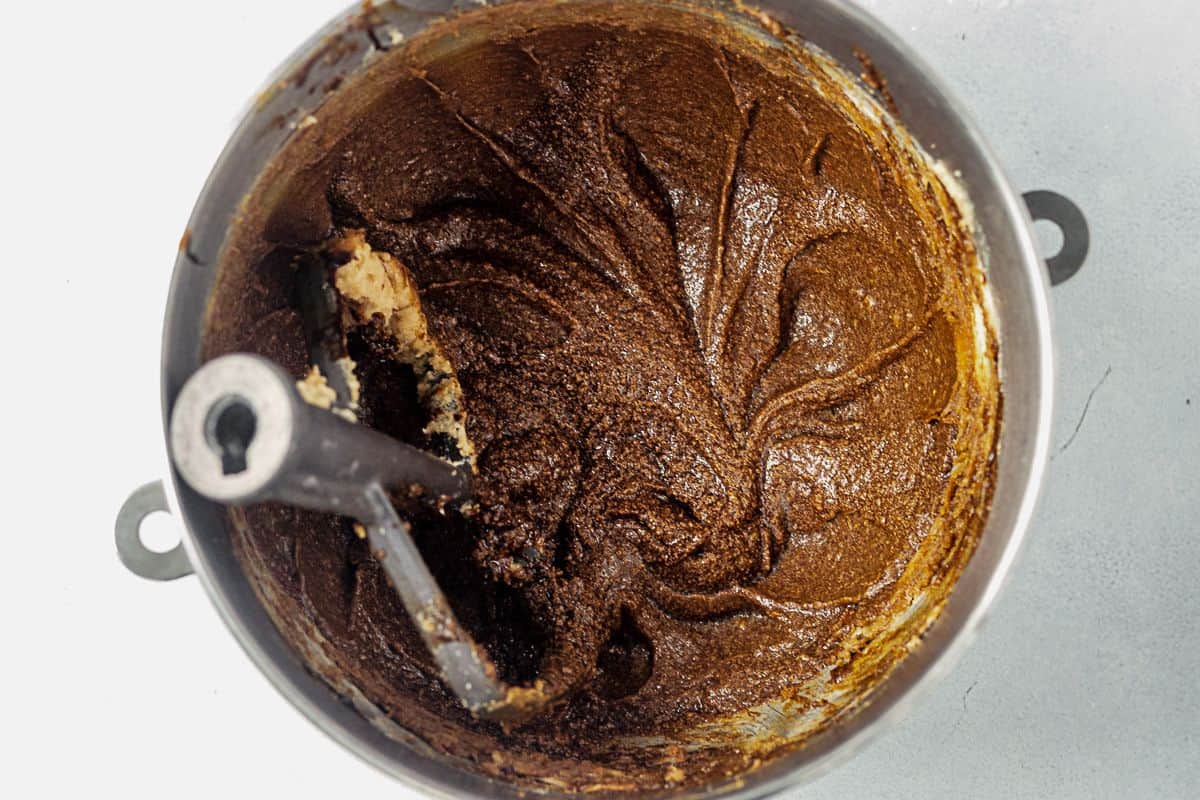
Dry ingredients: Whisk the dry ingredients in a medium bowl. Add half of the dry ingredients into the wet ingredients with the mixer on low speed then add the remaining half and turn the mixer up to high to combine.
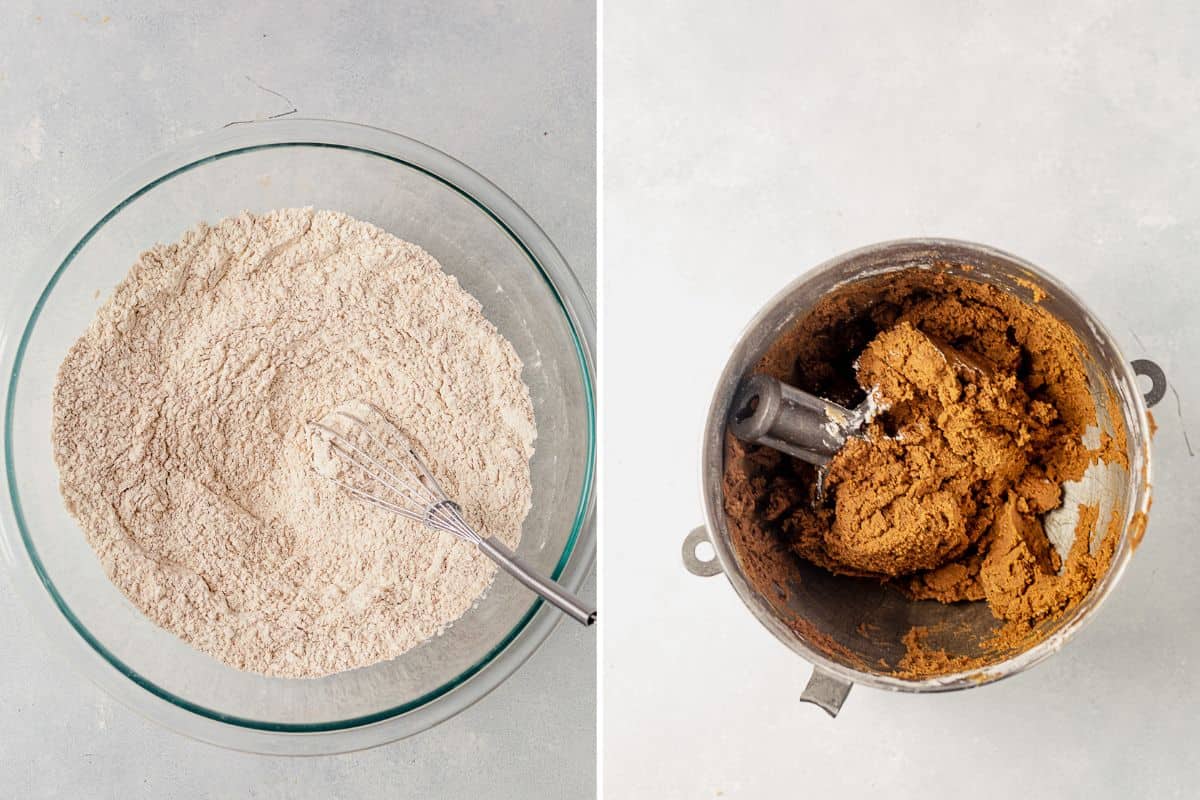
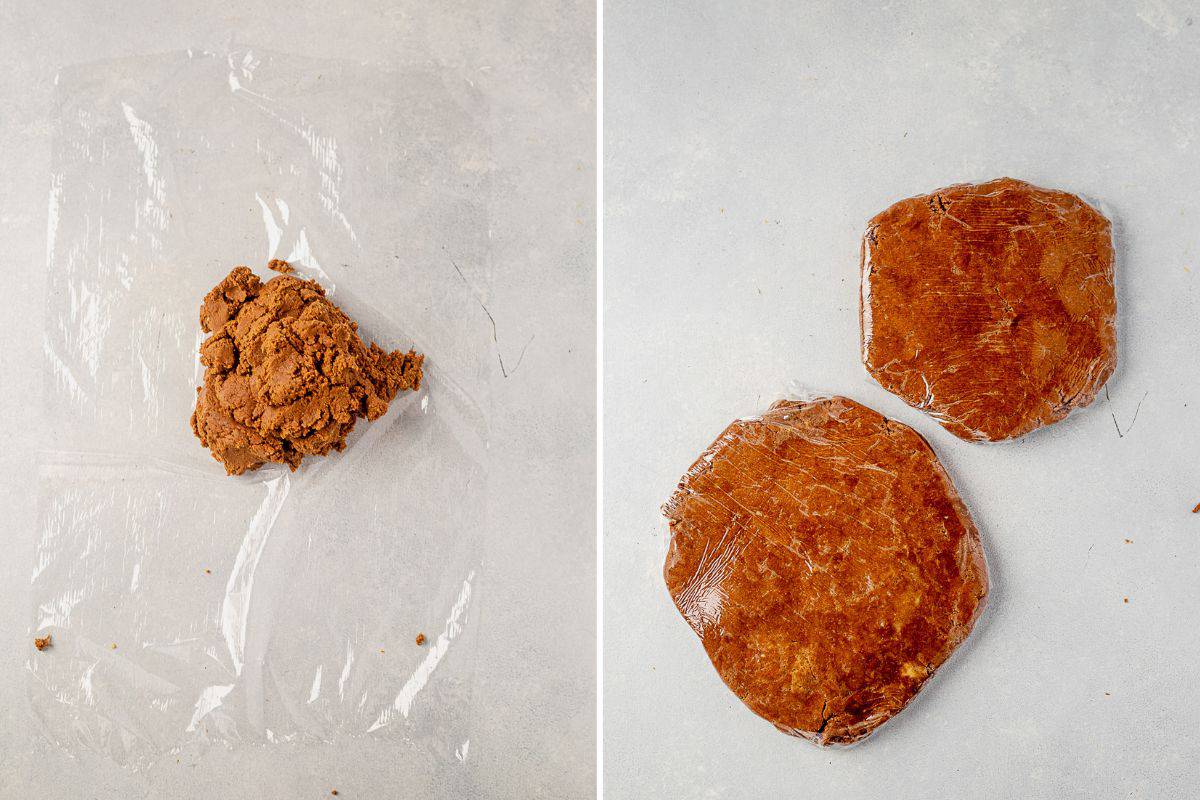
Chill the dough: Separate the dough into two equal pieces then dump one half out onto a large piece of plastic wrap. Gently press the dough out into a large disk shape and wrap it completely with plastic wrap. Repeat the process with the other half of the dough then place both halves in the fridge to chill for at least 2 hours or up to 3 days.
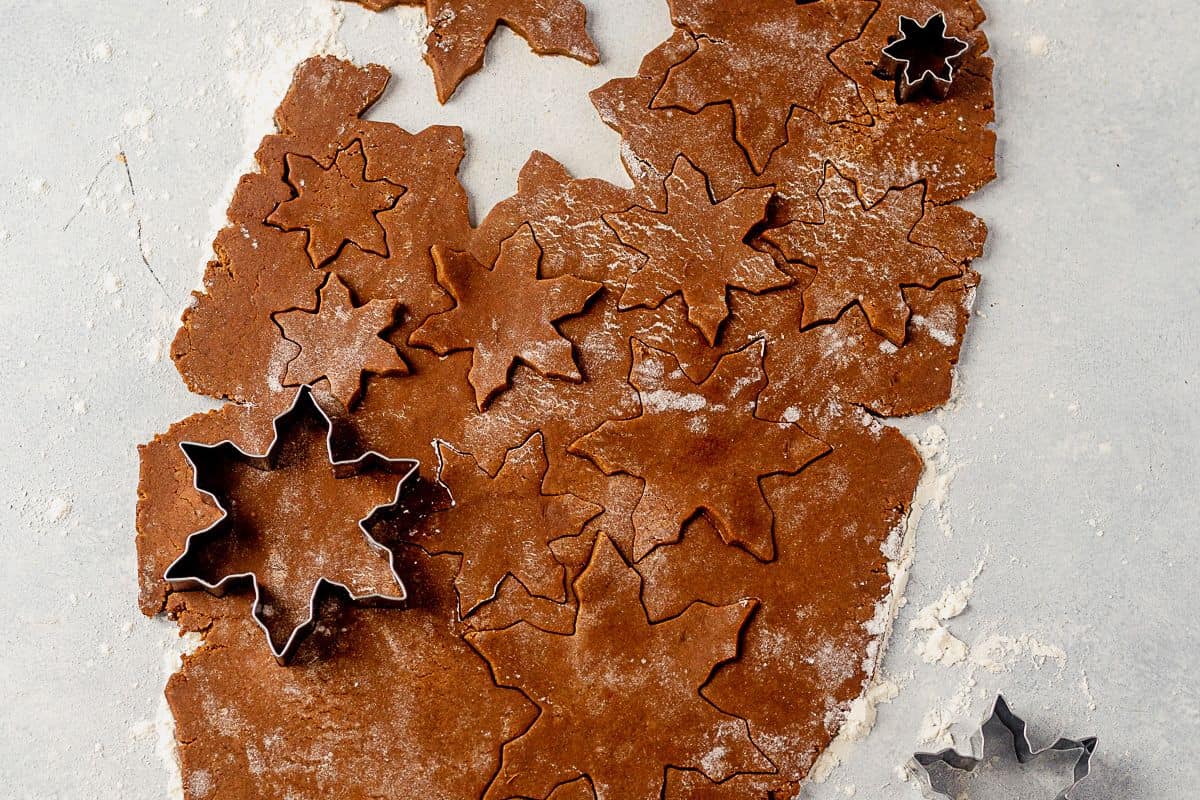
Cut out snowflake shapes: remove one of the disks from the refrigerator and dump it out onto a well-floured surface. Flour your hands and the rolling pin then roll the dough out to ¼ inch thickness. Cut snowflakes as close as possible to use as much of the dough as you can. Roll up the scraps and repeat with the remaining dough and the second disc.
Alternate option: roll the cookie dough out between two pieces of parchment paper.
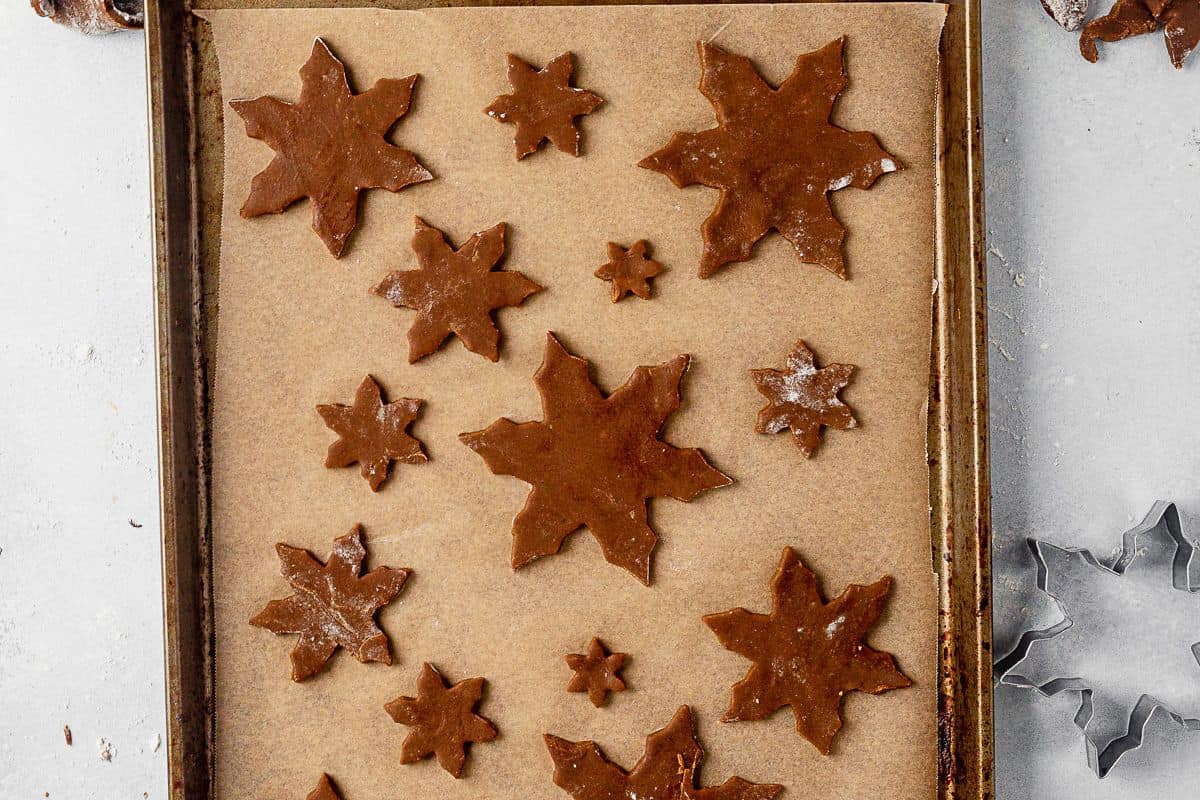
Bake: Place the snowflake cookie dough a few inches apart. Bake at 350°F for 9-100 minutes, until puffed and just golden brown around the edges. Allow to cool slightly on the baking sheet then transfer to a cooling rack to cool completely.
How To Make Royal Icing for Cutout Cookies
When the snowflake cookies are completely cool, it’s time to make the icing and decorate! White royal icing is the best icing option because it hardens beautifully and is the perfect texture to get the intricate snowflake designs without it running and bleeding.
Make the icing: mix the powdered sugar and meringue powder in a large bowl. Slowly add room temperature water and vanilla with the mixer on low speed. Increase to medium-high speed and beat until still peaks form, 4-5 minutes.
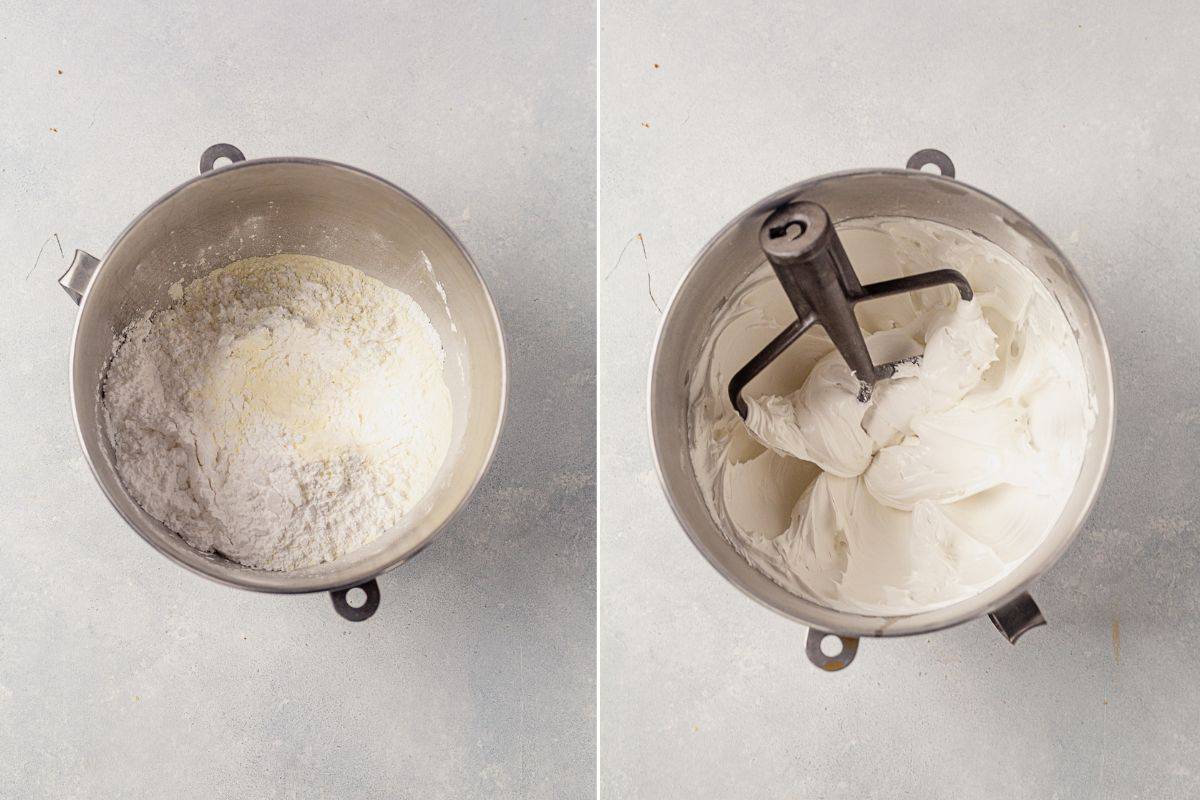
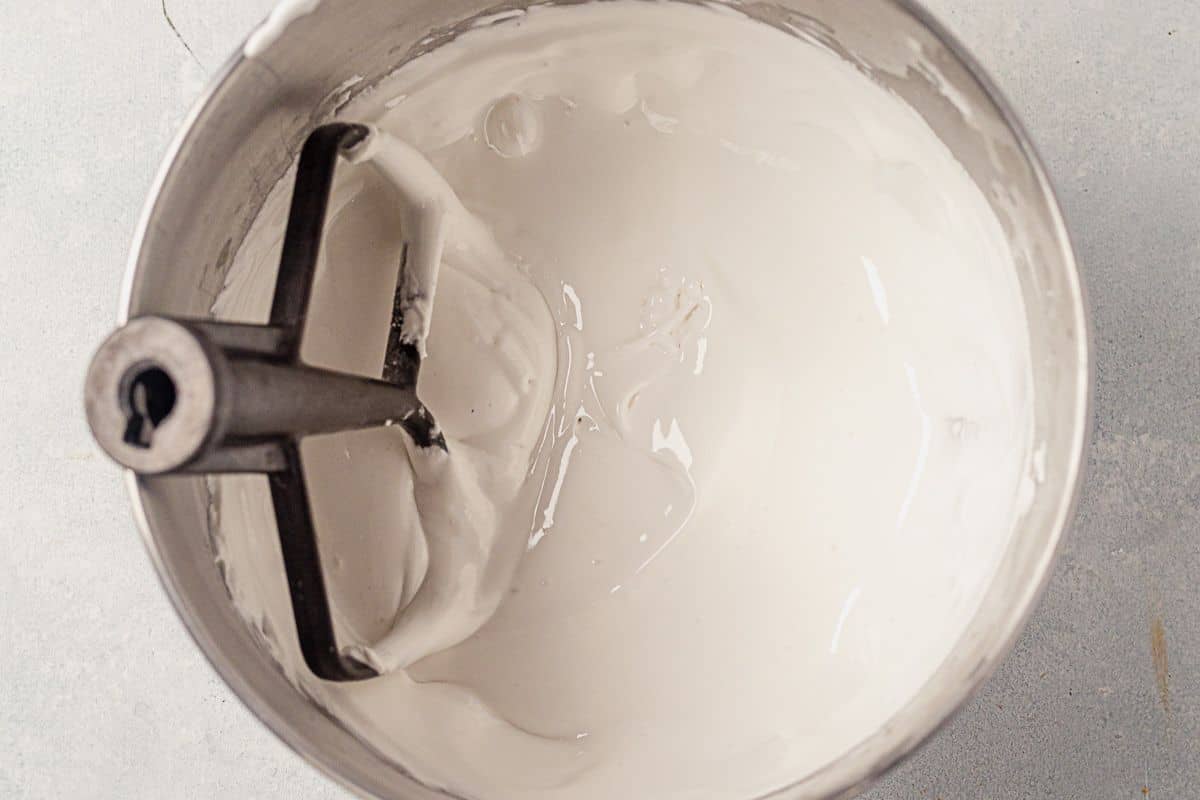
Adjust the consistency: Add more water 1 Tablespoons at a time with the mixer on medium speed until the icing thins to your desired consistency. It should be thick enough to hold its shape, but still fit through a No 2 piping tip.
Success tip: for best results, the royal icing should drizzle on the icing surface that just barely melt into the surface of the icing when you lift the beaters out. I ended up using 4-5 additional Tablespoons of water to reach this consistency.
FAQs
I love the contrast in dark and light with the gingerbread and royal icing, however, a sugar cookie works great as the base as well. Use this no spread recipe for great sugar cookies every time.
The three most popular icings for cookies are royal icing, decorating icing and frosting. I prefer royal icing on these cookies because of the intricate details you can do. They make the snowflakes look so pretty!
Decorating icing is made with powdered sugar, milk and extracts and is similar to royal icing because it sets well, but it doesn’t dry as hard. You can still pipe it into snowflakes, but don’t stack them as the decorating icing won’t stay.
Expert tips
- Don’t overwork the dough: Really good gingerbread cookies are crisp on the edges and tender, with soft centers. Be careful not to overwork the dough or it could lose the tender center.
- Give yourself time: this recipe is simple in ingredients, but it does take some patience. I recommend giving yourself a few days to completely these by allowing the dough to chill overnight and maybe even icing them another day.
Dietary Modifications
- Gluten free: use a 1:1 gluten free flour like Bob’s Red Mill or King Arthur’s.
- Diary free: swap the butter for a high quality vegan butter (we like Myokos).
Storage Instructions
- How to freeze the dough: shape the dough into disks and double wrap with plastic wrap then store in the freezer for up to 3 months. Allow to sit at room temperature for an hour or so until it’s soft enough to roll out.
- How to freeze baked cookies: allow the cookies to cool completely then store in an airtight container in the freezer for up to 3 months. Thaw at room temperature before icing.
- Store in the fridge: Place the cooled cookies in an airtight container in the fridge for up to 5 days. You can also chill the cookie dough in the fridge for up to 3 days.
If you make this recipe, I’d love for you to give it a star rating ★ below. You can also tag me on Instagram so I can see it!
More Cookie Recipes
- Gluten free dairy free sugar cookies
- Meringue Christmas trees
- Giant ginger cookies
- Paleo molasses cookies
- Brown butter maple pecan cookies
Gingerbread Snowflake Cookies
Save this Recipe!
Ingredients
For the cookies
- 3 1/2 cups all-purpose flour or 1:1 gluten free flour
- 1 teaspoon baking soda
- 1/2 teaspoon salt
- 1 tablespoon ground cinnamon
- 1 tablespoon ground ginger
- 1/4 teaspoon nutmeg
- 1/2 teaspoon cloves
- 3/4 cup 1 1/2 sticks unsalted butter softened to room temperature
- 3/4 cup light brown sugar packed
- 2/3 cup unsulphured molasses
- 1 egg room temperature
- 1 1/2 teaspoons vanilla extract
For the royal icing
- 4 cups confectioners sugar
- 3 tablespoons meringue powder
- 1/3 cup room temperature water plus more as needed
- 1 teaspoon vanilla
Instructions
Make the Cookies
- Note: this cookie dough requires at least 2 hours of chilling, or overnight. Colder cookies won't spread in the oven and will keep their snowflake shape.
- In a medium bowl, whisk together the flour, baking soda, salt, cinnamon, ginger, nutmeg, all spice and cloves and set aside.
- In the bowl of a stand mixer (or a large bowl if using a hand mixer), beat butter and brown sugar together using the paddle attachment for 2-3 minutes. Do not skip this step. Add the molasses, egg, and vanilla and beat again for 1-2 minutes.
- Scrape down the sides of the bowl then add half of the dry ingredients and beat until combined. Add the second half of the dry ingredients and mix again on low until combined and the dough starts pulling away from the sides of the bowl.
- Separate the dough into two equal pieces then dump one half out onto a floured a large piece of plastic wrap. Gently press the dough out into a large disk shape and wrap it completely with plastic wrap. Repeat the process with the other half of the dough then place both halves in the fridge to chill for at least 2 hours or up to 3 days. The longer it chills the thicker it will be. You cannot skip this step or the cookies will spread. You can also freeze the dough at this point. See notes for freezer instructions.
- When you’re ready to bake the dough, preheat the oven to 350°F. Remove one half of the dough from the oven and dump it out onto a floured surface. Flour your hands and the rolling pin then roll the dough out to 1/4 inch thickness.
- Cut out the dough into snowflake shapes and place 1-2 inches apart on a large baking sheet lined with parchment paper.
- When there isn’t anymore room to cut out cookies from the dough, roll it back up into a ball and re-roll it out to 1/4 inch thickness. Repeat the process until all the dough is gone. Repeat the process with the other half of the dough.
- Bake in the preheat oven for 9-11 minutes, until just set and the bottom edges of the cookies turn a light golden brown. Allow them to cool on the baking sheet for 5 minutes then transfer the cookies to a wire rack to cool completely before icing.
Make the Royal Icing
- Add the powdered sugar and meringue powder to the bowl of a stand mixer fitted with the paddle attachment (hand mixer will work too). Mix on low for 30 seconds to combine.
- With the mixer on low, slowly add the room temperature water then add the vanilla extract. Increase the mixer to medium-high speed and beat until stiff peaks form (4-5 minutes). When you lift the paddle out of the icing the frosting should create peaks.
- turn the mixer back up to medium speed and add water 1 tablespoon at a time until the icing starts to thin. When you pick up the paddle attachment the icing should drizzle back down into the bowl and leaves lines on the top and just barely melt into the rest of the icing. i used 4-5 tablespoons of water.
Notes
Video
Equipment
- Baking sheets
- Parchment paper
- Bowls
- Piping bags
- Wilton No. 2 Tip
Nutrition
Nutrition information is automatically calculated, so should only be used as an approximation.
This post may contain affiliate links. Read our disclosure policy.

