
You know the breakfast trap. The waffles look healthy. They taste fine. You eat two, you feel off, and by 10am you’re starving and digging through the pantry.
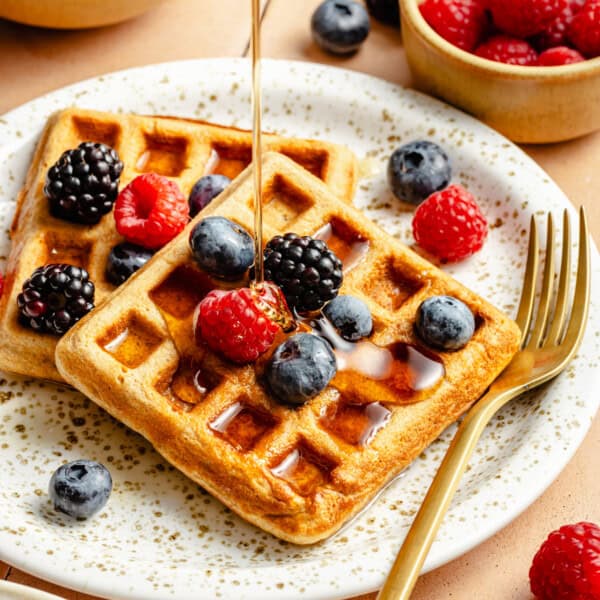
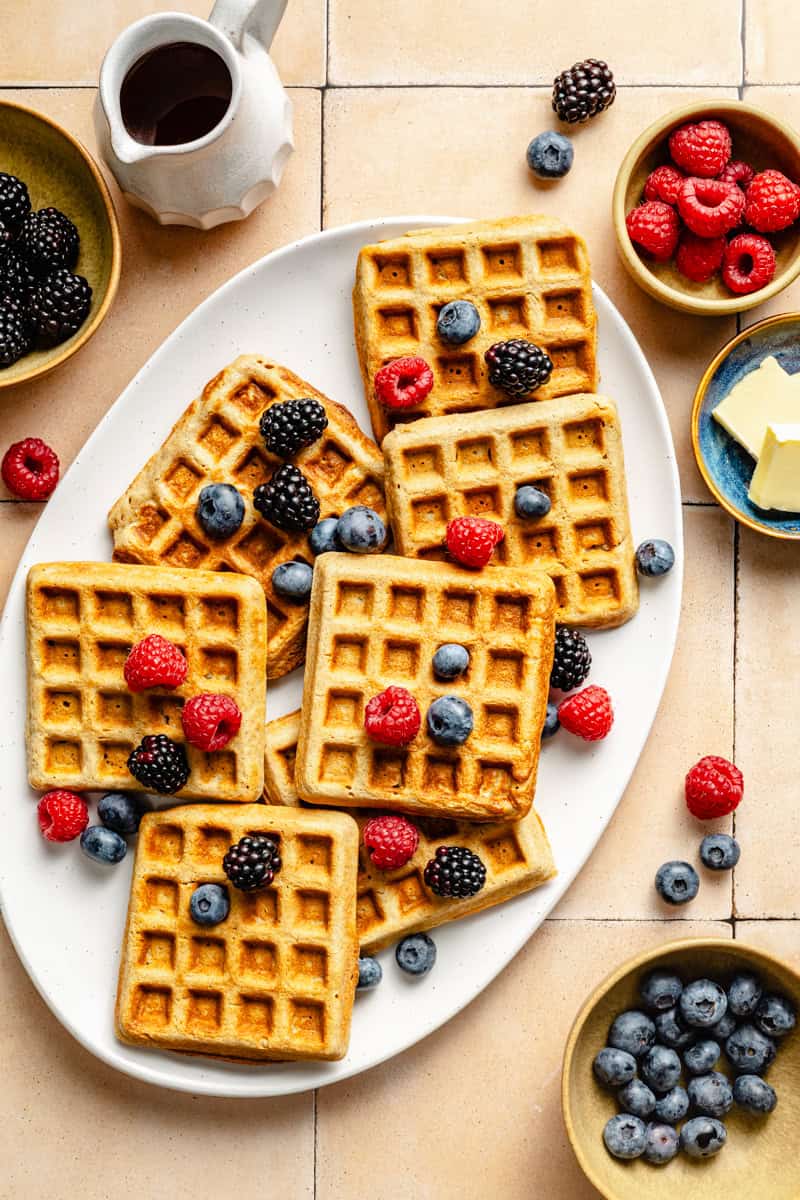
These oatmeal waffles are the version that actually holds you up to lunch. Crispy on the outside, tender in the middle, no protein powder, no flour-blend math. They’re the batch I keep stacked in the freezer so a hot waffle is one toaster cycle away on a Tuesday morning that already got away from me.
This is the only oatmeal waffle recipe in my rotation. Not because I haven’t tried others. Because this one keeps the family full!
If pancakes are more your morning move, my oat flour pancakes use the same approach. And on the days I want savory instead of sweet, I make my high-protein breakfast sandwich.
Looking for another oatmeal breakfast? Try blueberry oatmeal bars or brown butter blueberry coffee cake next.
Why These Oatmeal Waffles Actually Keep You Full
The protein-and-fiber-keeps-you-full piece isn’t a marketing claim, it’s just the ingredients. Whole rolled oats give you fiber. Eggs and milk (or Greek yogurt if you want to push it further) give you the protein. No protein powder needed!
What sets this version apart from every other healthy oatmeal waffle on Pinterest is three small things. A short batter rest. A hot iron, every time. Cooling on a rack instead of a plate.
Those three tricks are the difference between crispy and chewy.
And if you’re serving a crowd, turn them into overnight waffle casserole (everyone loves it).
Ingredients You Need (And Why)
These pantry staples turn into the most delicious pancakes in minutes!
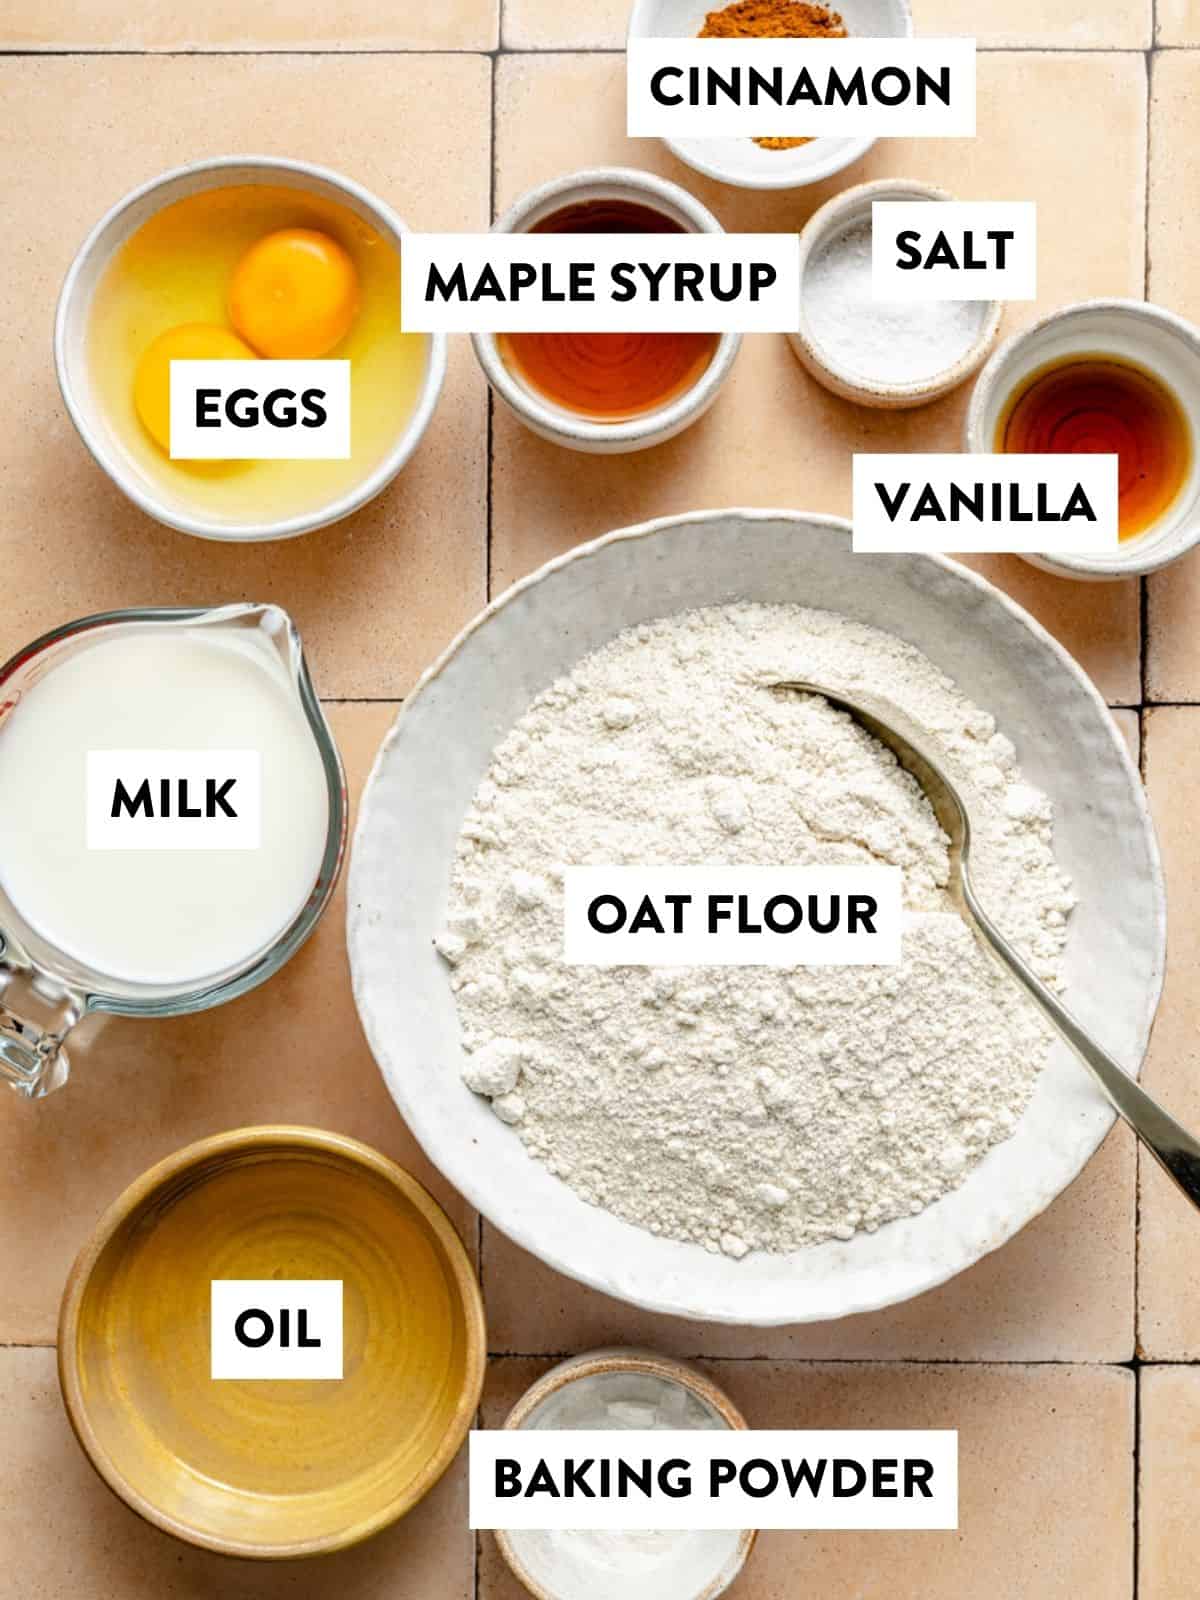
- Rolled oats. Old-fashioned, not instant. Old-fashioned blends into a flour-like consistency without going pasty. Use gluten-free if needed.
- Eggs. Two large. They bind the batter and add real protein.
- Milk. Whole milk gives the most tender result. Almond milk and oat milk both work. Use what’s in your fridge.
- Baking powder. Fresh matters here. A flat oatmeal waffle is almost always old baking powder.
- Vanilla, cinnamon, and a pinch of salt. The flavor backbone. Cinnamon is non-negotiable in this batter.
- A little melted butter or coconut oil. Adds tenderness and helps the outside crisp.
Optional protein boost: a quarter cup of Greek yogurt or cottage cheese stirred in. Adds protein and softens the interior crumb. Worth doing on a Sunday batch.
How to Make Gluten-Free Oat Waffles
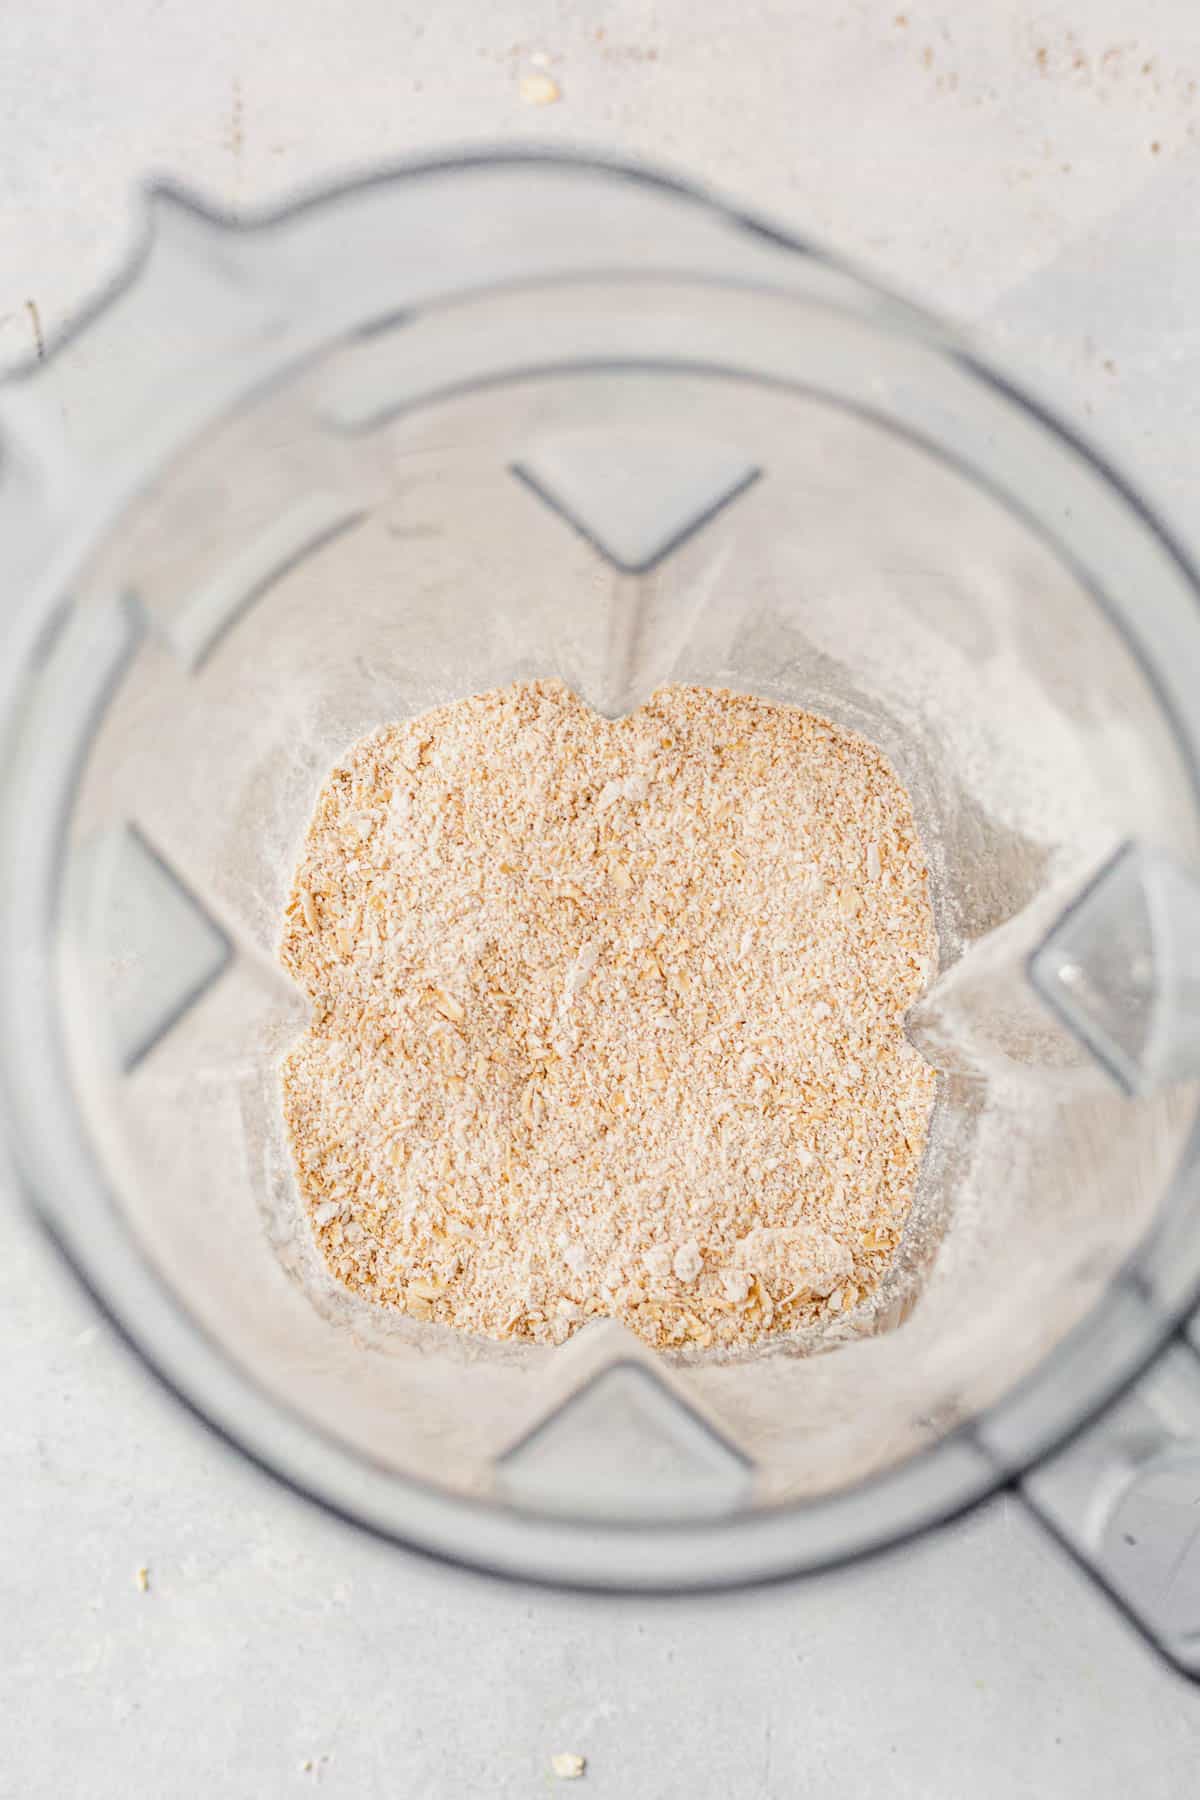
Step 1. Blend the oats: Use a high-speed blender or food processor and run it until you don’t see whole oats anymore. The result should look like a coarse flour.
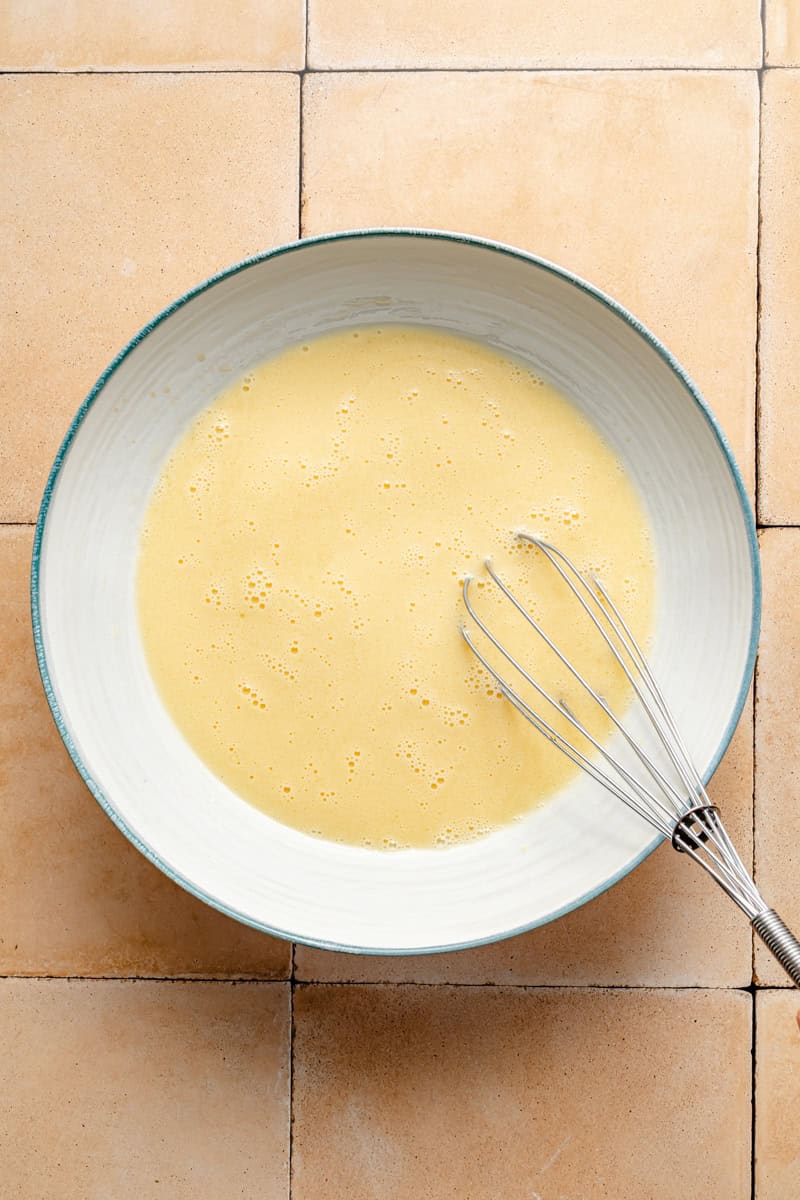
Step 2. Make the batter: Whisk together the wet ingredients in a large bowl then add the oat flour, salt, and baking powder. and stir to combine. Alternately, add the rest of the wet and dry ingredients to the same blender and blend until smooth. The pour should be a hair thicker than pancake batter.
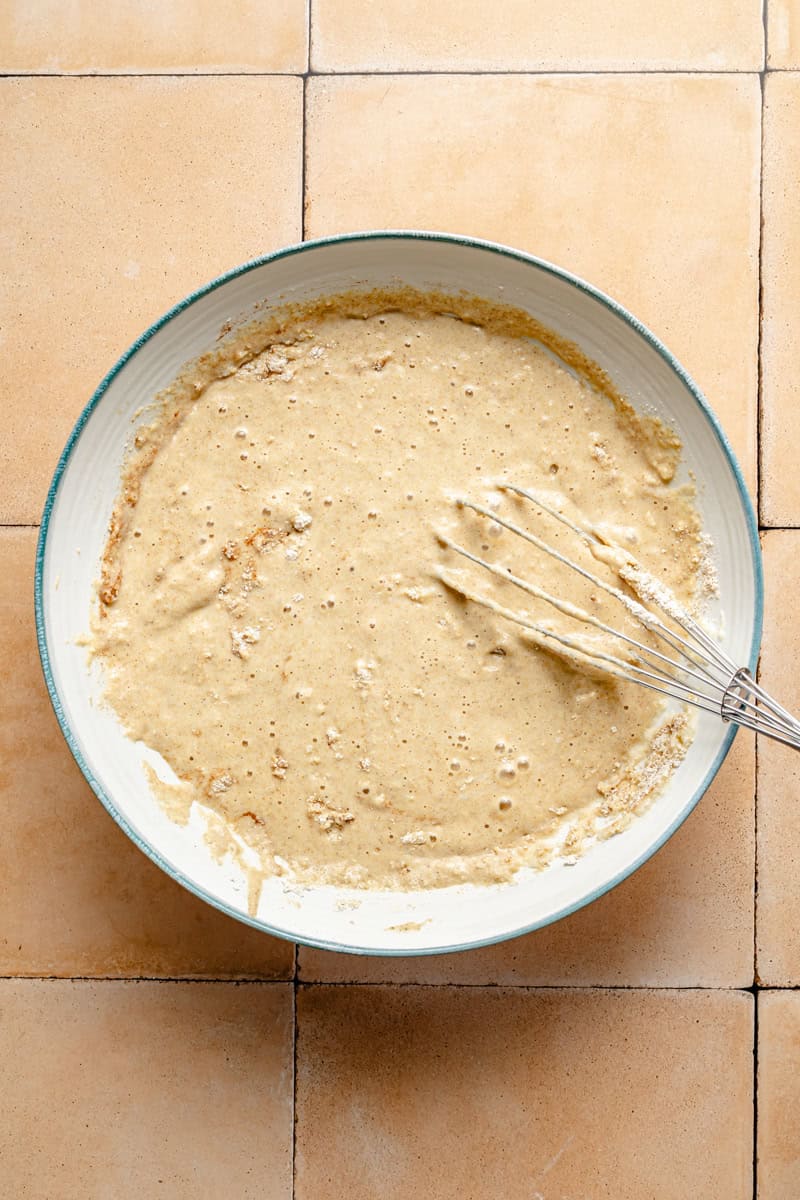
Step 3. Rest the batter: Let it sit undisturbed for five minutes. Do not skip this. The oats absorb the liquid in those five minutes and the baking powder activates. You get a fluffier interior and a crispier outside as a result.
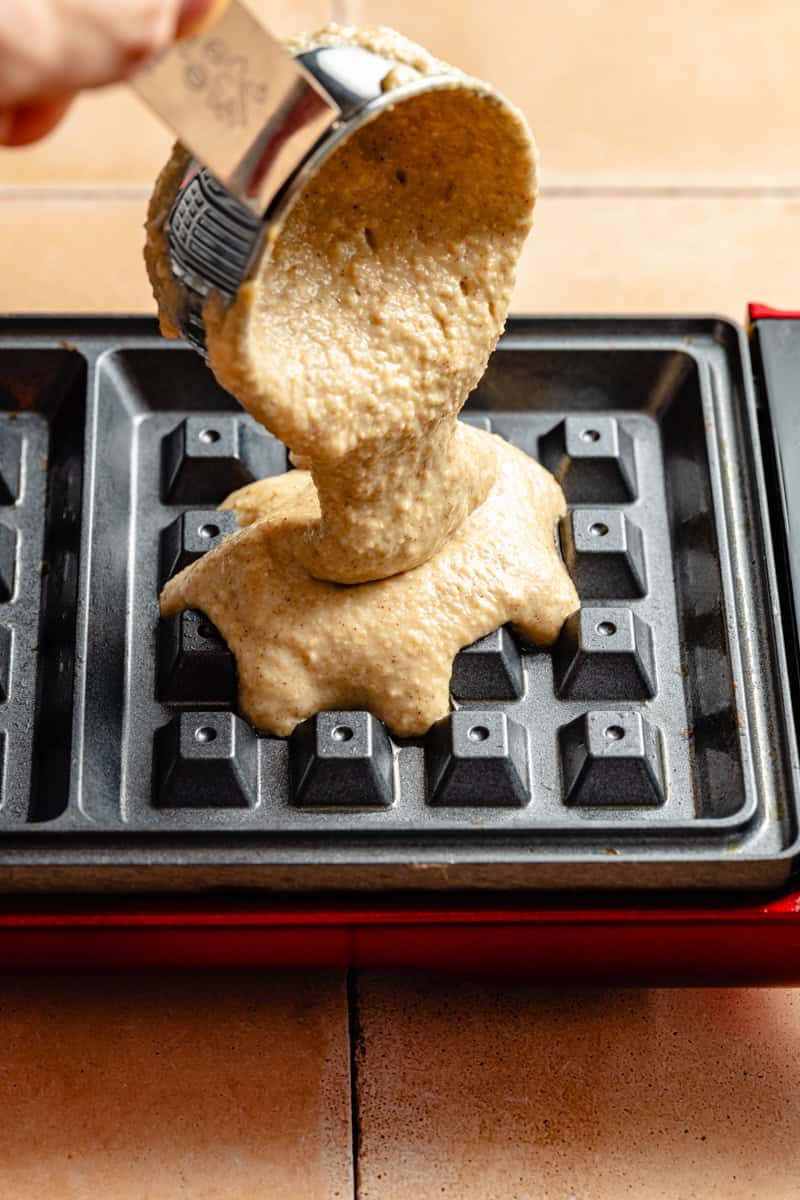
Step 4. Cook the waffles: Heat the waffle iron until fully hot. Brush or spray it with a little melted butter or oil. Pour the batter to fill the iron and cook until golden and crisp on the outside, about three to four minutes depending on your iron.
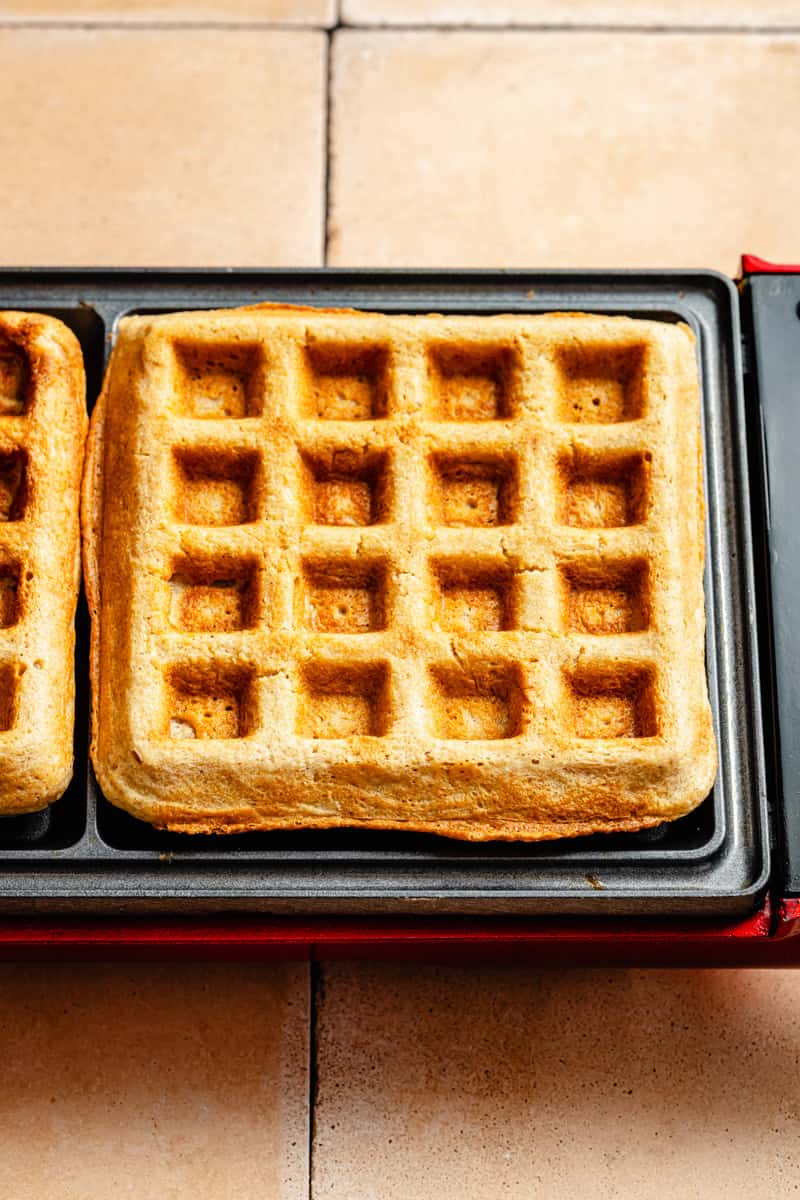
Step 5. Cool and enjoy: Cool the cooked waffles on a wire rack, not a plate. A plate steams the bottoms and you lose the crisp. Repeat with the remaining batter.
Need another gluten-free breakfast? Try blended overnight oats or yogurt chia pudding next.
The Three Things That Keep These Crispy
Most oatmeal waffles go soggy. Here is exactly why this one doesn’t.
- Rest the batter. Five minutes minimum. The oat flour needs time to drink the liquid. Skip the rest and the batter stays too thin and the waffle steams instead of crisps.
- A hot iron, every time. A cold iron makes pale, chewy waffles. If your iron has a beeper that says it’s preheated and you don’t trust it, give it another minute.
- Cool on a rack, not a plate. Stacking hot waffles on a plate traps steam and softens the bottoms. A wire rack keeps them crisp until everyone’s at the table.
PS, these pair with my oatmeal chocolate chip muffins for a make-ahead breakfast box.
How to Freeze and Reheat
Make a double batch on Sunday and freeze the rest. Tuesday morning at 7:42am you’re not scrambling, you’re spreading peanut butter on a hot waffle.
Cool the waffles fully on a wire rack. Stack with a piece of parchment between each one. Slide the stack into a freezer bag and freeze flat. They hold for up to two months without losing texture.
To reheat, pop a frozen waffle straight into the toaster on the medium setting. It comes out crispier than fresh from the iron. No defrost step, no microwave, no soggy bottom.
I do the same freeze-and-toast move with my high-protein breakfast burrito for savory mornings.
What to Top them With
Toppings are where the protein equation lands. The waffles carry you most of the way and the toppings finish the job.
Greek yogurt and berries. Two tablespoons of Greek yogurt instead of butter pushes protein up without any other change. And berries give you more fiber.
Almond or peanut butter. Spread it over a hot waffle and the heat melts it just enough.
Cottage cheese and honey. Sounds odd, tastes great. The cottage cheese turns silky against a warm waffle, similar to cottage cheese toast.
Real maple syrup. If you’re going for syrup, use the real one.
FAQs
Yes, as long as you use certified gluten-free oats. Standard rolled oats can be cross-contaminated, so check the label if you’re cooking for someone with celiac.
Yes. Use store-bought oat flour and whisk the batter by hand. The texture is slightly less smooth but the result is the same.
Three usual culprits. The batter wasn’t rested. The iron wasn’t hot enough. The waffles got stacked on a plate after cooking. Fix any one of those and the texture jumps.
Yes. Use almond milk, oat milk, or any dairy-free milk in the batter, and use coconut oil instead of butter.
No, refrigerated batter goes flat by morning. Cook the whole batch and refrigerate or freeze the cooked waffles instead. Toaster reheat is faster than a fresh batter from scratch anyway.
Stir a quarter cup of Greek yogurt or cottage cheese into the batter. Top with peanut butter or another quarter cup of yogurt. Use whole milk or Fairlife. You can land at 20+ grams of protein per waffle without protein powder.
No. Steel-cut won’t blend smoothly. Instant turns gummy. Old-fashioned rolled oats are the move.
Looking for more? Try oat flour pancakes next!
Looking to use up your oat flour? Try oat flour cookies or oat flour banana bread too!
This is the kind of breakfast that earns a permanent spot in the rotation. One bowl of batter, one waffle iron, one freezer bag, and the rest of the week’s mornings get a little easier.
Oatmeal Waffles
Save this Recipe!
Ingredients
- 1 cup milk any kind
- 2 Tablespoons maple syrup
- 1/4 cup coconut oil melted and cooled
- 2 large eggs
- 1 teaspoon pure vanilla extract
- 2 1/4 cups oat flour homemade or store bought, certified gluten-free oats
- 2 teaspoons baking powder
- 1/2 teaspoon ground cinnamon
- 1/2 teaspoon sea salt
Instructions
- Blend the oats: In a large bowl, whisk together the wet ingredients until combined.1 cup milk, 2 Tablespoons maple syrup, 1/4 cup coconut oil, 2 large eggs, 1 teaspoon pure vanilla extract
- Mix the batter and rest: Add the dry ingredients and whisk until just combined. Do not overmix. Let the batter rest for 10-15 minutes to allow the oats to absorb the moisture and help the baking powder activate. Preheat the waffle iron (if yours has a dial, set it to medium-high, about 375°F).2 1/4 cups oat flour, 2 teaspoons baking powder, 1/2 teaspoon ground cinnamon, 1/2 teaspoon sea salt
- Cook the waffles: Spray the waffle maker with non-stick spray and fill the waffle iron with batter to cover the center and most of the surface area of the bottom, leaving the edges clear so they spread but don't overflow. Close the lid and cook until the waffle iron light turns green, or until the waffles are golden brown. Transfer to a plate to cooling rack and repeat with remaining waffle batter.
- Serve with butter, syrup, fresh fruit, or your favorite waffle toppings.
Notes
Nutrition
Nutrition information is automatically calculated, so should only be used as an approximation.
This post may contain affiliate links. Read our disclosure policy.


Just made this because I was craving breakfast for dinner, and it was delicious!
Thanks Ashton!!
I make these all the time. Amazing!
Thanks, Katherine!!