This post may contain affiliate links. Read our disclosure policy.
These chocolate shortbread cookies deliver a big flavor from surprisingly simple ingredients. A classic shortbread cookie gets a lot of chocolate flavor. Dip the cookies in chocolate and decorate them with sprinkles and crushed candy for even more chocolate flavor and a delicious crunch.
Need more cookie recipes? You’ll love these triple chocolate cookies, chocolate pudding cookies, and chocolate marshmallow cookies too.
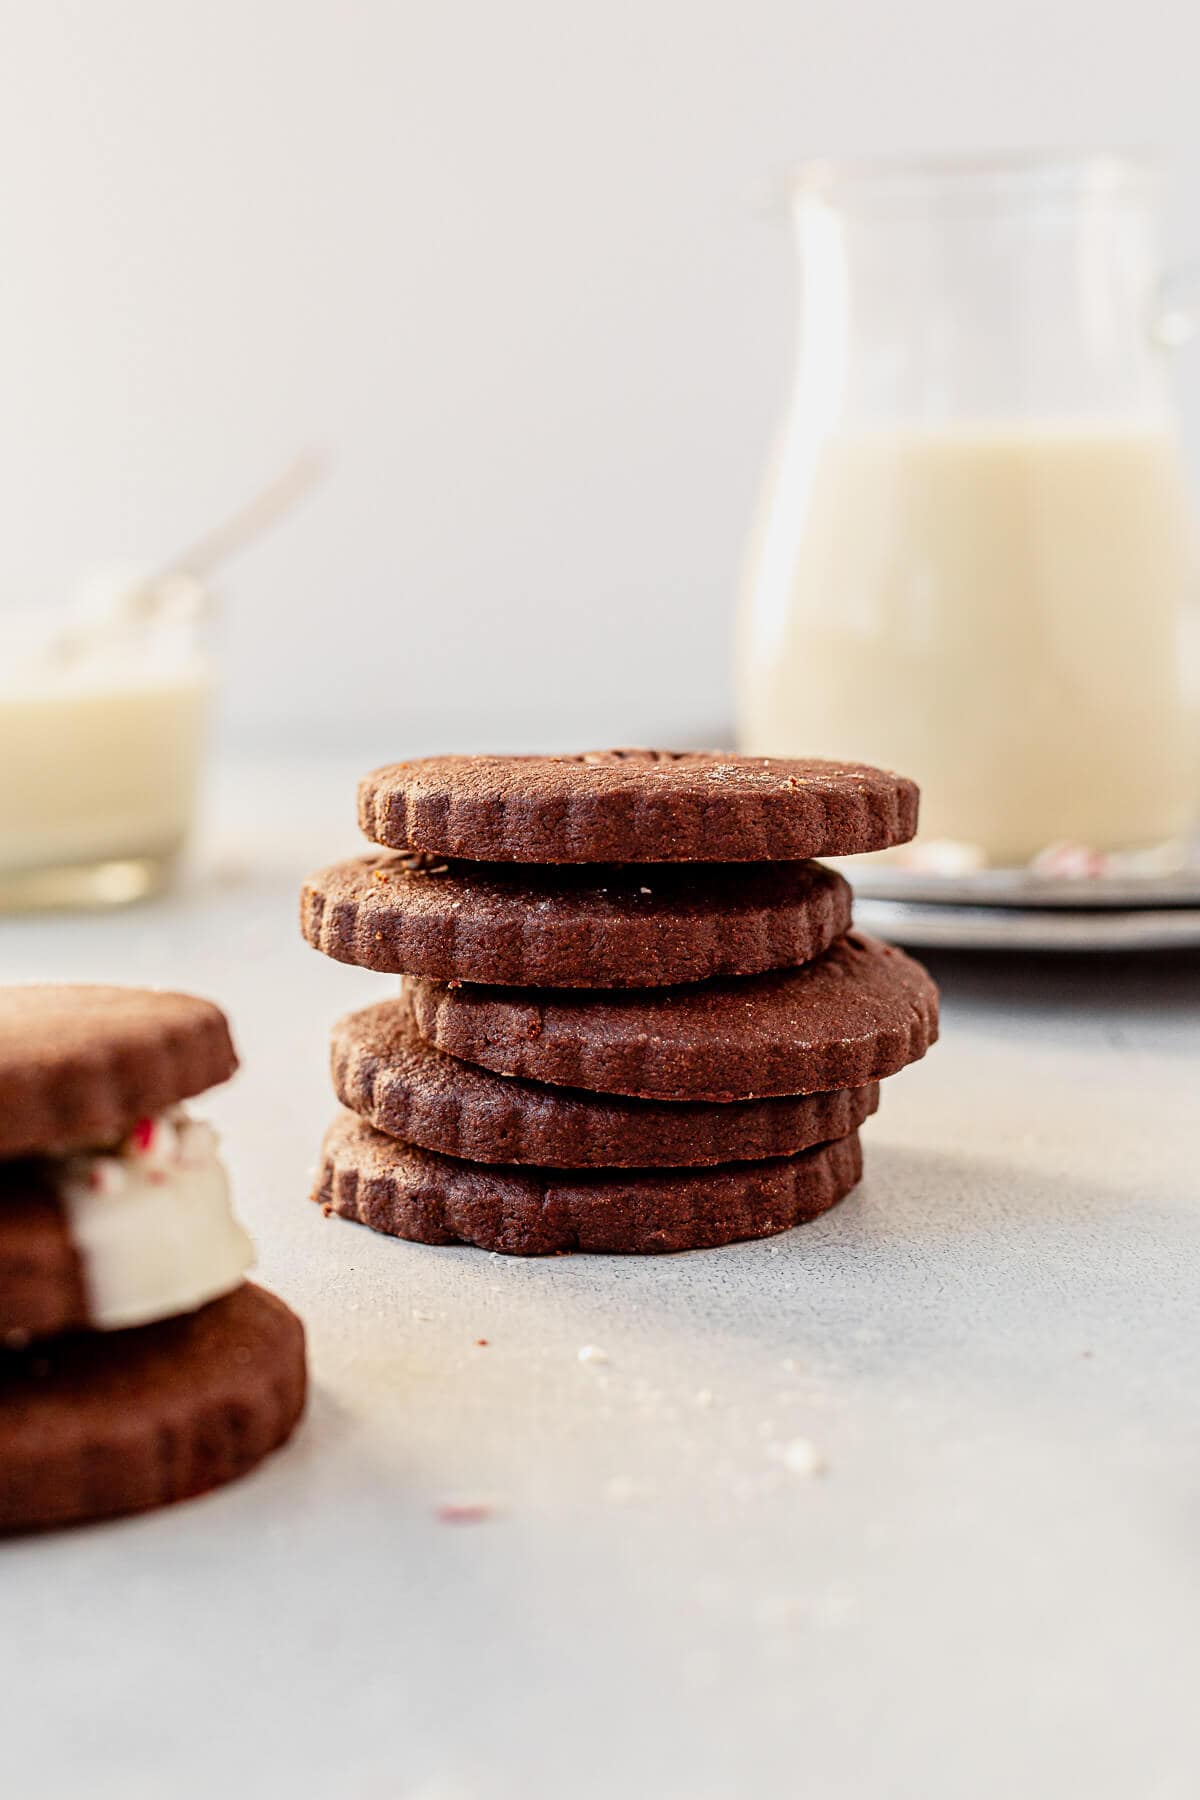
Table of Contents
The shortbread cookie is one of the classic cookies that all other cookie recipes come from. They’re called shortbread cookies because they result in a shortcrust, which is a crumbly texture with a rich buttery flavor.
Similar to pecan shortbread cookies, these chocolate shortbread cookies are very buttery, and without time to chill in the fridge, they will bake into flat greasy puddles.
The need to chill the cookie dough actually works to your advantage. Make the dough ahead of time, throw it in the fridge then cut it out and bake them when you’re ready.
Why You’ll Love These Chocolate Shortbread Cookies
- Simple, basic ingredients.
- Easy-to-follow recipe.
- Rich, buttery, and chocolate flavors all in one.
- Easy to customize with decorations for the holidays.
- Great make-ahead cookie recipe.
- Fun to decorate with the kids, if you want something different than a traditional sugar cookie.
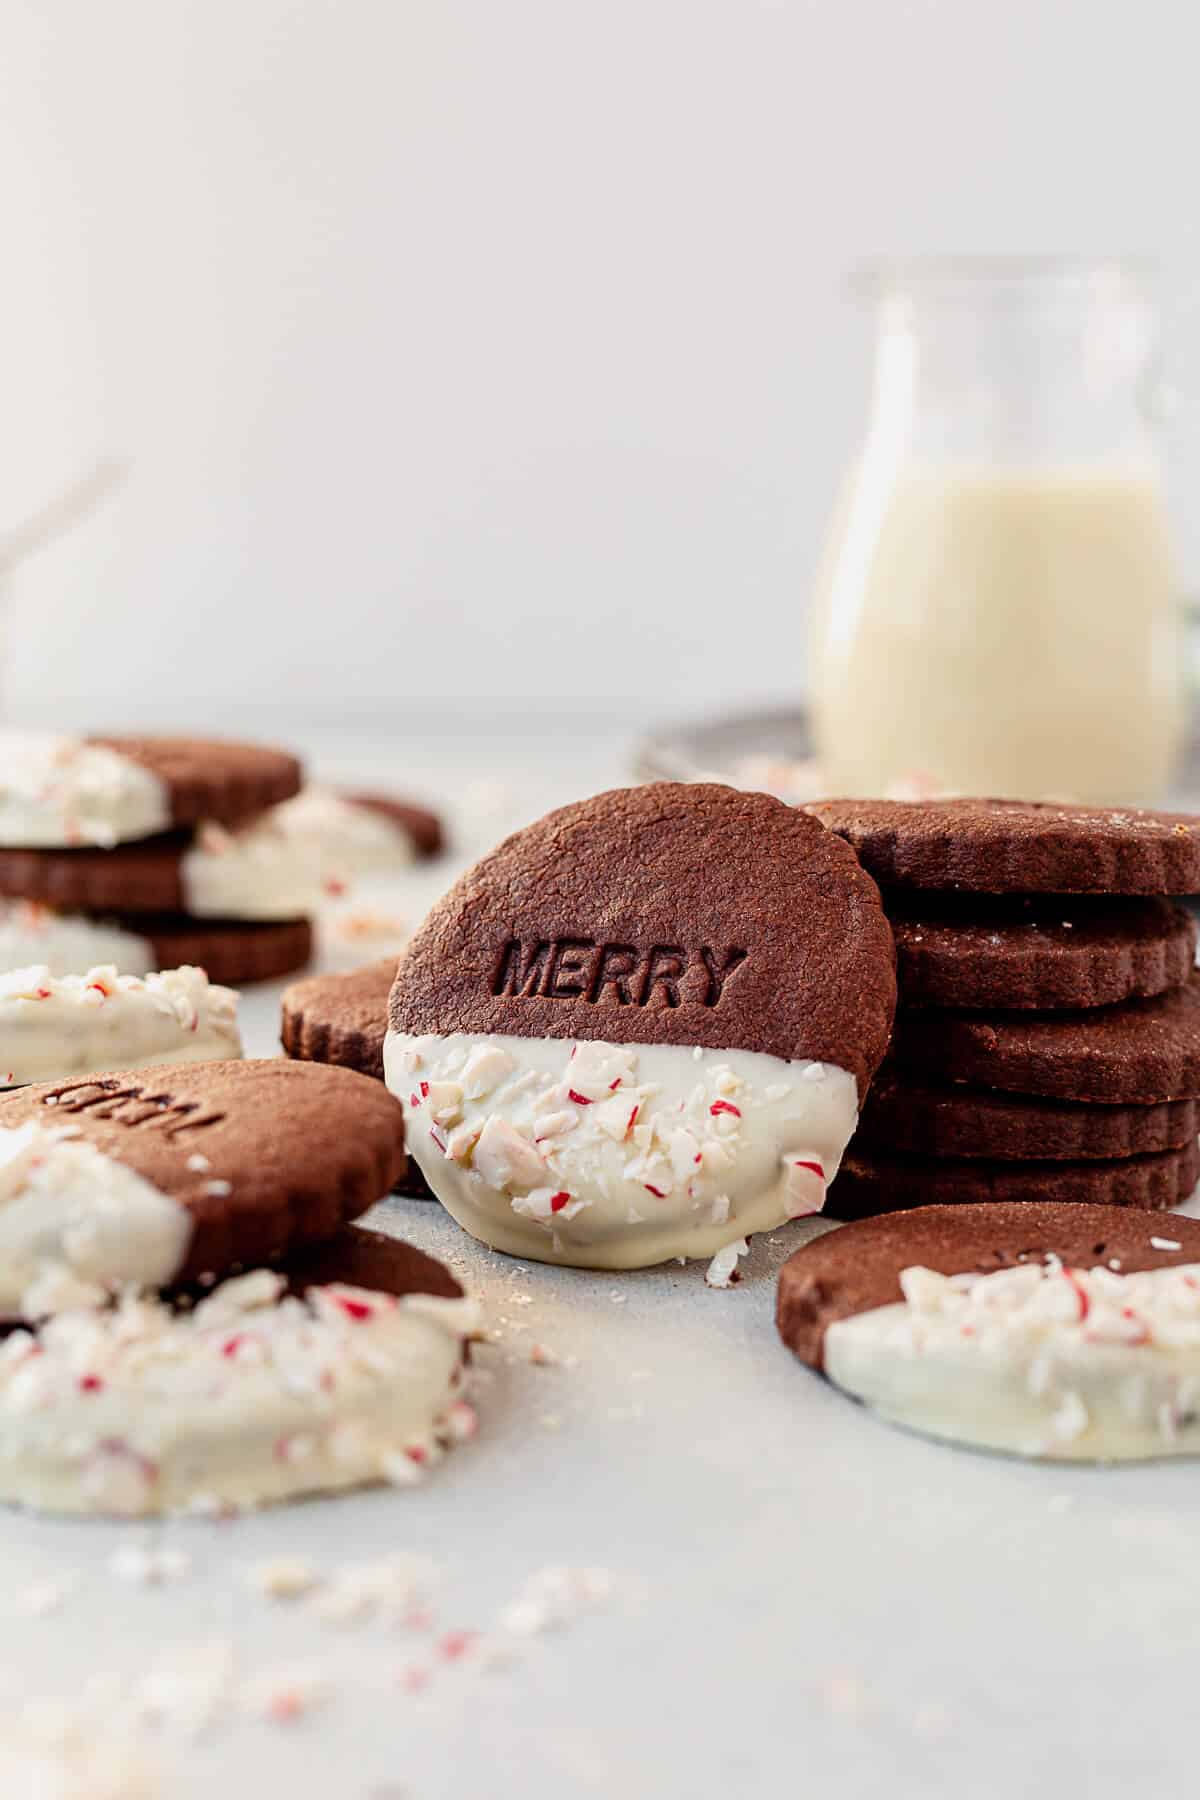
The holiday season isn’t complete without a cookie box full of pecan shortbread cookies and chocolate Rolo cookies. Adding this chocolate cookie to the mix brings in additional holiday cheer. We love making toffee cookies and cheesecake cookies, but there’s something about a cookie that just looks like Christmas. You have to add at least one of those to the mix.
This chocolate shortbread recipe, complete with white chocolate and peppermint, does just that. A buttery shortbread cookie, with the addition of chocolate and festive holiday decorations.
Grab These Ingredients
Here are the simple ingredients for these delicious cookies. Jump down to the recipe card for the exact measurements.
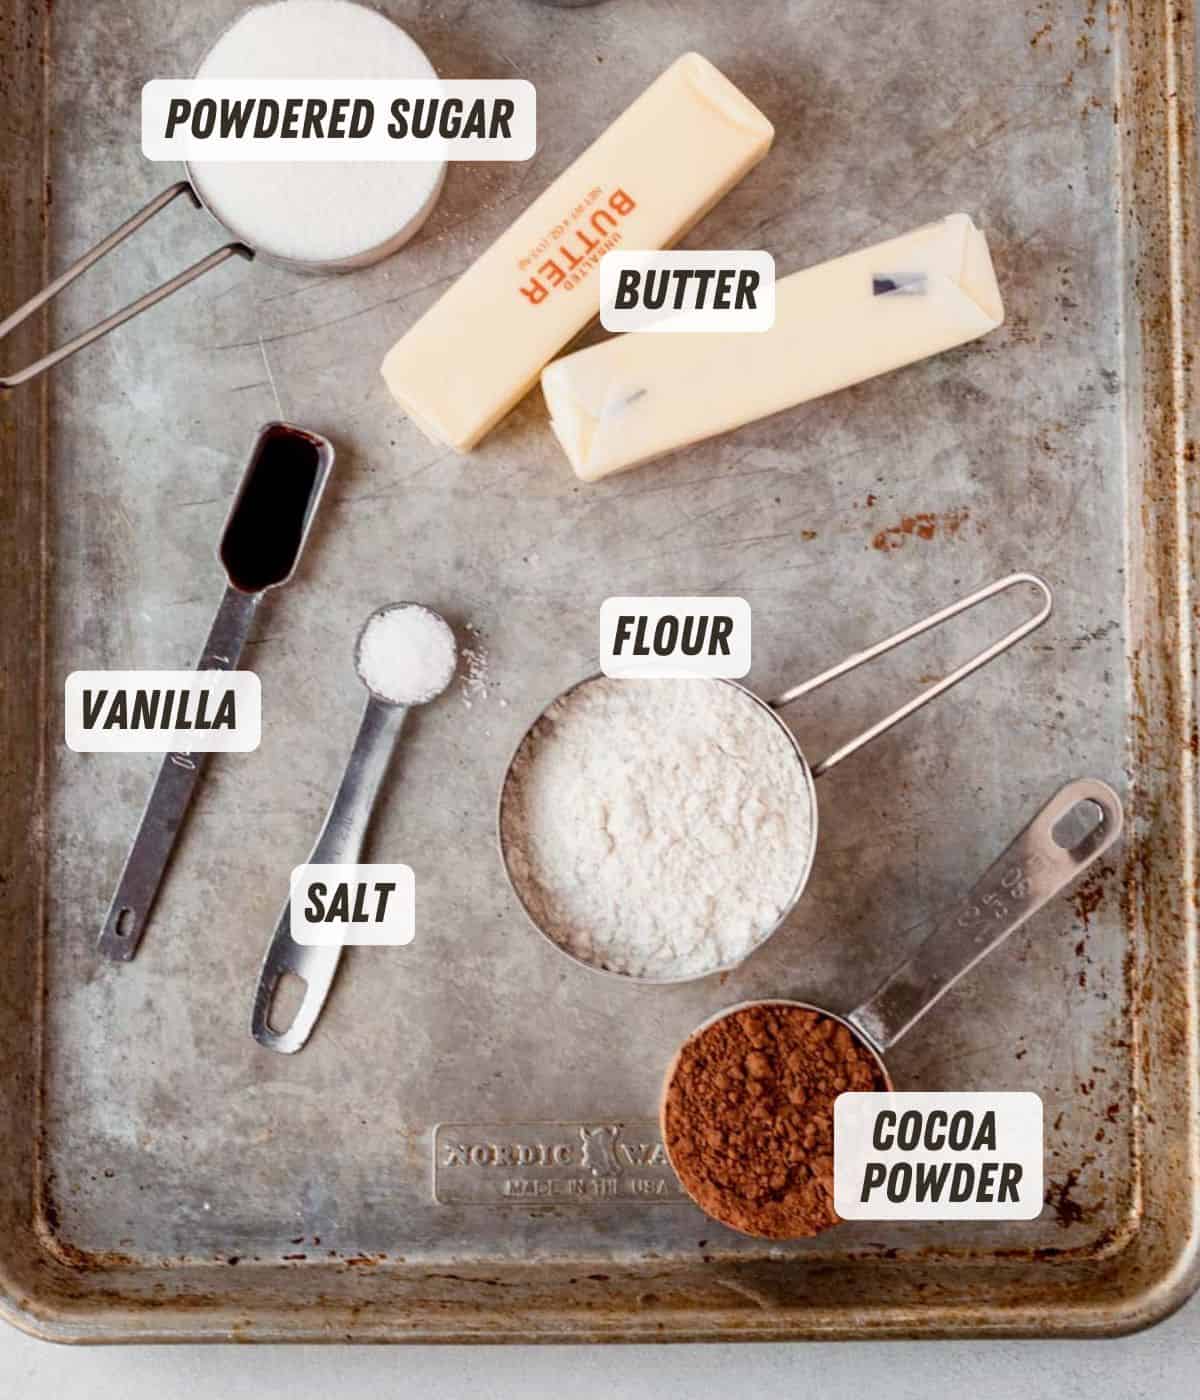
- Unsalted butter: this recipe uses a lot of butter, so be sure to get quality butter, like Kerrygold, for the best results.
- Confectioners’ sugar: we’re using this in place of granulated sugar because it gives them a great texture and helps them hold their shape.
- Vanilla and salt: for a bit of flavor.
- Flour: traditional all-purpose flour and 1:1 gluten-free flour both work in this recipe.
- Cocoa powder: just the right amount of chocolate flavor. See the section below for which type of cocoa powder to use.
- Milk: the addition of cocoa powder dries the cookies out slightly (is a drying ingredient), so we’re adding a bit of milk to help balance it out.
- Decorations: white chocolate and assorted sprinkles.
Natural Vs Dutch-Process Cocoa Powder
This recipe specifically calls for Dutch-process cocoa powder. Dutch-process cocoa powder is a cocoa powder that begins with cocoa beans that have been washed in an alkaline solution of potassium carbonate to neutralize the acid. This means Dutch-process cocoa powder is neutral giving it a darker color and, a more mellow flavor.
The main difference between Natural and Dutch-Process Cocoa Powder is the acid. Natural cocoa powder contains acid, while Dutch-process cocoa powder is neutral.
Acid is an important component in cocoa powder if you’re making a cookie with baking soda, like Rolo cookies, because the baking soda reacts with the acid to help the cookies rise. We aren’t using baking soda in this recipe, or any shortbread recipe, so the neutral, dutch-process cocoa powder is ideal.
How to Make Chocolate Shortbread Cookies
Here are the step-by-step instructions, with photos, to make the best chocolate shortbread cookies. Skip down to the recipe card below for the full recipe and video.
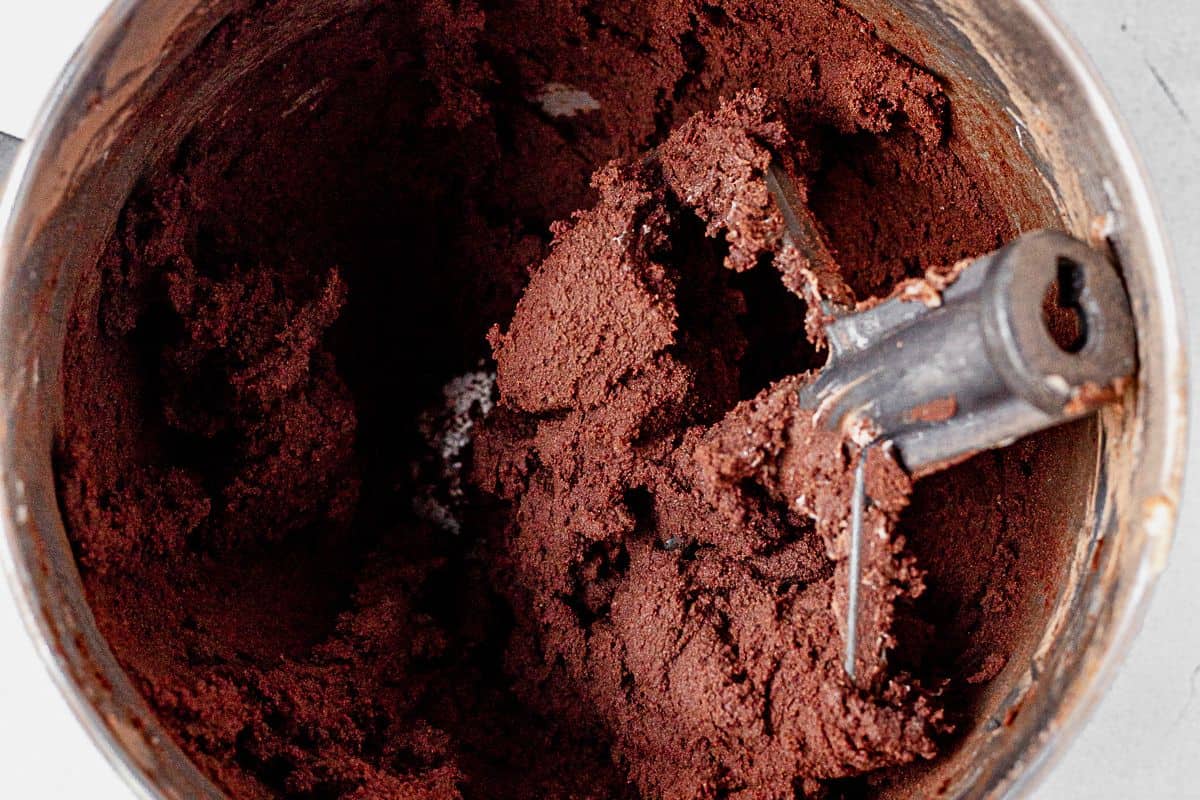
Make the cookie dough: Beat the butter for a few minutes then add the confectioners’ sugar. Add the vanilla and milk and beat again to combine. Whisk the dry ingredients together then slowly add the flour mixture to the wet ingredients with the mixer on low speed.
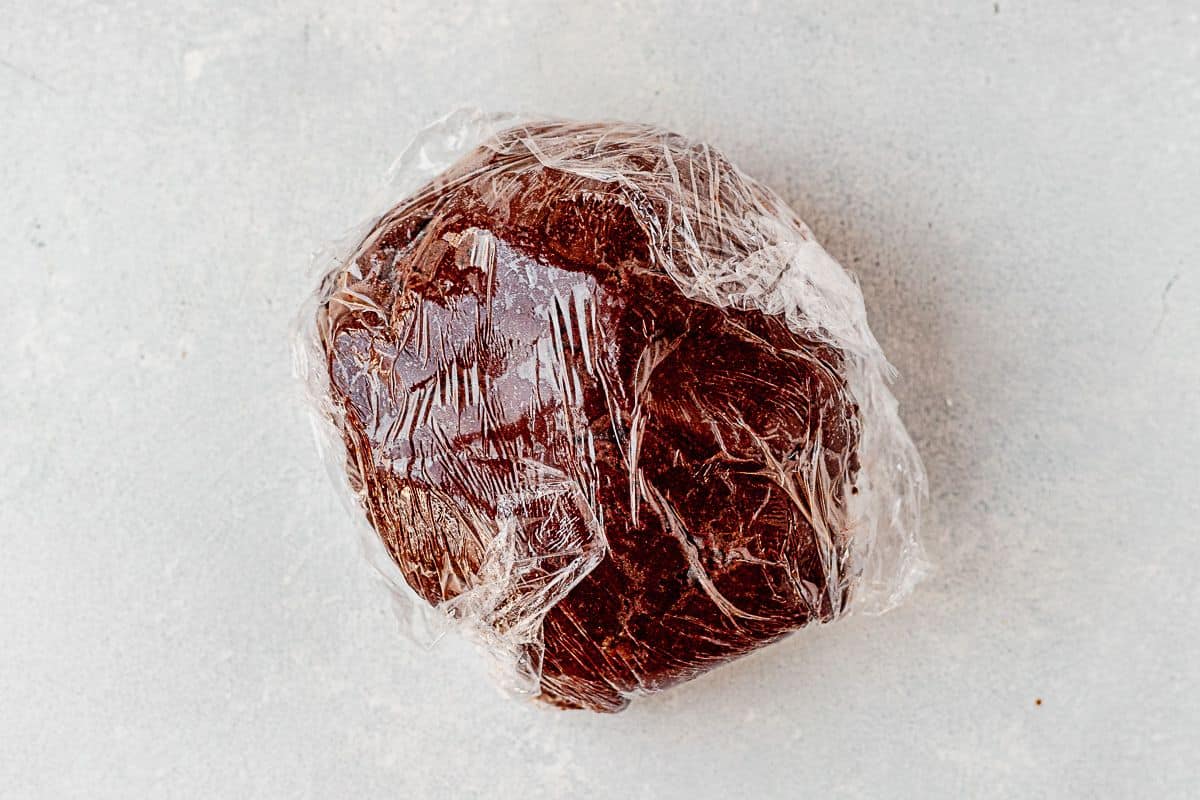
Chill the dough: Wrap the dough tightly in plastic wrap and chill in the fridge for 30 minutes.
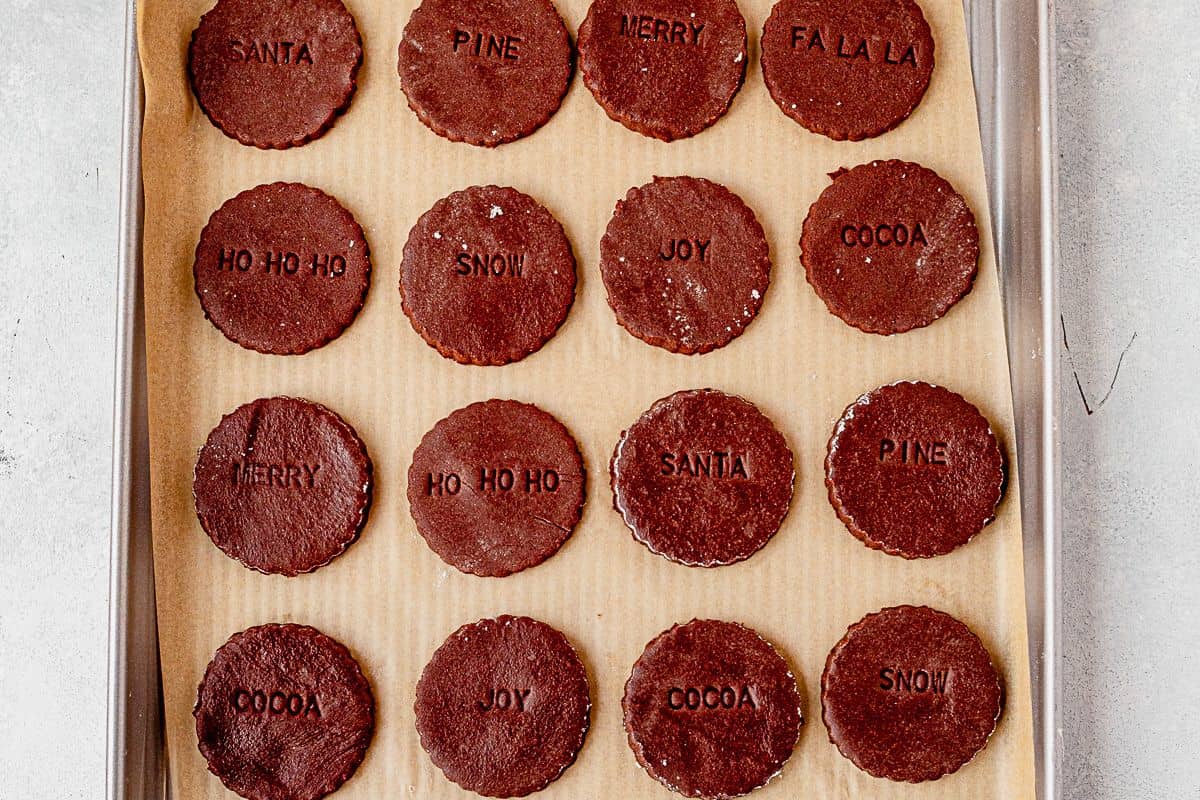
Roll and cut: Roll the dough out into 1/4 inch thickness between two pieces of wax paper. Cut the dough out into shapes and place them on parchment-lined cookie sheets. Stamp the cookies with letter embossers, if desired, then chill the dough again for at least 3 hours, or up to 4 days.
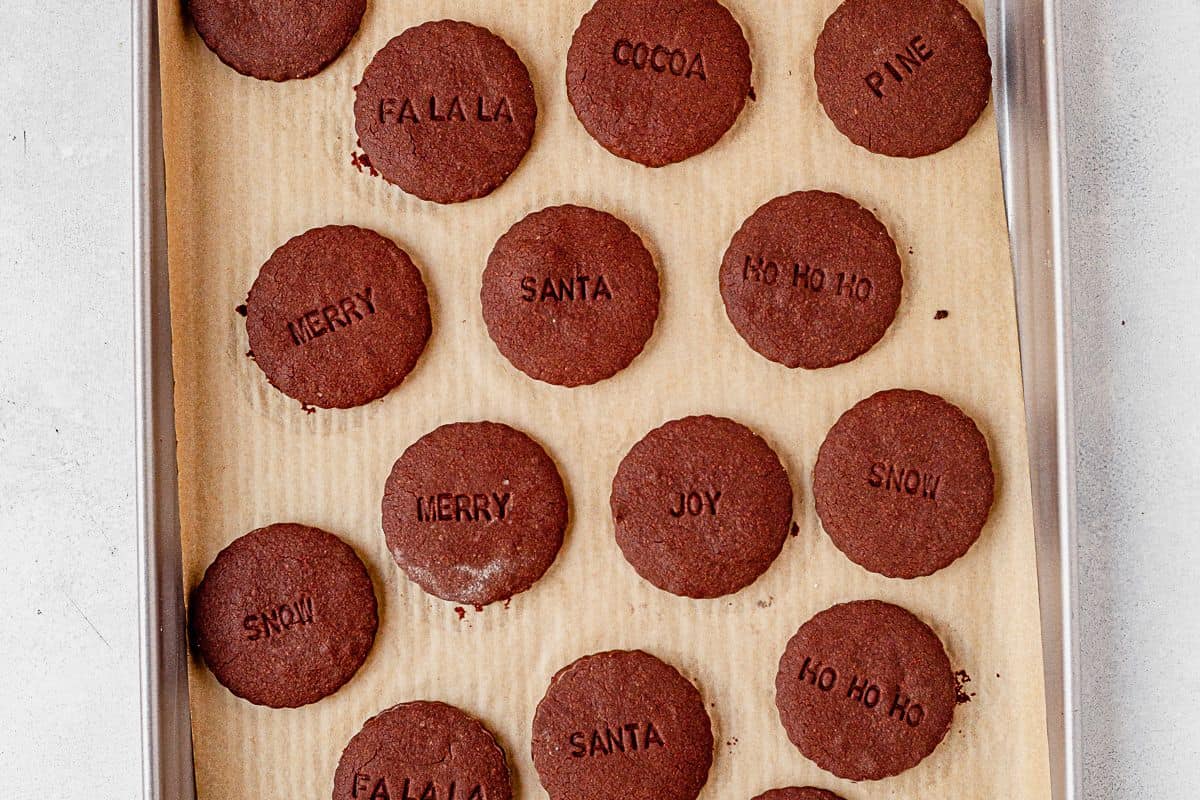
Bake cookies: Bake the cookies at 350°F for 9-11 minutes, until they’re just set around the edges. Be careful not to over bake or you’ll have a very crumbly cookie. Cool them on the cookie sheet for 5 minutes then transfer them to a wire rack to cool completely.
Frequently Asked Questions
Powdered sugar is less dense and results in a lighter cookie. In addition, the texture of the powdered sugar helps prevent spreading, which is important for a shortbread cookie. We tested this recipe with granulated sugar and much prefer the shape and texture of powdered sugar.
One of the key ingredients in shortbread is butter. Shortbread cookies are made of equal parts butter, sugar, and flour, so using quality butter is key to a really great shortbread cookie. Do not use or substitute margarine in this recipe, or any cookie recipe, or you’ll end up with melted puddles of cookie.
A really good shortbread cookie should have a tender texture, but be slightly crisp when you bite into them. It’s not going to be a thick, soft, and chewy chocolate chip pudding cookie. It should have a bite but a buttery soft finish.
Traditional shortbread cookies are rolled into a log and sliced. You can make these chocolate shortbread cookies that way instead of using cookie cutters. Cut the cookie dough in half and roll them into 7-8 inch logs. Wrap them in cling wrap and chill them for at least 3 hours. Use a sharp knife to cut thick slices, then bake according to the directions.
Decorating Chocolate Shortbread Cookies
The options are endless when it comes to decorating these cookies. Dark chocolate cookies are a blank slate for any occasion, not just Christmas. Here are a few decorating ideas we love.
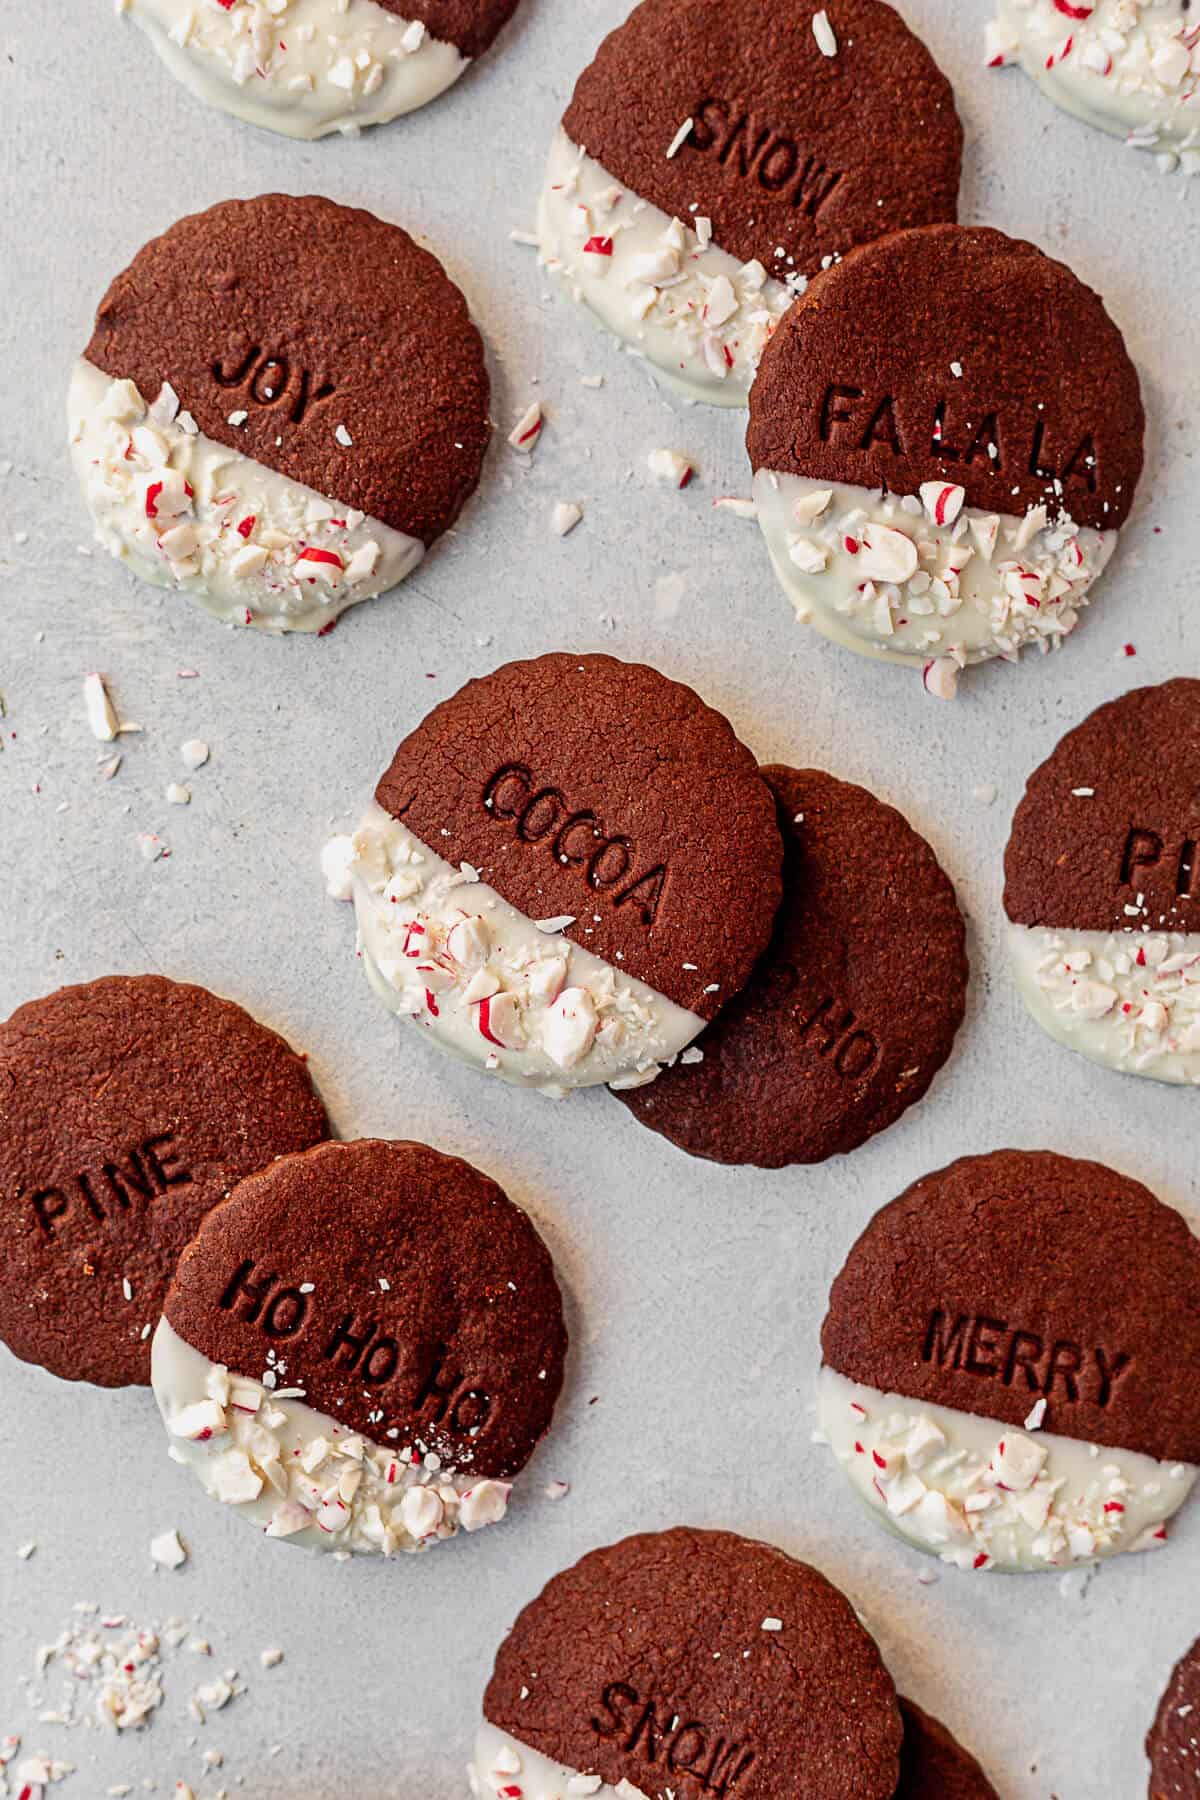
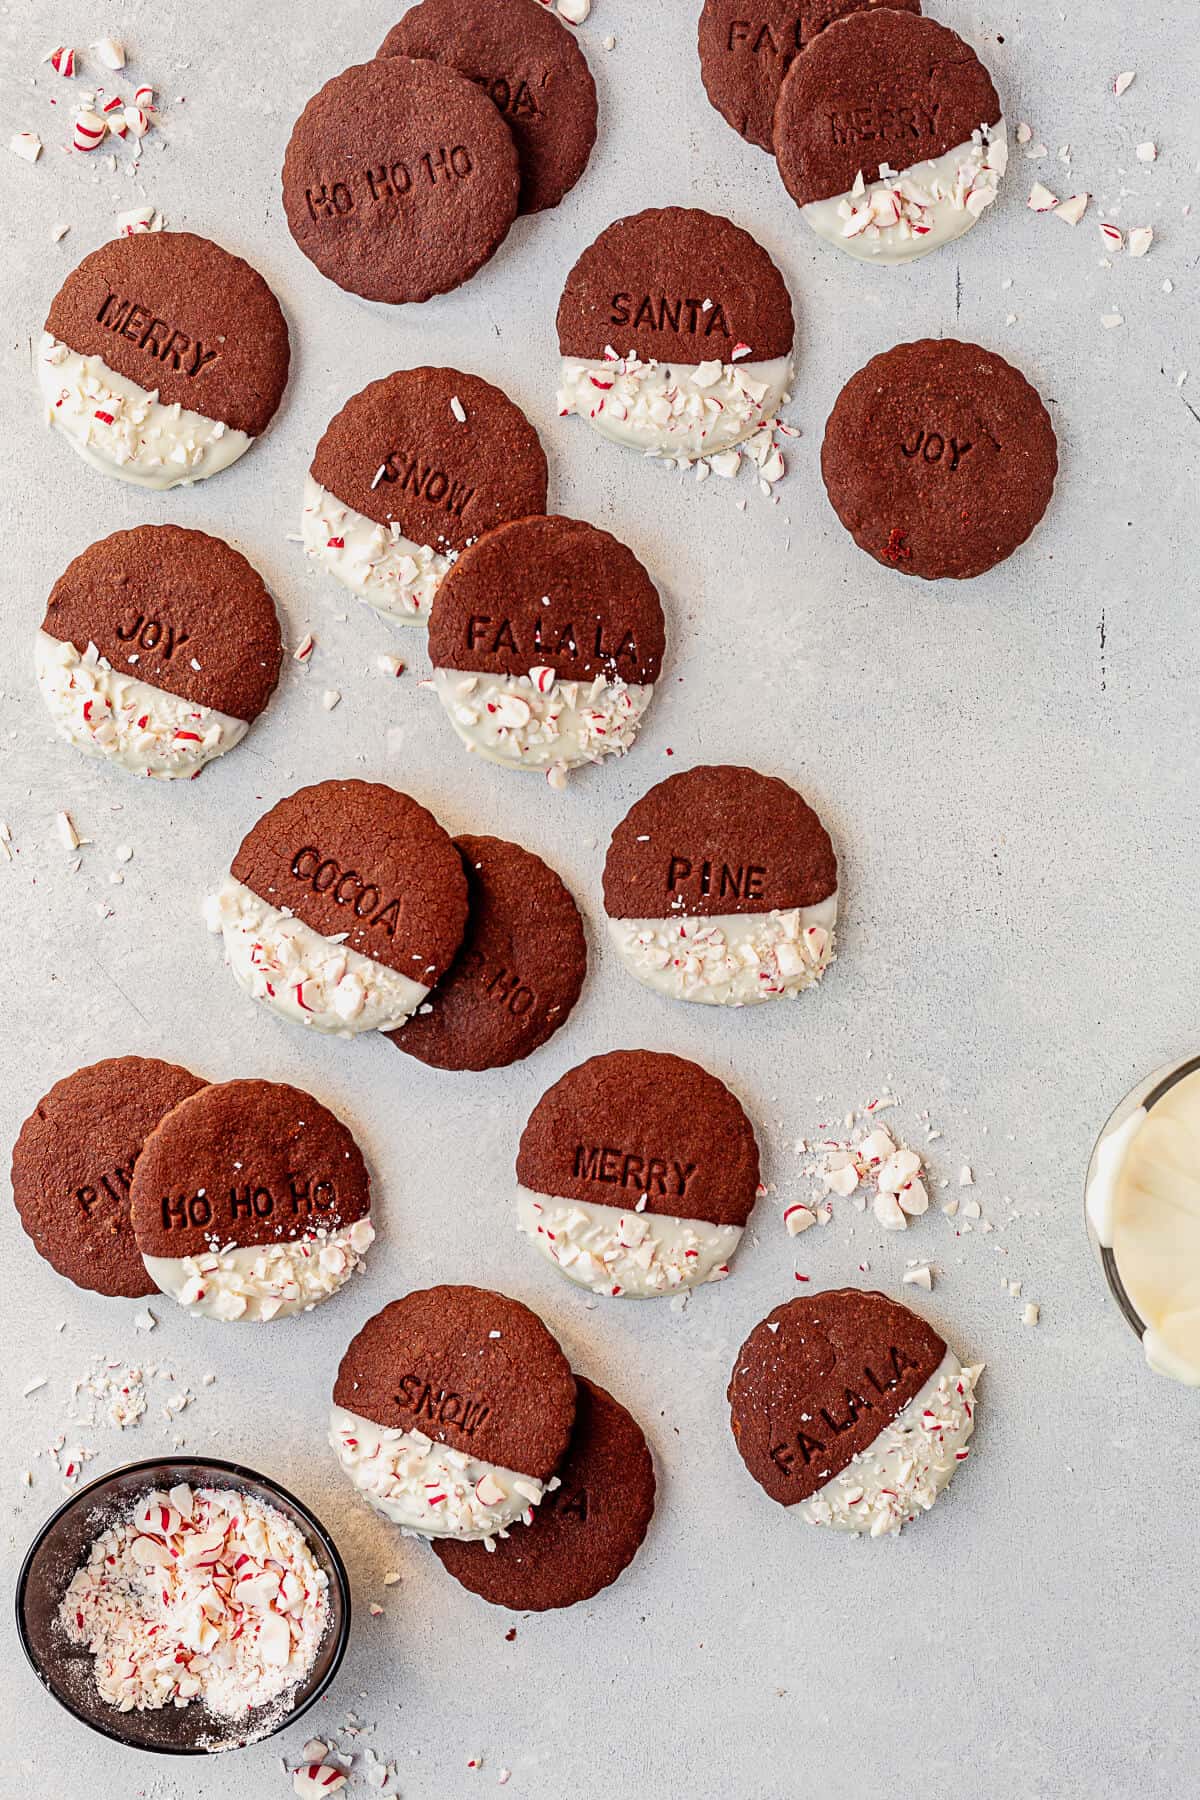
- Stamped cookies: use these letter embossers to stamp festive words onto your cookies. We used Christmas-inspired words, but this would be perfect for birthdays or other holidays.
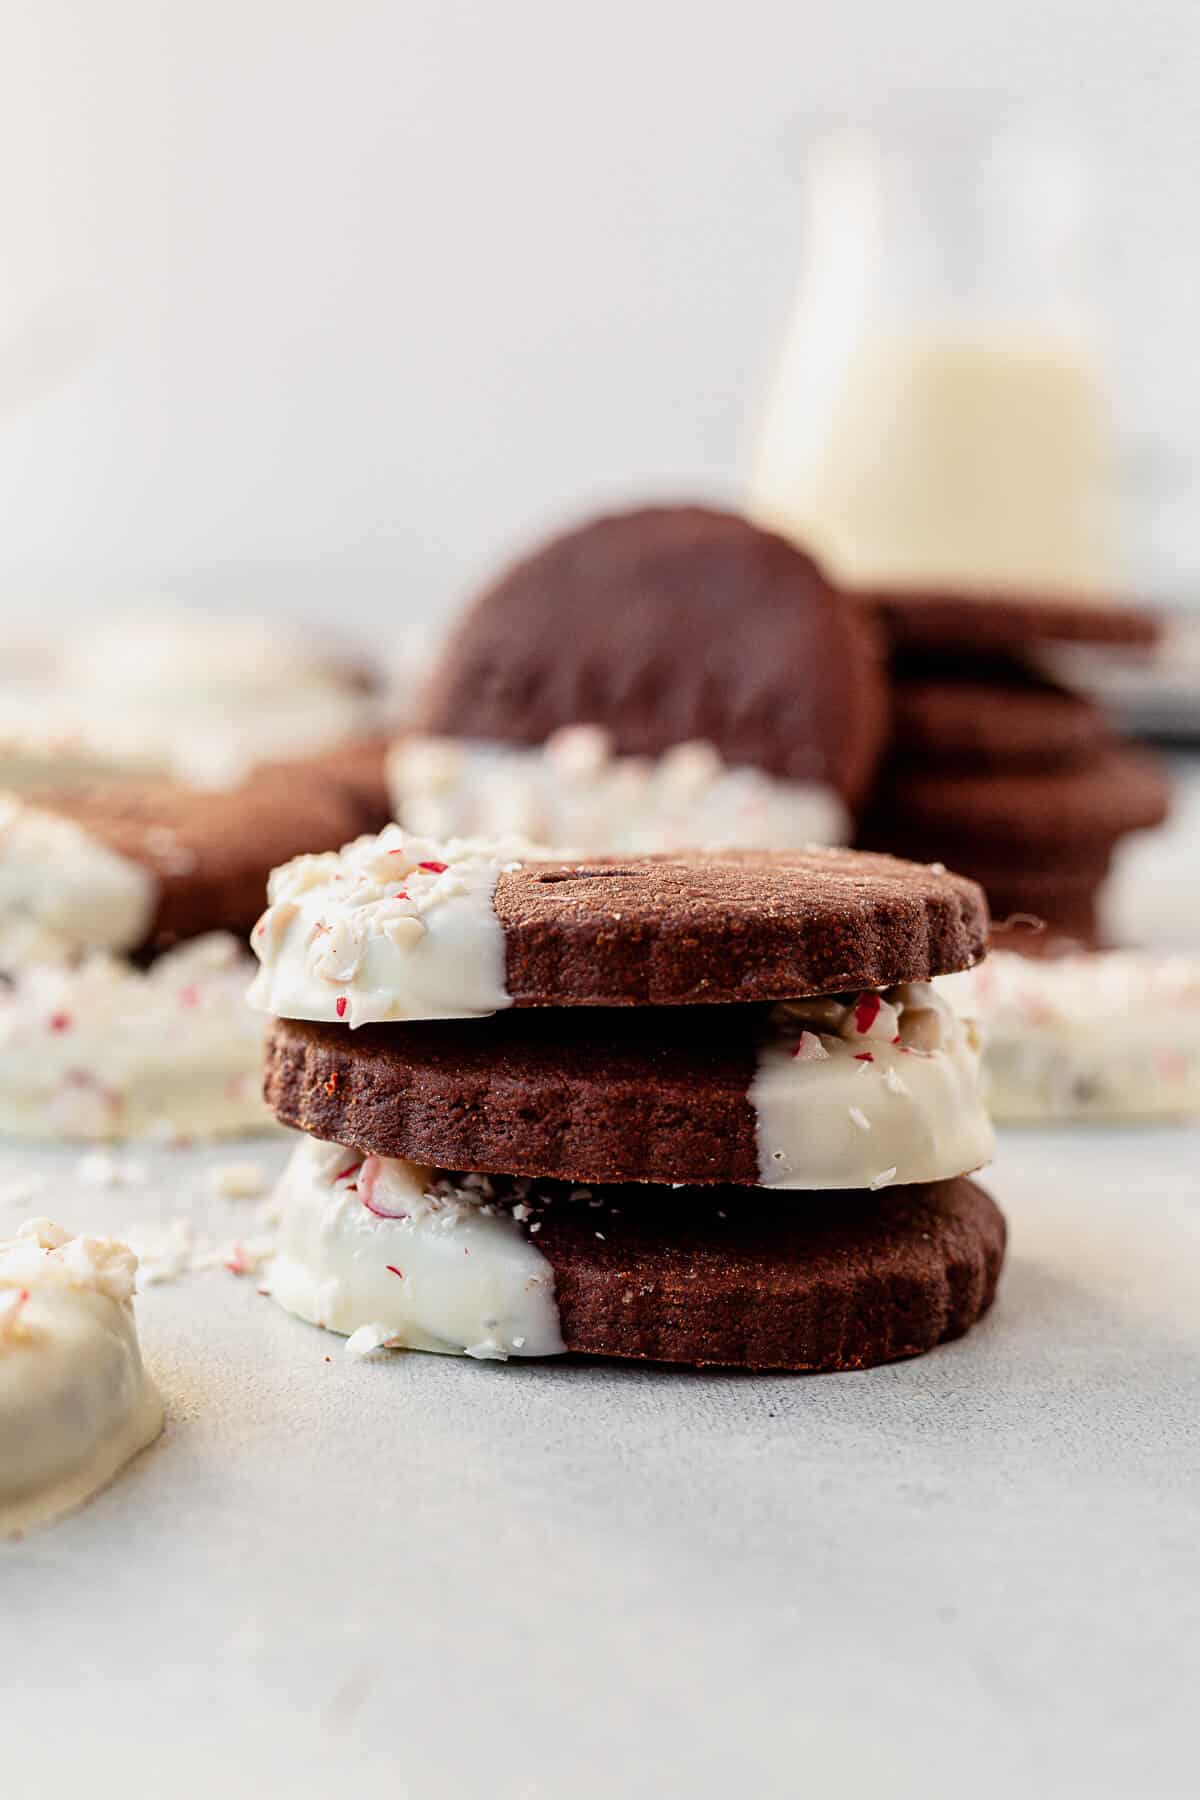
- Dip them in chocolate: we dipped half of the cookies in melted white chocolate because we like the contrast in color. Dark or milk chocolate would be great too.
- Add sprinkles and candies: sprinkle the chocolate with crushed peppermint for a lot of holiday flavor. You could also use Christmas sprinkles, or other sprinkles depending on your celebration.
- Frost them: use this recipe to decorate cookies with the kiddos. Use our royal icing recipe from our gluten-free dairy-free sugar cookies.
- Sandwich cookies: make your favorite buttercream frosting and stuff it between two cookies. Roll the edges in peppermint or sprinkles.
Storage Instructions
Store baked and decorated cookies in an airtight container at room temperature for up to 4 days or in the fridge for up to 1 week. Baked cookies freeze well for up to 3 months.
To freeze the cookie dough, follow the instructions to make the dough and cut out the shapes. Flash-freeze the cookie dough on parchment paper for 30 minutes then transfer and stack the cookies to a freezer bag, layering a piece of parchment paper between each cookie layer. Bake from frozen for 1-2 additional minutes.
If you make this recipe, I’d love for you to give it a star rating ★ below. You can also tag me on Instagram so I can see it!
More Chocolate Cookies
- Gluten free chocolate crinkle cookies
- Chocolate Andes Mint Cookies
- Paleo chocolate peppermint cookies
- Double chocolate chunk marshmallow cookies
- Rolo cookies
Chocolate Shortbread Cookies
Save this Recipe!
Ingredients
- 1 cup (2 sticks) unsalted butter softened to room temperature
- 1/2 cup confectioners’ sugar
- 1 teaspoon vanilla extract
- 1 1/2 cups all-purpose flour or 1:1 gluten-free flour
- 1/2 cup Dutch-processed cocoa powder
- 1 teaspoon salt
- 1 Tablespoon milk
- 8 ounces white chocolate chips or melts
- Crushed peppermint or sprinkles for decorating
Instructions
- Whisk the flour, cocoa powder, and salt in a medium bowl.
- Be at the butter in a large mixing bowl with an electric hand mixer or in a stand mixer fitted with the paddle attachment, until it’s light and smooth. Add the confectioners’ sugar and beat again on medium speed until combined, 1-2 minutes.
- Add the vanilla and milk and beat again until combined. Slowly add the dry ingredients, with the mixer on low. Gradually increase the speed to medium-high and beat until it’s with the cocoa powder and flour beat on low speed, gradually increasing to high speed as the mixture combines, scraping down the sides of the bowl as needed.
- Wrap the dough in plastic wrap and place it in the fridge for 20-30 minutes to chill slightly. Now is a good time to get your letter embossers ready, if using them.
- Line two large baking sheets with parchment paper or a silicone baking mat and set aside.
- Remove the dough from the fridge and roll it out between two pieces of wax paper 1/4 inch thickness. You could also place the dough on a floured work surface. This is a rather sticky cookie dough, so be sure to have excess flour on hand to dust the counter and rolling pin.
- Use a cookie cutter of your choice to cut as many cookies as you can out of the dough. We used a 2 1/2-inch round cookie cutter with scalloped edges, but any shape, including Christmas cookie cutters, works well too. Dip the cookie cutter in flour before pressing it into the dough to help it from sticking. Transfer the cookies to the prepared cookie sheets. Gather up the scraps, re-roll the dough and continue cutting cookies until the dough is gone.
- If you’re embossing your cookies, as shown in the photographs, dip your alphabet letter embossers into flour, tap off the excess, and press them onto the cookies. Be sure to stamp them before chilling in the next step.
- Transfer the cookies to the fridge and chill for at least 2 hours or up to 3 days. The longer the cookie dough chills, the thicker the cookies will be and the better they’ll hold their shape.
- Preheat the oven to 350°F.
- Bake cookies for 9-11 minutes, until the edges and tops are just set. Do not overbake. allow them to cool on the baking sheet for 5 minutes then transfer them to a wire rack to cool completely
- While they’re cooling, prepare the chocolate and decorations if using. Place the white chocolate in a microwave-safe bowl and heat in 30-second increments, stirring between each, until it’s melted and smooth. Dip half the cookies in the melted chocolate and place them back on the baking sheets. Sprinkle with crushed peppermint or sprinkles. Transfer them to the freezer to help the chocolate set quickly.
Notes
Equipment
- Cookie Sheets
- Parchment paper and/or wax paper
- Letter embossers optional
- Cookie cutters
Nutrition
Nutrition information is automatically calculated, so should only be used as an approximation.


Forget Girl Scout cookies – these are so much better! We dipped ours in the white chocolate and peppermint and they were eaten right up!