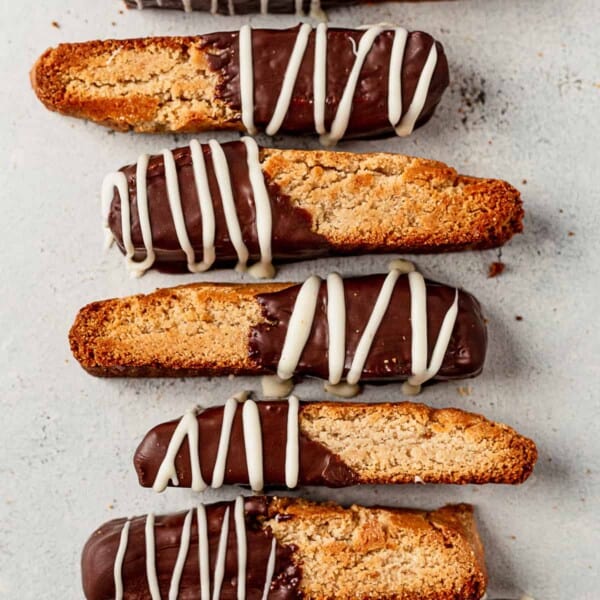
Enjoy this crispy, crunchy, and flavorful gluten-free biscotti with a hot cup of coffee. Use simple ingredients like almond flour and maple syrup to create the classic cookie, without any grains or flour.
Do you need more gluten-free cookies? Try oat flour chocolate chip cookies, flourless monster cookies, or coconut flour chocolate chip cookies.
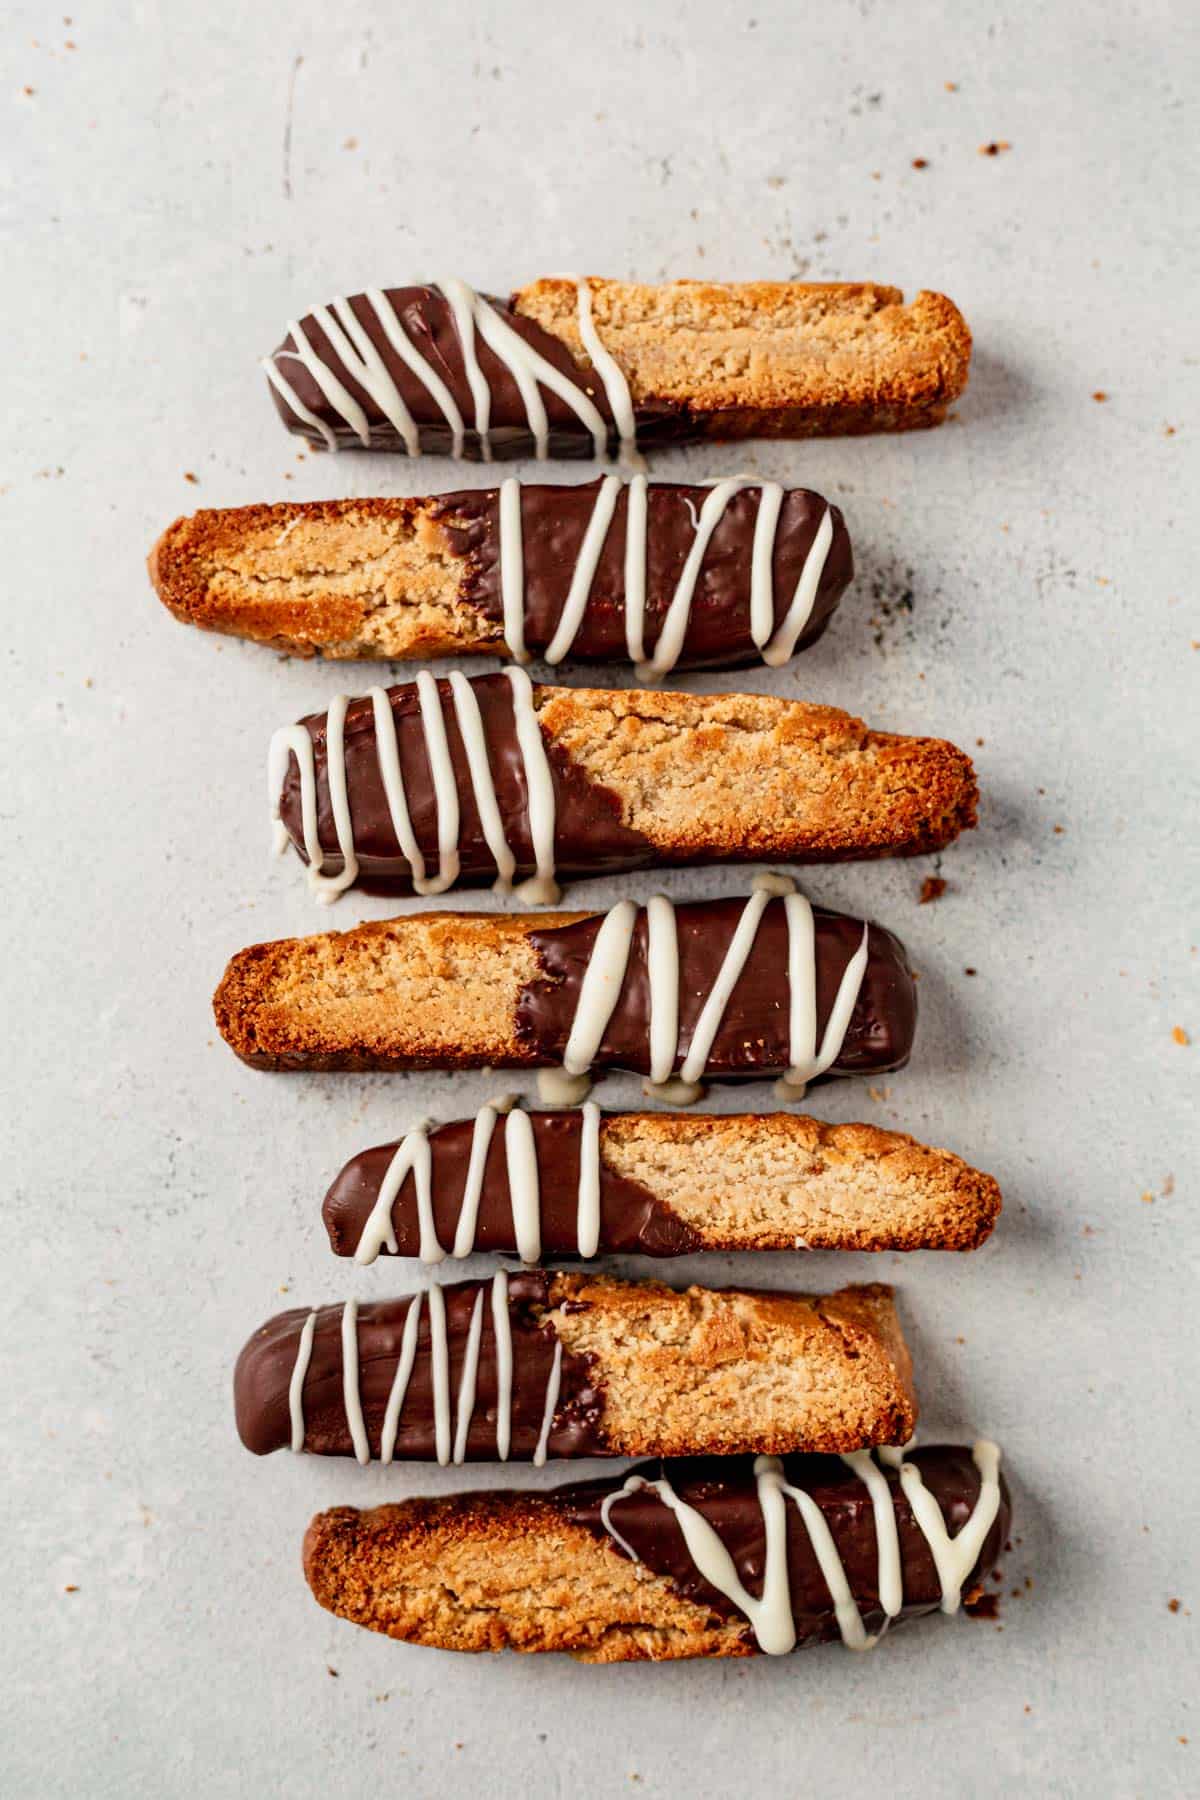
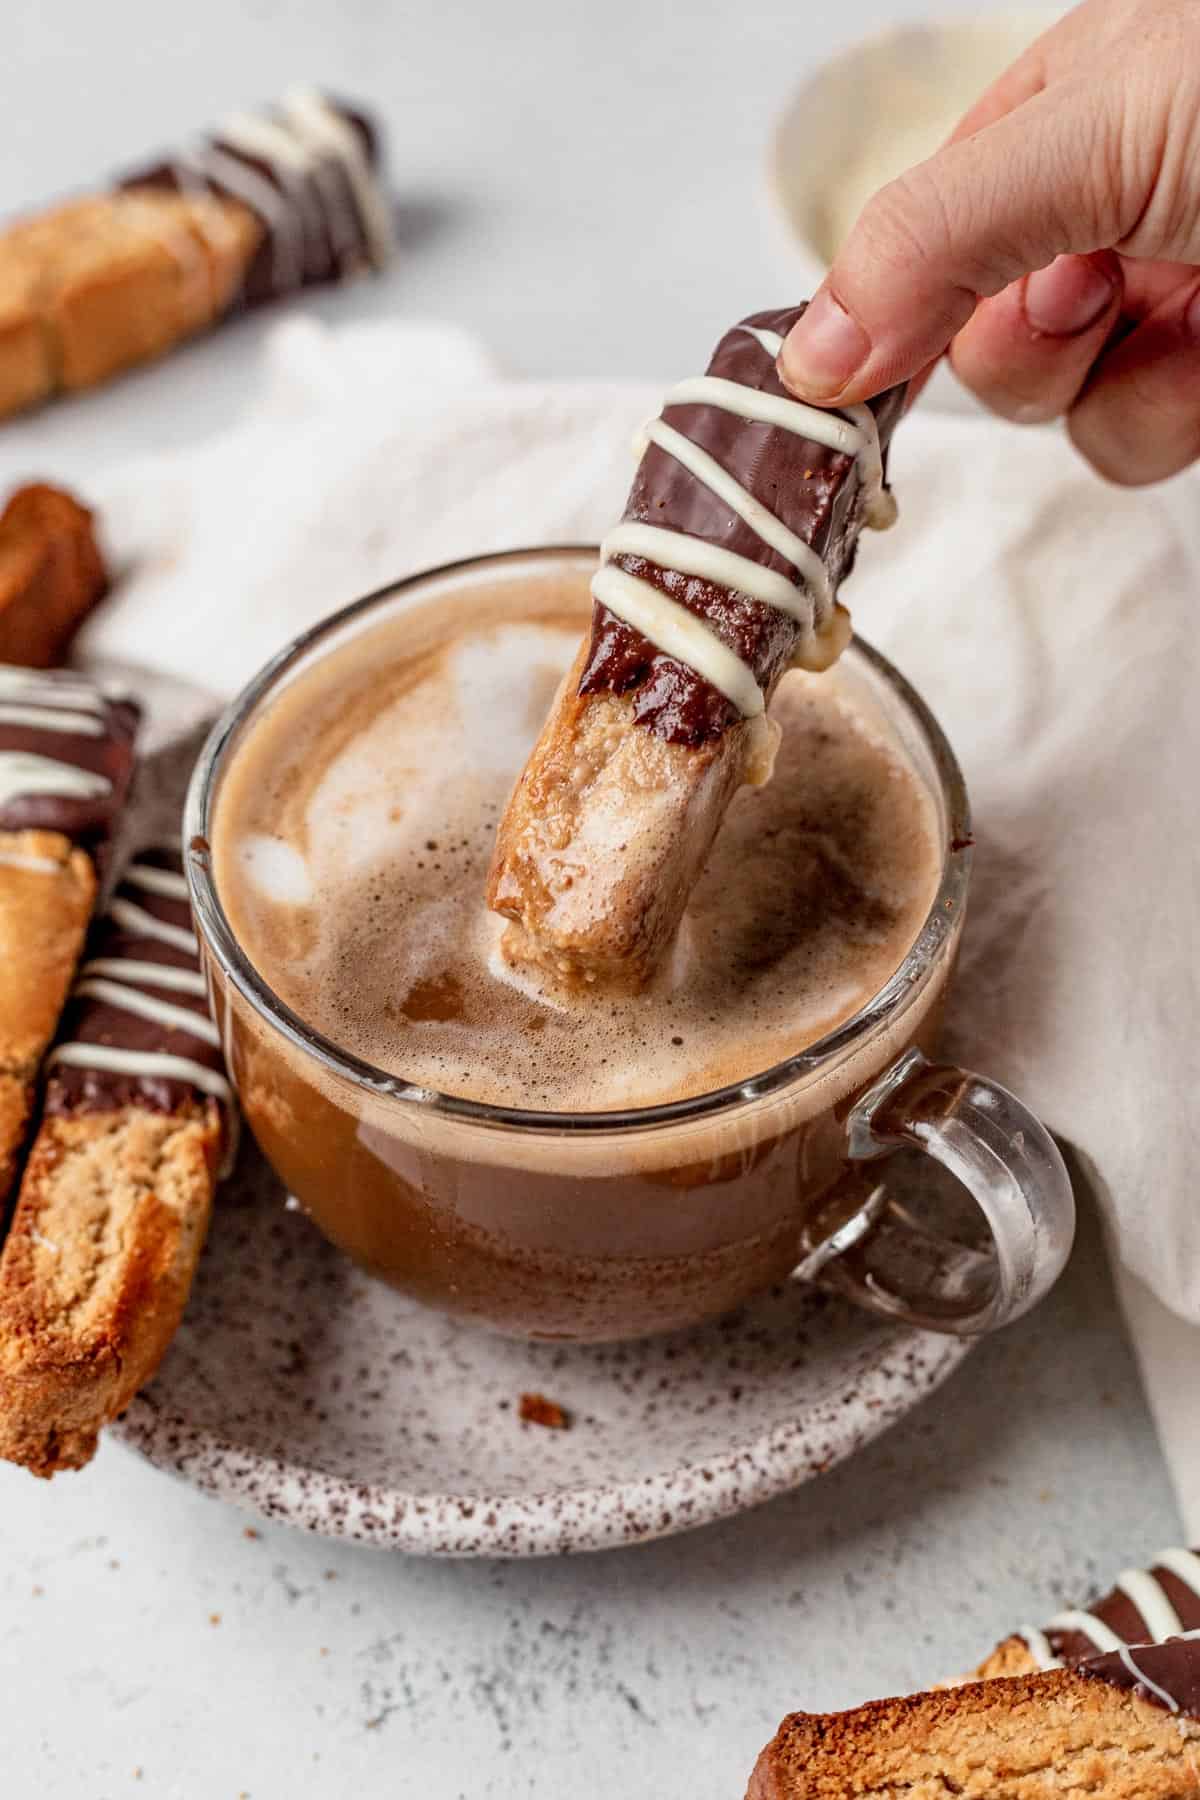
These crunchy cookies are perfect with a steaming hot cup of coffee (or cinnamon dolce latte). When you dunk these crunchy cookies into your coffee or cinnamon tea, it soaks up all the flavor and kind of melts in your mouth when you take a bite.
They’re naturally gluten-free and refined sugar-free, with a dairy-free option (triple win), so you don’t have to miss out on your favorite cookies if you suffer from allergies or choose to eat a specific way.
Our holiday season isn’t complete without a batch of these and our paleo chocolate peppermint cookies.
Reasons to Love Gluten-Free Biscotti
- We’re swapping out traditional flour for a mixture of almond flour and tapioca flour (starch) to make this almond biscotti recipe healthier and grain free.
- No processed ingredients! We’re also used raw maple syrup instead of granulated sugar and you can use either grass fed butter, coconut oil or ghee.
- They’re also great to make ahead of time! They’re meant for dunking in coffee, so they get nice and crispy.
- No mixer is required. Just a few bowls and a whisk.
If you love these, try this healthy twix bars next!
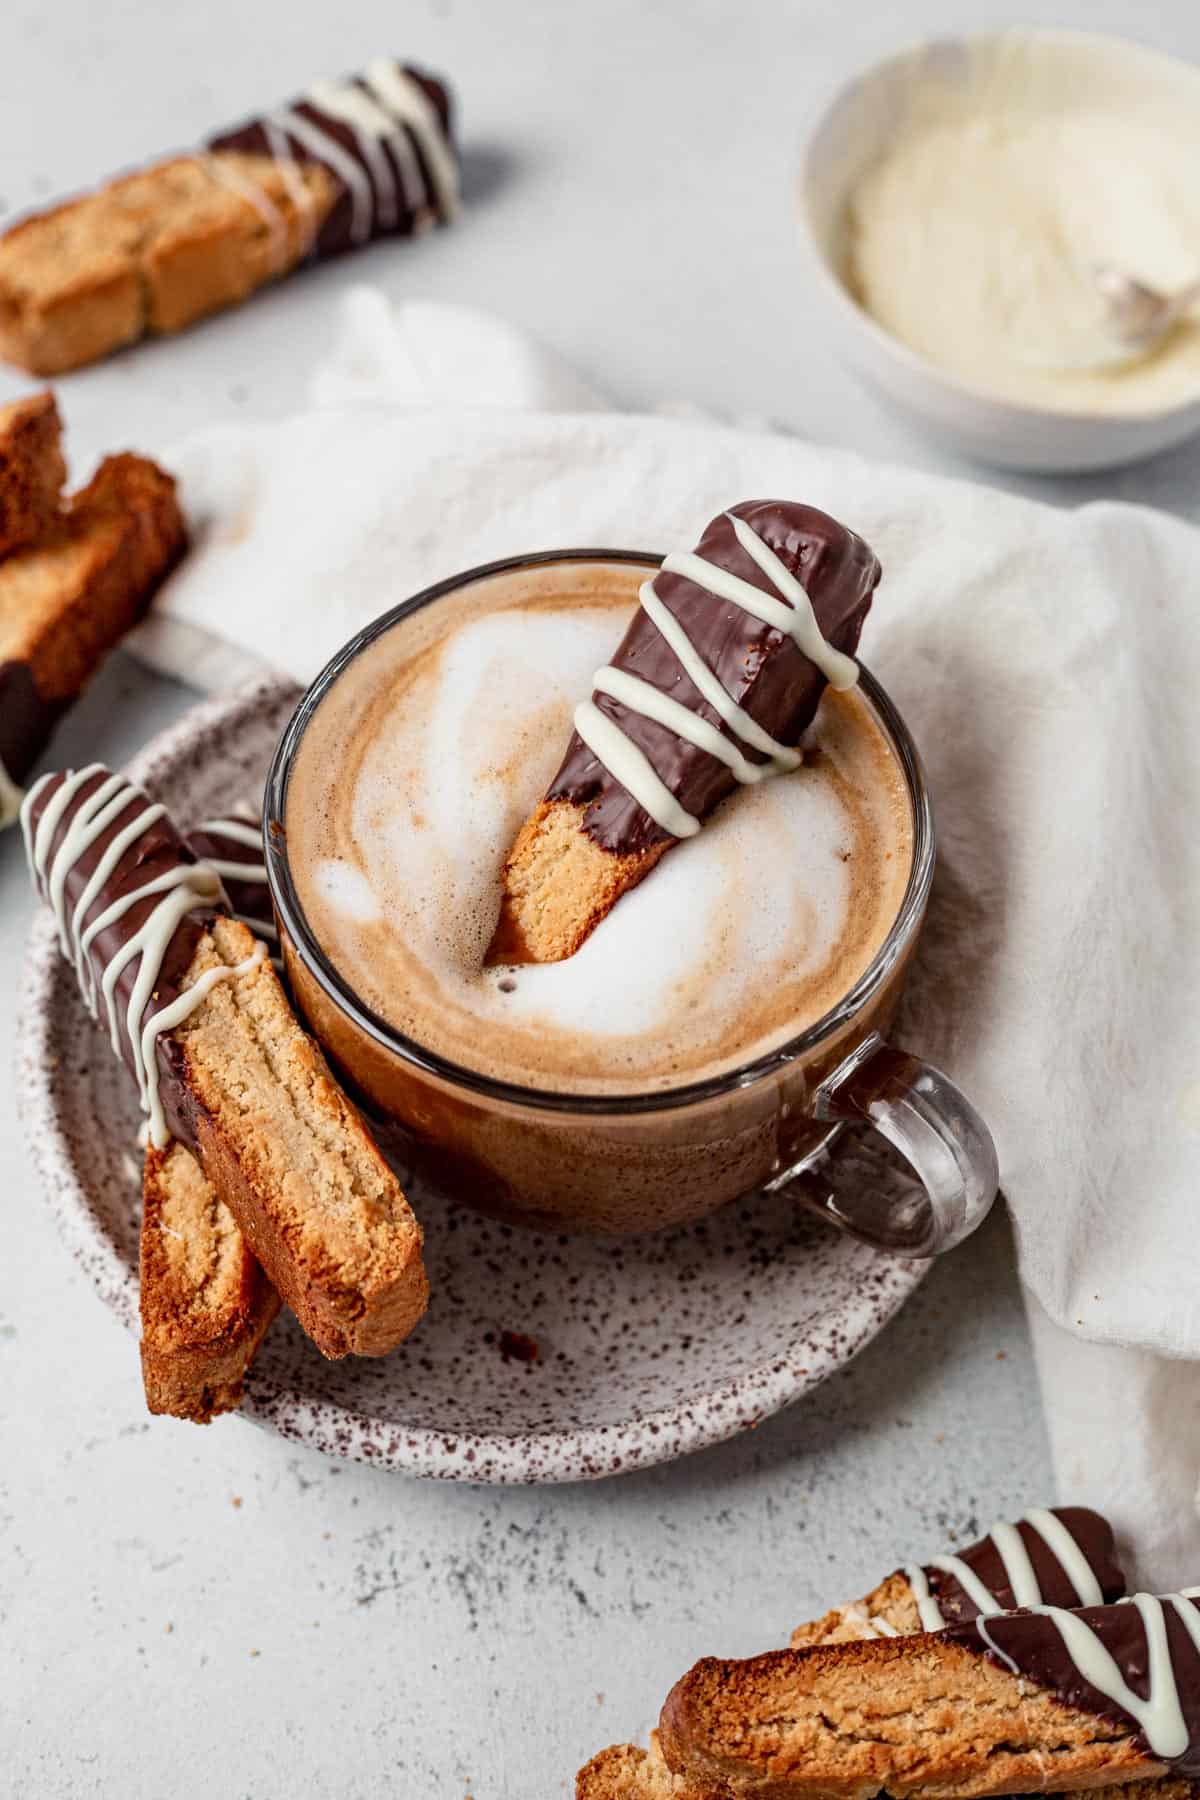
How to Make Gluten-Free Biscotti
Here are the step-step instructions to make this gluten-free biscotti recipe. Jump down to the recipe card below for the full, printable recipe.
Make the Dough
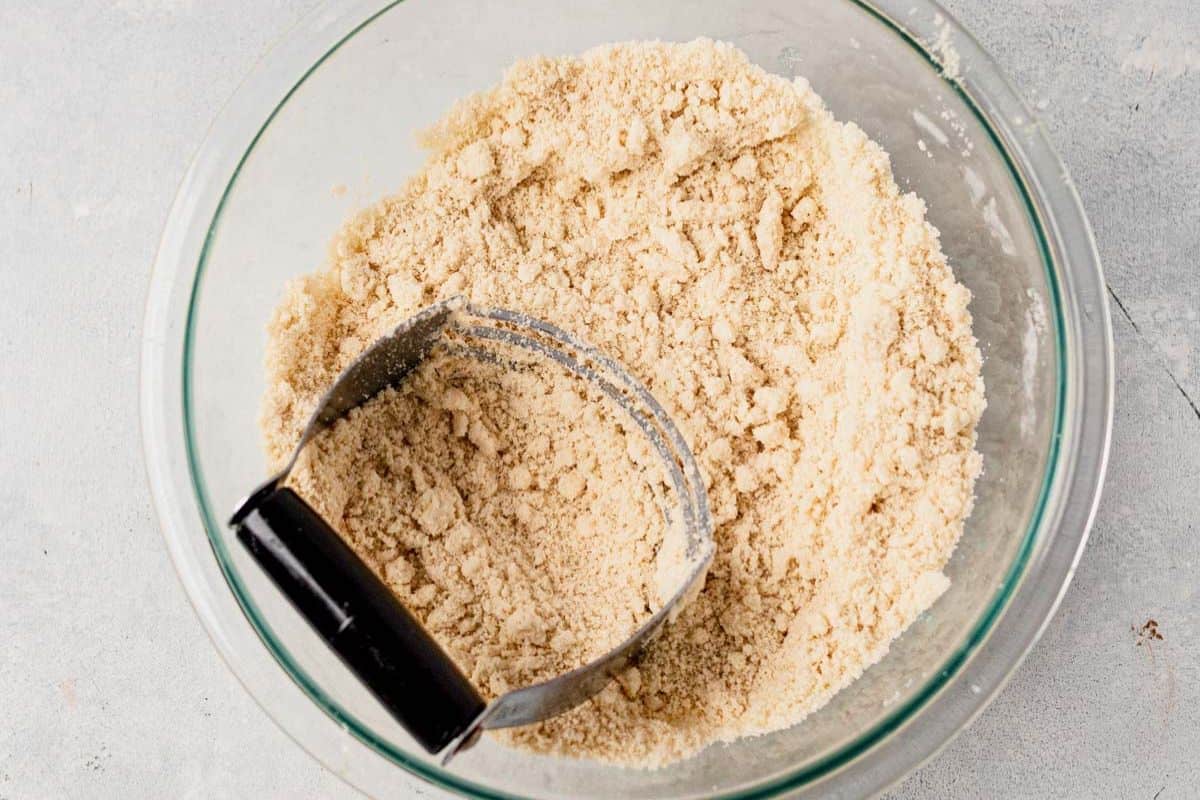
Dry ingredients: Whisk the dry ingredients in a small bowl then add the cold butter or coconut oil and use a pastry blender or two knives to cut it into the flour mixture until it’s crumby.
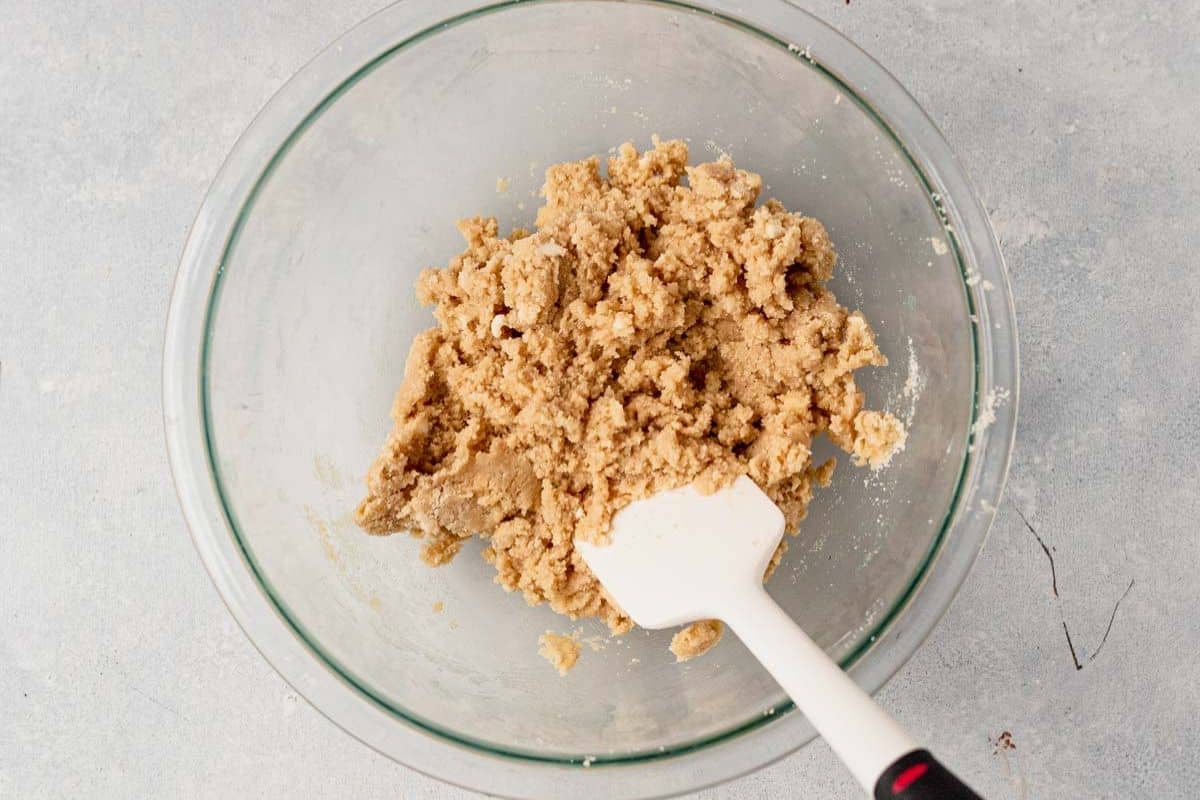
Wet ingredients: In a separate bowl, whisk together the wet ingredients then add the flour mixture to it and mix until just combined. The dough will be wet.
Shape and First Bake
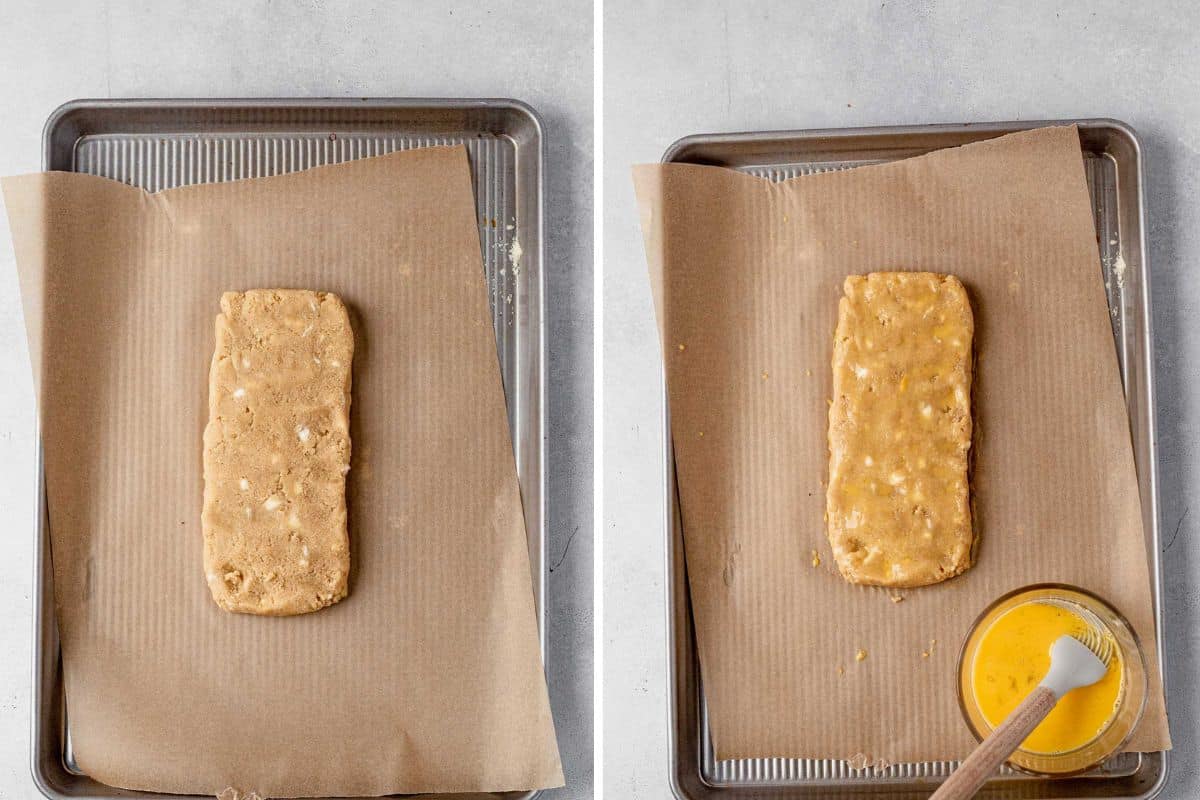
Shape the dough: Line a large baking sheet with parchment paper and turn the biscotti dough out onto it. Use a rubber spatula to form the dough into a flat log about 4×9 inches and 1/2 inch thick. Use a pastry brush to brush the egg wash on the top and sides. This helps create a golden brown crust on the outside!
First bake: Bake at 350°F for 30-35 minutes then take it out of the oven to cool slightly, leaving the oven on.
Cut and Second Bake
Slice the gluten-free biscotti: Once it’s cool enough to handle, transfer the cookies to a cutting board and use a sharp knife to cut the biscotti into one-inch slices and flip the biscotti logs on their side so the cut side is facing up before they go into the oven the second time.
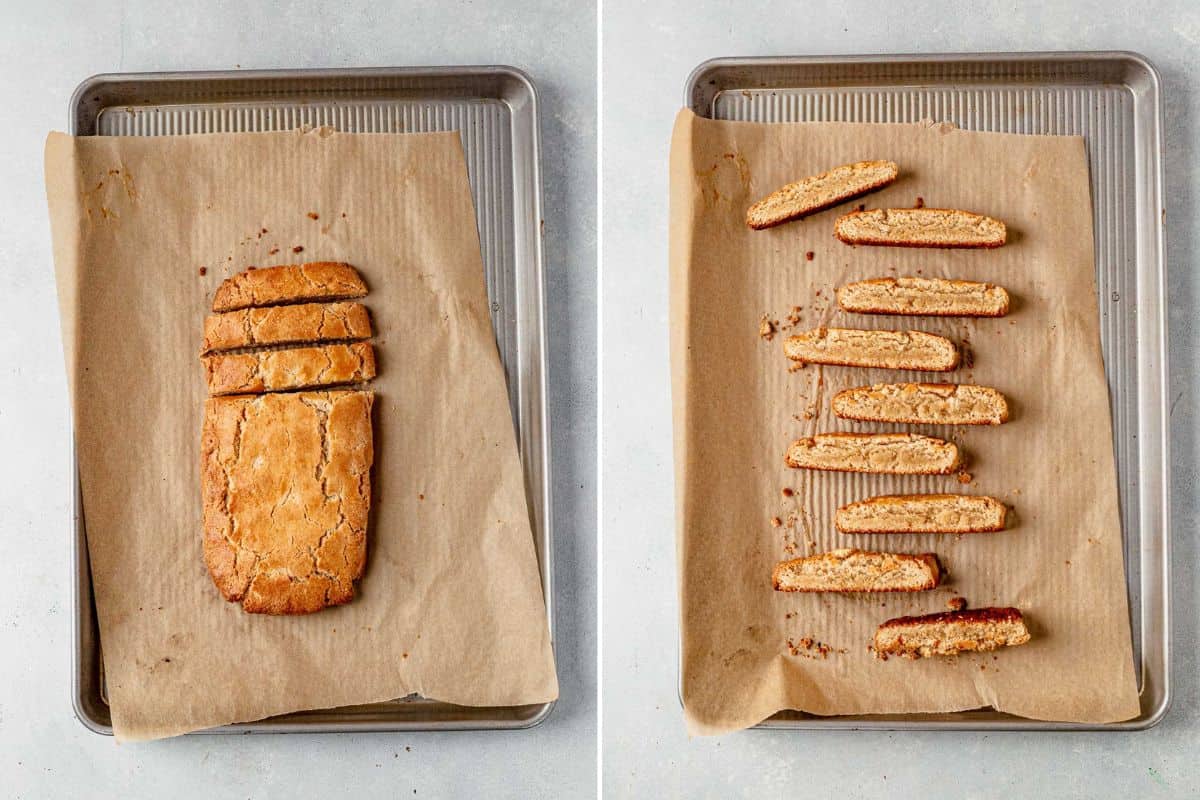
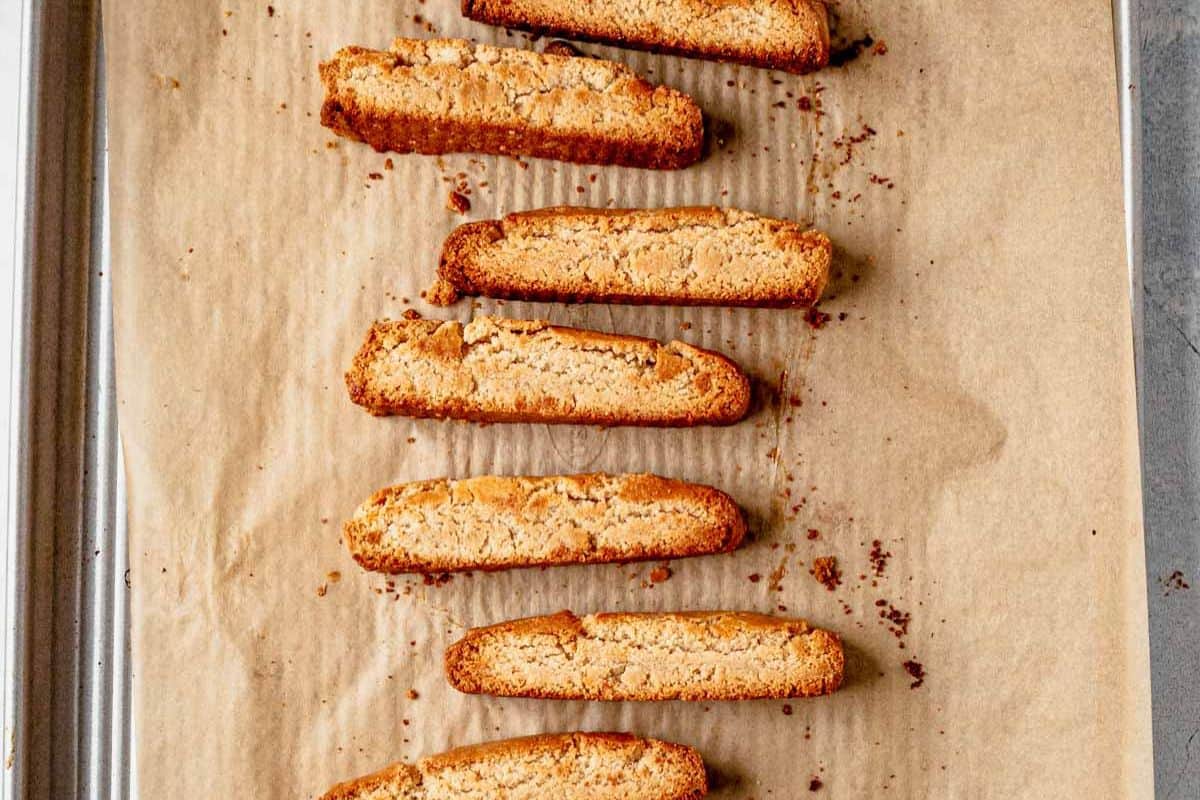
Bake again and serve: Place them back in the oven for 10 minutes then rotate to the other side and bake for an additional 10 minutes, or until golden brown and crispy. Cool them on the baking sheet for 5 minutes then transfer them to a wire rack to cool completely.
Why are biscotti so hard?
Yes! Biscotti is supposed to be hard. It’s should be hard and crunchy on the outsides and edges and a little soft in the middle. It’s a cookie made for dunking in warm coffee or tea, so when it’s hard it’s easier to soak up that flavor without getting soggy. Biscotti means “twice baked” and gets its name and texture from the second bake. Your biscotti won’t feel as hard when you take it out of the oven but it will get harder while it cools.
Is Biscotti Gluten Free?
Traditionally biscotti are not gluten-free because they’re made with refined white flour, which contains gluten. However, this recipe is made with almond flour and tapioca flour so it is gluten-free!
Is Biscotti Dairy Free?
Most biscotti recipes aren’t considered dairy free because they contain butter. But lucky for us, this recipe has the option to make it with coconut oil so you can easily make a dairy-free version.
How to Store and Freeze
Make sure your almond biscotti recipe is completely cooled before storing. Cookies will stay fresh in an airtight container at room temperature for up to 1 week or in the fridge for up to 2 weeks, though they may lose some of the crispness. Gluten-free biscotti freezes well for up to 3 months.
If you make this recipe, I’d love for you to give it a star rating ★ below. I’d love to hear from you! You can also tag me on Instagram so I can see it!
More Gluten Free Cookies
- Coconut flour cookies
- Flourless monster cookies
- Double chocolate peppermint cookies
- Flourless almond butter cookies
- Gluten free dairy free sugar cookies
- Chocolate crinkle cookies
Gluten-Free Biscotti Recipe
Save this Recipe!
Ingredients
- 2 cups blanched almond flour
- ¼ cup tapioca flour
- 1 teaspoon baking powder
- ½ teaspoon salt
- 2 tablespoons coconut oil or grass fed butter cold
- 1/3 cup maple syrup
- 1 teaspoon vanilla
- 1/2 teaspoon almond extract
- Egg wash: 1 large egg beaten with 1 Tablespoon dairy free milk
Instructions
- Preheat oven to 350°F. Line a baking sheet with parchment paper or silicone baking mat. Set aside.
- Whisk the almond flour, tapioca flour, baking powder and salt together in a large bowl. Using a pastry cutter or 2 forks, cut in the butter or coconut oil until the mixture is crumbly. Set aside.
- In a medium bowl, whisk the maple syrup, vanilla and almond extract together. Pour into the flour/butter mixture and gently mix together.The dough will be wet.Turn dough out onto prepared baking sheet and shape into a rectangle four inches high and 9 inches long. About 1/2 inch thick. Using a pastry brush, lightly brush the top and sides with egg wash.
- Bake in preheated oven for 25-30 minutes, or until the top and sides of the biscotti slabs are lightly browned. Start checking the biscotti around 20 minutes and tent it with foil if it's looking too brown.
- Remove from the oven, but do not turn off the heat. Allow the biscotti to cool for 10 minutes. Once the slab is cool enough to handle, cut it into 1-inch thick slices. Set slices cut sides upright, ¼ inch apart on the baking sheets. Return to the oven to continue baking for 8 minutes. Turn the biscotti over and bake for another 8-10 minutes or until the biscotti starts to brown around the edges.
- The cookies will be slightly soft in the centers with harder edges. Remove from the oven and allow to cool for 5 minutes on the baking sheet. Transfer to a wire rack to cool completely before dipping in chocolate. The biscotti becomes crunchy as it cools. Save the baking sheets for the next step.
Notes
Equipment
- Sheet Pan
Nutrition
Nutrition information is automatically calculated, so should only be used as an approximation.
This post may contain affiliate links. Read our disclosure policy.



I’m looking forward to make this recipe. From my own experience I should point that heating chocolate chips in 30 sec increments is too long – you can burn them at the end. Rather do it in 10 sec insrements
Hey Anya! I always heat my chocolate in 30 second increments without a problem. You can use your discretion!
Could you please provide the weight of your Ingrideients? Cups sizes vary from country to country. Flour also varies around the world. Some flour blends a finer and you can pack more in a cup. That’s why weighing is best.
Hey Lily! Yes, I’m working on doing this for my recipes!
My fav biscotti cookie recipe!!!! Turns out time and time again.
Thank you so much!!!
Where is info for the chocolate coating?
You can just melt semi-sweet chocolate chips and dip them!! I’ll add that to the recipe notes. Thanks!
Ok I had to hijack and post again…..I have been making this recipe almost every day! I am in big trouble because it is so good that I have to have some….I have made them now with cranberries, pecans, chocolate chips, you name it, it’s in there and it ALWAYS turns out fantastic. I have a tip, I use my pastry/dough cutter/slicer to slice through the cookies and it works like a charm. I could eat them all day! LOVE this recipe.
My first try making biscotti and they are very good! I love the texture and my house smells so good!
It’s the perfect batch for a small family. I got 10 cookies out of my dough. I also ate both ends because I love the crispy brown ends 🙂 Definitely a recipe I will make again and again.
My hubby (and me) loves these! I made them with dried blueberries and pecans and drizzled white chocolate on top! And wow. Be warned, they do get stale-ish quickly. I left them in an open ziplock bag and they lasted okay for 4 days. But we ate them all up anyway. Totally recommend!
Oh my goodness….a recipe that not works….AND is super delicious. I’ve tried many gluten free biscotti recipes, even by doctors, that are not even close to the texture and taste of this recipe. My son has autoimmune disorder…and very limited diet…but the ingredients worked for him…he loved this recipe and asked me to make more….now I use this recipe as my base biscotti, and just toss in different extracts and add ins. Thank you for sharing a REAL recipe that’s been tested and true.
I meant….Not Only works….sorry….
Thank you so much, Jode! This is the best compliment! I’m so glad you love it:) What a great idea to add different extracts and toppings! Grateful you took the time to share it means so much!