
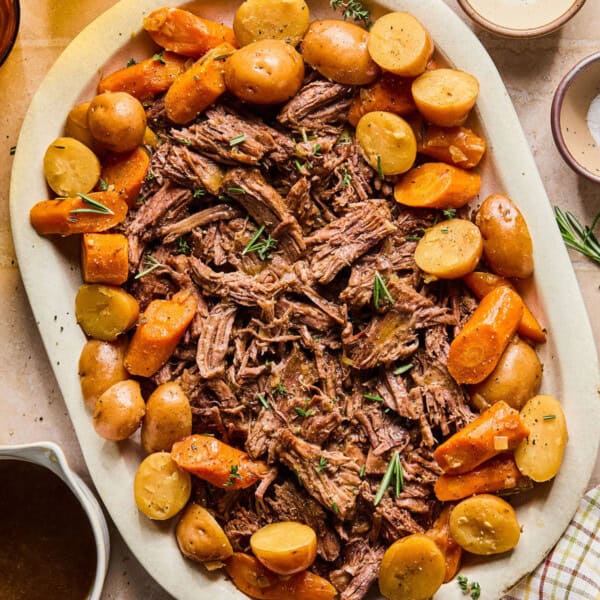

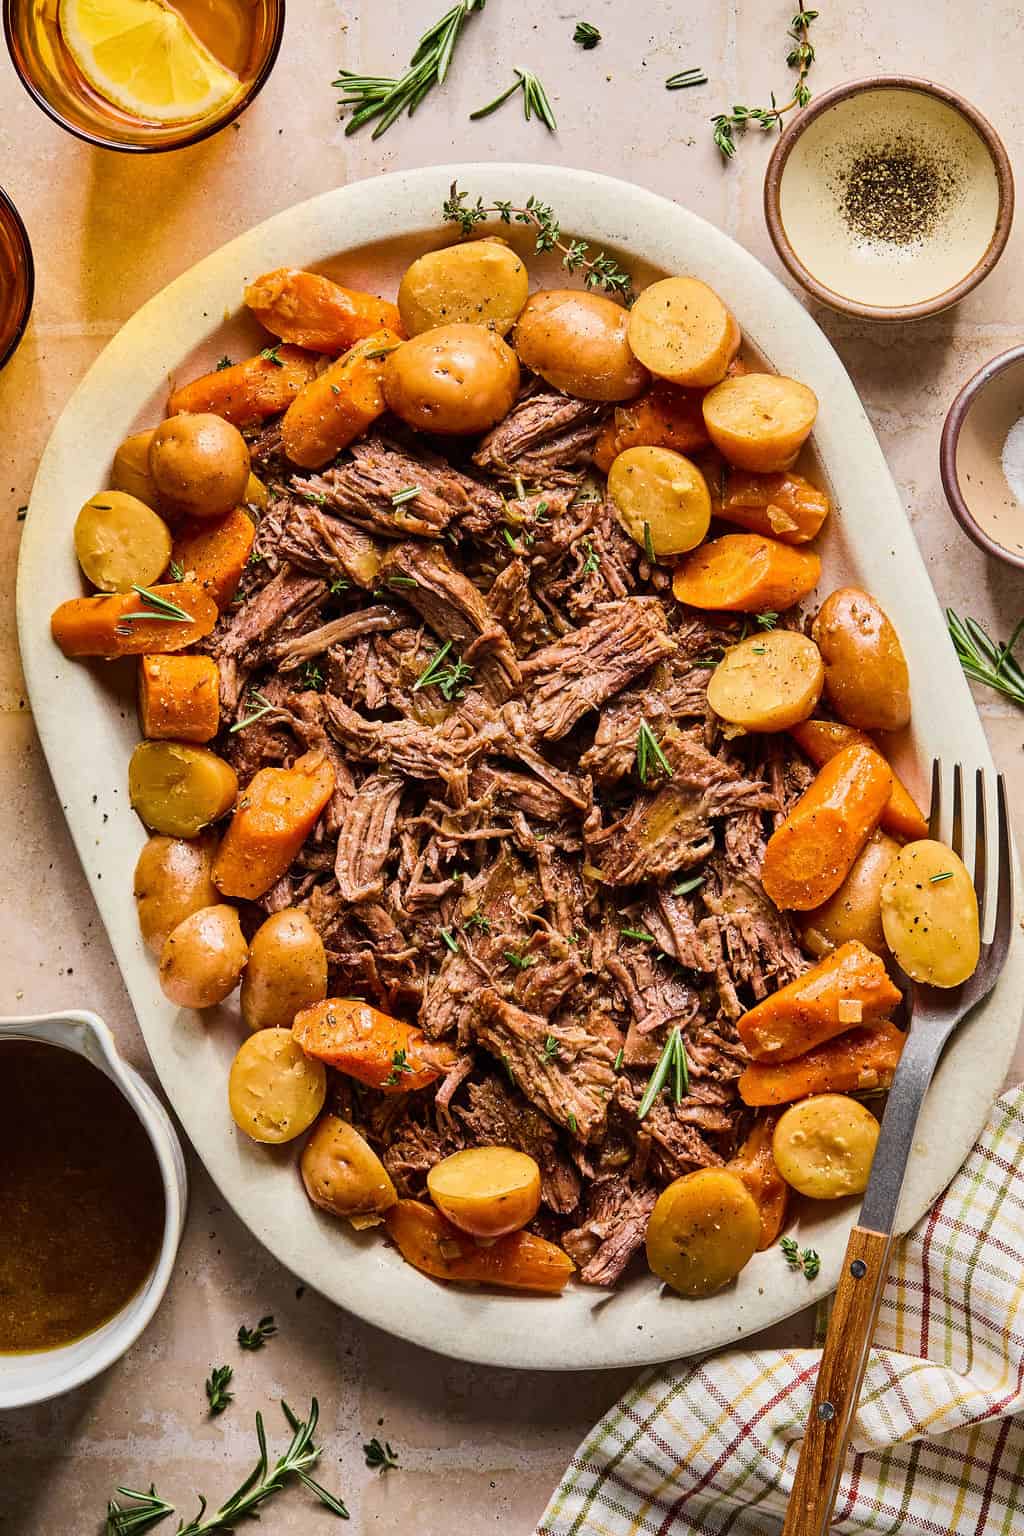
This Instant Pot chuck roast (aka Instant Pot pot roast) is one of those dinners that feels like it cooked all day, but the pressure cooker does the heavy lifting for you.
The beef turns tender and shredable, the potatoes and carrots soak up all that rich flavor, and the extra cooking liquid turns into the easiest gravy.
If you’ve ever pulled a roast out of the Instant Pot and thought, wait, why is this still tough, you’re in the right place. I’ve tested this enough to know the biggest key is timing.
Once you get that right, this recipe is such a good one for busy nights, Sunday dinner, or those days when you forgot to thaw anything and still need something cozy on the table.
How Long Do You Cook Chuck Roast in the Instant Pot?
For a 3-pound chuck roast, cook it on high pressure for 60 minutes, then let it naturally release for 10 minutes before venting the rest. That timing gives the connective tissue enough time to break down so the beef gets tender instead of chewy.
A good rule is about 20 minutes per pound for a thawed chuck roast. If your roast is especially thick or still feels firm after cooking, give it another 10 to 20 minutes. Trust me, tough chuck roast usually just needs more time.
My slow cooker sweet potato beef stew is one of the most popular recipes, so I figured it was about time to do a guide on how to make a similar recipe in the Instant Pot. We’re using traditional potatoes and veggies for this one and you can even use a frozen roast!
If you love hearty beef dinners, you should also try my slow cooker sweet potato beef stew or Instant Pot beef stroganoff. Both have that same cozy, family-dinner feel.

Best Cut of Beef for Instant Pot Pot Roast
Chuck roast is the best cut for this recipe. It has enough marbling and connective tissue to turn buttery and tender under pressure. That’s exactly what you want here.
You can also use brisket or bottom round roast, but chuck roast gives you the best mix of flavor, texture, and shredability. This is the cut I reach for when I want that classic pot roast feel without guessing.
Ingredients You Need
You only need a handful of simple ingredients to make this work, and they all pull their weight.
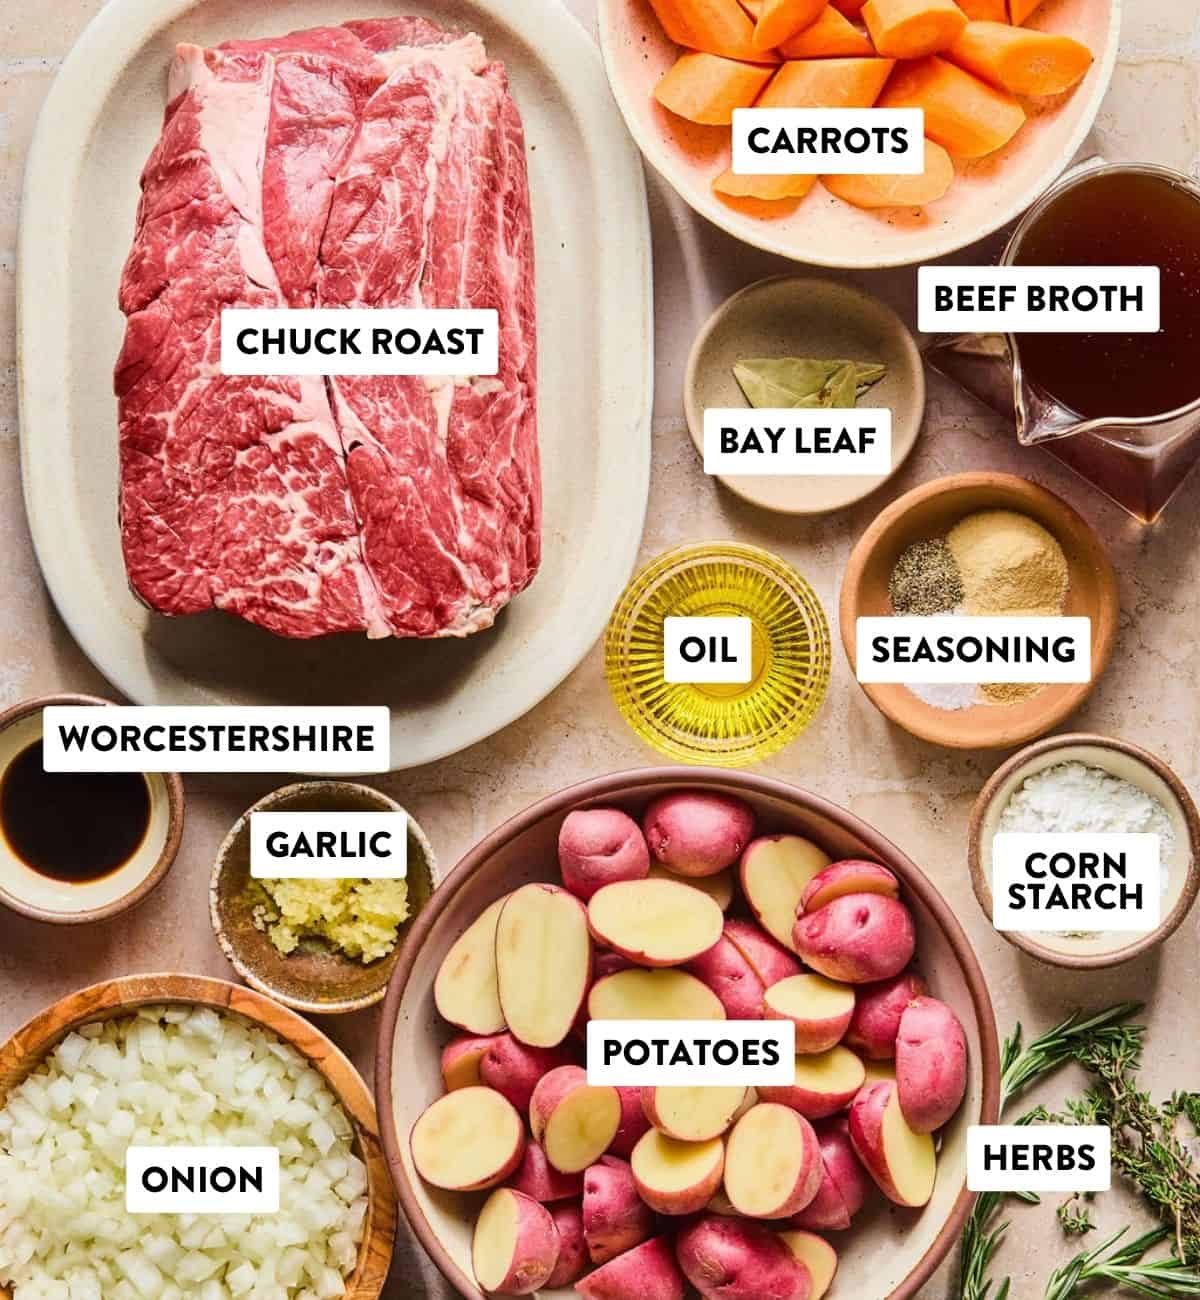
- Chuck roast: the star of the show and the best cut for tender shredded beef
- Olive oil: for searing
- Salt, pepper, garlic powder, and onion powder: simple seasoning that gives the roast a really solid flavor base
- Yellow onion and garlic: adds depth and makes the broth taste like it simmered way longer than it did
- Baby red potatoes and carrots: classic pot roast veggies that turn this into a full meal
- Beef broth: gives you the rich cooking liquid that becomes gravy
- Worcestershire sauce or coconut aminos: adds a little savory depth
- Fresh thyme, rosemary, and bay leaves: that cozy Sunday-dinner flavor
- Cornstarch or tapioca starch: to thicken the gravy at the end
How to Make Instant Pot Chuck Roast

Step 1. Season and sear the roast. Set your 6-quart Instant Pot to sauté on high. Add the olive oil and let it heat for 1 to 2 minutes. Season the chuck roast with salt, pepper, garlic powder, and onion powder, then sear it for 3 to 4 minutes per side until it has a deep brown crust. This is where a lot of the flavor starts.
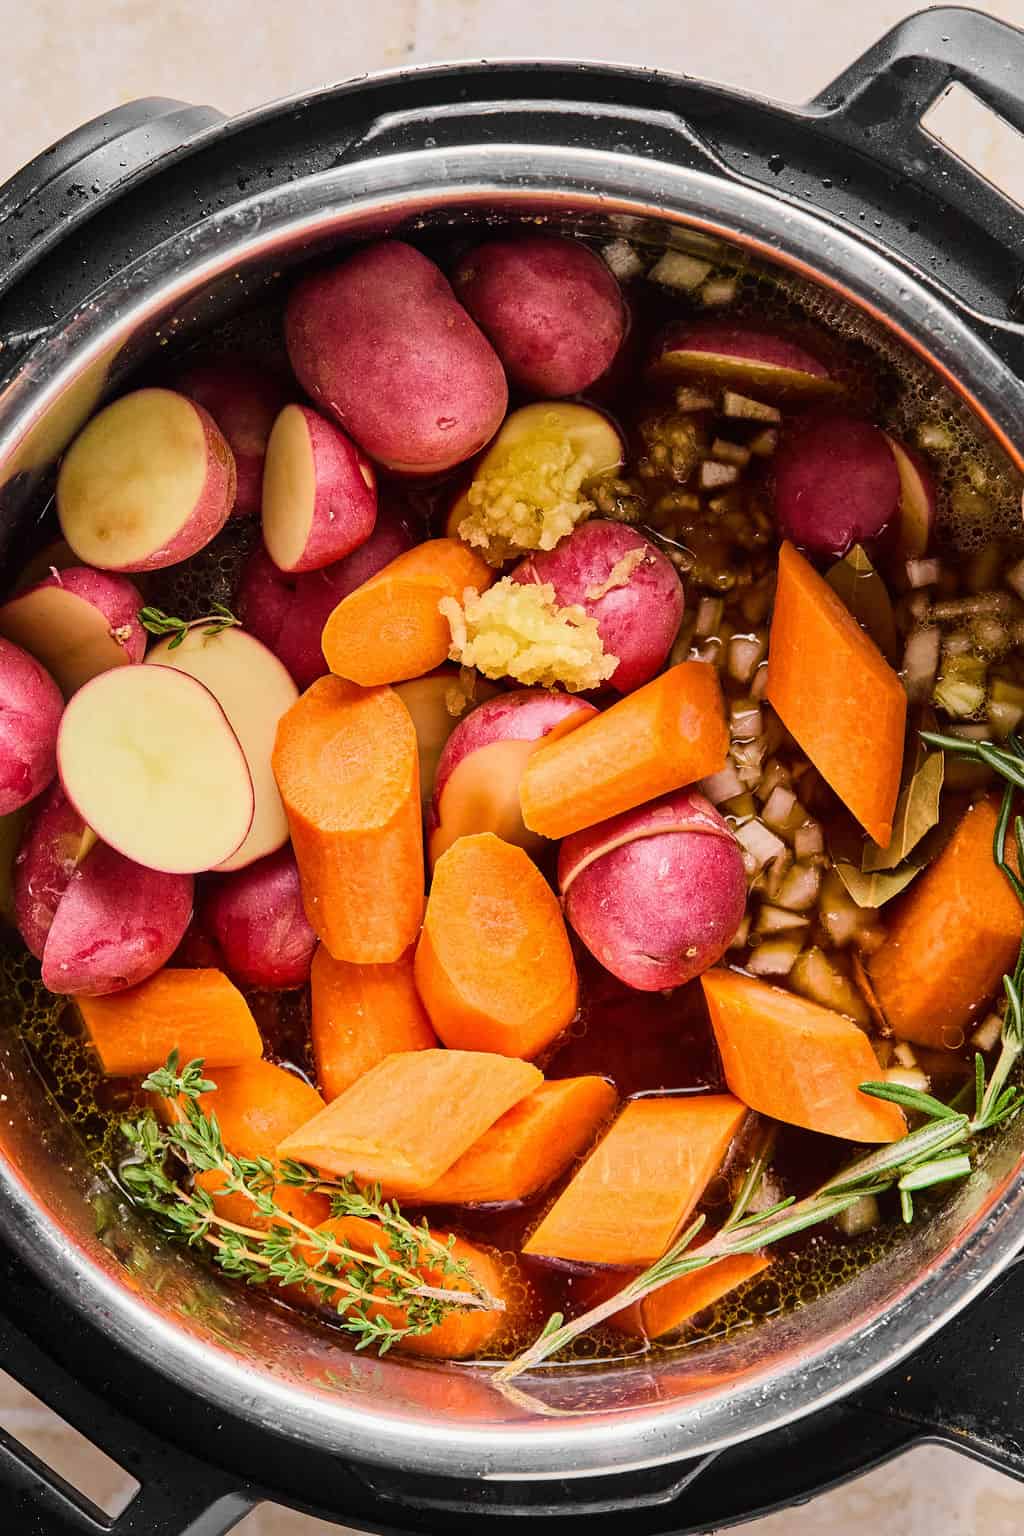
Step 2. Add the remaining ingredients. Switch to pressure cook mode. Add the onion, garlic, potatoes, carrots, beef broth, Worcestershire sauce, thyme, rosemary, and bay leaves around and over the roast.
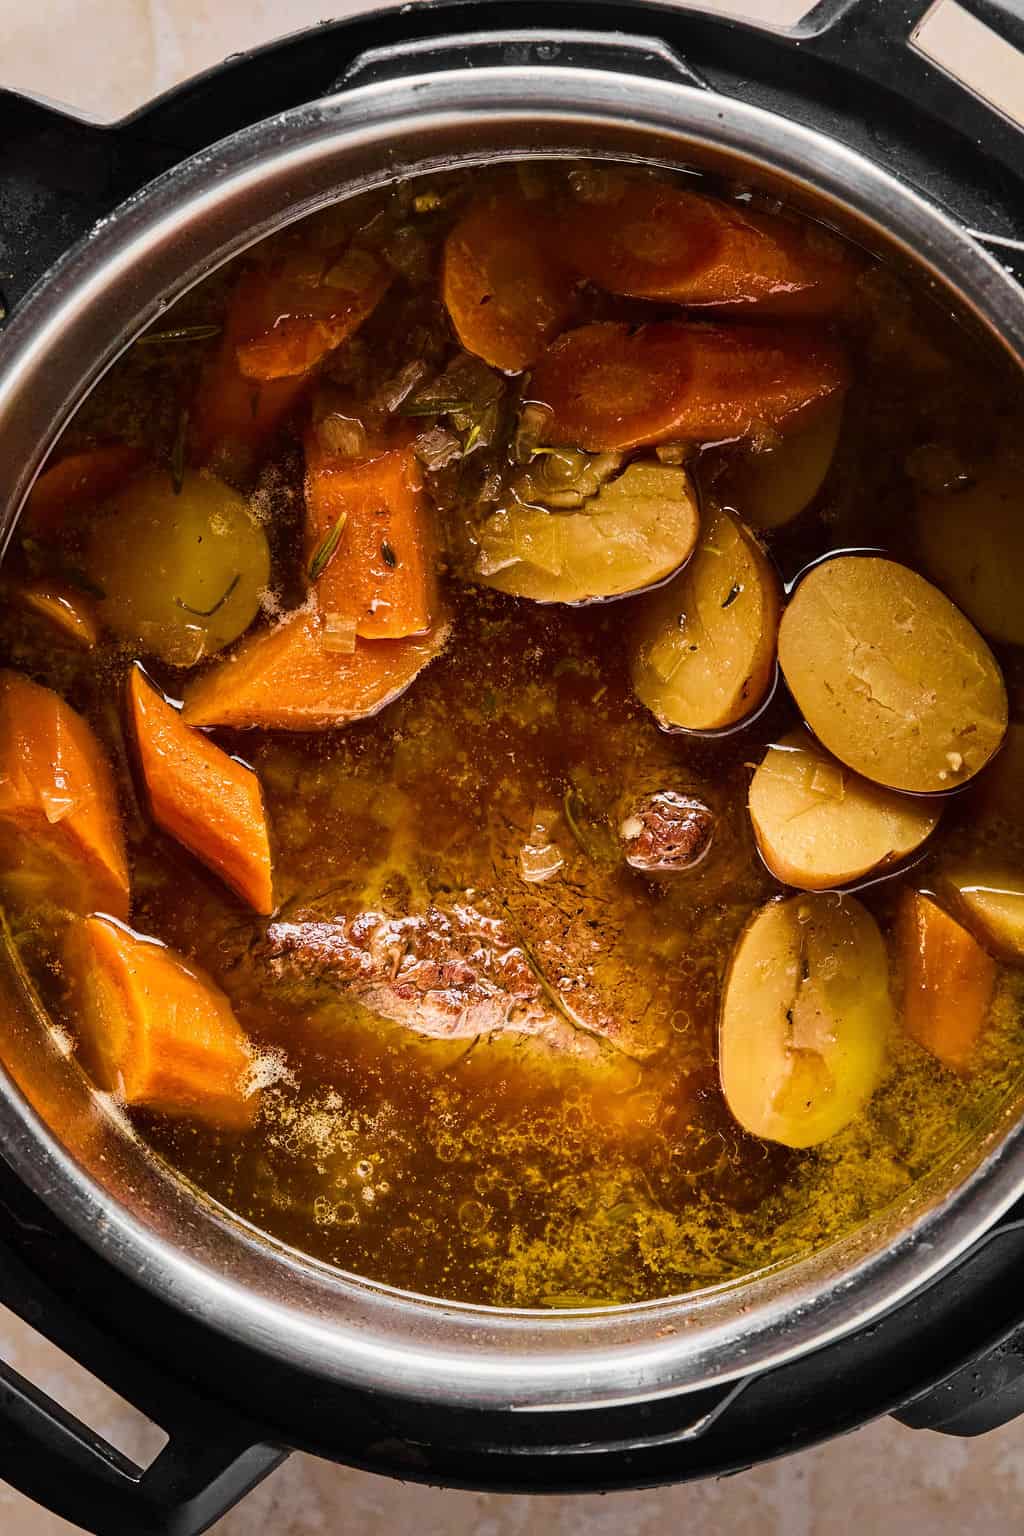
Step 3. Pressure cook. Lock the lid, make sure the valve is set to sealing, and cook on high pressure for 60 minutes for a 3-pound roast. The Instant Pot will take about 10 minutes to come to pressure before the timer starts.
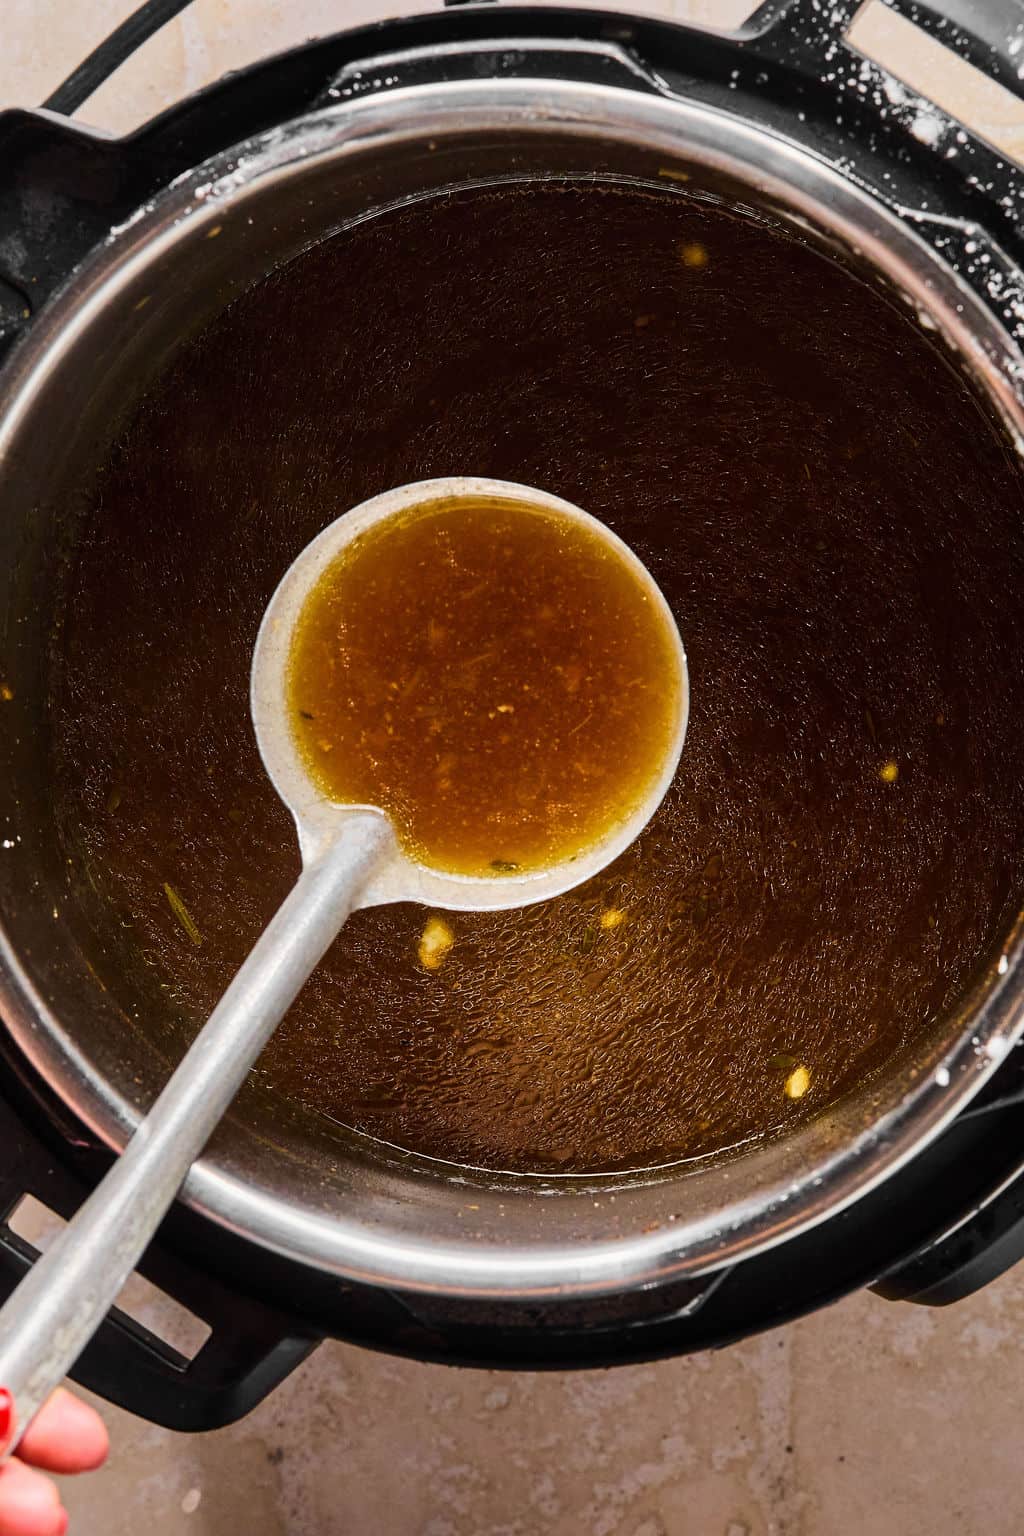
Step 4. Shred and Make the gravy. When the cook time is up, let the pressure release naturally for 10 minutes. Transfer the veggies and roast to a platter and shred it. Stir in the cornstarch slurry, then simmer for 3 to 5 minutes until thickened
Instant Pot Chuck Roast Cook Time Chart
Use this as a starting point for thawed chuck roast:
- 2 pounds: 40 minutes
- 3 pounds: 60 minutes
- 4 pounds: 80 minutes
- 5 pounds: 100 minutes
Then do a 10-minute natural release.
The biggest thing to remember is this: if the roast slices but doesn’t shred easily, it likely needs more time. That’s normal. Put it back in for another 10 to 20 minutes and it should get much more tender.
Can You Cook a Frozen Chuck Roast in the Instant Pot?
Yes, you can. Skip the searing step and cook it for 30 minutes per pound instead of 20.
So for a 3-pound frozen chuck roast, cook it for 90 minutes on high pressure, then let it naturally release for 15 minutes before venting the rest.
Frozen roast is such a lifesaver on days when dinner sneaks up on you. The only thing to know is it will take longer for the Instant Pot to come to pressure before the cook time starts.
Why is My Chuck Roast Tough?
If your chuck roast is still tough, it usually is not overcooked. It’s undercooked for that cut.
Chuck roast has a lot of connective tissue, and it needs enough pressure cooking time to break down fully. If the roast feels chewy, firm, or hard to shred, put it back in the Instant Pot for another 10 to 20 minutes. Let it release naturally for a few minutes again, then check it.
Here’s the key: tender chuck roast should shred easily with two forks. If you have to work for it, it’s not quite there yet.
Tips for the Best Pot Roast in the Instant Pot
- Taste before serving. A little extra salt and pepper at the end can make everything pop.
- Sear if you can. It adds a lot of flavor. But if you’re using a frozen roast or just trying to get dinner moving, you can skip it.
- Use chuck roast, not a super lean cut. The fat and connective tissue are what give you that tender result.
- Cut big carrots, not tiny ones. Larger pieces hold up better under pressure.
- Expect the potatoes to be soft. That’s part of the comfort-food vibe here. If you want firmer potatoes, you may want to cook them separately.
What to Serve with Instant Pot Chuck Roast
Honestly, this can be a full meal on its own. But if you want to round it out, adding some sort of greens is a good option. Here are some good ones:
- a crisp kale salad
- fresh brussel sprout caesar salad
- air fryer asparagus
And if you love easy pressure cooker dinners, check out my instant pot salsa chicken and instant pot gluten-free spaghetti and meat sauce for more family-friendly weeknight options.
How to Store & Reheat Leftovers
Store leftovers in an airtight container in the fridge for up to 4 days. I like to keep a little extra gravy or broth with the meat so it stays juicy.
To reheat, warm it on the stove or in the microwave with a splash of broth. The shredded beef reheats really well and makes such an easy leftover dinner.
You can also freeze the shredded beef with gravy for up to 3 months. I’d skip freezing the potatoes if you can because their texture changes the most.

FAQs
Chuck roast is a cut of beef. Pot roast is more of a preparation style. Chuck roast is one of the best cuts to use when making pot roast because it turns tender and flavorful after a long cook.
Both work, but pressure cooking is faster. The Instant Pot gives you that cozy, slow-cooked texture in a fraction of the time, which is why I love it for busy weeks.
Yes. You can cook just the beef and broth if you want, then serve it over mashed potatoes, rice, or slow cooker shredded chicken style meal-prep bowls if that fits your week better.
You can, but I wouldn’t. The gravy is quick, uses the flavorful cooking liquid, and really brings the whole dinner together.
Potatoes cook fast under pressure, especially when they’re cut small. Halved baby potatoes work best here, and you should expect them to be tender and soft.
More Cozy Instant Pot Recipes
If this is your kind of dinner, here are a few more recipes to make next:
Instant Pot Pot Roast
Save this Recipe!
Ingredients
- 2 tablespoons olive oil
- 3 pound chuck roast
- Salt and pepper to taste
- 1 teaspoon garlic powder
- 1 teaspoon onion powder
- 1 yellow onion diced
- 3 cloves garlic minced
- 1 1/2 pounds baby red potatoes cut in half
- 4 large carrots peeled and cut diagonally into 2-inch pieces
- 4 cups beef broth or stock
- 2 teaspoons Worcestershire sauce or coconut aminos
- 4 sprigs fresh thyme stemmed and chopped
- 1 sprig fresh rosemary stemmed and chopped
- 2 bay leaves
- 2 Tablespoons cornstarch or tapioca starch
Instructions
- Set a 6 qt instant pot to the high saute setting. Add the olive oil to the bottom of the instant pot and allow to heat for 1-2 minutes. While it’s heating, sprinkle both sides of the chuck roast with salt, pepper, garlic powder and onion powder.2 tablespoons olive oil, 3 pound chuck roast, Salt and pepper to taste, 1 teaspoon garlic powder, 1 teaspoon onion powder
- Use tongs to place the chuck roast in the instant pot with the olive oil and allow to cook for 3-4 minutes on each side without moving it so it creates a browned crust.
- Switch instant pot to pressure cook (manual) setting. Add the onion, garlic, potatoes, carrots, beef broth, worcestershire sauce, thyme, rosemary and bay leaves to the pot with the beef. Cover and set the vent to the sealing position. Pressure cook on high for 60 minutes for a 3 pound roast. Add or subtract 20 minutes of cook time for every additional pound of beef. The Instant Pot will take about 10 minutes to come to pressure then start counting down.1 yellow onion, 3 cloves garlic, 1 1/2 pounds baby red potatoes, 4 large carrots, 4 cups beef broth, 2 teaspoons Worcestershire sauce, 4 sprigs fresh thyme, 1 sprig fresh rosemary, 2 bay leaves
- When the cooking time is up, natural release (do nothing) for 10 minutes then turn the valve to “venting” to quick release the remaining pressure. Transfer the roast to a platter and shred then transfer the cooked vegetables, leaving the sauce behind.
- Turn the instant pot to saute setting and mix cornstarch with 1 Tablespoons of water in a small bowl to create a slurry. Add the mixture to the Instant Pot with the leftover cooking liquid. Bring mixture to a simmer and allow to thicken for 3-5 minutes. Serve thickened gravy over the roast and vegetables.2 Tablespoons cornstarch
- Garnish with additional salt and pepper to taste as well as chopped fresh rosemary and thyme.
Notes
Nutrition
Nutrition information is automatically calculated, so should only be used as an approximation.
This post may contain affiliate links. Read our disclosure policy.


Can we sub sweet potatoes in for the white potatoes?
Hi Patti! Yes—just don’t add the sweet potatoes at the start. Cook the roast and carrots as written for 60 minutes without any potatoes, then add peeled, 2-inch chunks of sweet potato afterward and pressure cook for 3 minutes with a quick release. This keeps them tender instead of turning to mush.
Despite my mistakes (no salt or pepper while cooking and buying the regular but smaller red potatoes vs baby red potatoes) I rate this first cooking a great success! We loved the rosemary and thyme and it was perfect even without the garlic powder and onion powder (my spouse has an aversion to them). My only criticism: not enough carrots!! I’ll add more next time 😊
Thanks Elaine! 🙂
Pot roast was delicious! The meat turns out very tender and it’s done so quickly in the instant pot. I added more carrots because my family really likes them
Thank you!!
No idea what I did wrong. I followed the recipe to a T and my roast itself was really under done and my carrots were over done. So sad!
Hey Natashia! How large was your roast and what size did you cut the carrots? Those may be the biggest factors when it comes to how the beef and carrots cook.
Just made this for the first time. Simple and absolutely delicious!
I have two 1.5 lbs roasts side-by-side inside the Instant Pot. Do I still cook it for 60 minutes?