

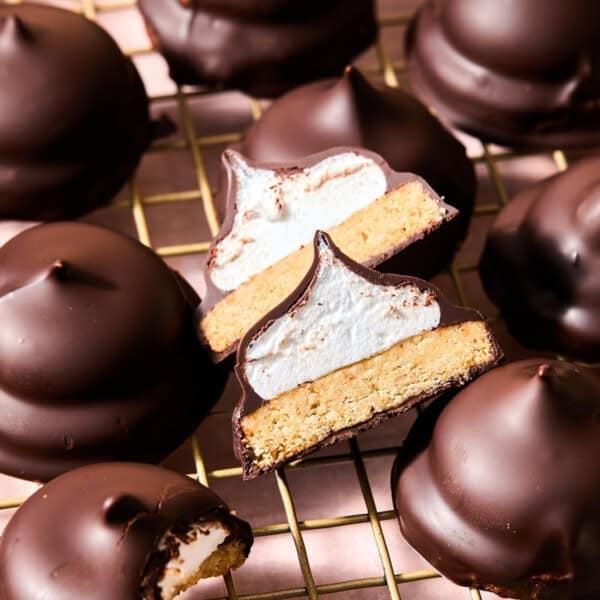

Real Mallomars Made from Scratch!

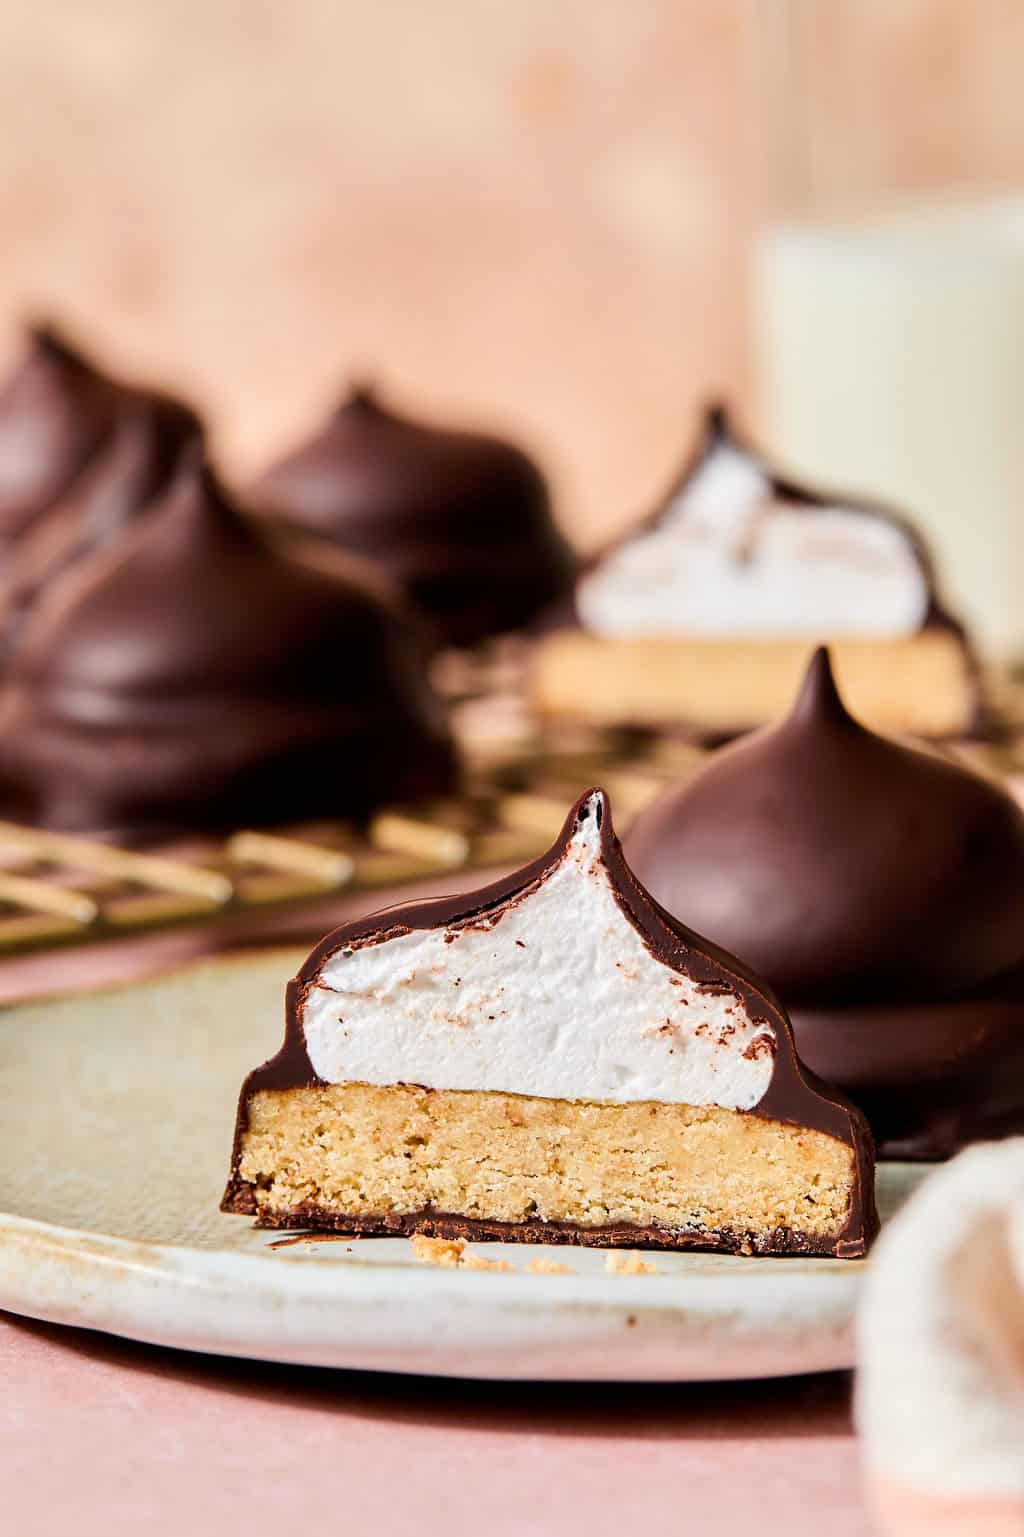
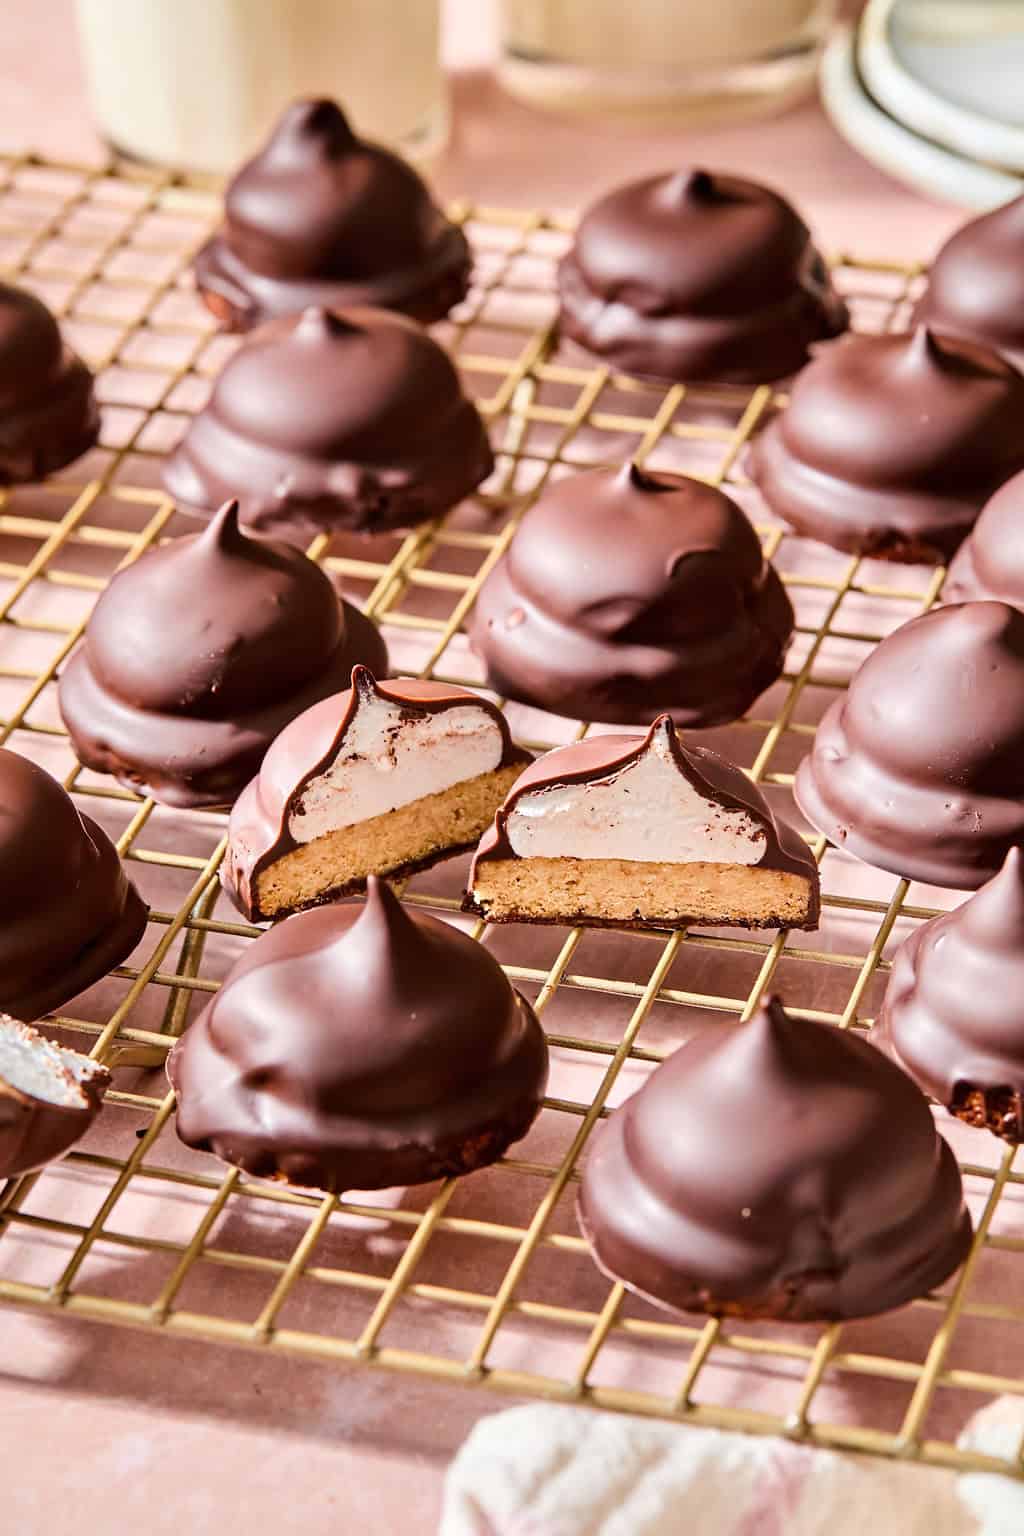
Homemade Mallomars are a buttery graham cookie topped with a tall swirl of fluffy vanilla bean marshmallow, then coated in a thin chocolate shell that snaps when you bite into it. It’s giving s’mores, but not!
These taste like the ones from the store, only fresher, and you don’t have to wait for fall to find them!
The inspiration for this recipe came from a Gilmore Girls episode. Rory spells ‘happy birthday’ in Mallomars for Lorelei and she eats a bunch in one sitting (of course). I wanted to recreate this fall staple treat at home, and though it took a few rounds of testing, I really think I nailed it!
My first batch of cookies tasted good, but they were too thick for what I was going for. I wanted that delicate little base you get with a real Mallomar!
I tempered the chocolate for that shiny, snappy coating, which sounds fancy schmanzy but is easier than you think!
Making homemade versions of store-bought treats? try my homemade Kudos bars and these healthy Twix bars.
What You’ll Need
Exact ingredient amounts are listed in the recipe card below!
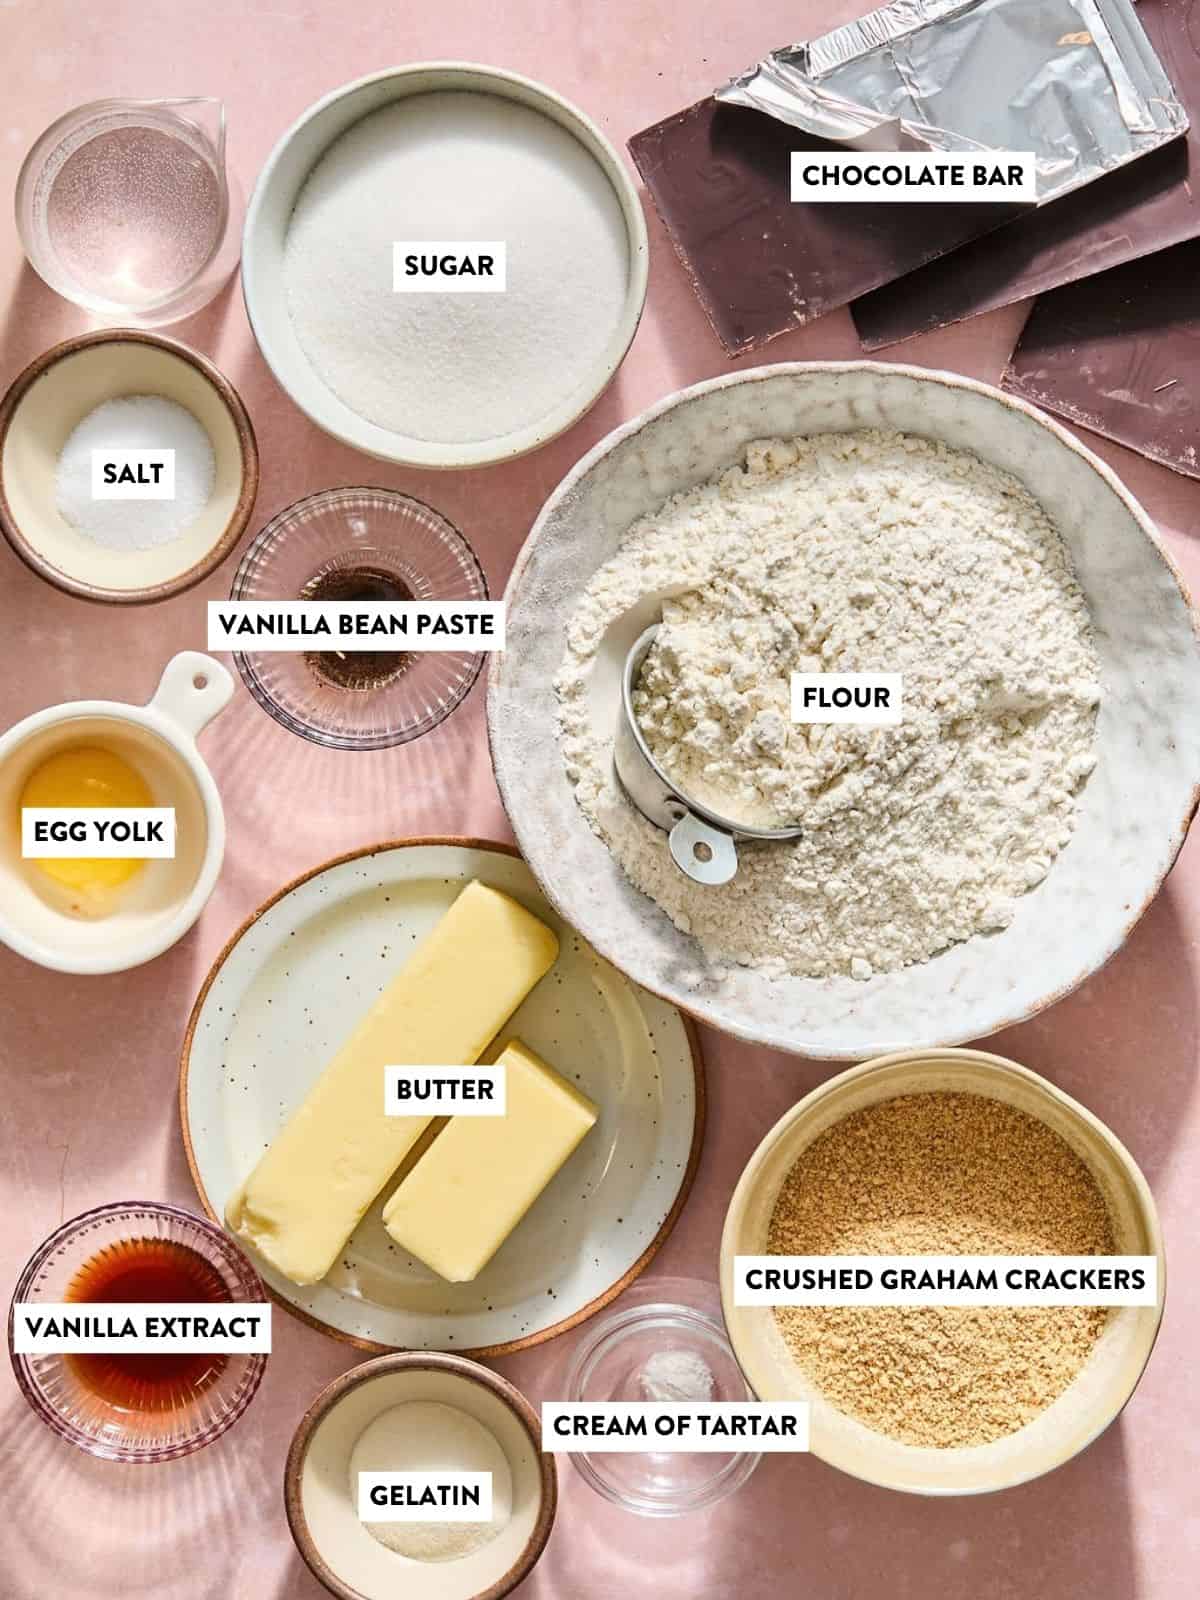
- Very soft butter: So you stir this dough together by hand.
- Granulated sugar and an egg yolk: Together they give the cookie a crisp, sturdy shortbread texture.
- Crushed graham crackers: About 8 sheets, crushed as fine as you can get them (or buy pre-crushed).
- Unflavored gelatin and water: One standard packet to help the marshmallow set up and hold its shape.
- Sugar, water, and cream of tartar: These cook into the syrup that makes the marshmallow fluffy and glossy.
- Vanilla bean paste and a pinch of salt: For rich vanilla flavor and pretty little specks!
- Semi-sweet chocolate bar: Chop a bar yourself instead of using chips. Chips are made to hold their shape, so they don’t melt as smoothly or temper as well.
Helpful Equipment for Homemade Mallomars
You don’t need anything too fancy, but these few tools make a big difference.
Stand mixer: The marshmallow whips on high for 6 to 7 minutes while you pour in hot syrup, so having both hands free really helps.
Candy thermometer: You need one for the sugar syrup (240°F) and for tempering the chocolate (115 to 120°F, then 88 to 90°F). I love this candy thermometer that clips to the pot.
1 1/2 inch round cookie cutter: This gives you the classic Mallomar size. I have a set of round cookie cutters for baking.
Piping bag with a large round tip: I use a Wilton 2A tip. It’s the perfect size for piping a tall marshmallow dome with a little peak on top.
Double boiler: A heatproof bowl set over a pot of simmering water works great. It melts the chocolate gently and makes it easy to rewarm if it starts to cool while you’re coating.
How to Make Homemade Mallomars
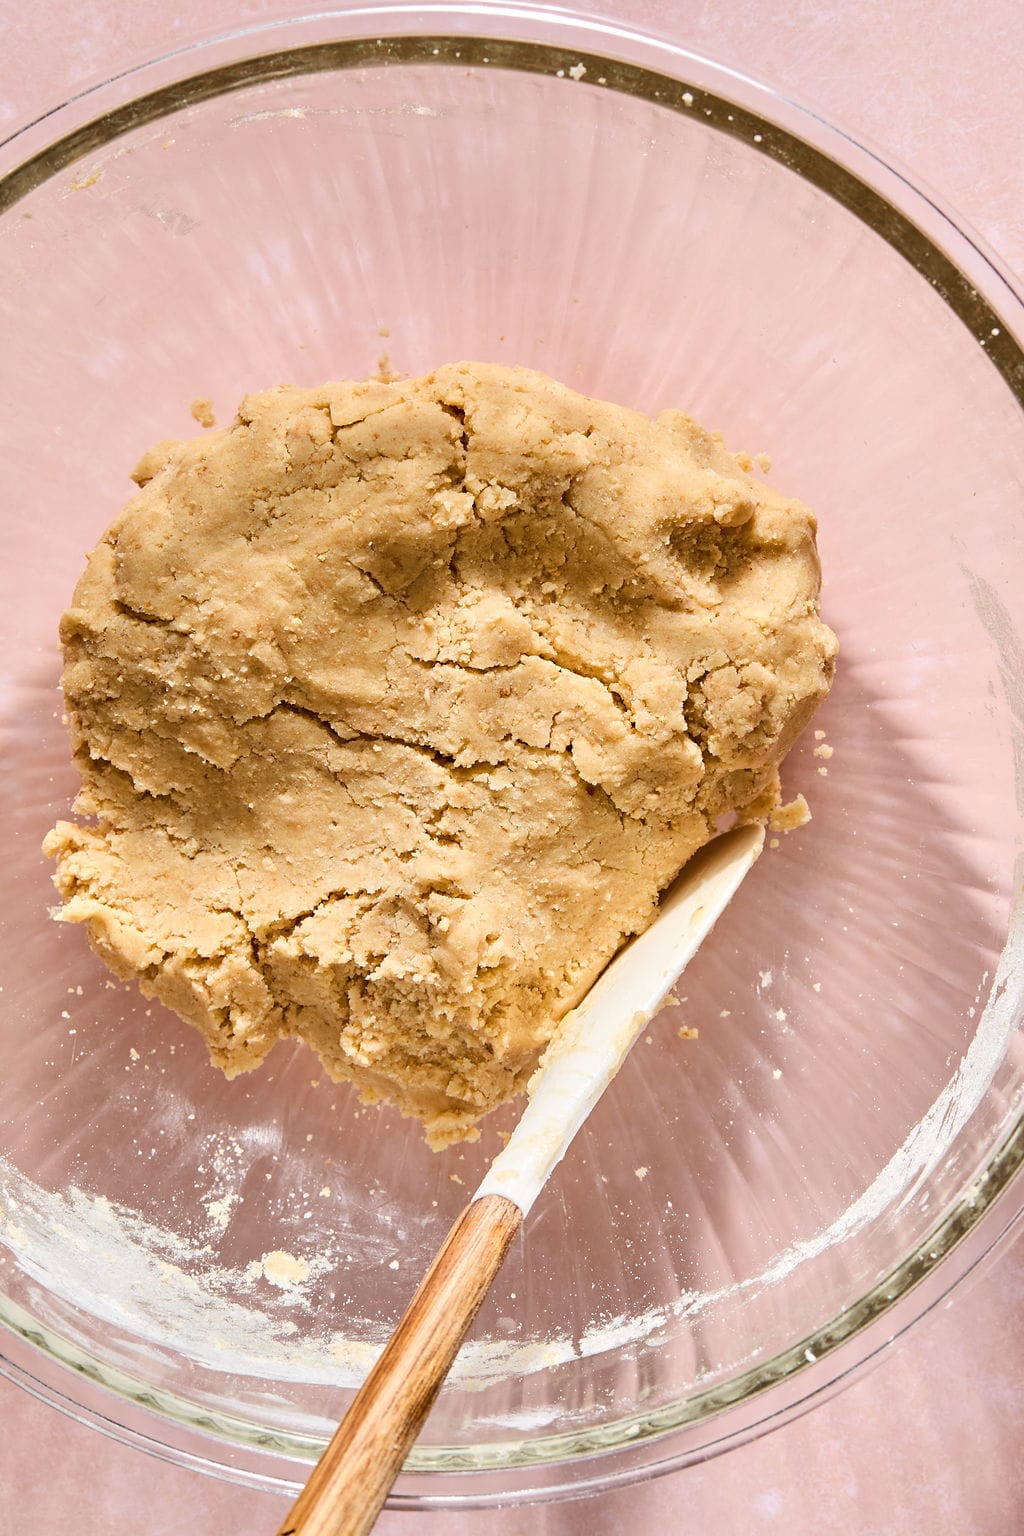
Step 1. Make the cookie dough: Stir the soft butter and sugar together, then mix in the vanilla and egg yolk until there are no yellow streaks left. Add the crushed graham crackers, flour, and salt, and stir until the dough just comes together.
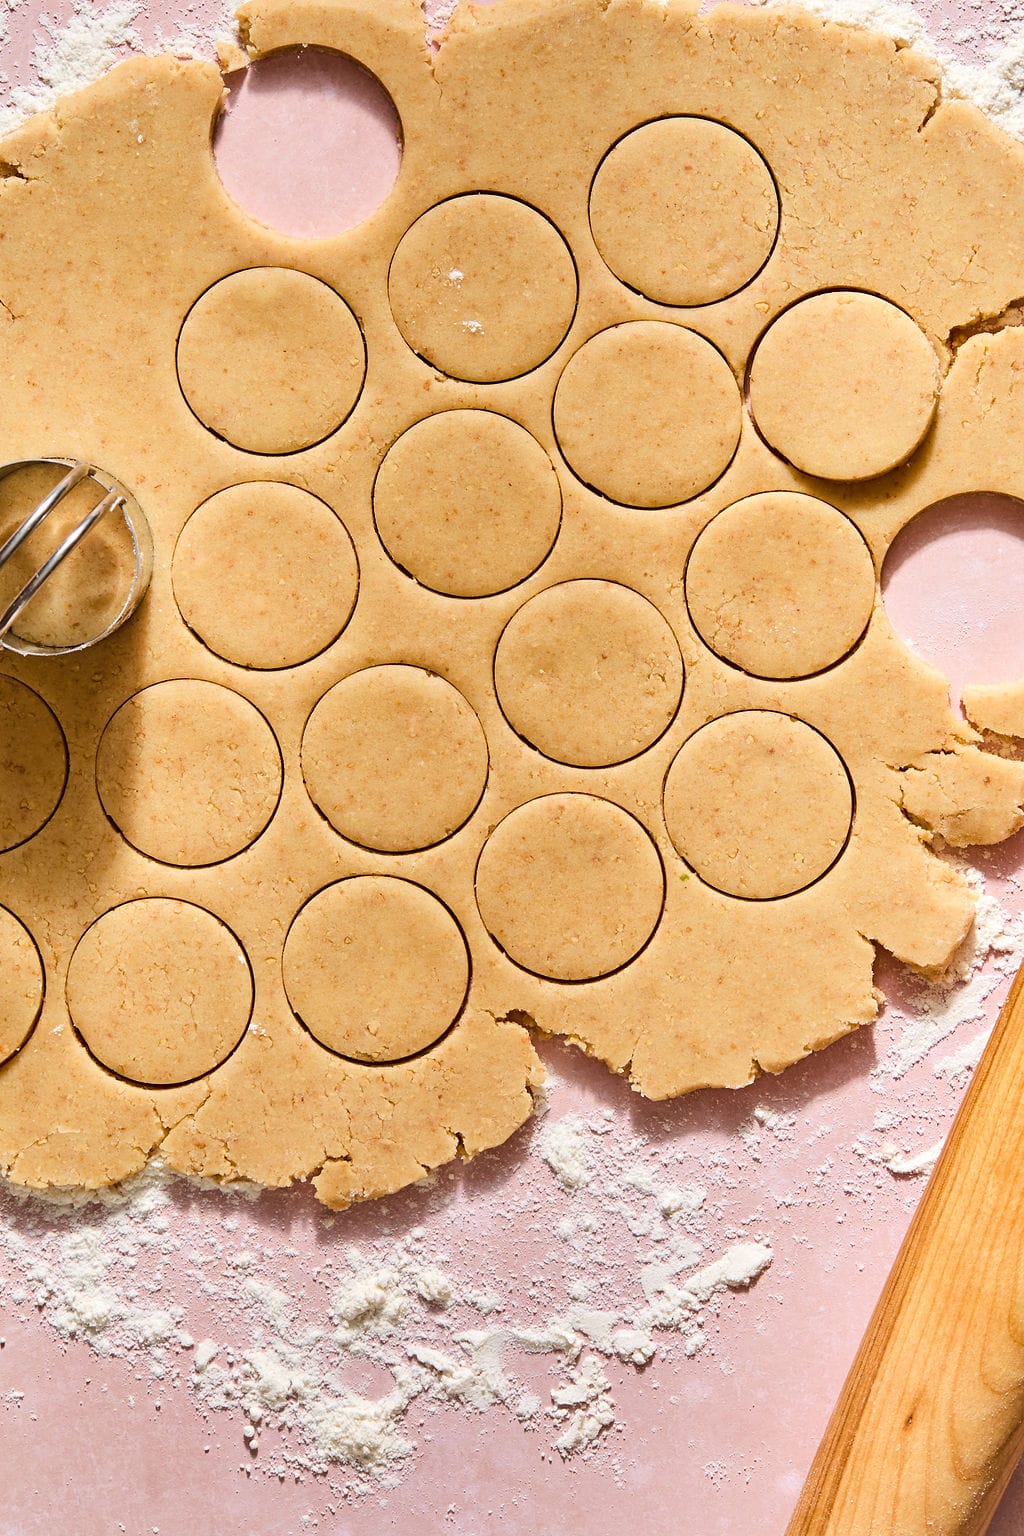
Step 2. Roll, cut, and chill: Roll the dough out on a well floured surface, cut it into circles, and place them on parchment lined baking sheets. Reroll the scraps until all the dough is used, then chill the cookies while the oven preheats.
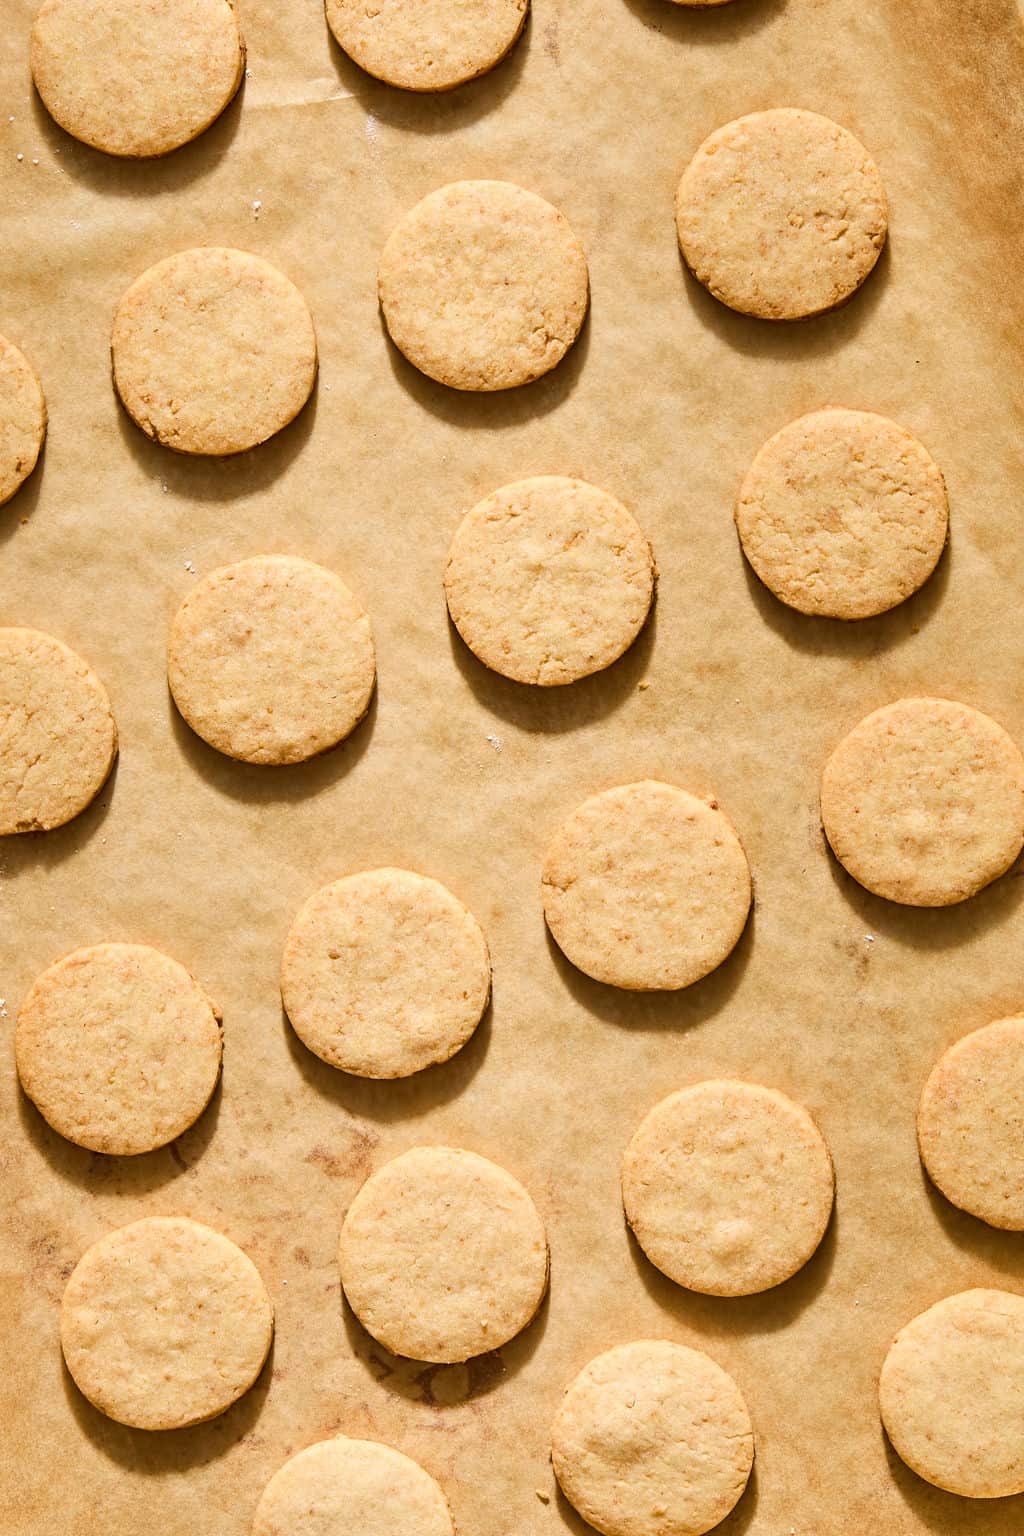
Step 3. Bake and cool: Bake until the edges are golden and the centers look dry. They’ll keep crisping as they cool. Let them cool completely, or the marshmallow will slump.
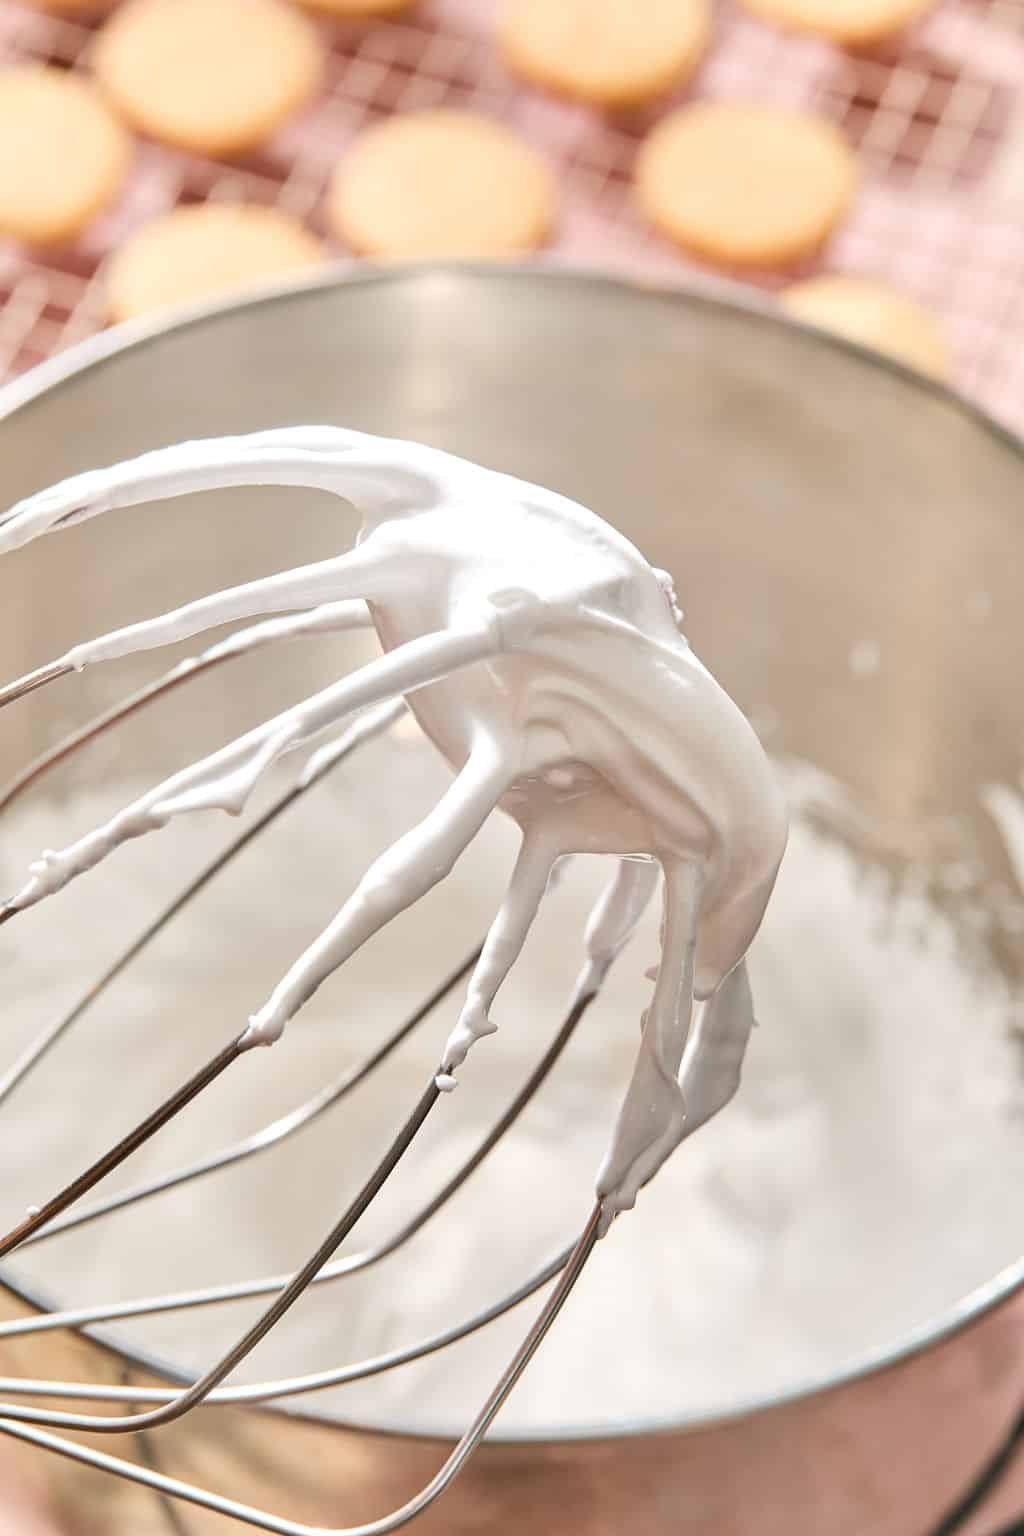
Step 4. Make the marshmallow: Bloom the gelatin in cold water. Meanwhile, cook the sugar syrup to 240°F, then slowly pour it into the gelatin with the mixer running. Whip on high until it’s bright white, glossy, and holds its shape. Mix in the vanilla bean paste and salt.
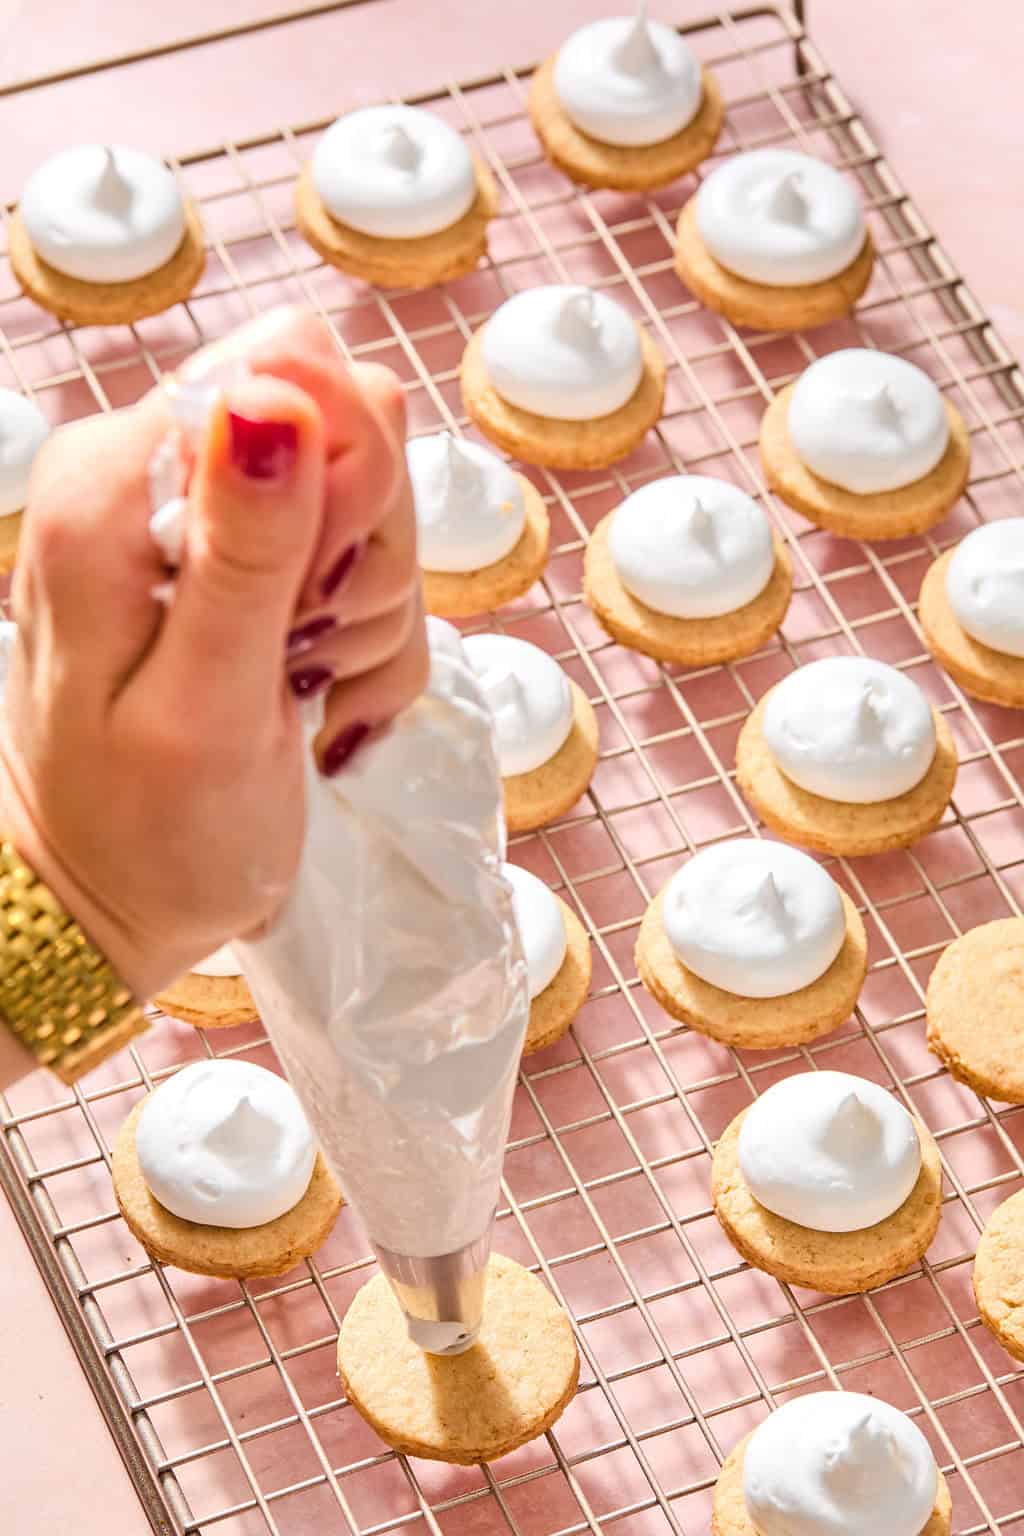
Step 5. Pipe and set: Working quickly, pipe the marshmallow onto each cookie until it reaches the edges, then press down gently and pull straight up to make the peak. Let them set for at least an hour, until the marshmallow isn’t tacky.
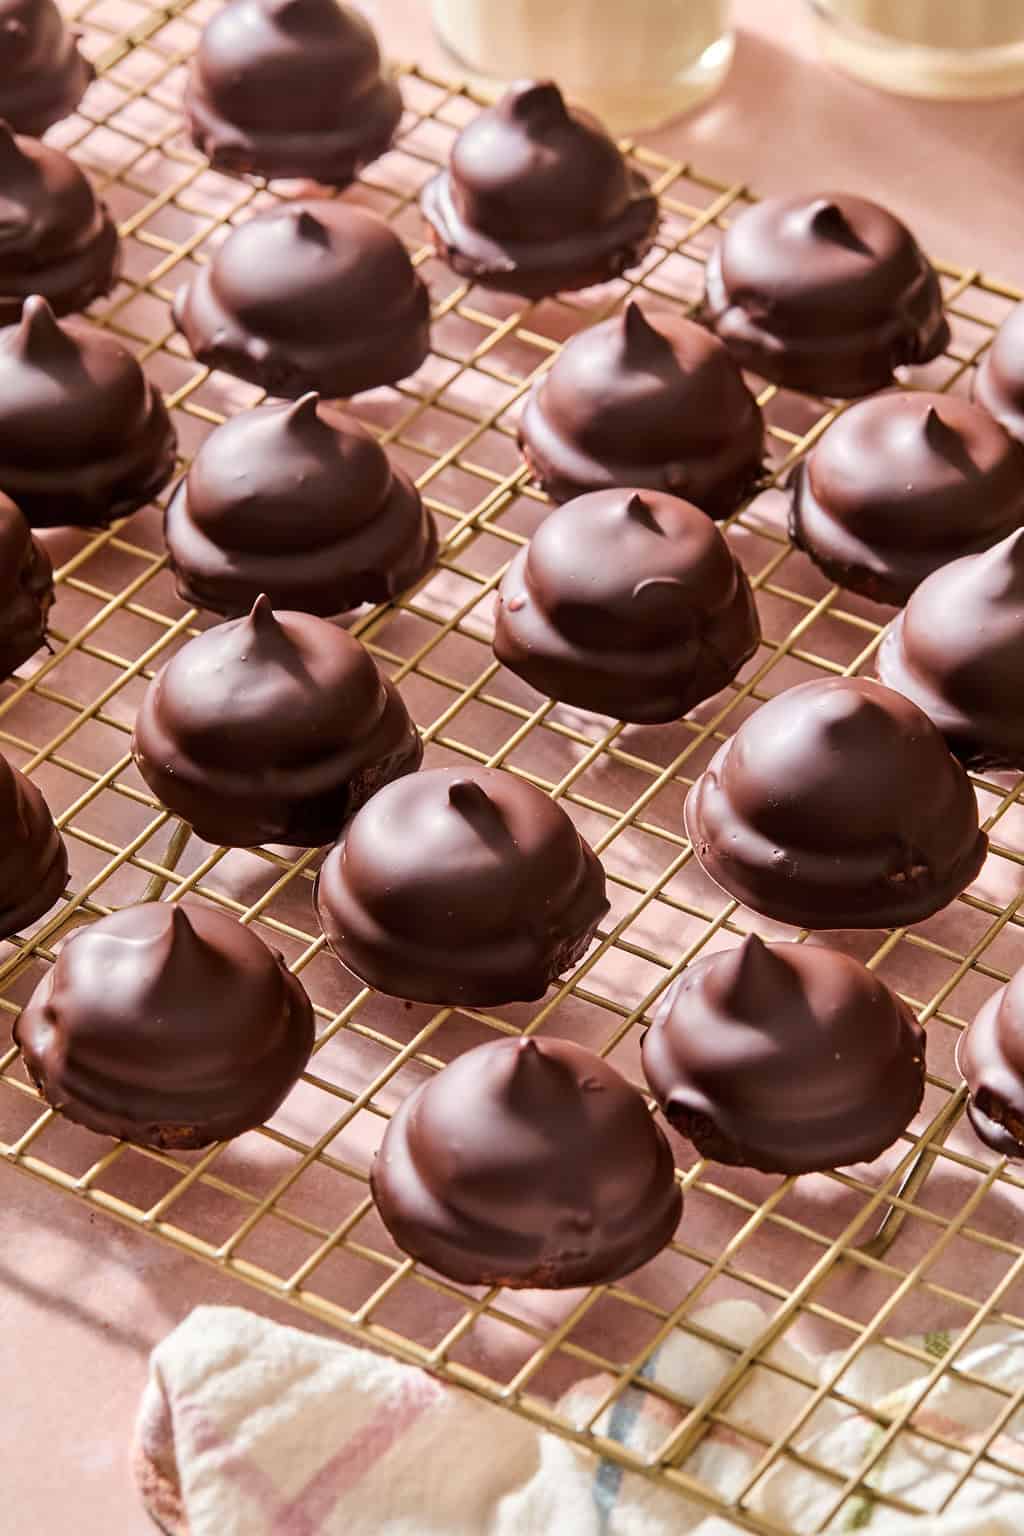
Step 6. Temper the chocolate and coat: Temper the chocolate (see below), then dip one cookie at a time and use a fork to coat it completely. Let the extra drip off and set it on parchment until the shell is firm.
How to Temper the Chocolate (and Why It’s Worth It)
Tempering just means melting and cooling chocolate to specific temperatures so it sets up shiny, thin, and snappy. For a cookie that’s all about the shell, it’s worth the extra few minutes!
Here are the key steps with temperatures for tempering melted chocolate!
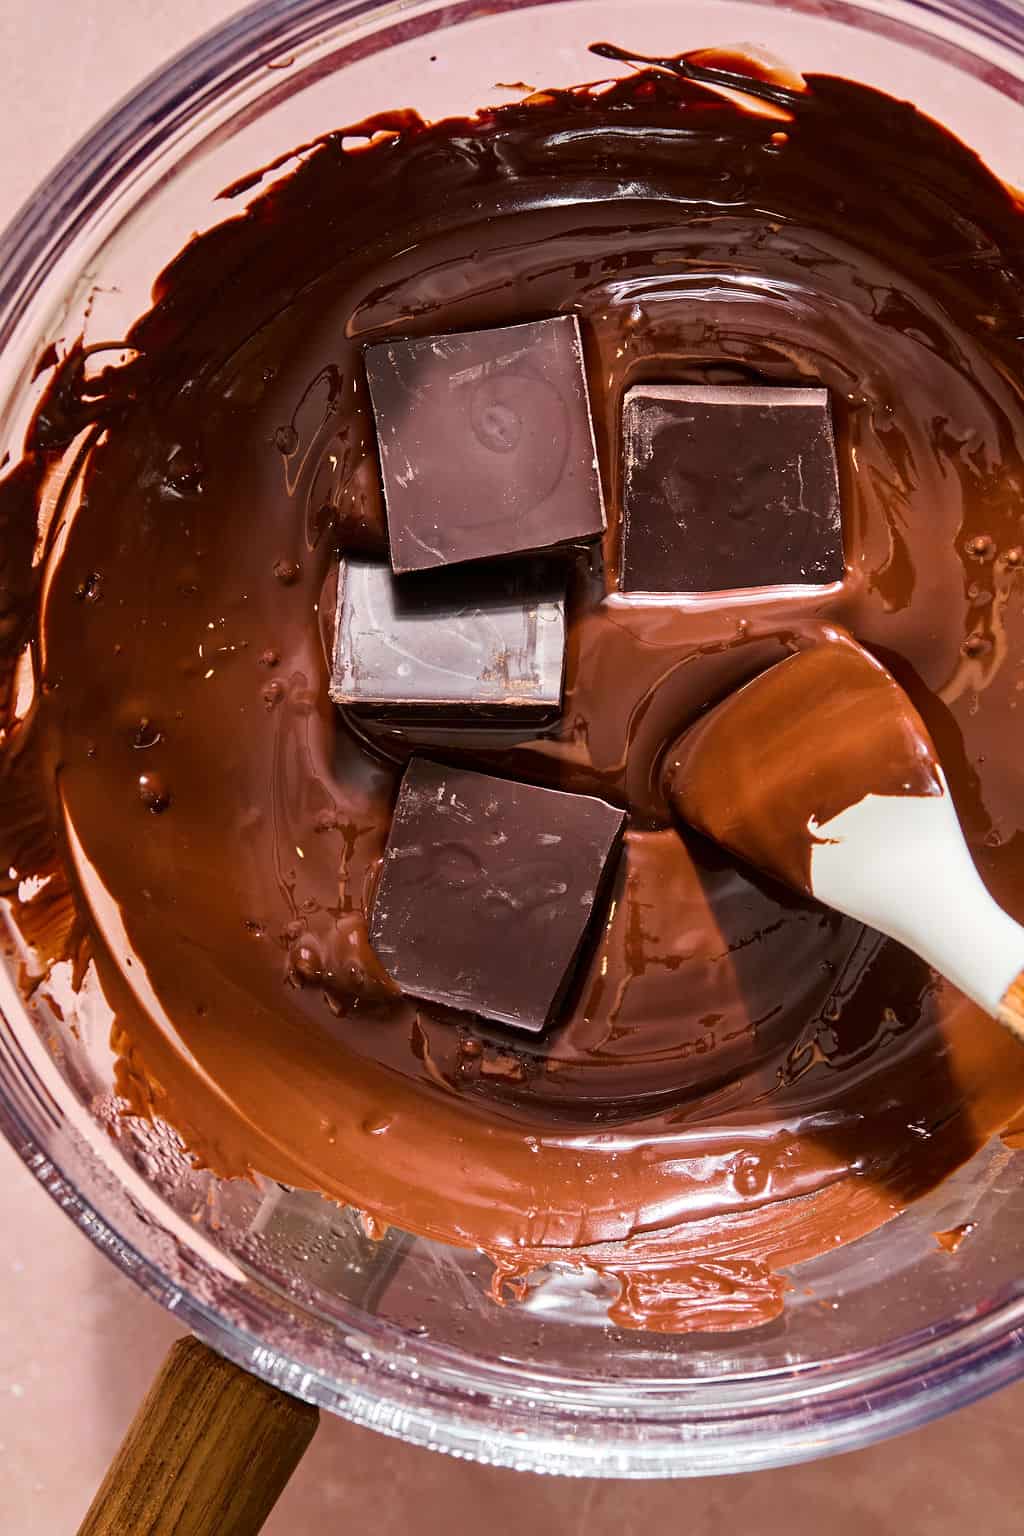
Melt most of the chocolate over a double boiler until it reaches 115-120°F. Remove from the heat, add the remaining chocolate, and stir until the temperature drops to 88-90°F. Try to keep it at that temp while you coat the cookies.
If it starts to thicken, rewarm it over the double boiler for a few seconds.
How to tell it worked: the chocolate sets up glossy and firm instead of dull and soft.
How to Store
Store them in an airtight container at cool room temperature for up to 5 days away from heat and sunlight so the chocolate doesn’t soften.
I don’t recommend freezing them, since the chocolate shell can lose its shine as it thaws. To get ahead, bake the cookies and freeze them on their own, then pipe and coat them fresh.
More Chocolate Cookies
Homemade Mallomars
Save this Recipe!
Ingredients
Graham Cracker Cookie
- 3/4 cup unsalted butter very soft
- 1/2 cup granulated sugar
- 2 teaspoons vanilla extract
- 1 egg yolk
- 3/4 cup crushed graham crackers about 8 sheets
- 2 cups all purpose flour
- 1/2 teaspoon salt
- 12 oz semi-sweet chocolate bar chopped and divided
Homemade Marshmallow
- 2 1/2 teaspoons (1 packet) unflavored gelatin
- 1/4 cup cold water for blooming
- 3/4 cup granulated sugar
- 1/4 cup water for syrup
- 1/8 teaspoon cream of tartar
- 1 teaspoon vanilla bean paste
- Pinch of salt
Instructions
- Line two large light-colored baking sheets with parchment paper.
- Wet Ingredients: In a large bowl, use a spoon to stir together the very soft butter and sugar until combined. Mix in the vanilla and egg yolk until no yellow streaks remain.3/4 cup unsalted butter, 1/2 cup granulated sugar, 2 teaspoons vanilla extract, 1 egg yolk
- Dry ingredients: Stir in the crushed graham crackers, flour, and salt until the dough just starts to come together.3/4 cup crushed graham crackers, 2 cups all purpose flour, 1/2 teaspoon salt
- Cut out the cookies: On a well floured surface, roll the dough out to 1/2 inch thick. Use a 1 1/2 inch round cookie cutter to cut the dough into circles and transfer them to the prepared baking sheets. Reroll the scraps and repeat until all of the dough is used.
- Chill the dough: Chill the cut cookies in the fridge for 20 to 30 minutes. Meanwhile, preheat the oven to 350°F.
- Bake the cookies: Bake for 14 to 15 minutes, until the edges are golden and the centers look dry. Let the cookies cool slightly on the baking sheet, then transfer them to a wire rack to cool completely. They will continue to crisp as they cool.
- Bloom the gelatin: Once the cookies are completely cool, add the gelatin and cold water to the bowl of a stand mixer fitted with the whisk attachment. Whisk briefly to combine, about 1 minute, then let it rest for 7 to 8 minutes to bloom. This keeps it from clumping and helps it set evenly.2 1/2 teaspoons (1 packet) unflavored gelatin, 1/4 cup cold water
- Simmer the water and sugar: While the gelatin blooms, add the granulated sugar, remaining 1/4 cup water, and cream of tartar to a small saucepan. Stir gently, then bring to a gentle boil over medium heat. Once boiling, stop stirring and cook until a thermometer reads 240°F, about 4 minutes.3/4 cup granulated sugar, 1/4 cup water, 1/8 teaspoon cream of tartar
- Whip the marshmallow: With the mixer running on low, slowly pour the hot syrup into the gelatin in a steady stream down the side of the bowl, avoiding the whisk as much as possible. Gradually increase the speed to high and beat for 6 to 7 minutes, until the marshmallow is bright white, very glossy, and holds its shape when you lift the whisk. Add the vanilla bean paste and salt and mix for 30 seconds more.1 teaspoon vanilla bean paste, Pinch of salt
- Pipe the cookies: Working quickly, transfer the marshmallow to a piping bag fitted with a large round tip (I like Wilton 2A). Pipe a large mound onto the center of each cooled cookie, using even pressure until the marshmallow spreads to the edges. Gently press down, then pull away to form a small peak.
- Rest Marshmallows: Let the marshmallow set for at least 1 hour, until the surface is no longer wet or tacky and holds its shape.
- Temper the chocolate: Melt two thirds of the chopped chocolate in a medium heatproof bowl over a double boiler, stirring frequently, until it reaches 115 to 120°F. Remove from the heat and stir in the remaining chocolate until melted and the temperature drops to 88 to 90°F. Keep the chocolate between 88 and 90°F while coating, gently rewarming it over the double boiler for a few seconds as needed.12 oz semi-sweet chocolate bar
- Coat the cookies: Drop one cookie at a time into the chocolate and use a fork to coat it completely. Lift it out, let the excess drip off, and place it on a parchment lined baking sheet. Let the chocolate set completely, before serving.
Notes
Nutrition
Nutrition information is automatically calculated, so should only be used as an approximation.
This post may contain affiliate links. Read our disclosure policy.