
All the Taste and Comfort Without the Gluten and Dairy

- Just like the original holiday favorite, but everyone can enjoy it.
- A Thanksgiving favorite just like these crock pot mashed potatoes or gluten-free stuffing.
- Adds delicious veggies to the hearty menu like this brussels sprouts and butternut squash recipe.
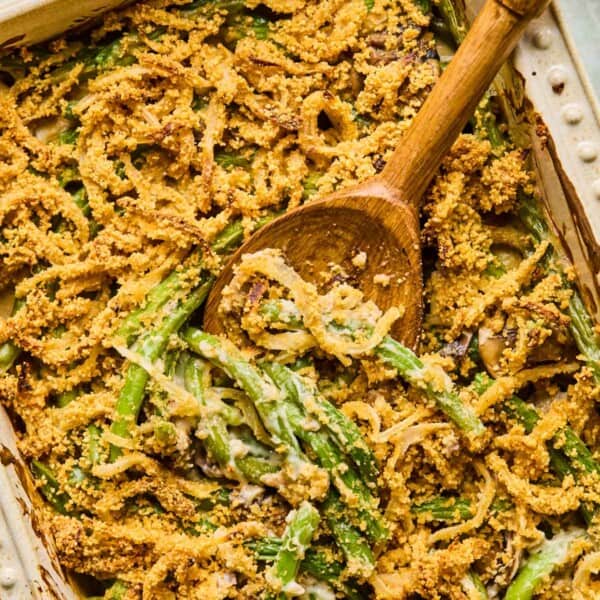
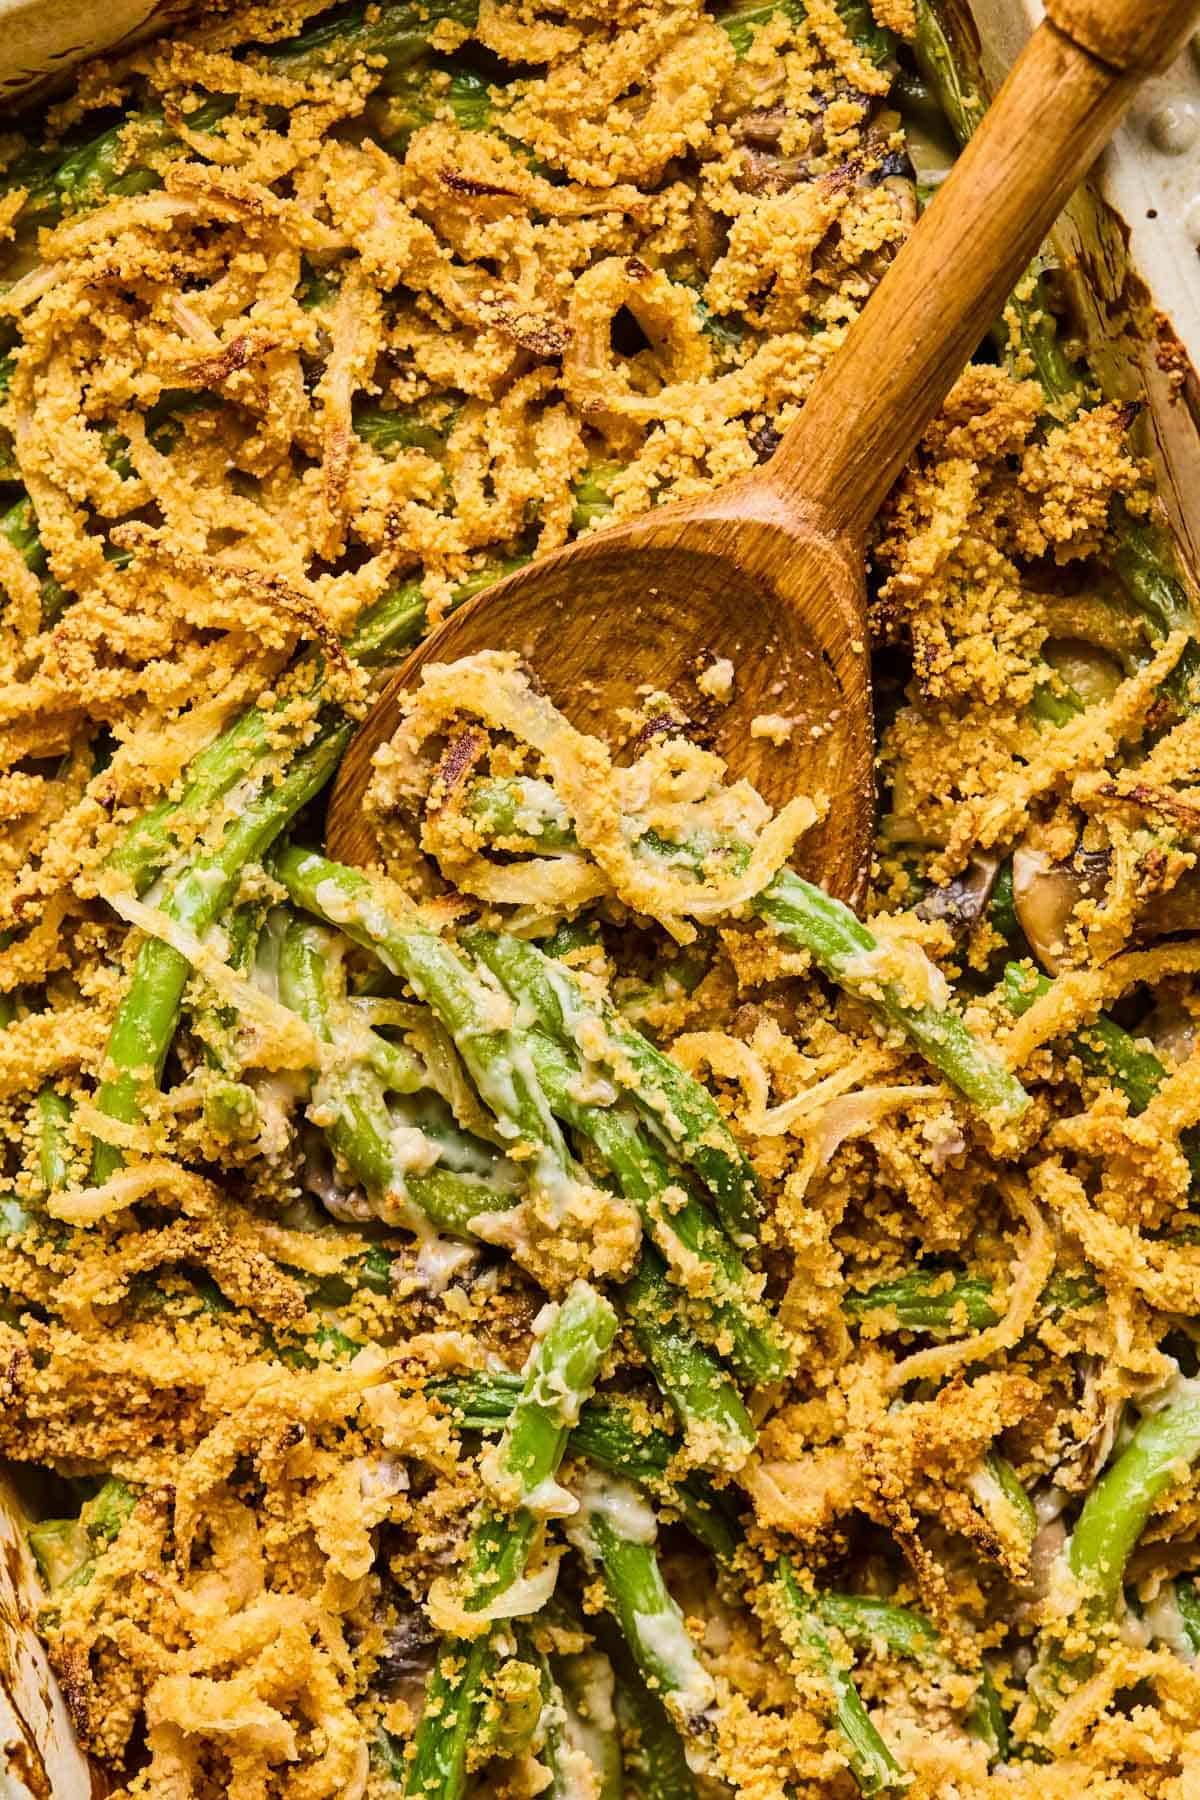
- Homemade, but simple to make with creamy mushroom sauce coating the tender beans, all covered in crispy fried onions.
Need another gluten-free dairy-free holiday dish? Try dairy-free mashed potatoes, vegan mac and cheese, or vegan pumpkin cheesecake next.
Ingredients You’ll Need

- Fresh green beans: wash and trim the ends!
- Yellow onion: to make homemade french fried onions.
- Almond flour: use blanched (peeled) almond flour. It’s in the baking aisle!
- Vegan butter or coconut oil: I love the flavor vegan butter adds to the dish, but coconut oil also works. I like Miyokos vegan butter.
- Mushrooms: for the creamy mushroom sauce. You can use a white button or baby bella.
- Gluten-Free Flour: I like Bob’s Red Mill or King Arthur’s 1:1 flour.
- Vegetable broth: to thin the sauce.
- Non-dairy milk: Any dairy-free milk is great to make the sauce while keeping it nice and creamy. We used unsweetened almond milk, but coconut milk works too!
How to Make Gluten Free Dairy Free Green Bean Casserole
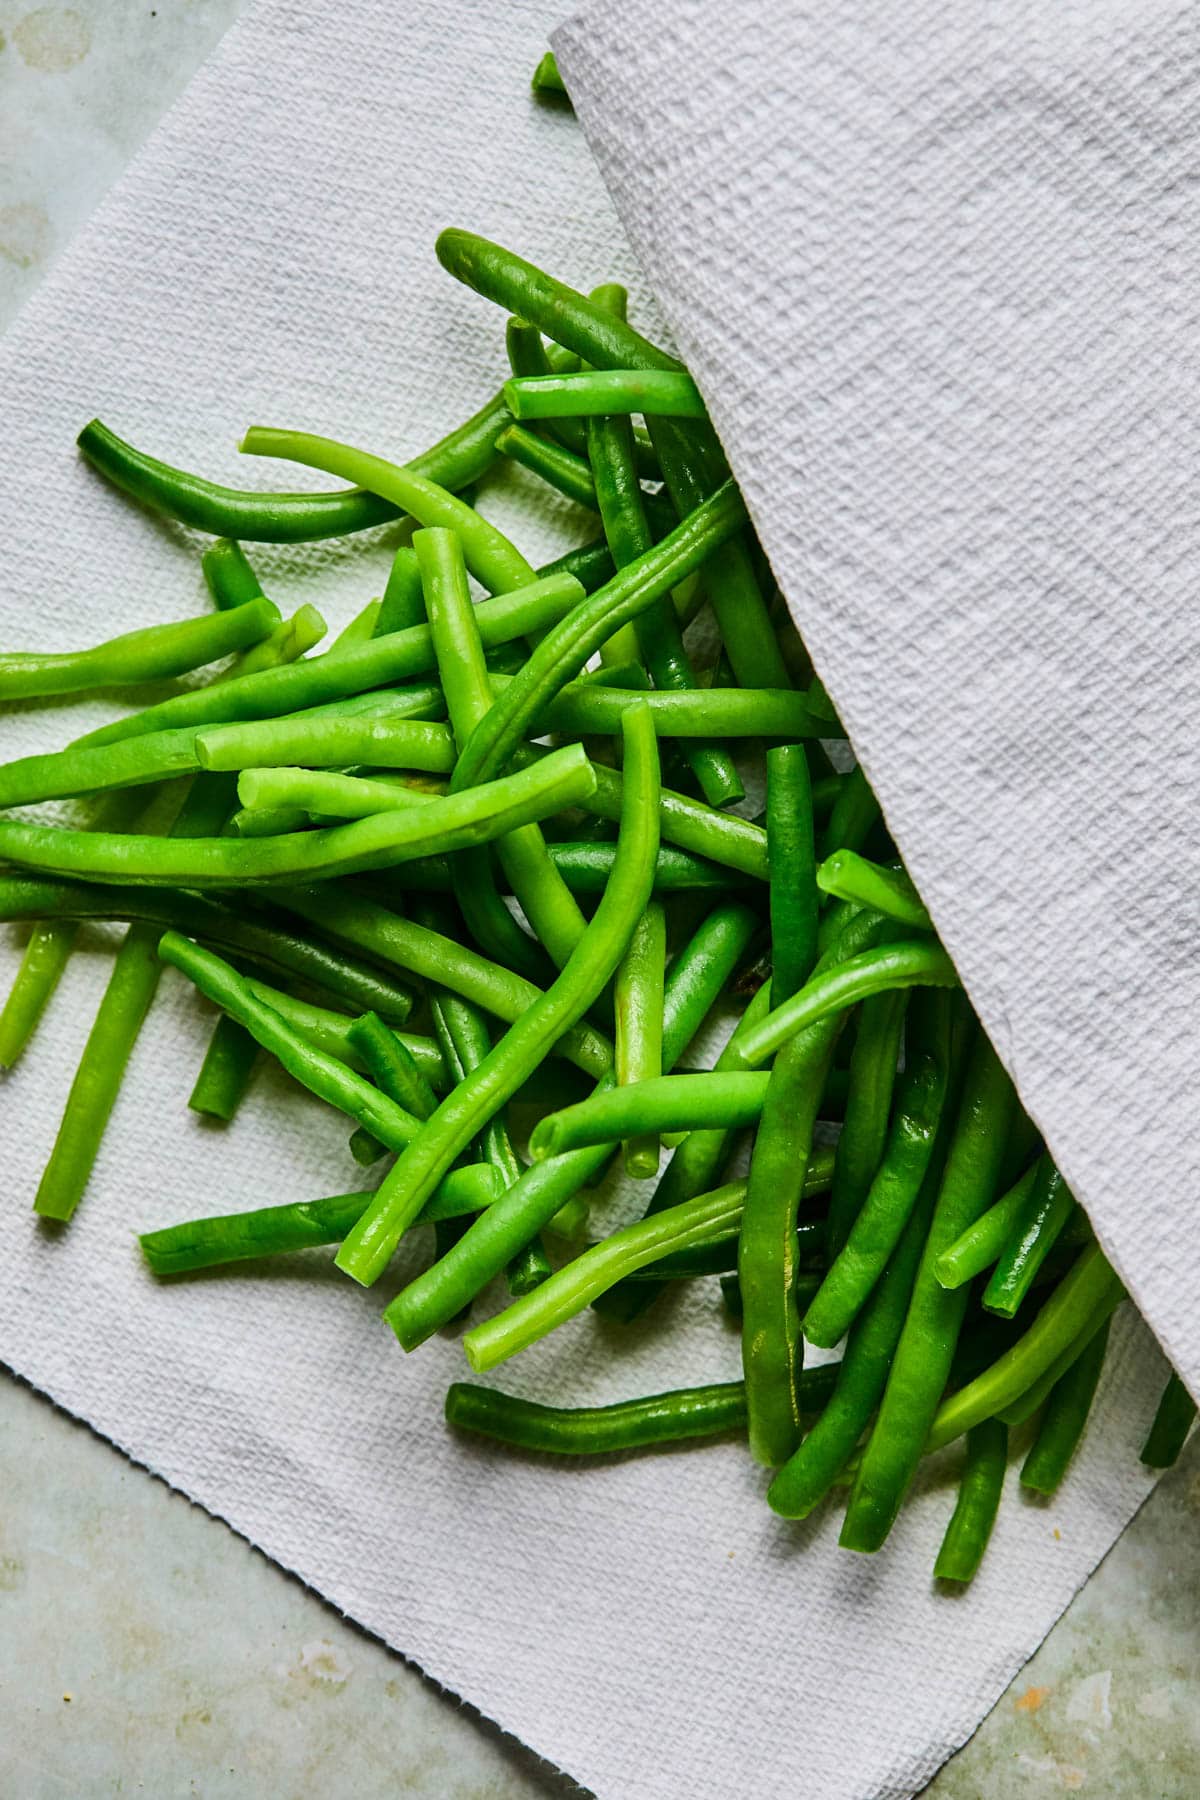
- Prep the Green Beans. Wash and dry the green beans. Cut the ends off of each side
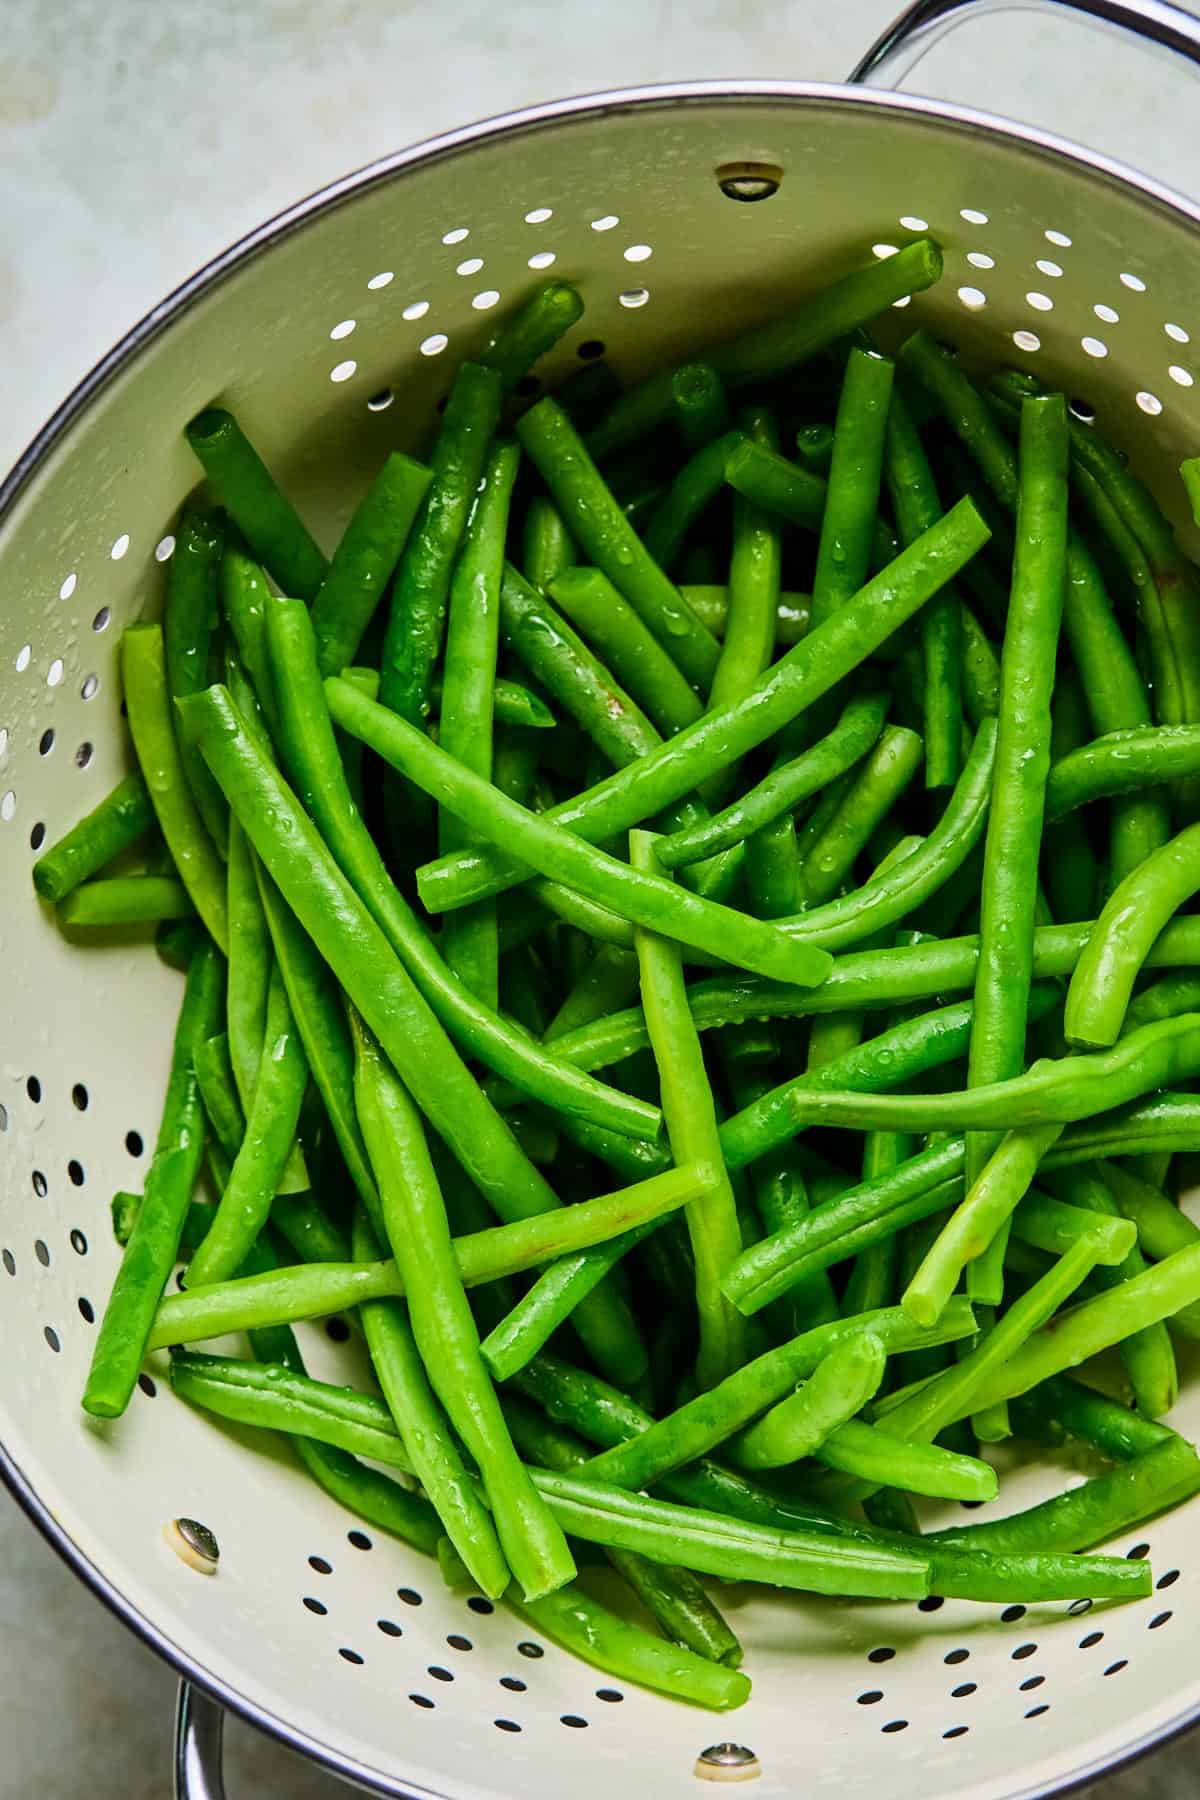
- Blanch Green Beans. Boil the green beans for 2-3 minutes then drain them and transfer them to an ice bath.
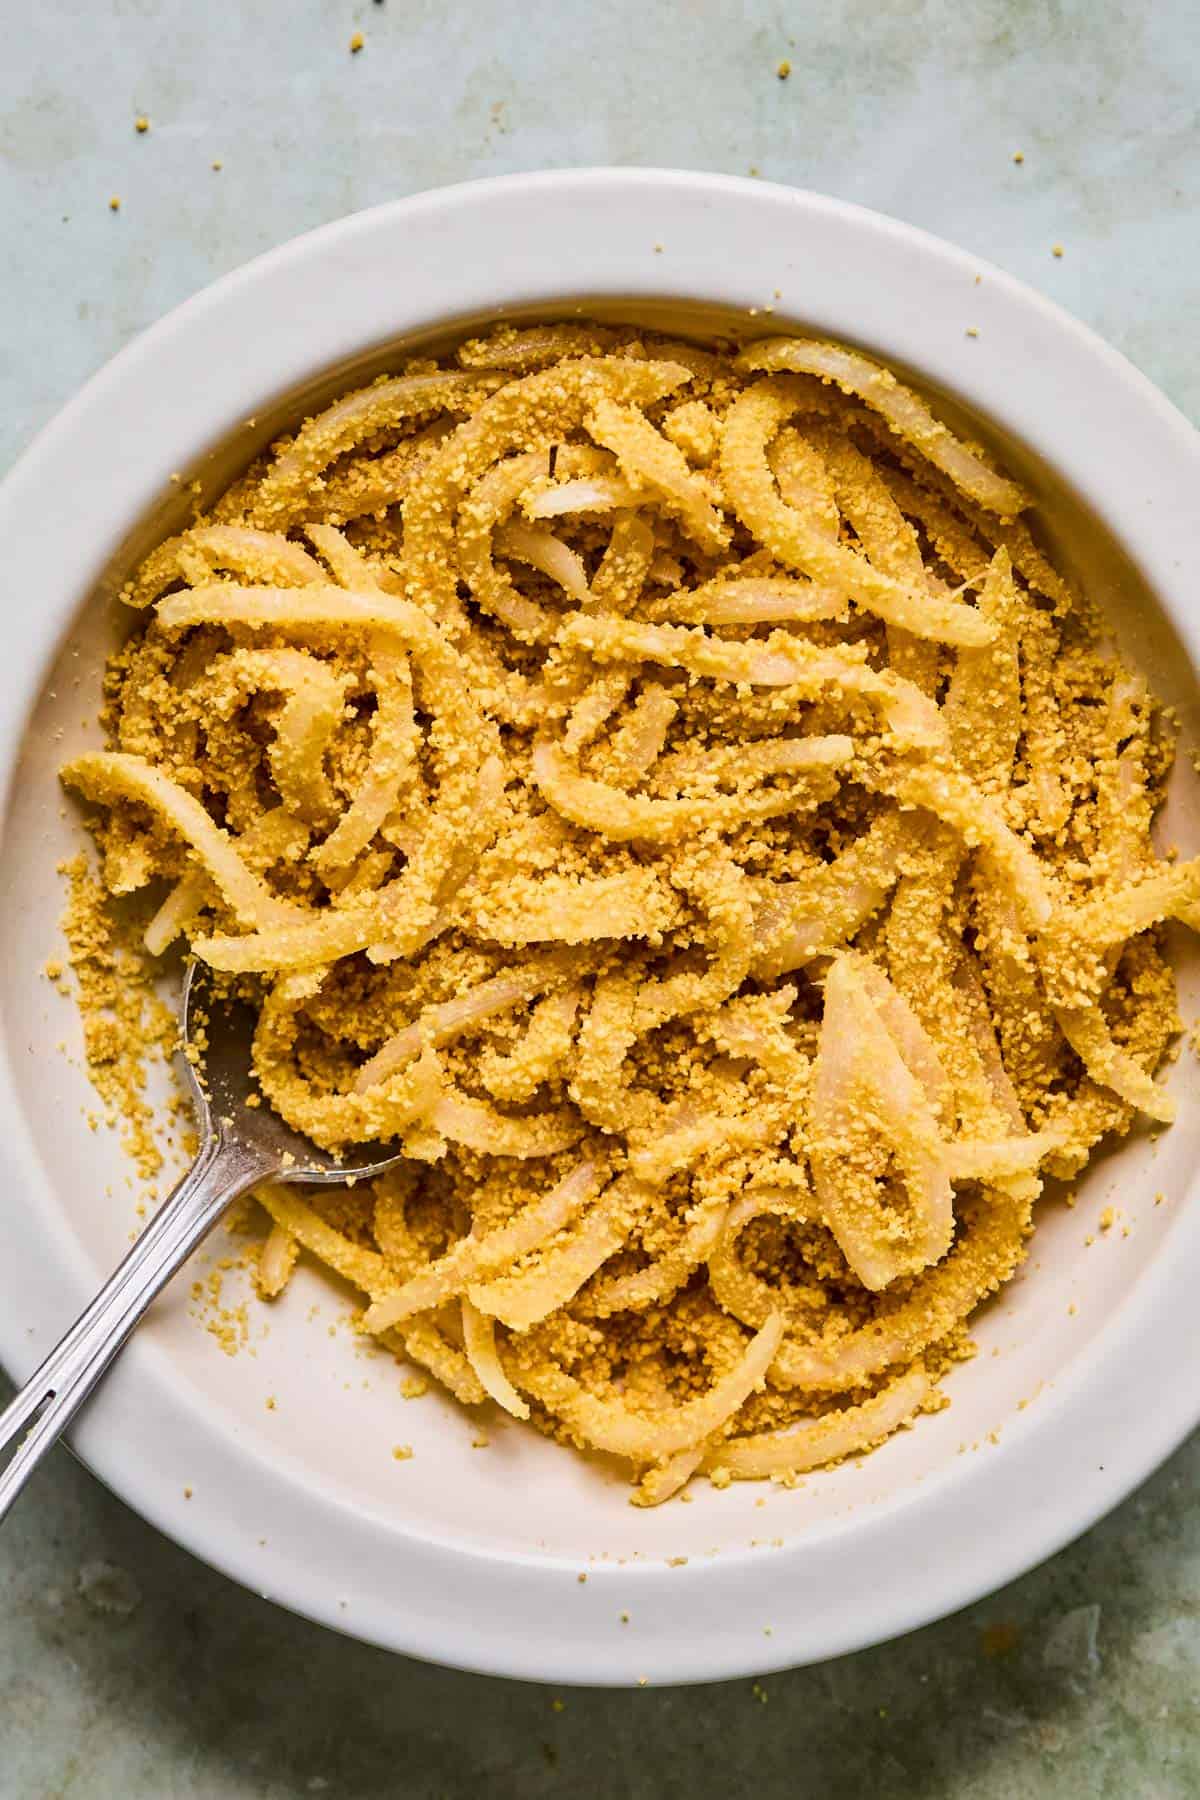
- Gluten-Free Crispy Onions. Cook the onion until soft and remove to a bowl. Toast the almond flour in the same pan then mix them together.
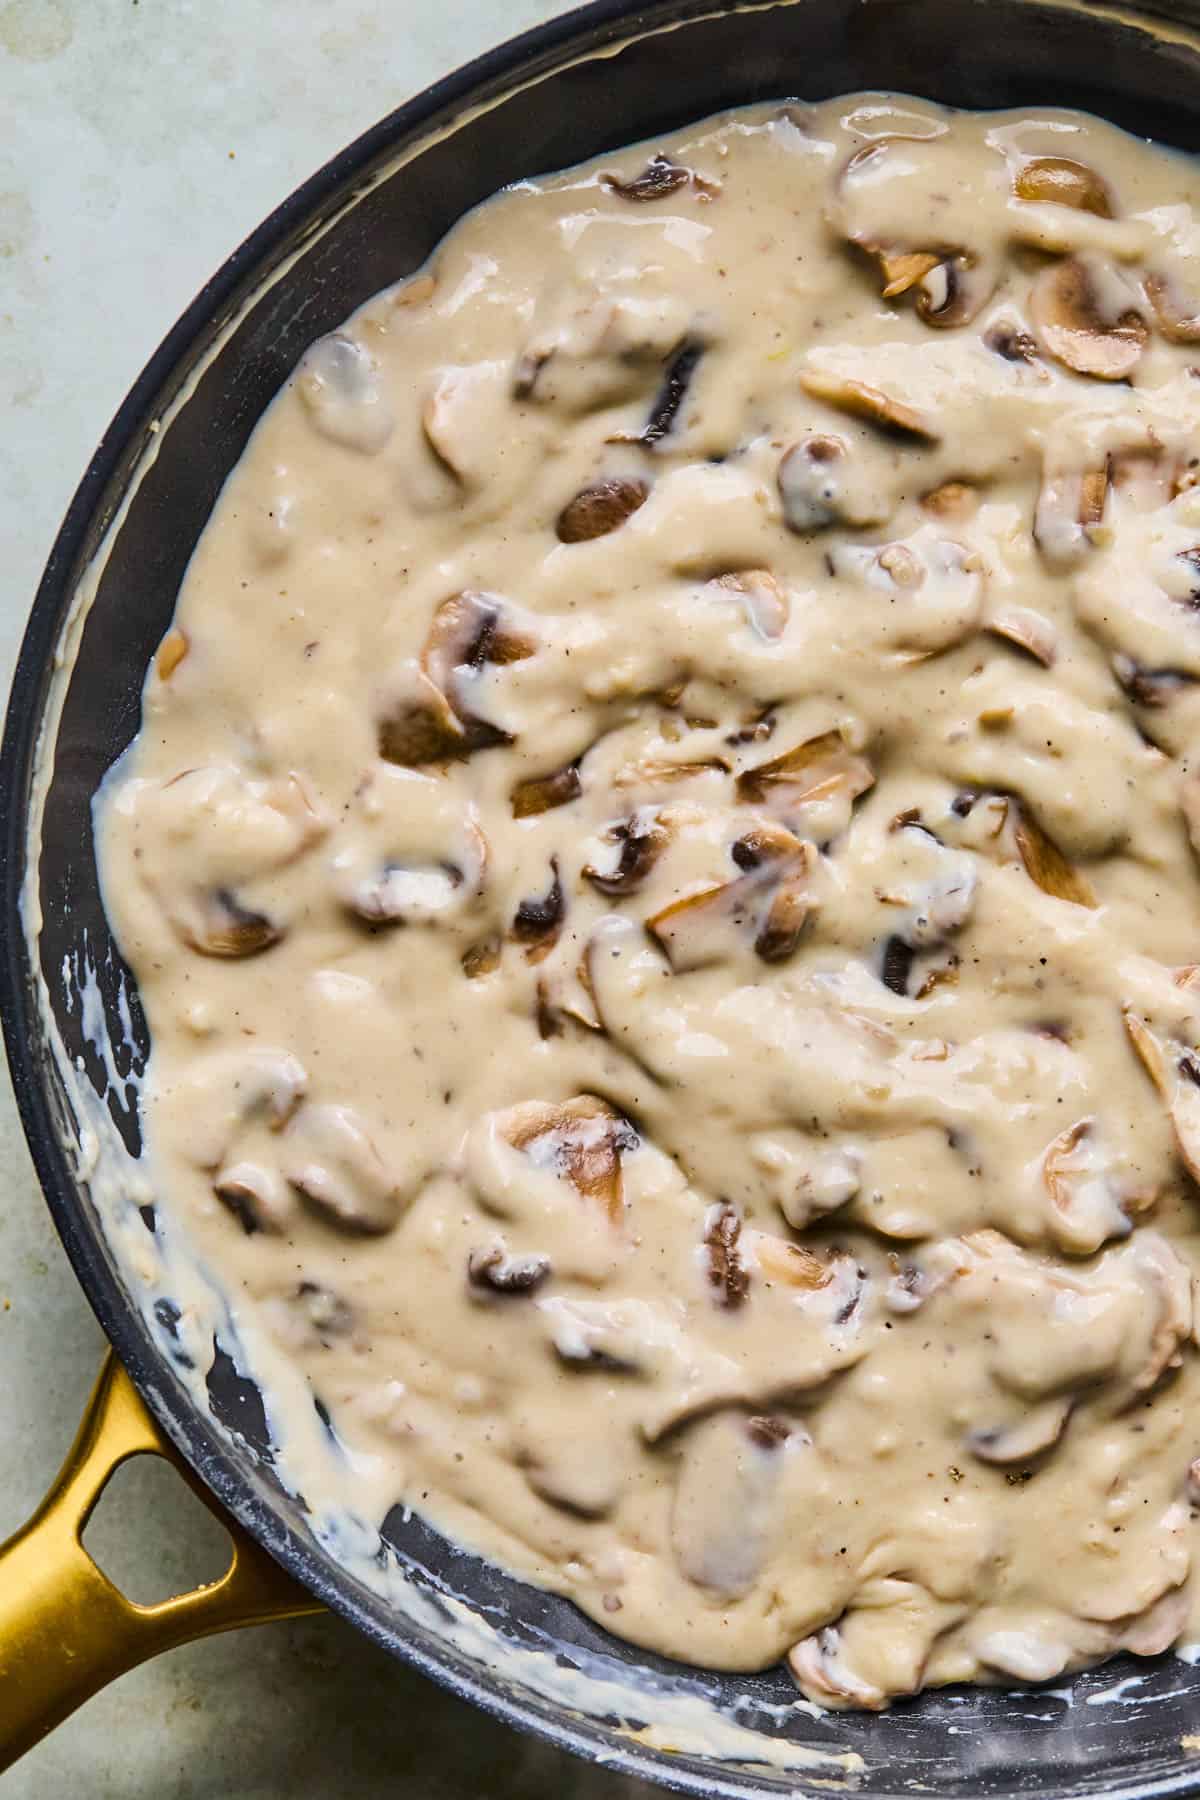
- Make the Mushroom Sauce. Cook the mushrooms with vegan butter until soft. Add the gluten-free flour to create a roux. Slowly whisk in the broth and dairy free milk until thickened.
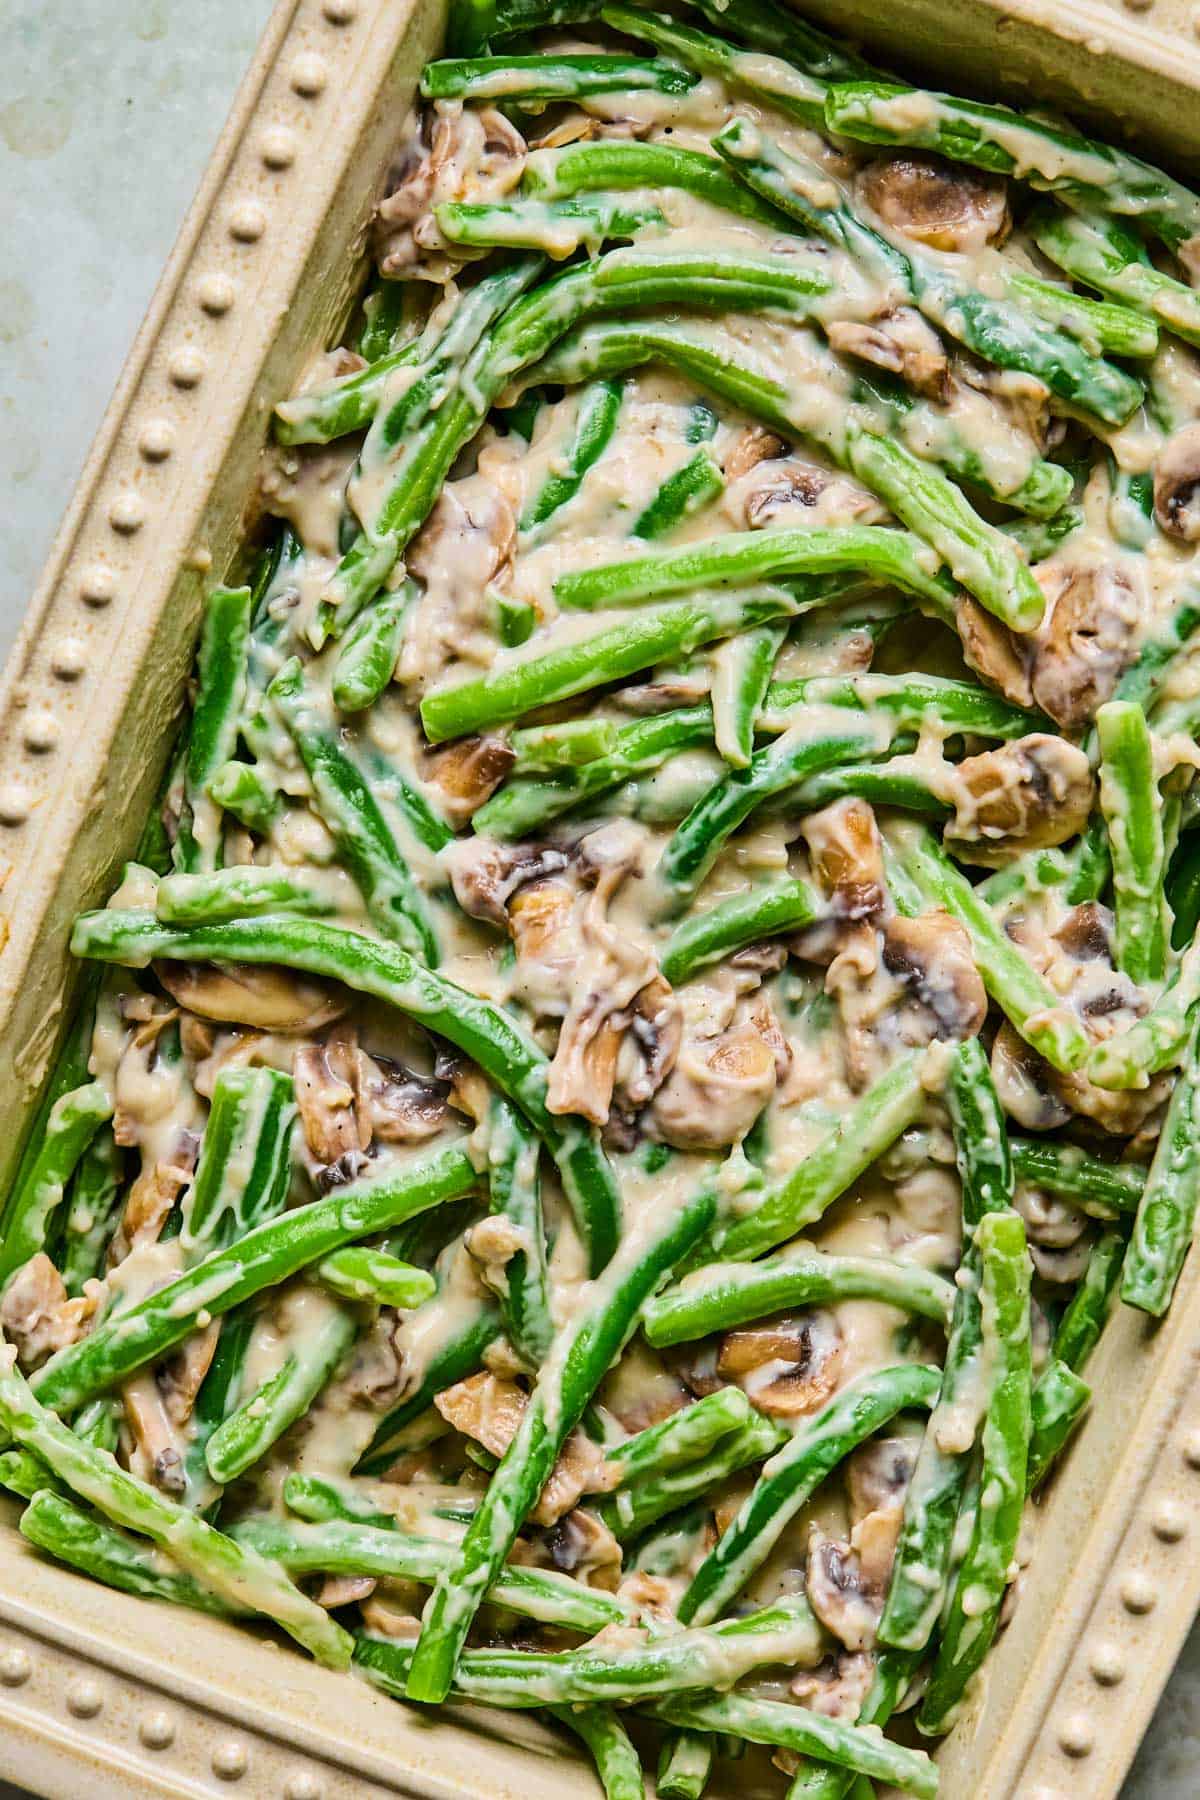
- Assemble. Add the green beans and mushroom sauce to a greased casserole dish and toss to coat.
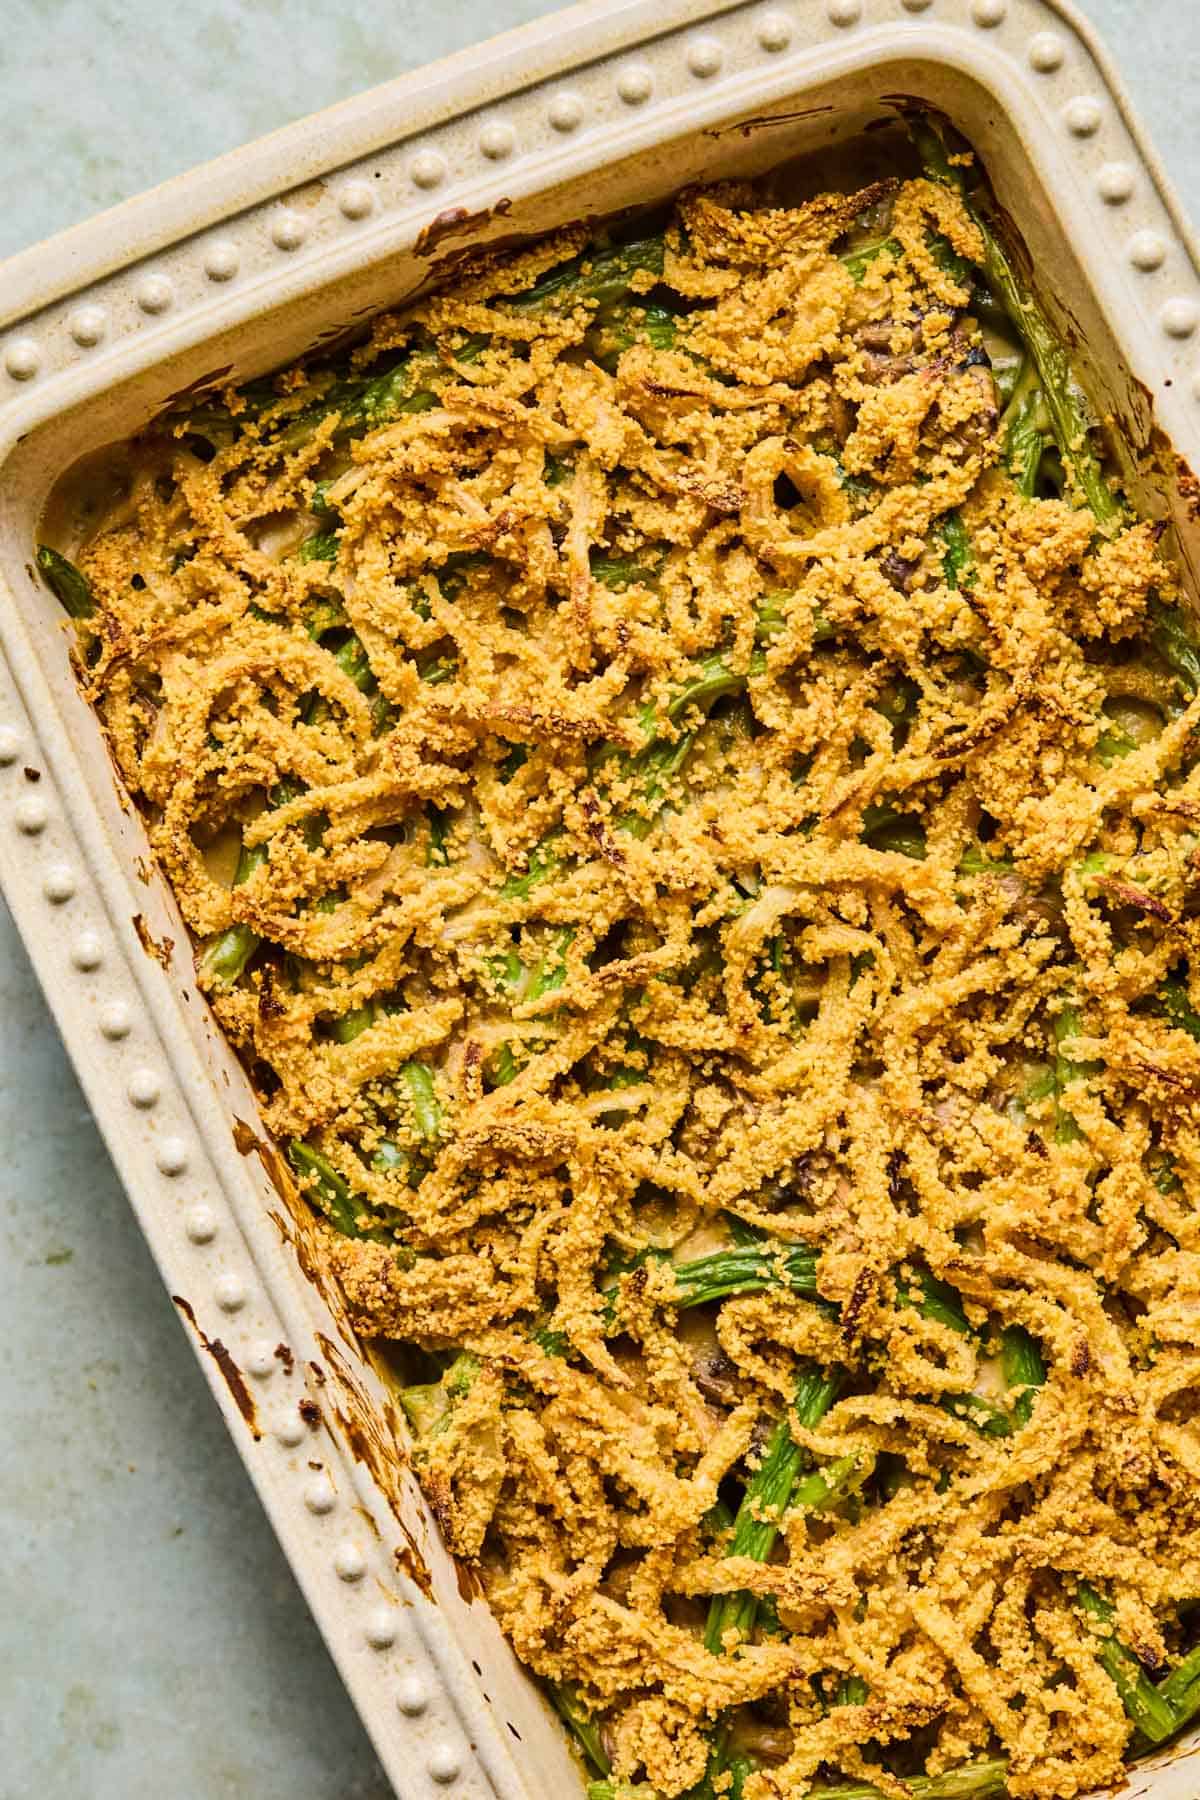
- Top and Bake. Top the casserole with the crispy onions and bake for 30-35 minutes, until golden and crispy.
Tested Tips & Tricks
- Don’t overcook the beans: Blanching keeps them crisp so they don’t turn mushy in the oven.
- Toast the almond flour well: It should be golden brown for the best nutty flavor.
- Thin the sauce as needed: Add a splash more plant milk if it feels too thick before baking.
- For extra indulgence: Sprinkle dairy free cheese (like Violife mozzarella) on top before baking.
Storage and Make-Ahead
Make ahead: This dairy-free green bean casserole is great to prep ahead of time. Follow the directions to make all of the steps and assemble the casserole then cover it with plastic wrap and keep it in the fridge for up to 2 days. Uncover and bake right before you’re ready to serve.
Store or freeze: Cover the baked casserole in an airtight container and store it in the fridge for up to 3 days or in the freezer for up to 3 months. Allow it to thaw overnight in the fridge then bake at 350°F until warmed through.

More Dairy-Free Thanksgiving Recipes
Gluten Free Dairy Free Green Bean Casserole
Save this Recipe!
Ingredients
- 2 lbs fresh green beans ends trimmed
- 4 tablespoons vegan butter divided
- 1 large yellow onion thinly sliced
- 2/3 cup almond flour
- 1/4 teaspoon sea salt
- 8 ounces white button mushrooms or baby bella mushrooms, thinly sliced
- 4 cloves garlic minced
- 1/3 cup 1:1 gluten-free flour
- 1/2 cup vegetable stock or broth
- 1 1/2 cups unsweetened plant milk like almond milk
- Salt and pepper to taste
Instructions
- Preheat the oven to 375°F. Spray a 9×13 inch casserole dish with nonstick cooking spray and set aside.
- Bring a gallon of water and 1 tablespoon of salt to a boil then add the fresh green beans and cook for 2-3 minutes. Transfer them to stop the cooking process. Drain from the cold water, pat dry, and add to the casserole dish.2 lbs fresh green beans
- Melt the 1 Tablespoon of vegan butter in a medium skillet over medium heat. Add the sliced onion and cook until translucent, 2-3 minutes. Transfer the onion to a medium bowl.1 large yellow onion, 4 tablespoons vegan butter
- Add the almond flour and salt to the same pan and reduce heat to medium-low. Stir constantly for 3-5 minutes to toast the almond flour. It should start to turn a golden-brown color. Be careful not to burn it. Add the toasted almond flour to the bowl with the onions and toss to coat.2/3 cup almond flour, 1/4 teaspoon sea salt
- Melt the remaining 3 Tablespoons of vegan butter in the same pan over medium heat. Add the mushrooms and cook for 2-3 minutes to soften. Add the garlic and cook for another 1-2 minutes, until fragrant.4 tablespoons vegan butter, 8 ounces white button mushrooms, 4 cloves garlic
- Sprinkle the flour on top of the mushrooms and stir. The flour will coat the mushroom mixture and they should become thick and somewhat clumpy.1/3 cup 1:1 gluten-free flour
- Stir constantly while you pour in the broth and dairy-free milk. Bring the mixture to a simmer and continue to stir as it thickens. Add a splash of milk at a time to thin out the mixture as needed. Season with salt and pepper to taste.1/2 cup vegetable stock, 1 1/2 cups unsweetened plant milk, Salt and pepper to taste
- Pour the mushrooms sauce over the green beans and stir well to coat them evenly. Top evenly with the crispy onions.
- Bake uncovered for 30-35 minutes or until the top is golden brown and heated all the way through.
Notes
Nutrition
Nutrition information is automatically calculated, so should only be used as an approximation.
FAQs
You can skip making your own gluten-free crispy onions and use store bought! Whole foods 365 makes gluten free crispy onions and Sprouts makes gluten free french fried onions.
Cooked or uncooked dairy free green bean casserole can be left out for about 2 hours before needing to be covered and stored in the fridge.
Fresh is best for texture, but canned or frozen beans will work in a pinch. If using canned, skip blanching.
This post may contain affiliate links. Read our disclosure policy.


Clear and easy to follow!! This post is better than many I鈥檝e seen elsewhere.馃憤
uhhh chicken broth is not vegan
Where the hell do you see CHICKEN BROTH?
The onions do not get crispy
For about how many people/servings does this recipe make?
This serves 6-8!
Hi, could I use fresh green beans for this? What would the difference be compared to canned? Thanks!
Yes you can! fresh would be great.I would blanch them first!
Bring a gallon of water and 1 tbsp of salt to a boil then add the beans for 5 minutes. Drain them right away and quickly place them in a bowl of ice water to stop the cooking process. Once cold, drain again and follow directions!
Thank you!