

They’re nutty from the brown butter, soft and chewy from the chill, and the caramel surprise in the middle is the part people freak out about. Bring them to a bake sale or a holiday cookie exchange (you won’t regret it!).
If you need another cookie recipe, you’ll love these caramel cheesecake cookies, brown butter toffee cookies, or salted caramel ginger cookies.

I started making these on a brown-butter kick a few years ago. I was already doing brown butter banana bread, brown butter pistachio cookies, and classic brown butter chocolate chip cookies, and I figured a stuffed cookie was the next logical step.
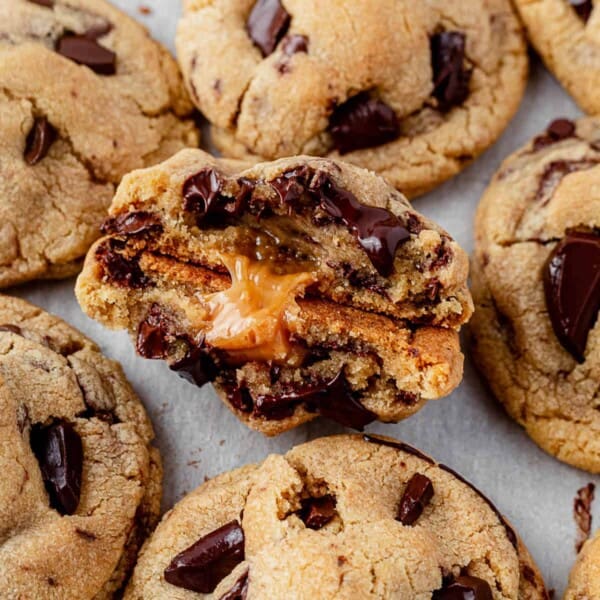
Salted caramel inside, chocolate chunks throughout, fleur de sel on top. The rich and nutty flavors of brown butter make every baked good better.
When I was brainstorming a brown butter cookie I thought of all of the flavors I would love to go with a buttery and chewy cookie base. Naturally, salted caramel and chocolate chunks came to mind. I’ve seen other bakers/bloggers stuff cookies with caramel, Reese’s cups and more, but I’ve never seen a recipe with caramel, chocolate chunks AND brown butter.
I was a little nervous about how they would turn out to be honest because I’m typically one to use softened butter in my cookie recipes.
I’m very particular about the temperature of my butter when I make my chocolate chip pudding cookies, so I’m always hesitant to make a cookie recipe that involves melted butter. But brown butter is too good and chilling the dough does the work for you.
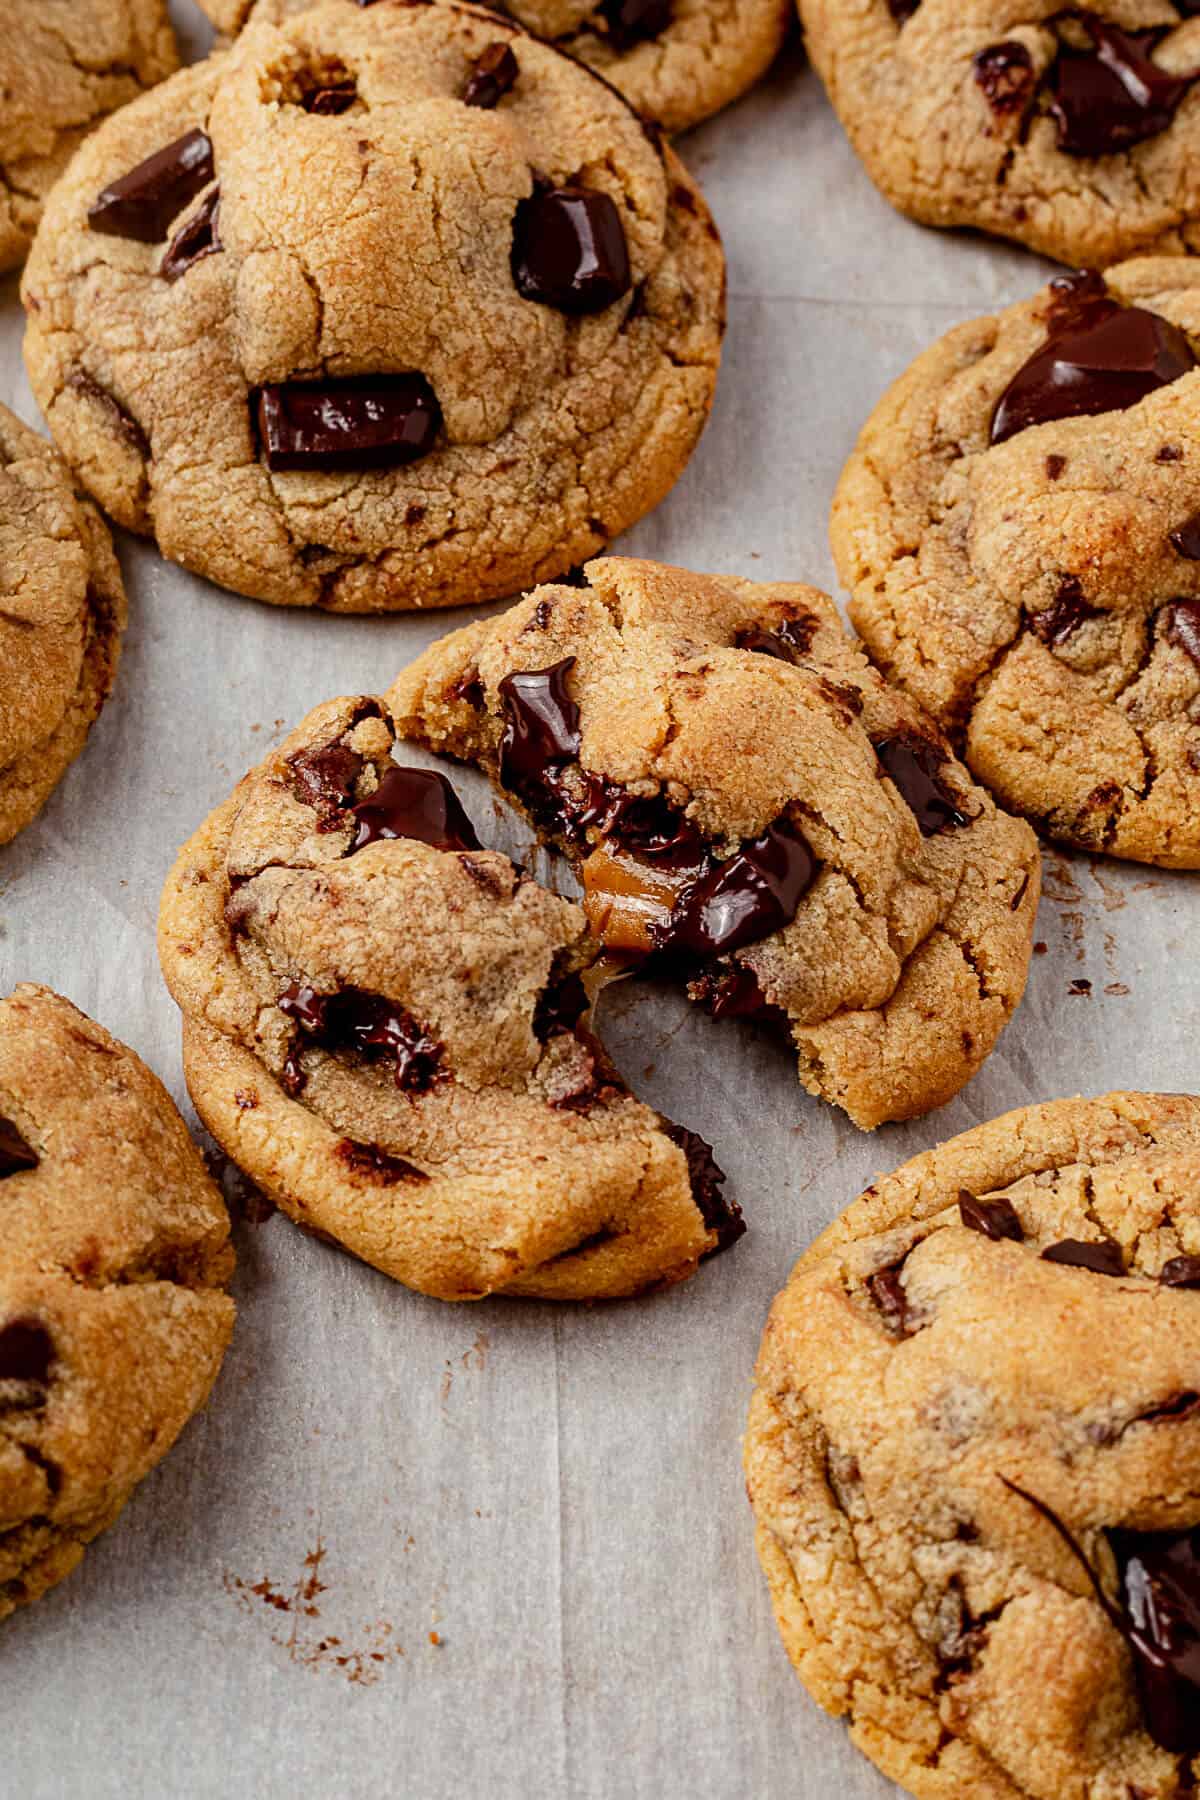
The key with melted butter is this: chill the dough overnight. I know that’s annoying when you want a cookie tonight. It’s worth it. The cold dough holds its shape in the oven, gives the flavors time to deepen, and gives you that bakery-bend in the middle when you break one open.
Not only does chilling the dough allow you to have that perfect chewy texture, but it also gives the dough enough time to sit and allow all of the flavors meld together.
Three Tricks That Make These Cookies Work
Most of the comments I see on stuffed cookies online are some version of “my cookies leaked” or “they spread flat.” Three small things keep that from happening here.
- Brown the butter by smell, not by timer. Every stove is different. You’re looking for nutty, deep amber, and a slowdown in the popping. That’s when you pull it off the heat.
- Chill the dough overnight. 3 hours is the minimum. Overnight is better. The flavors deepen and the cookies bake taller.
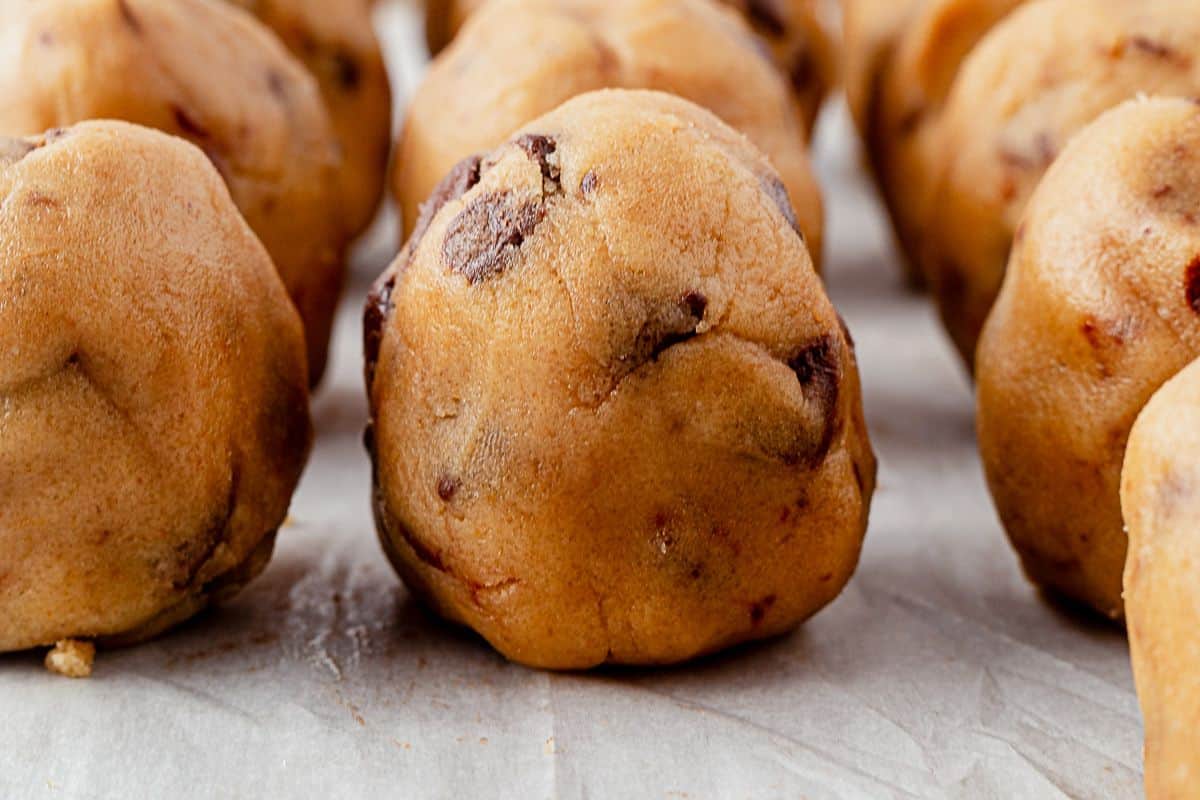
- Shape them tall, not round. When you stuff the caramel inside, roll the cookie into a cone shape, slightly taller than it is wide. As it bakes, it falls into itself and you get that thick, chewy middle with the caramel pocket intact.
Reasons to Love These
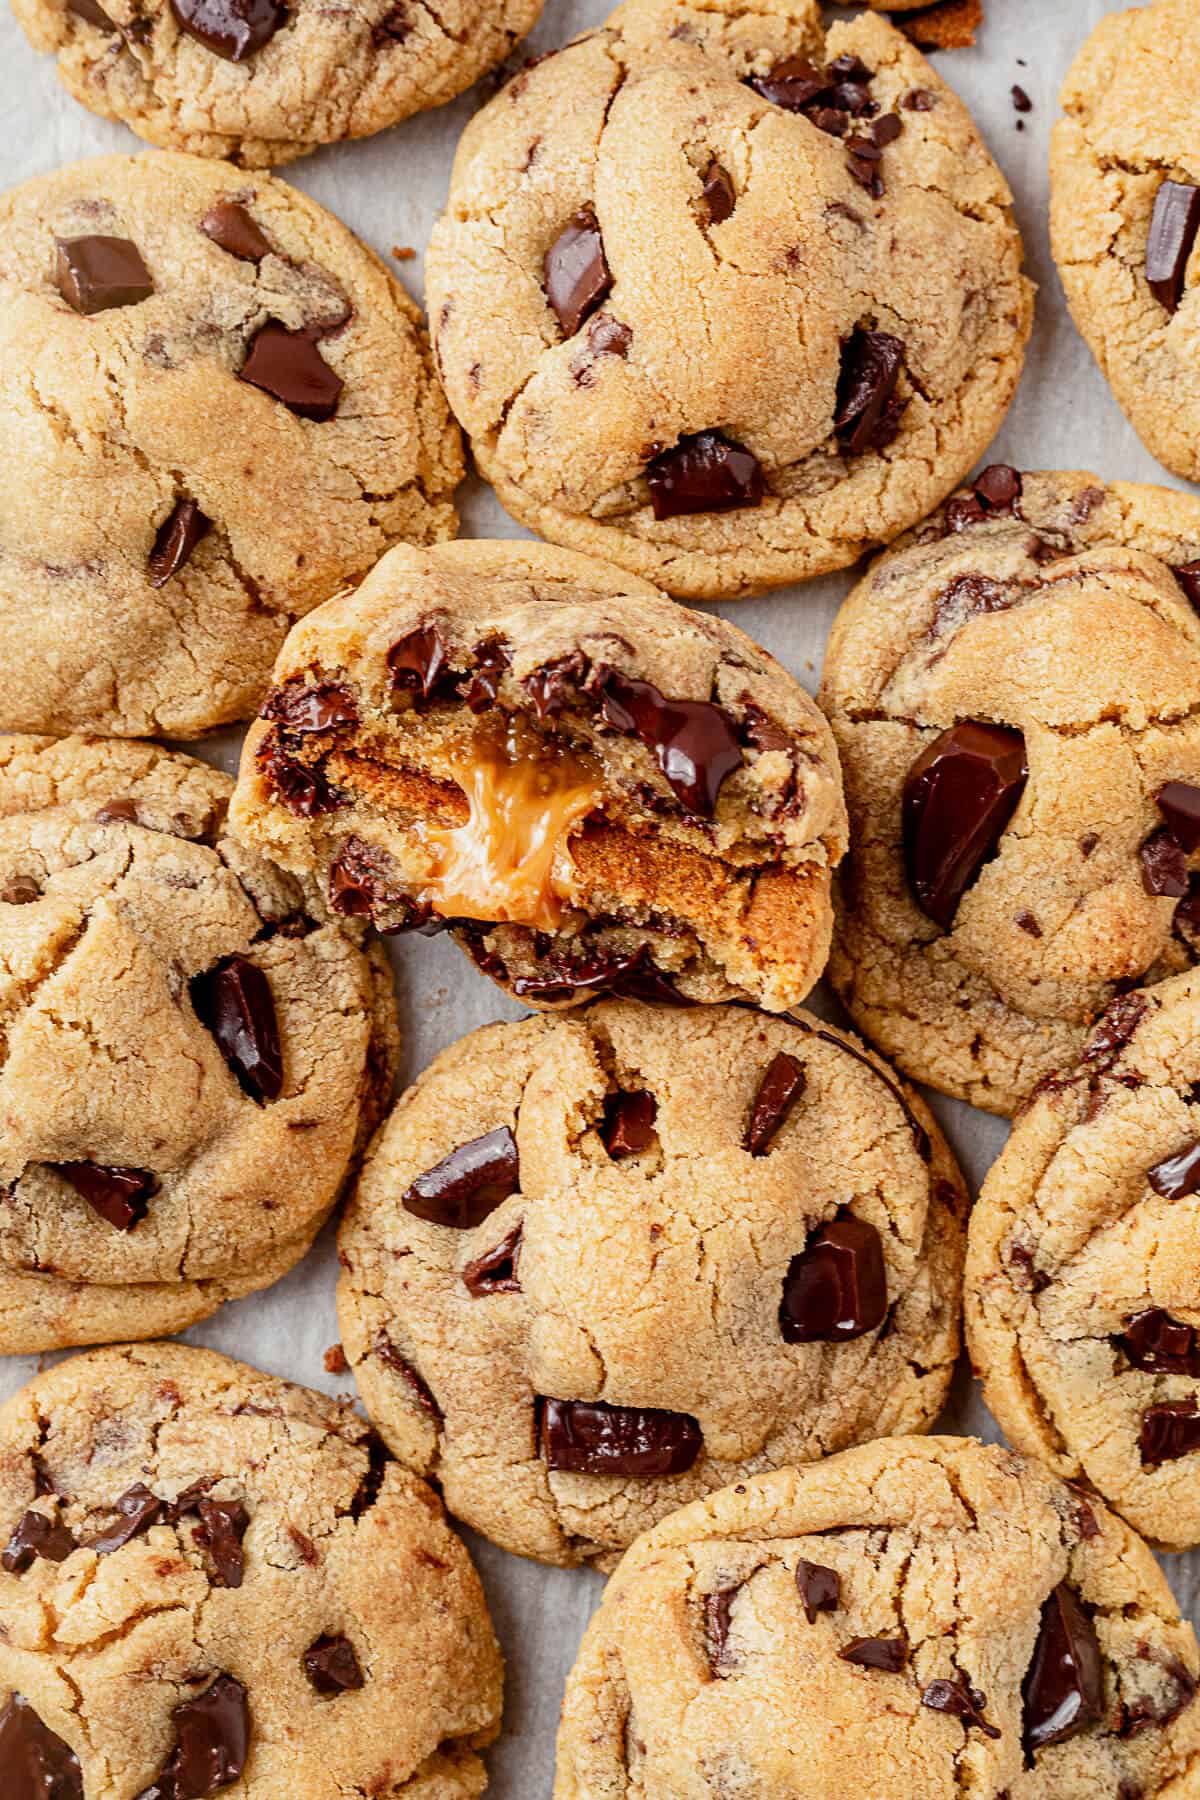
- Deep toffee flavor from the brown butter, surprise caramel inside, pools of melted chocolate on top.
- Make-ahead friendly. The dough has to chill anyway. Make it the day before you bake.
- Soft and chewy texture with a gooey middle. Bakery-style at home.
- They photograph well. Big chocolate chunks pressed into the top right out of the oven, fleur de sel on top. Cookie-tin-worthy.
If you love chocolate chip cookies, try my famous chocolate chip pudding cookies or this giant chocolate chip pie.
How to Make Salted Caramel Chocolate Chip Cookies
Here are the basic steps, with images, for these this caramel cookies recipe. Skip down to the recipe card below for the full printable recipe.
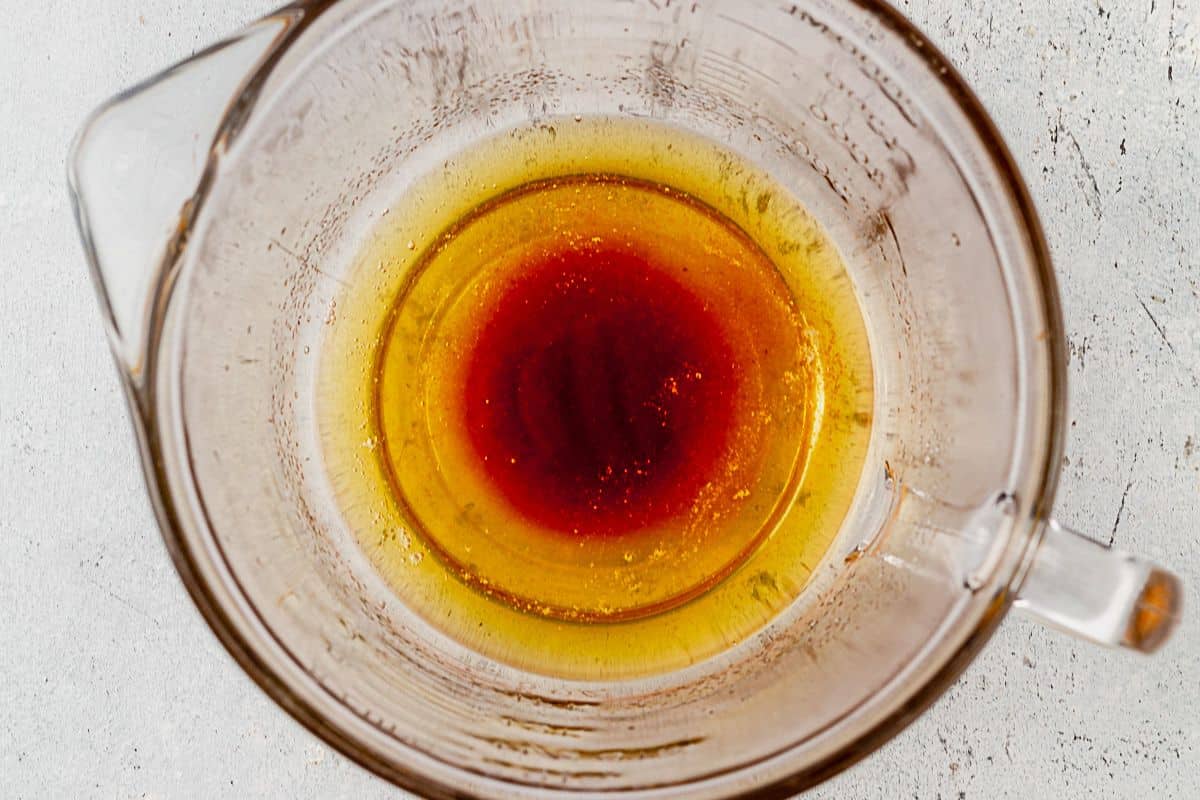
Step 1. Brown the Butter. Add the butter to a medium saucepan over medium-low heat. Stir occasionally for 3 to 5 minutes until the butter bubbles, foams, and the milk solids start to separate. You’re looking for three signals: nutty smell, deep amber color, and a slowdown in the popping. When all three happen, pull the pan off the heat immediately and pour the brown butter into a medium bowl.
Success tip: scrape every brown bit off the bottom of the pan. That’s where the flavor lives.
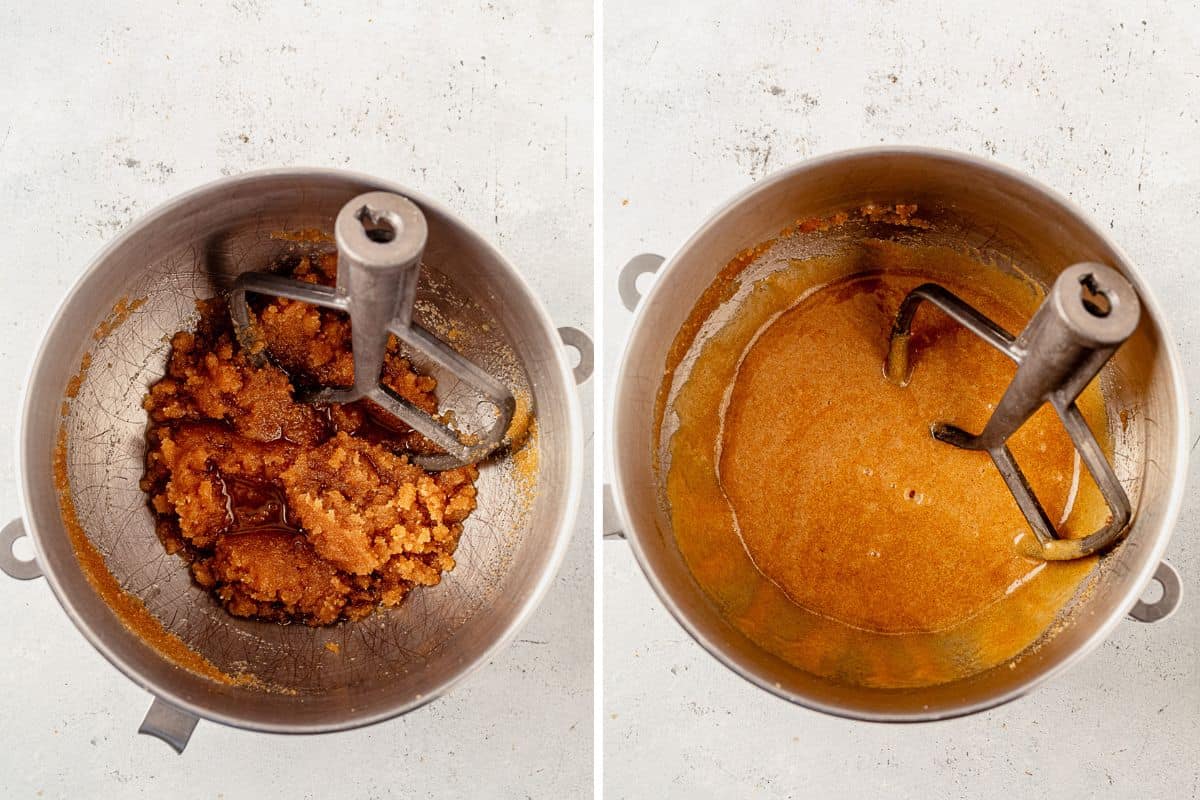
Step 2. Wet Ingredients. Let the brown butter cool slightly, then transfer to a large mixing bowl. Beat with the brown sugar and granulated sugar until combined. Beat in the egg, egg yolk, and vanilla.
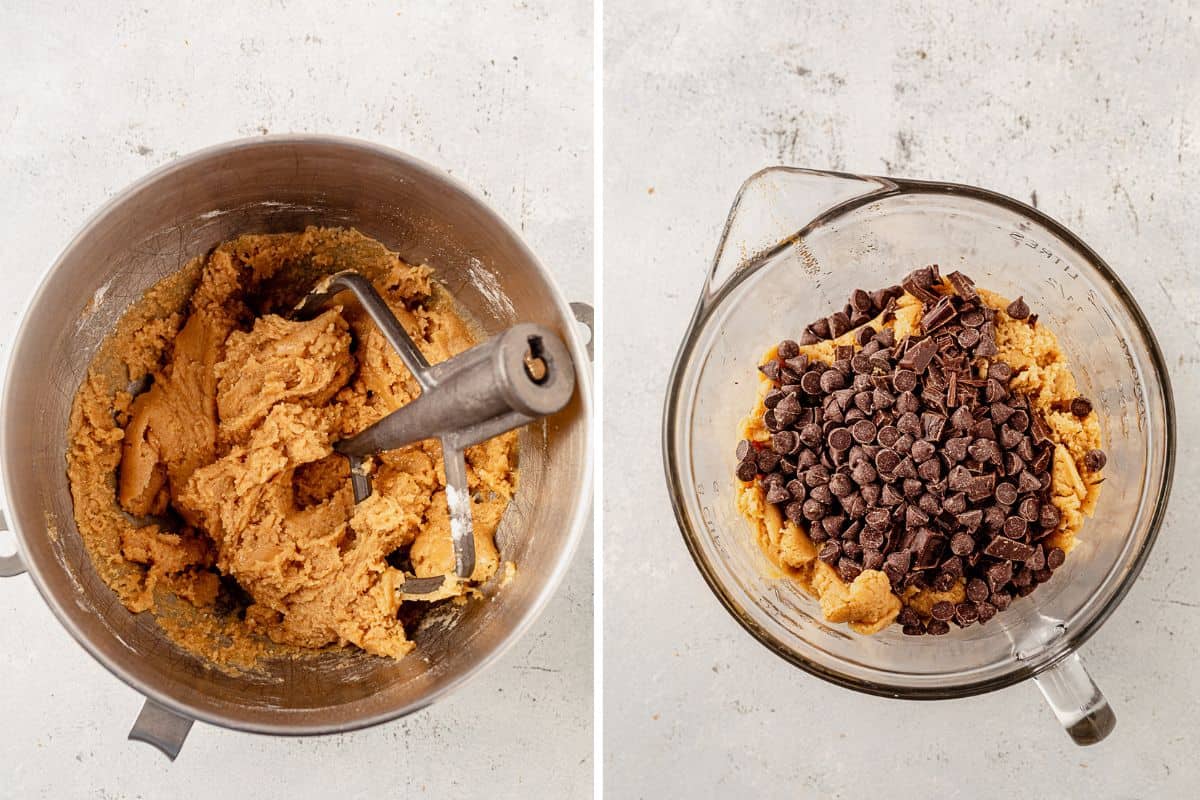
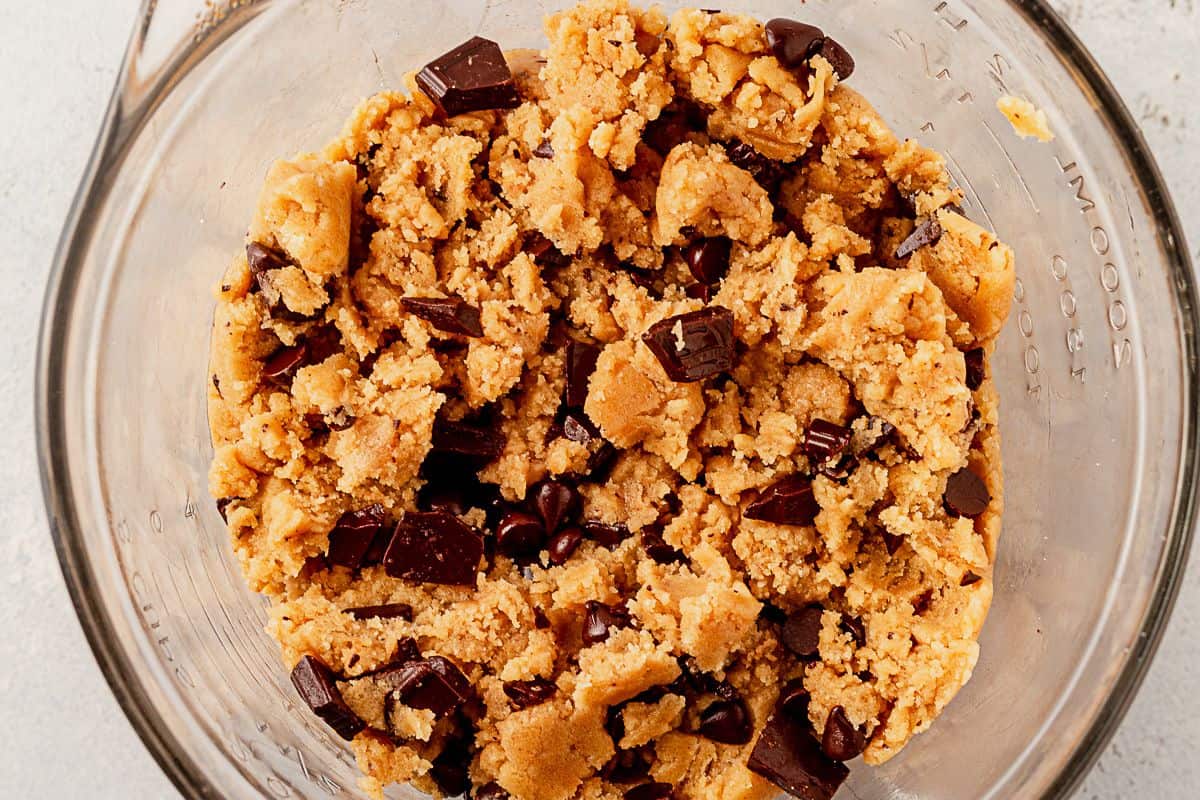
Step 3. Finish the Dough. Slowly mix in the dry ingredients until a dough forms. Stir in the chocolate chips and chocolate chunks.
Step 4. Cover the dough with plastic wrap and chill for at least 3 hours, ideally overnight. This is non-negotiable. If you skip this, the cookies spread and the caramel leaks. Make the dough the night before you want cookies.
Alternate chilling option: you can scoop the dough out with a large cookie scoop and chill them on a sheet pan. However, the dough is more prone to drying out this way.
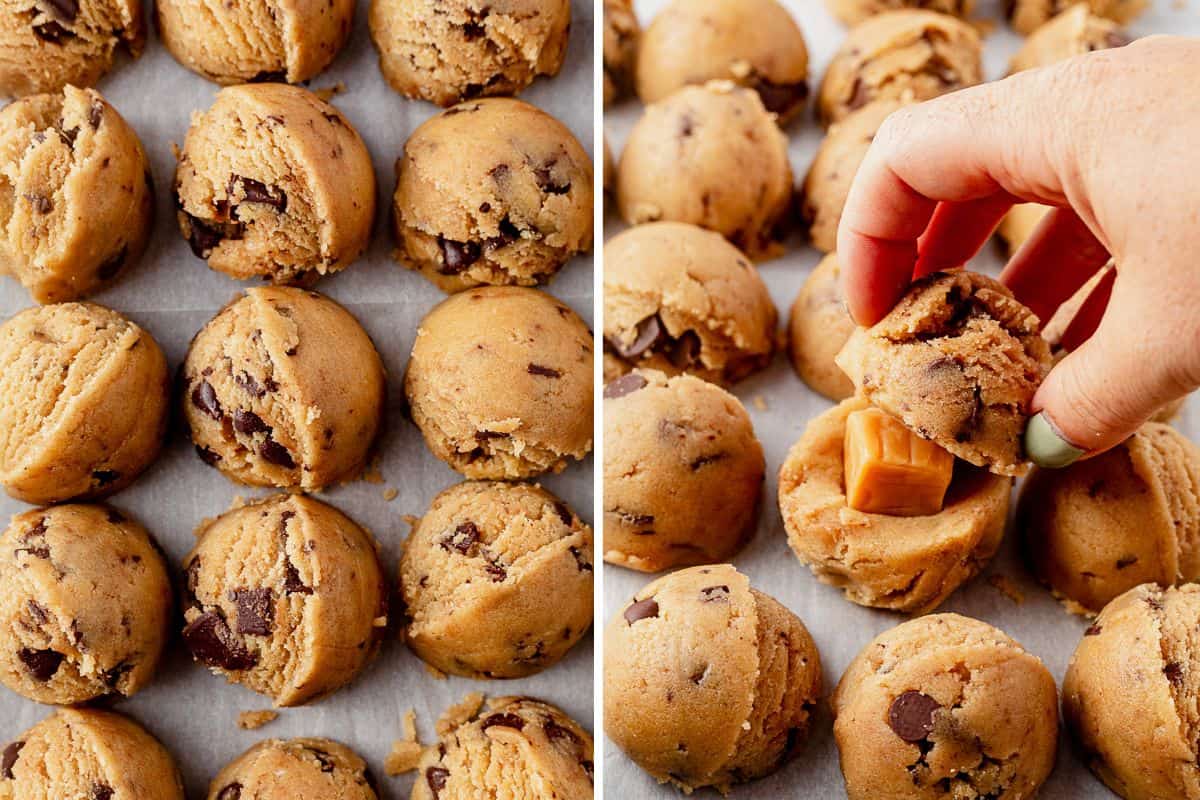
Step 5. Stuff and Shape. Use a large cookie scoop to scoop the dough out onto a parchment lined cookie sheet. Unwrap the chewy caramels and place one inside a cookie scoop. Place another on top and pinch the edges and roll the cookies into a taller cone-shape (see image below).
Success tips: rolling the dough into a taller cone, rather than a round ball, helps the cookie bake on top of itself.
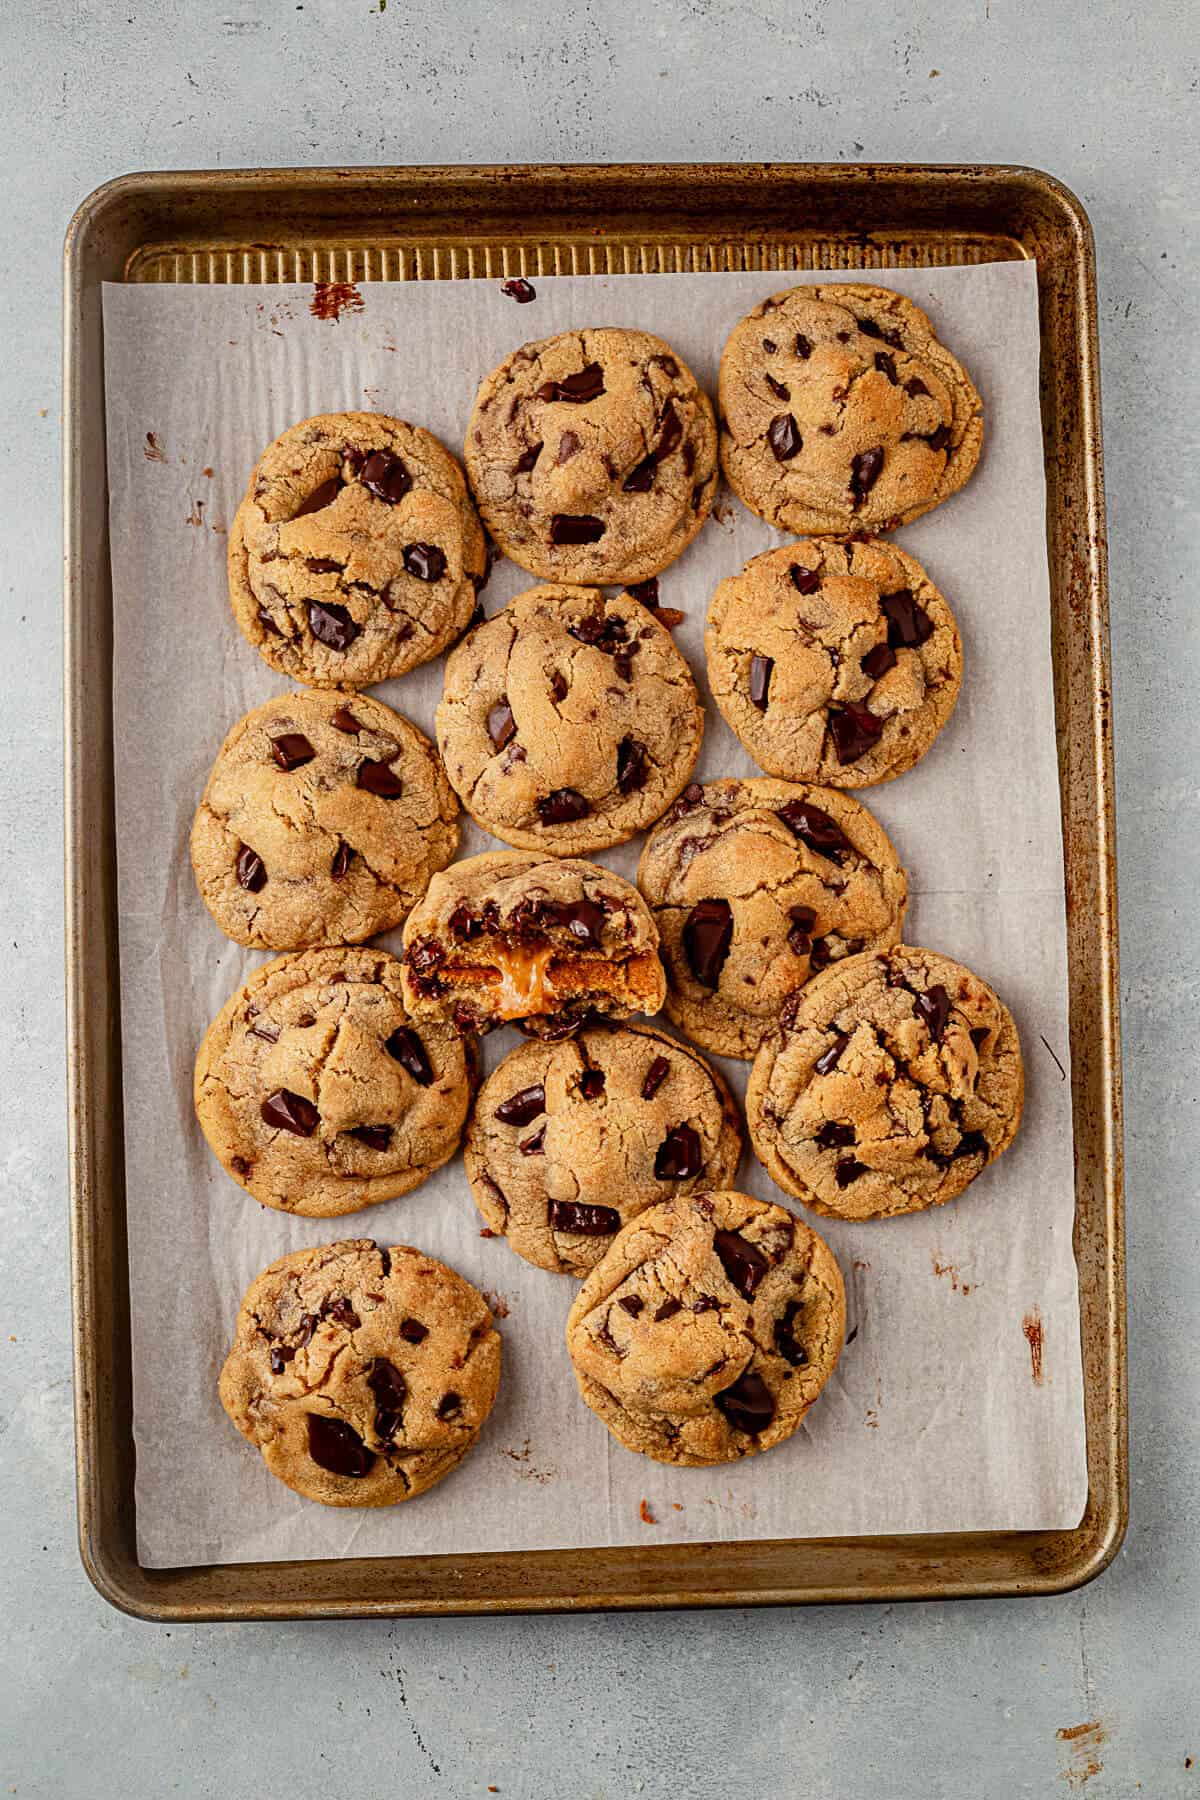
Step 6. Bake. Arrange on a parchment-lined cookie sheet a few inches apart. Bake at 350°F for 10 to 12 minutes, until the edges are set and slightly golden. Press a few more chocolate chunks into the tops right out of the oven (this is the photo move), then sprinkle with flaky sea salt. Cool on the sheet for 5 minutes, then transfer to a wire rack.
Success tip: Every oven is different. Pull them when the edges are set and the centers still look slightly underbaked. They finish on the sheet.
I just made a batch of these and baked them and put them in the freezer. I’m heading to a lake house with my family this weekend and wanted to share the delicous-ness with them. They’re the perfect cookie for family gathers, special occasions or a holiday cookie exchange.
Although I think this may become your new favorite cookie recipe, we have more holidays cookies on WMM! Try these ginger cookies, melting moments cookies, or peanut butter cup cookies.
Storage Tips
Store baked cookies in an airtight container at room temperature for 3 days, in the fridge for up to a week, or in the freezer for up to 3 months. Bring frozen cookies to room temperature before serving so the caramel softens back up. The caramel will be hard if you eat them cold.
To freeze the dough, shape the stuffed cookies into balls, flash-freeze on a baking sheet, then transfer to a freezer bag. Bake from frozen, adding 2 to 3 minutes to the bake time.
If you make this recipe, I’d love for you to give it a star rating below. You can also tag me on Instagram so I can see it!
FAQ
The dough wasn’t chilled long enough. 3 hours is the minimum, overnight is better. Cold dough holds its shape in the oven. If they’re still spreading after a long chill, your butter might have been too warm when you mixed the dough.
The seam wasn’t fully sealed. Pinch the edges of the dough together around the caramel firmly before you shape, and shape into a tall cone, not a round ball. The cone shape collapses into itself as it bakes and seals the caramel inside.
Three signs: nutty smell, deep amber color, and the popping slows down. As soon as all three happen, pull it off the heat. It can go from amber to burnt in 30 seconds.
Yes. The dough keeps in the fridge for 72 hours and freezes for up to 3 months. Roll the stuffed cookies into balls, flash-freeze on a sheet pan, then transfer to a freezer bag. Bake from frozen, adding 2 to 3 minutes.
Kraft baking caramels or Werther’s chewy caramels. They stay soft in the center. Hard candies will turn liquid and leak.
More Delicious Cookies
- Brown Butter Maple Pecan Cookies
- Chewy Ginger Cookies
- Brown butter chocolate chip cookies
- Chocolate pudding cookies
- Triple chocolate cookies
- White Chocolate Cranberry Oatmeal Cookies
Brown Butter Salted Caramel Chocolate Chip Cookies
Save this Recipe!
Ingredients
- 1 cup (2 sticks; 240g) unsalted butter cubed
- 1 1/4 cups (266g) dark brown sugar
- 1/2 cup (100g) granulated sugar
- 2 teaspoons vanilla extract
- 1 egg + 1 egg yolk
- 2 1/2 cups (281g) all-purpose flour gluten-free if needed
- 1 teaspoon baking soda
- 1 teaspoon baking powder
- 1 teaspoon sea salt plus more for sprinkling
- 1 cup (180g) semisweet chocolate chips
- 1 8- (8-ounce) semi-sweet baking bar roughly chopped
- 12-14 soft caramels (we used Kraft baking caramels)
Instructions
- Make the brown butter. In a small saucepan over medium-low heat, melt the butter, stirring occasionally. Continue cooking for 3-5 minutes, until the bubbler bubbles, foams and the milk solids start to separate. The solids will start to smell nutty and turn a deep amber color. Remove it from the heat and pour it into a medium bowl to cool slightly.
- Mix the flour, baking soda, baking powder, and 1 teaspoon of salt in a medium bowl.
- In the bowl of a stand mixer fitted with the paddle attachment or in a large bowl with an electric mixer, beat the butter, brown sugar and granulated sugar together until combined, 2-3 minutes.
- Add the vanilla, egg and egg yolk and continue to beat until combined, about 1 minute.
- With the mixer running on low speed, slowly add the drygredients, then turn the speed up to medium-high to combine. Stop to scrape down the bowl as needed.
- Stir in the chocolate chips and chocolate chunks. Cover with plastic wrap and refrigerate for at least 3 hours, or ideally overnight. You can leave it in the fridge for up to 72 hours. See notes for freezing.
- When you're ready to bake preheat the oven to 350°F. Line two large baking sheets with parchment paper. Use a large cookie scoop to scoop the dough out onto the cookie sheets. You should have 24-28 scoops. Place a caramel in the center of a dough ball then cover it with another. Pinch the seams to close the caramel inside and roll the ball into a balls just slightly taller than it is round. See blog post images for an example. Repeat with the remaining dough. You should have 12-14 large cookies.
- Arrange the cookie dough on the secon d cookie sheet a few inches apart. Bake for 10-13 minutes, until the edges and tops of just set and slightly golden brown. Press a few additional chocolate into the top of the baked cookies and sprinkle with flaky sea salt. Cool on the baking sheet for 5 minutes then transfer to a wire rack to cool completely.
Notes
Video
Equipment
- Stand Mixer or Electric Mixer
- Baking sheet and parchment paper
Nutrition
Nutrition information is automatically calculated, so should only be used as an approximation.
This post may contain affiliate links. Read our disclosure policy.


