


Why You’ll Love This Gluten Free Apple Pie Recipe

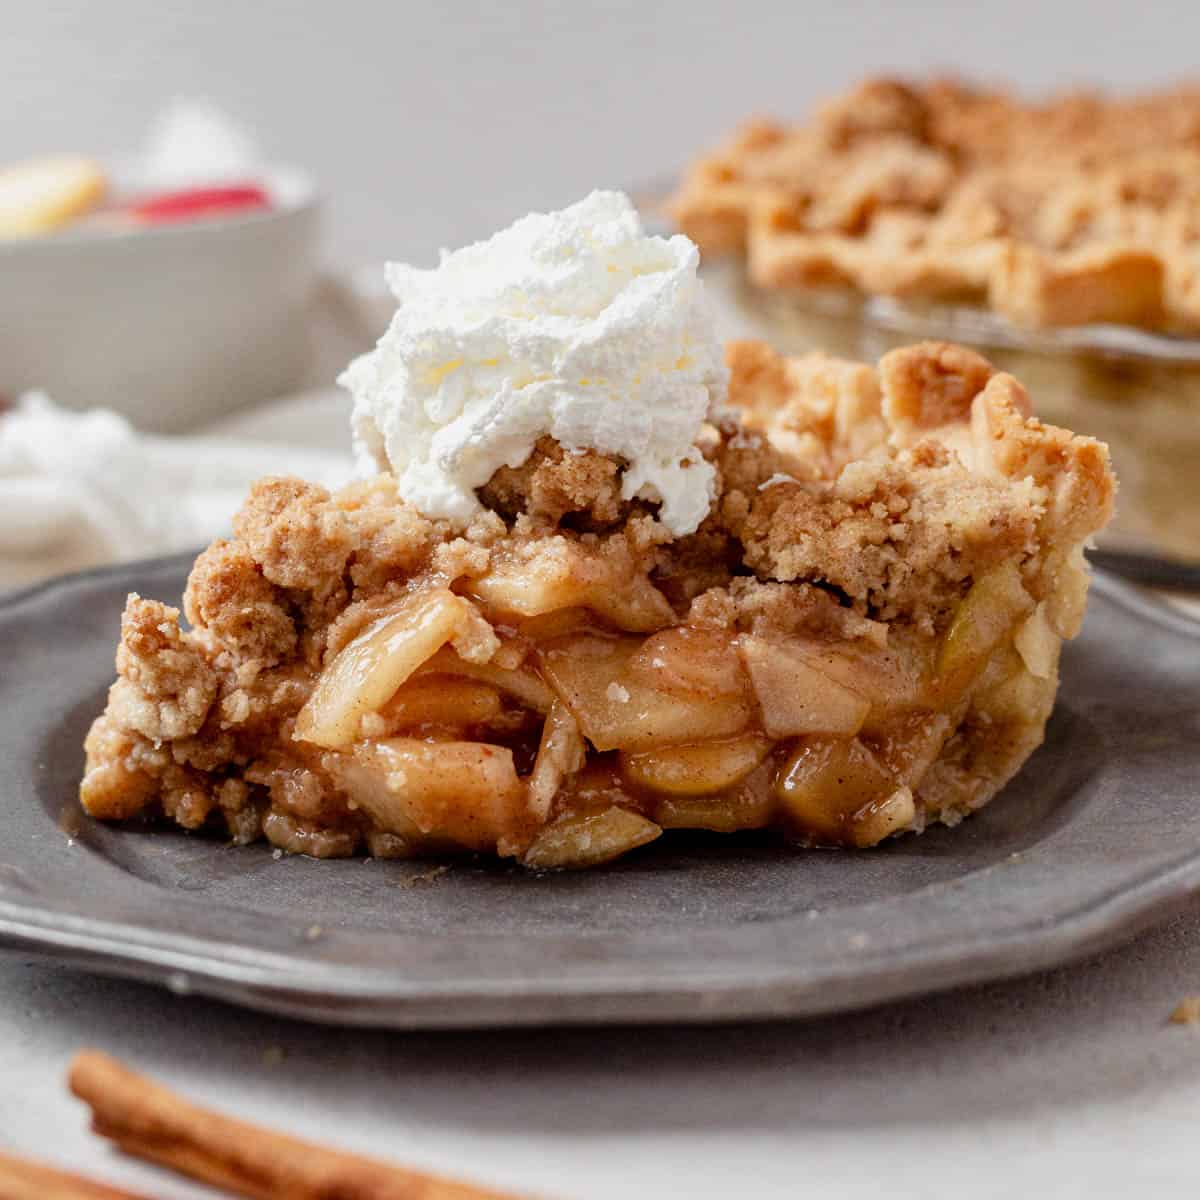
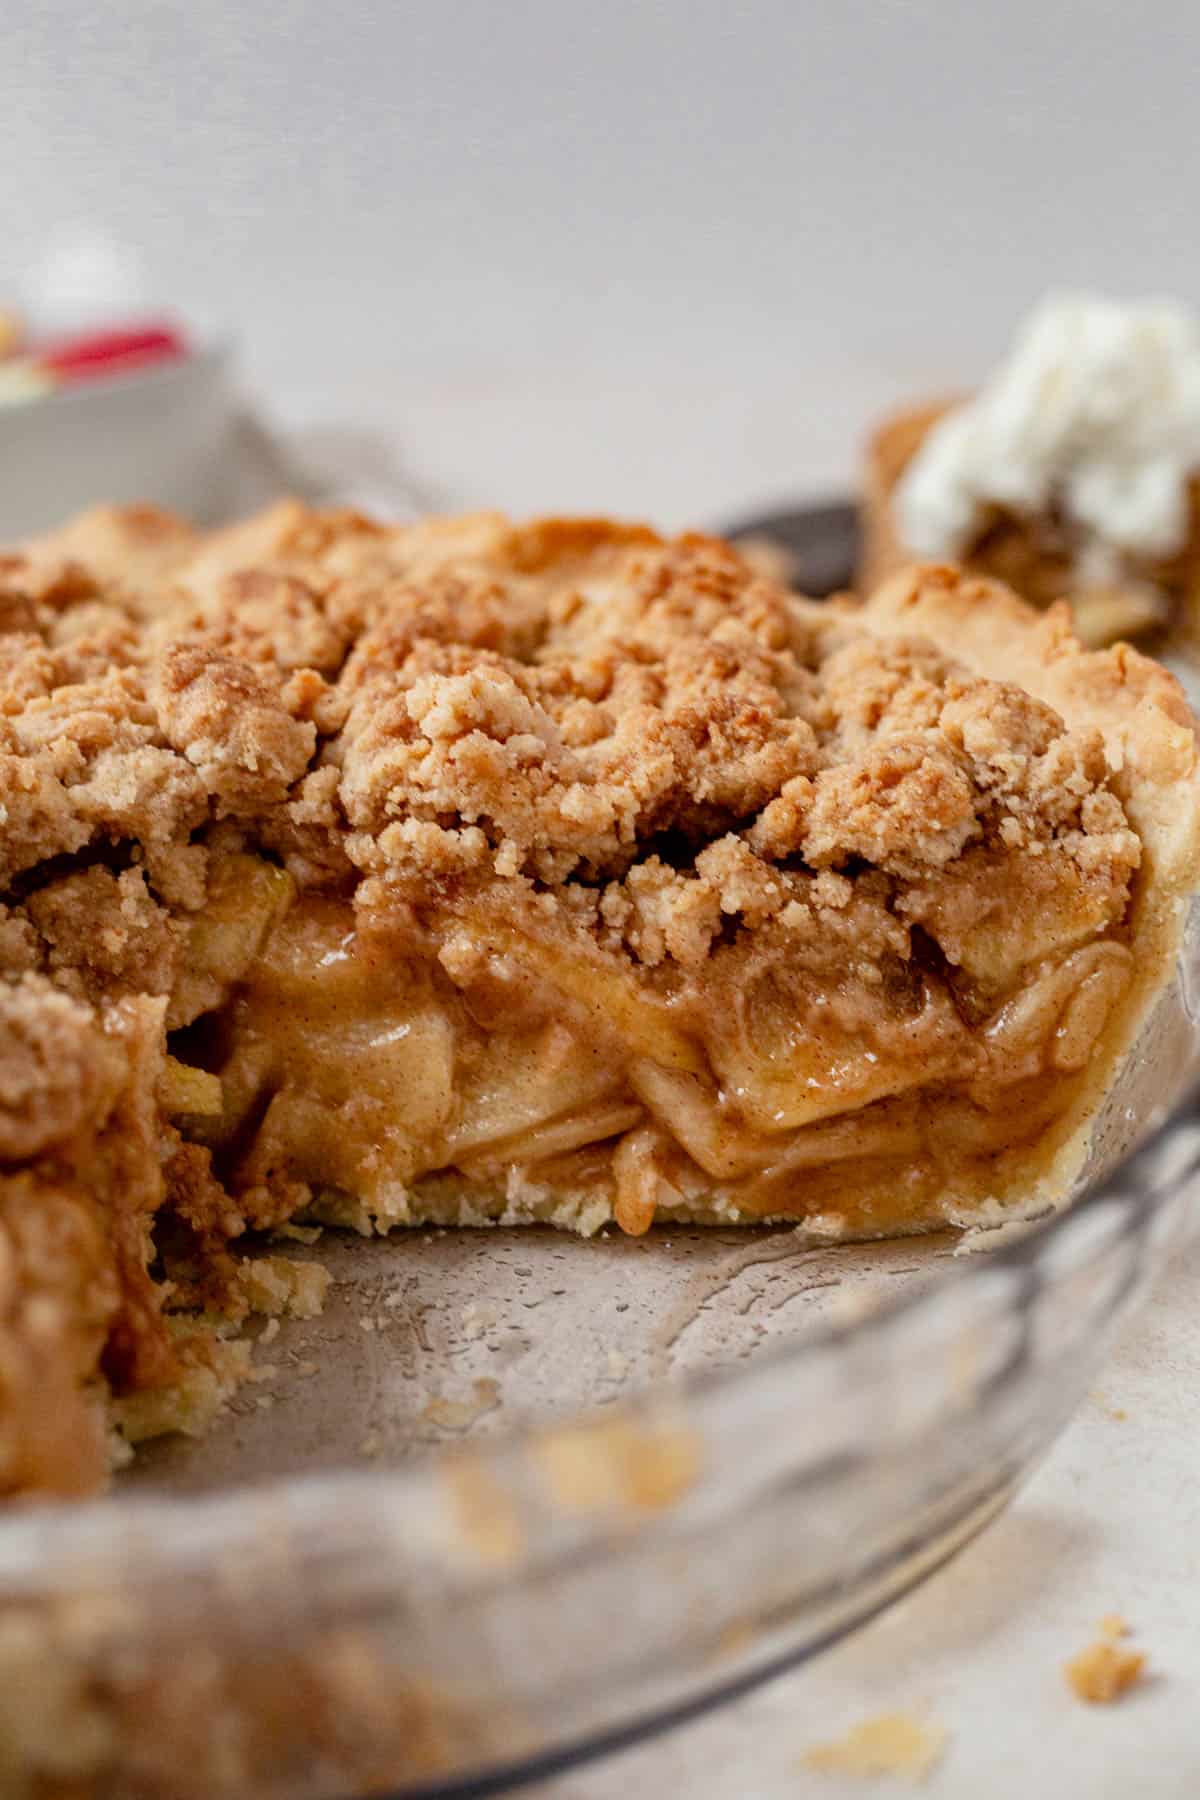
This gluten-free Dutch apple pie isn’t just a seasonal staple, it’s the dessert centerpiece you’ll want for Thanksgiving dinner, a fall celebration, or just a cozy weekend treat. The flaky crust holds up beautifully, while the sweet-tart apple filling and crumb topping hit all the right notes.
- It’s make-ahead and freezer friendly, perfect for busy holiday prep.
- No one will know it’s gluten-free—really. The texture is that good.
- It pairs perfectly with whipped cream (or this coconut whipped cream), a scoop of vanilla ice cream, or both.
- It’s been tested and tweaked for the best results. Every step is here to help you succeed.
After testing several gluten-free flours and tweaking the crumb topping ratios, this version hit the sweet spot: a perfectly flaky gluten-free pie crust, sturdy edges, and gooey cinnamon apples that hold their shape without being mushy. Even our toughest taste-testers went back for seconds.
Want another fall favorite? Check out this gluten free apple crisp. For more seasonal inspiration, visit our gluten-free Thanksgiving recipes.
Table of Contents
Ingredients You’ll Need
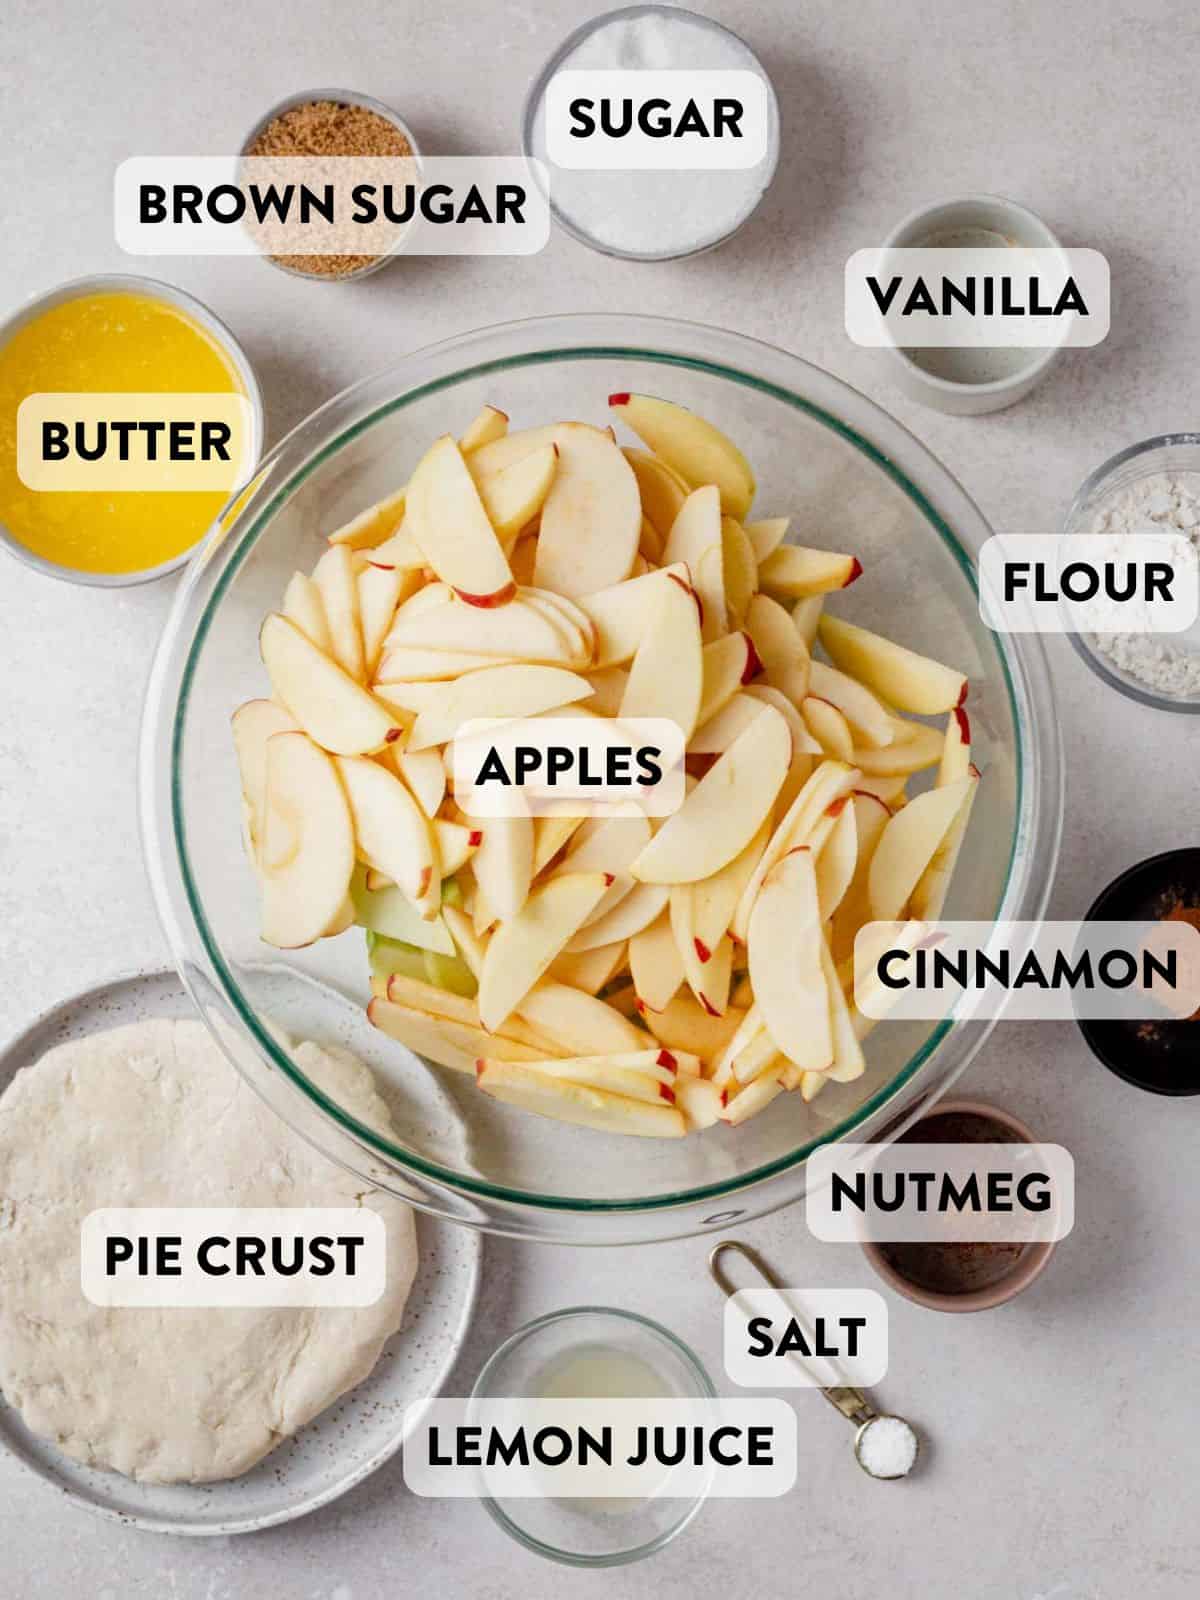
Gluten Free Pie Crust
- 1:1 Gluten Free Flour Blend: Use a blend that includes xanthan gum for structure (try Bob’s Red Mill or King Arthur).
- Cold Unsalted Butter: For a flaky crust, butter must stay cold.
- Granulated Sugar + Salt: Flavor enhancers for a tender crust.
- Cold Water: Brings the dough together—don’t substitute!
Apple Filling
- Apples: A blend of Granny Smith apples, Gala, and Honeycrisp delivers the best apple pie filling.
- Sugars: Granulated and brown sugar balance sweetness.
- Gluten-Free Flour: Thickens the apple mixture to prevent sogginess.
- Lemon Juice: Adds brightness.
- Cinnamon & Nutmeg: Warm, cozy spice.
- Vanilla Extract: Deepens the flavor.
Crumb Topping
- Unsalted Butter: Binds the topping together.
- Gluten-Free Flour: Keeps the topping light and crumbly.
- Sugars: More granulated and brown sugar for sweetness.
- Cinnamon + Salt: Flavor boosters.
How to Make Gluten Free Apple Pie
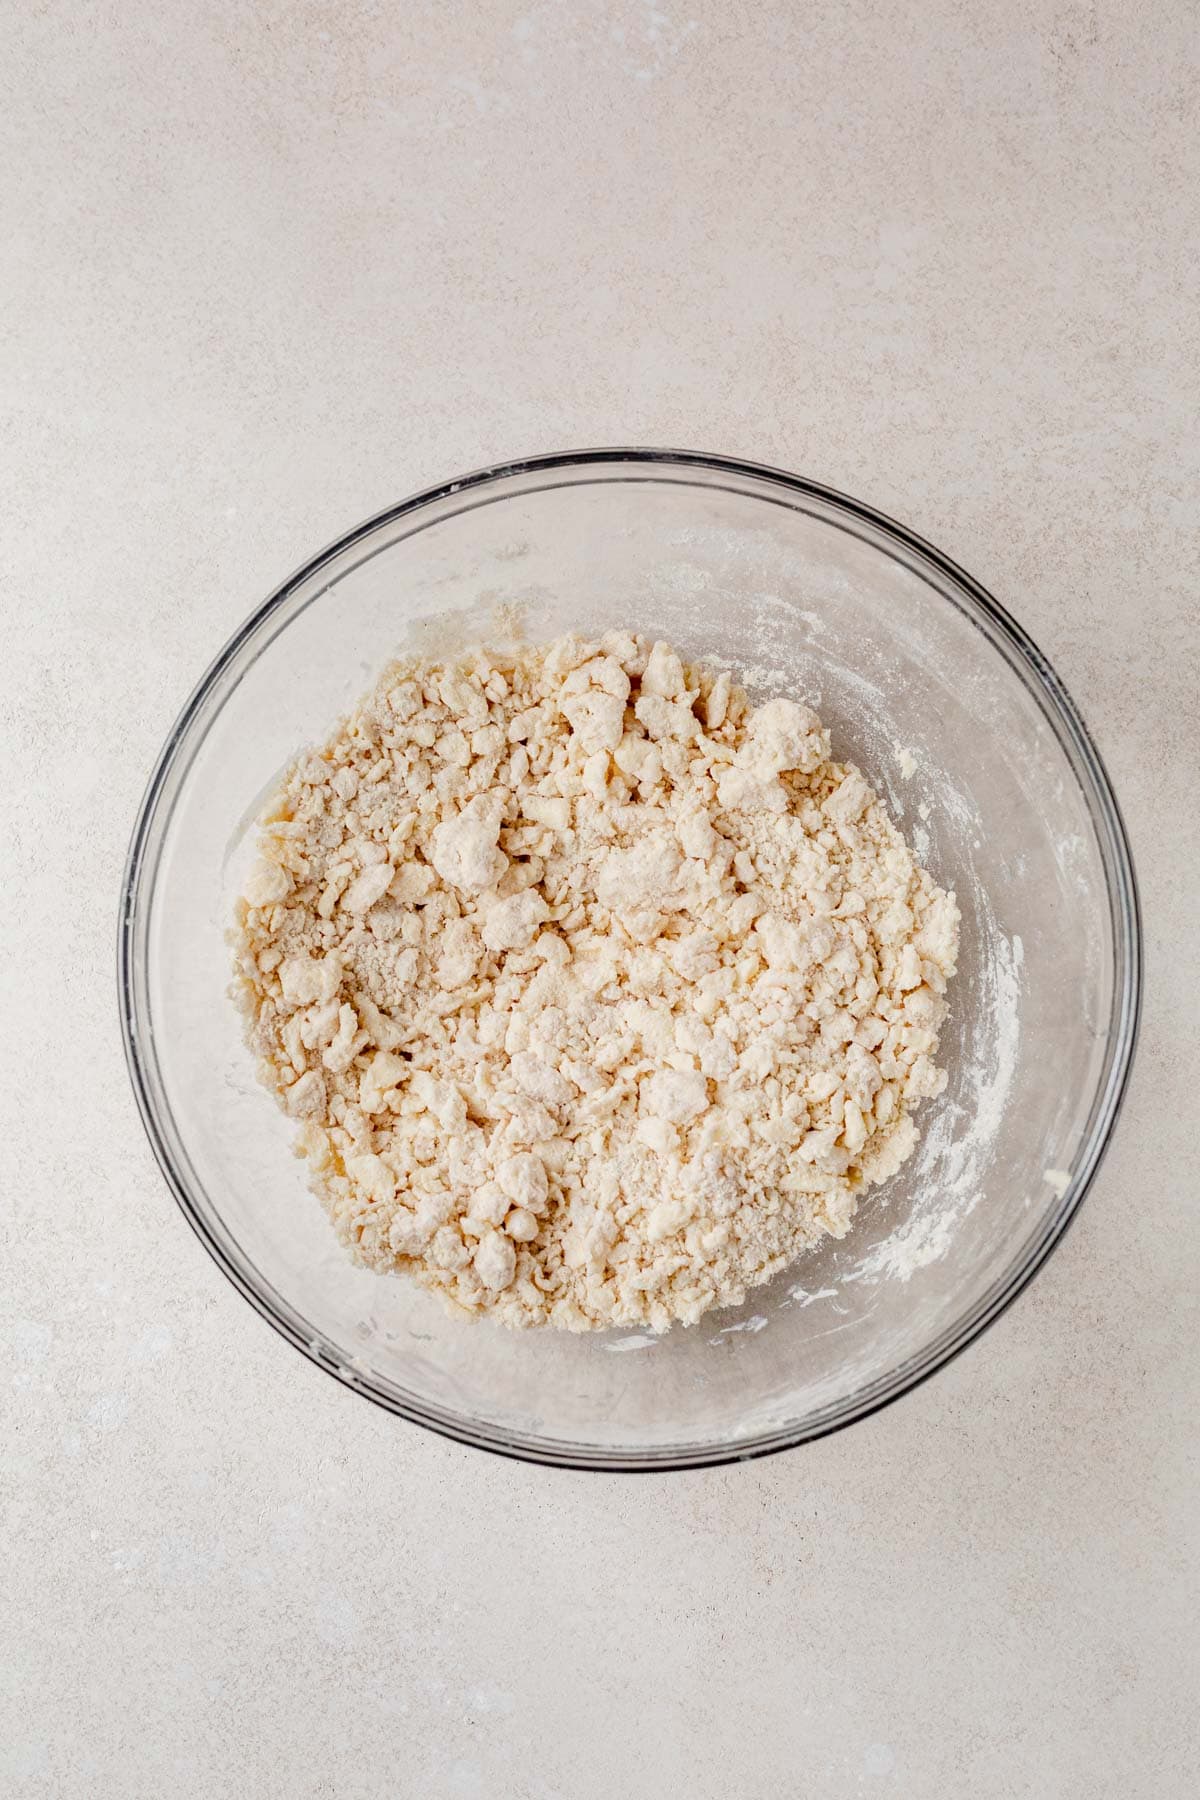
Step 1: In a large bowl, whisk together gluten-free flour, sugar, and salt. Cut in cold butter until pea-sized crumbs form.
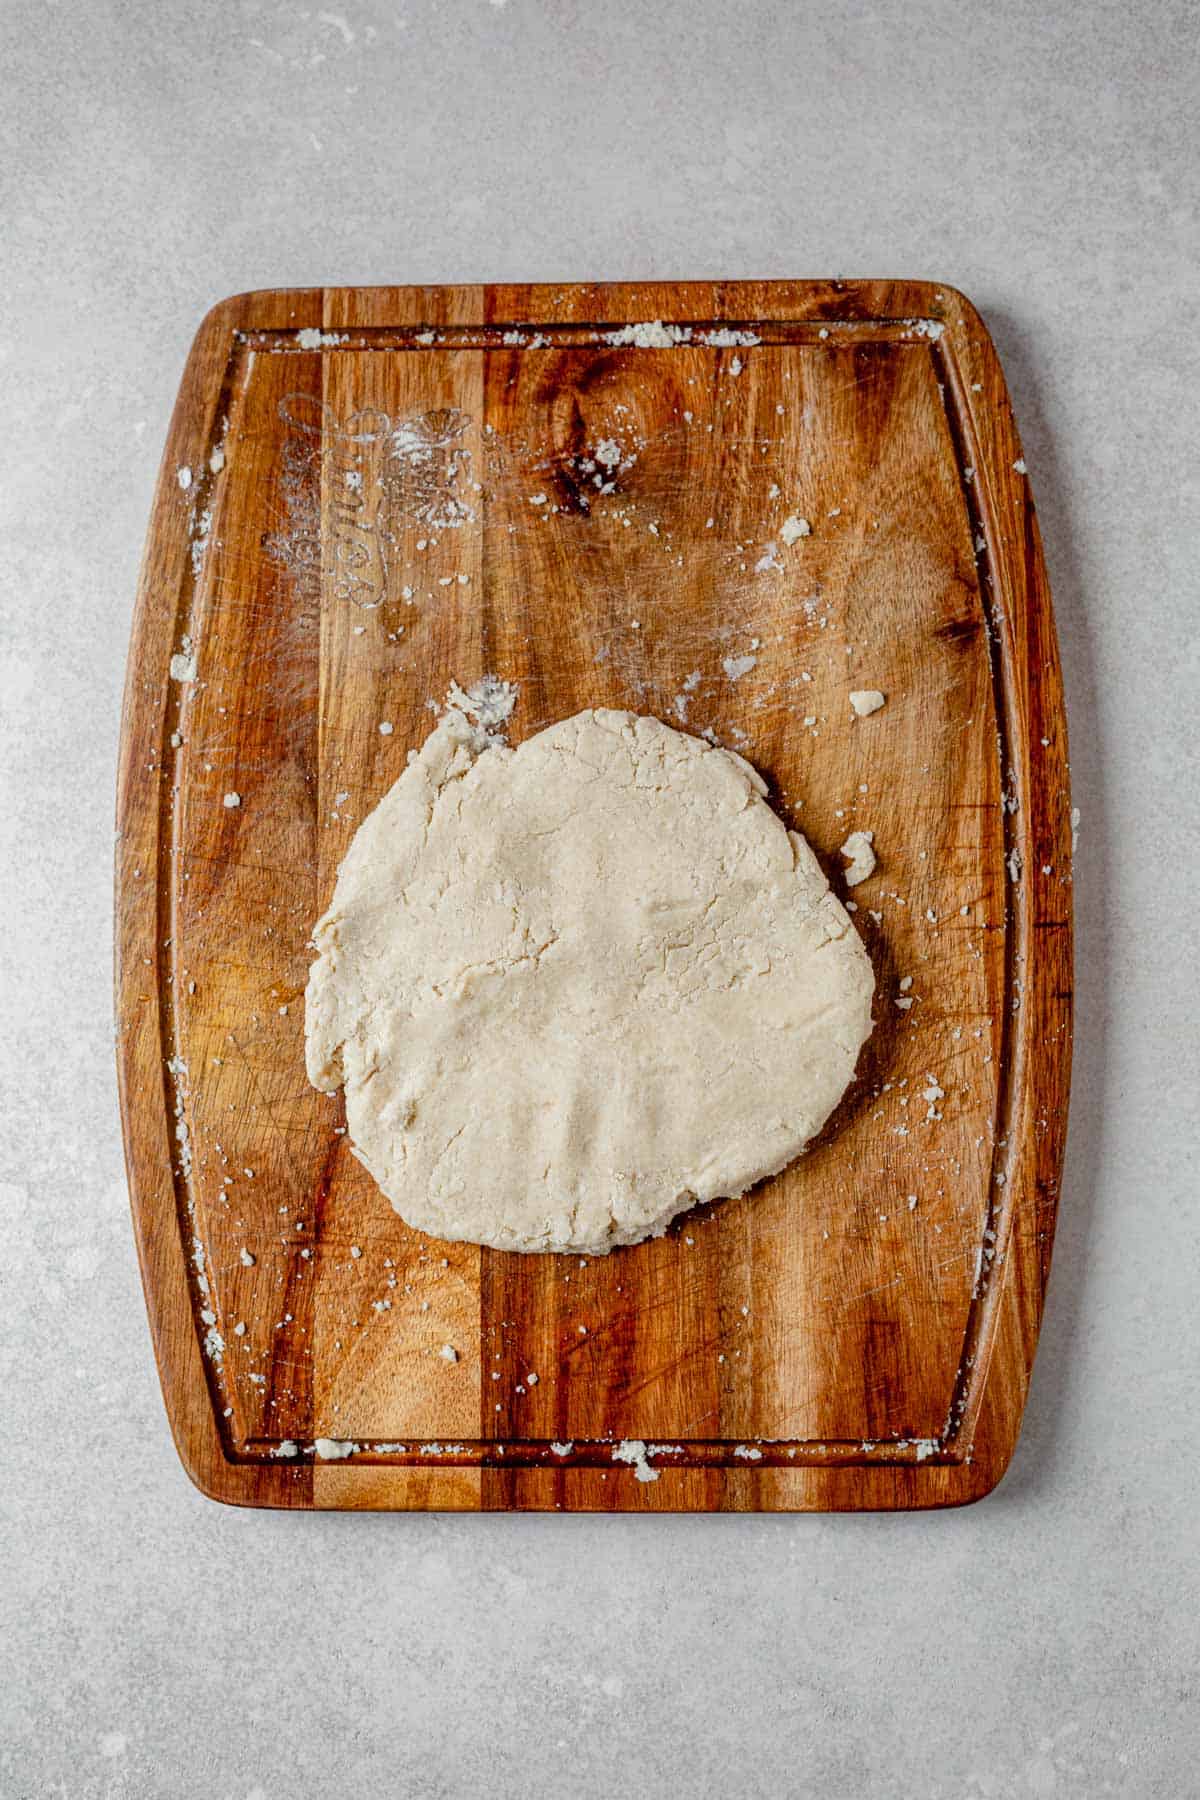
Step 2: Add cold water, mix until just combined, shape into a disc, and chill for at least 2 hours.

Step 3: In a skillet, toss together apples, sugars, gluten-free flour, lemon juice, cinnamon, and nutmeg. Cook until softened, stir in vanilla extract, then cool completely.

Step 4: Mix topping ingredients—flour, sugars, cinnamon, and salt—then stir in melted butter until crumbly.
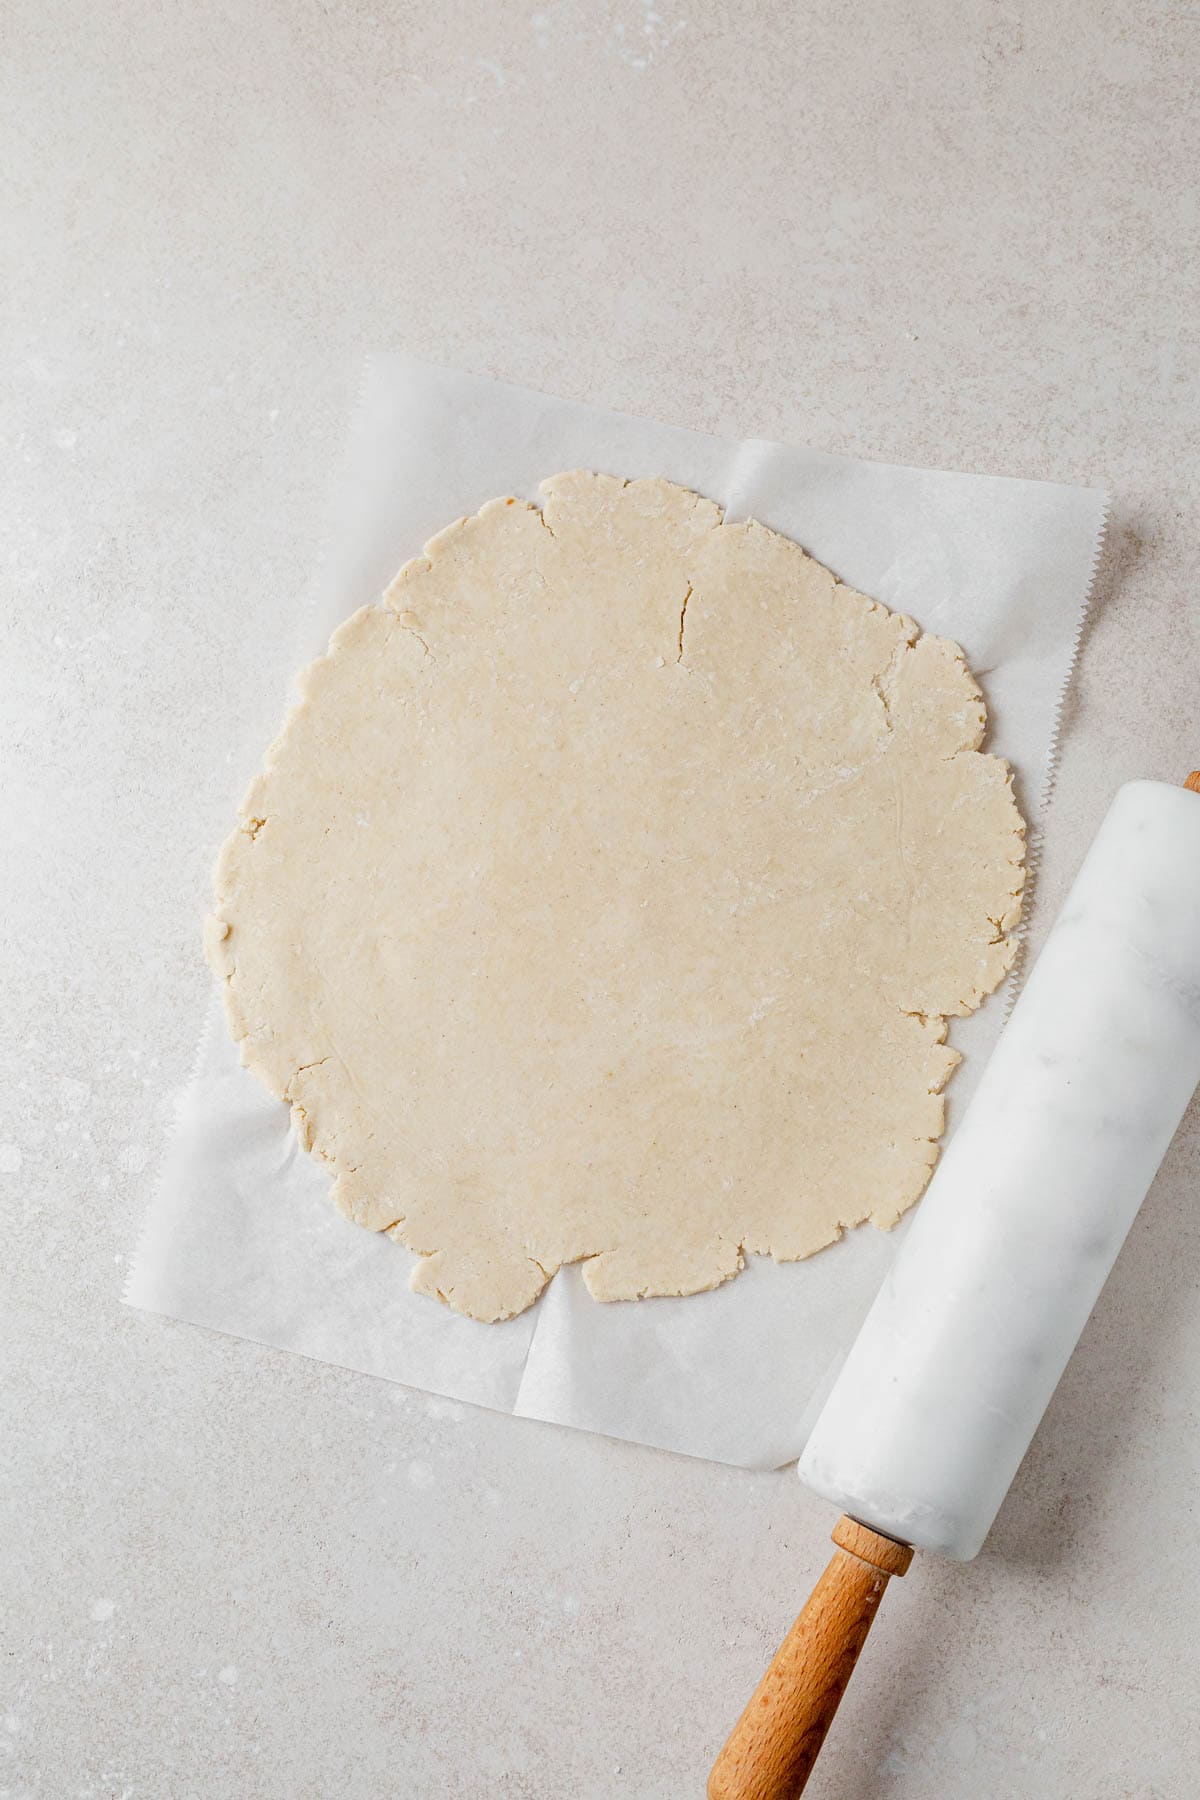
Step 5: Roll out pie dough into a 12-inch circle.
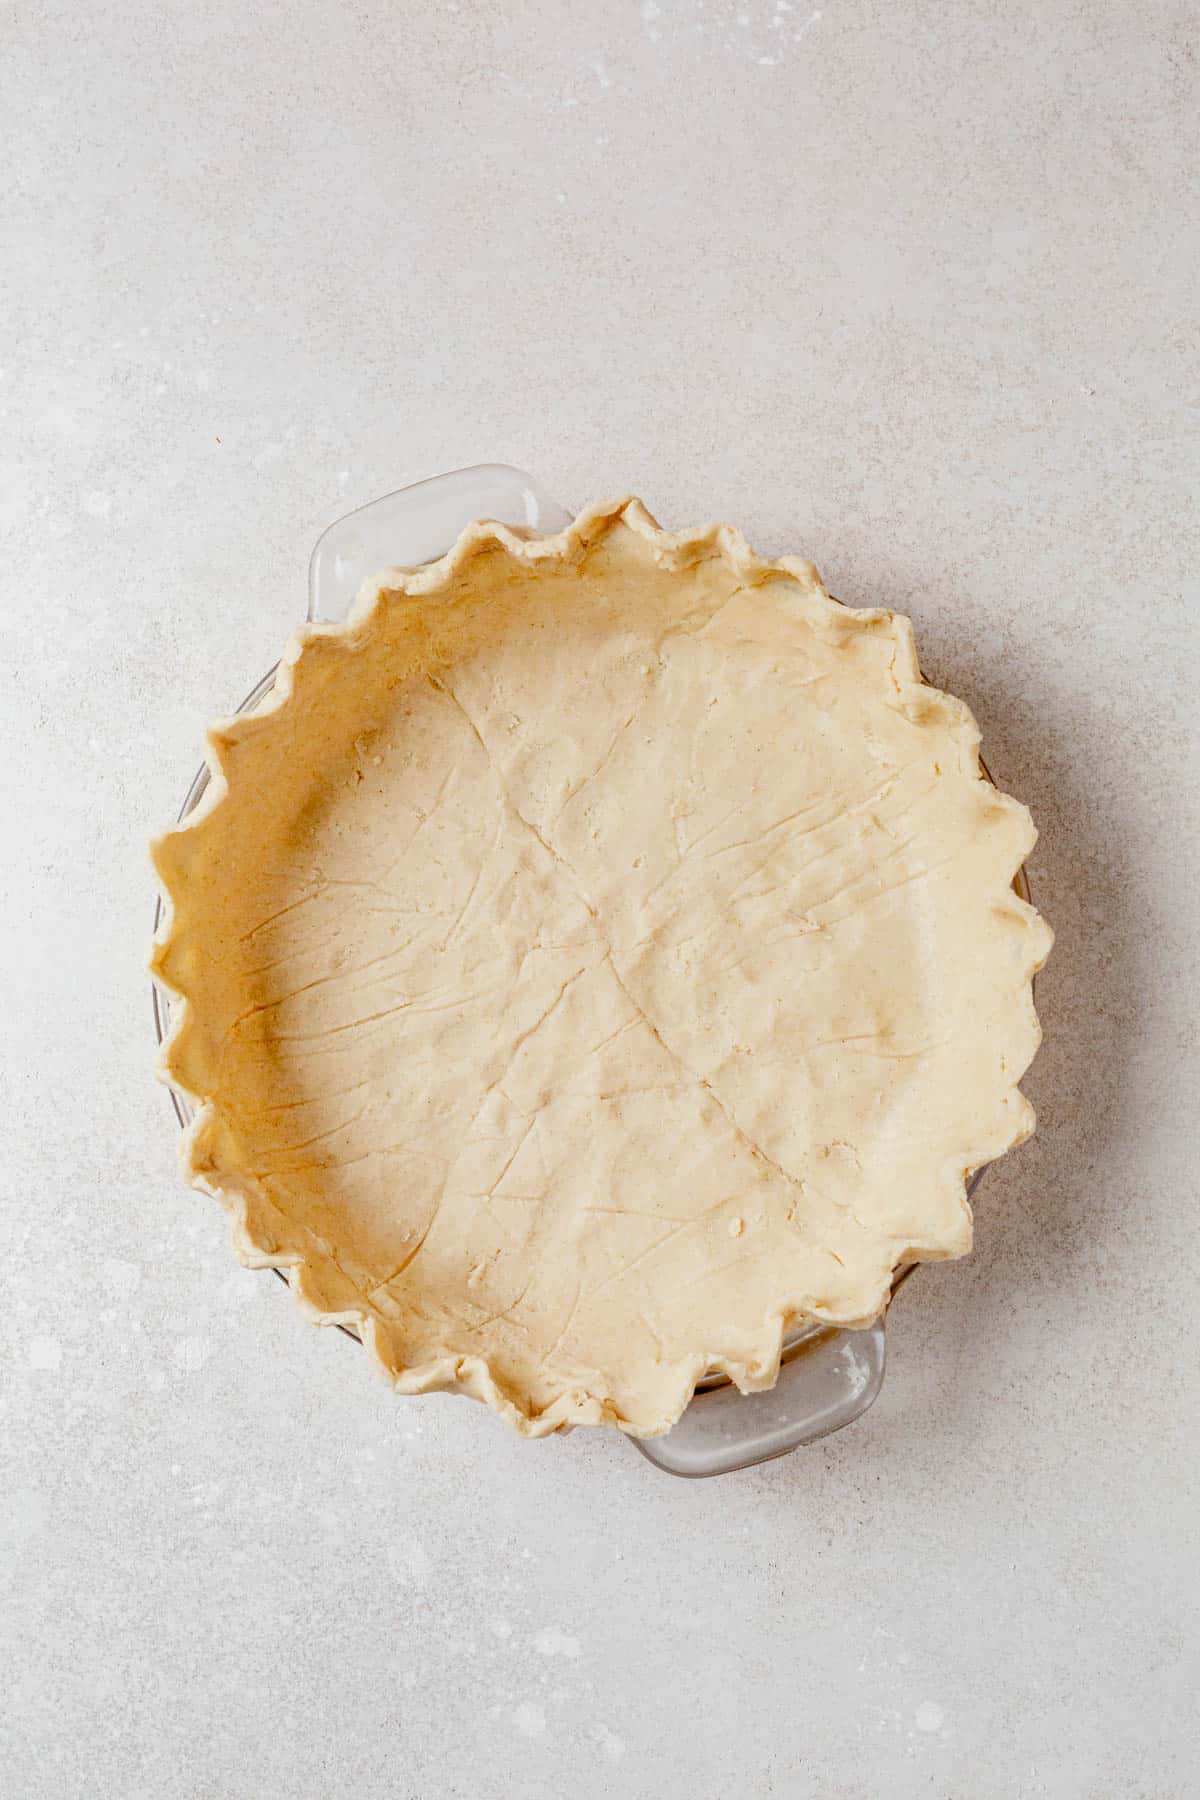
Step 6: Transfer to a 9-inch pie plate, trim edges of the pie crust, and flute or crimp.
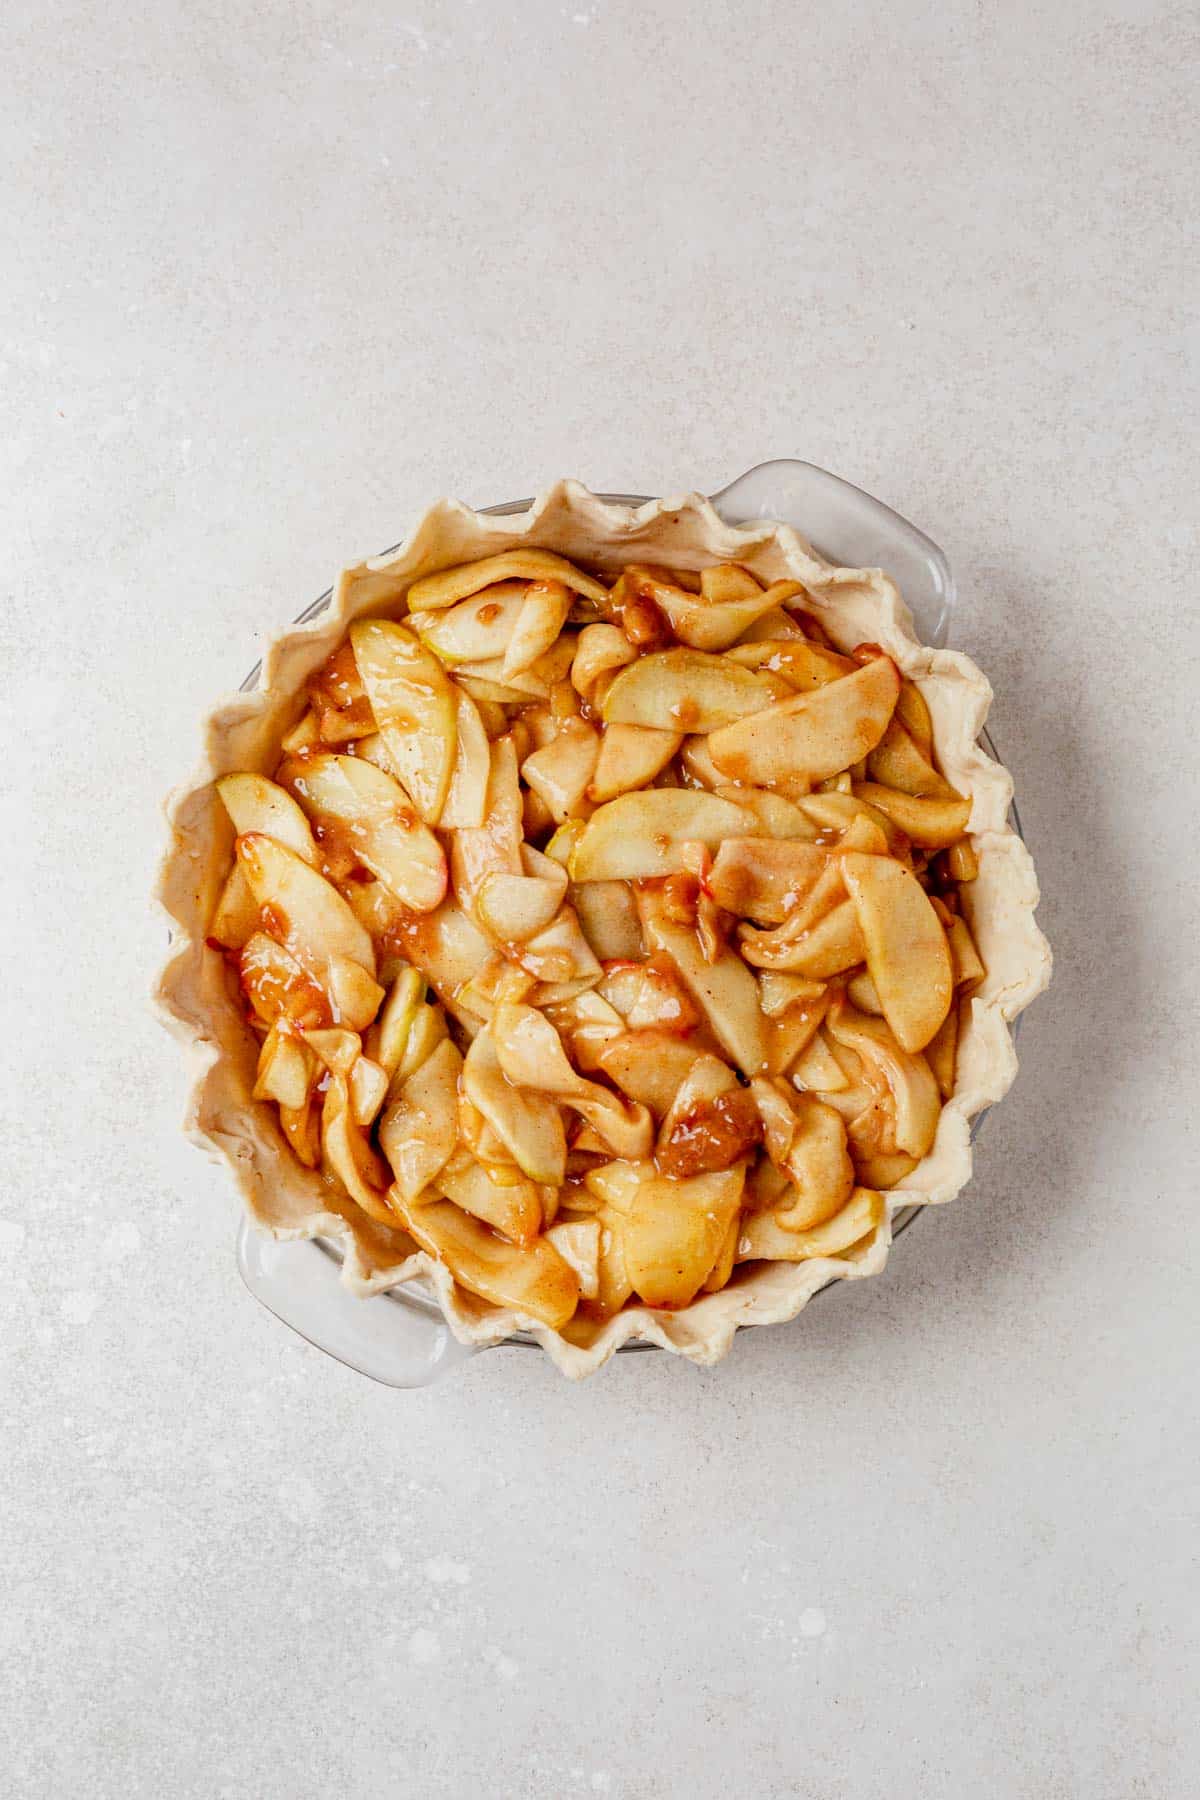
Step 7. Fill with the apple mixture, then sprinkle crumb topping over the top of the pie.
Step 8. Preheat oven to 400°F with a baking sheet inside. Bake the pie for 20 minutes, reduce heat to 375°F, and continue baking for 30–35 minutes until golden brown. Cool completely before slicing.
How to Slice Apples for Pie
To prep apples for pie, peel them, slice into quarters, remove the cores, then cut into even ¼-inch slices so they bake tender without turning mushy. For a little more texture, keep them slightly thicker, and always toss the slices with lemon juice to prevent browning.

Crust Tips + Troubleshooting
- For a flaky pie crust, always use cold ingredients and chill the dough.
- Preheating your baking sheet helps avoid a soggy bottom crust.
- Cover the edges of the pie crust with foil halfway through baking to prevent over-browning.
- Letting the pie cool ensures the apple pie filling sets up properly.
Make Ahead + Storage Tips
- Make-Ahead Dough: Wrap and refrigerate for up to 3 days or freeze for 3 months.
- Fully Baked Pie: Store at room temperature for 1 day or refrigerate for up to 3 days. Reheat at 350°F for 15 minutes.
- Freezing: Cool pie completely, wrap in plastic and foil, and freeze up to 3 months. Thaw in the fridge and reheat before serving.
Recipe FAQs
Yes! Substitute butter with vegan alternatives like Earth Balance or solid coconut oil.
Granny Smith apples, Honeycrisp, Gala, Golden Delicious, or Pink Lady work well. Avoid Red Delicious.
Absolutely. You can prep the dough or bake and freeze the entire pie ahead of time.
Yes! Try Wholly Gluten-Free or Sweet Loren’s if you’re in a pinch.
The top of the pie should be golden brown and the edges bubbling. Apples should be tender but not mushy.
There’s no better time to bake this delicious apple pie than right now. It’s a flaky crust, cinnamon apples, and crowd-pleasing crumble all in one. If you try it, leave a comment or rating and let me know what you think!
More Holiday Dessert Recipes

Fall Recipes
Healthy Apple Crisp (No Butter)
Dessert
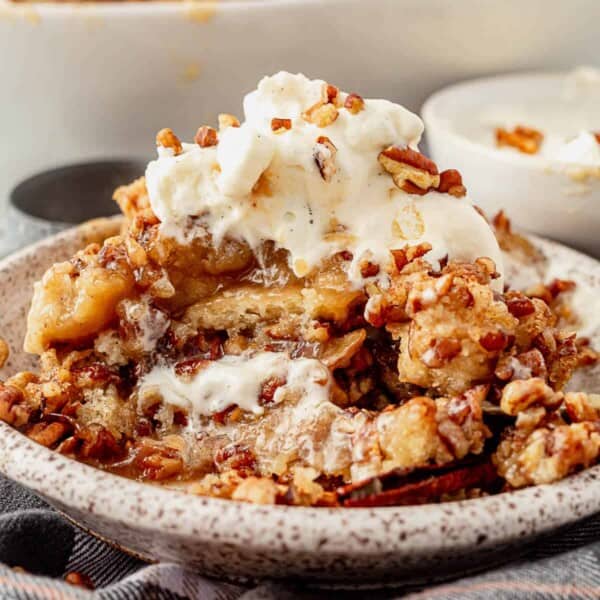
Pecan Pie Cobbler
Thanksgiving Desserts
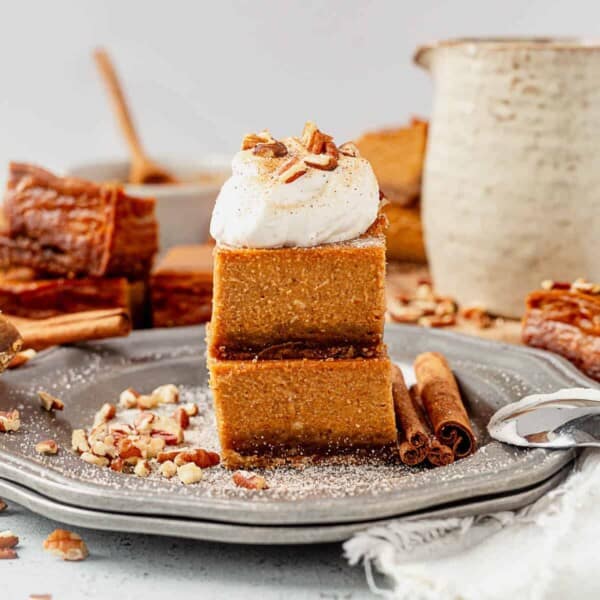
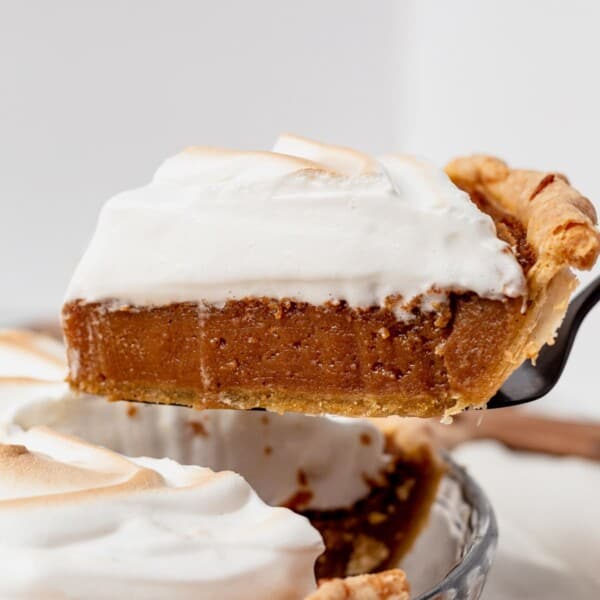
Vegan Sweet Potato Pie
If you make this recipe, I’d love for you to give it a star rating ★ below. You can also tag me on Instagram so I can see it!
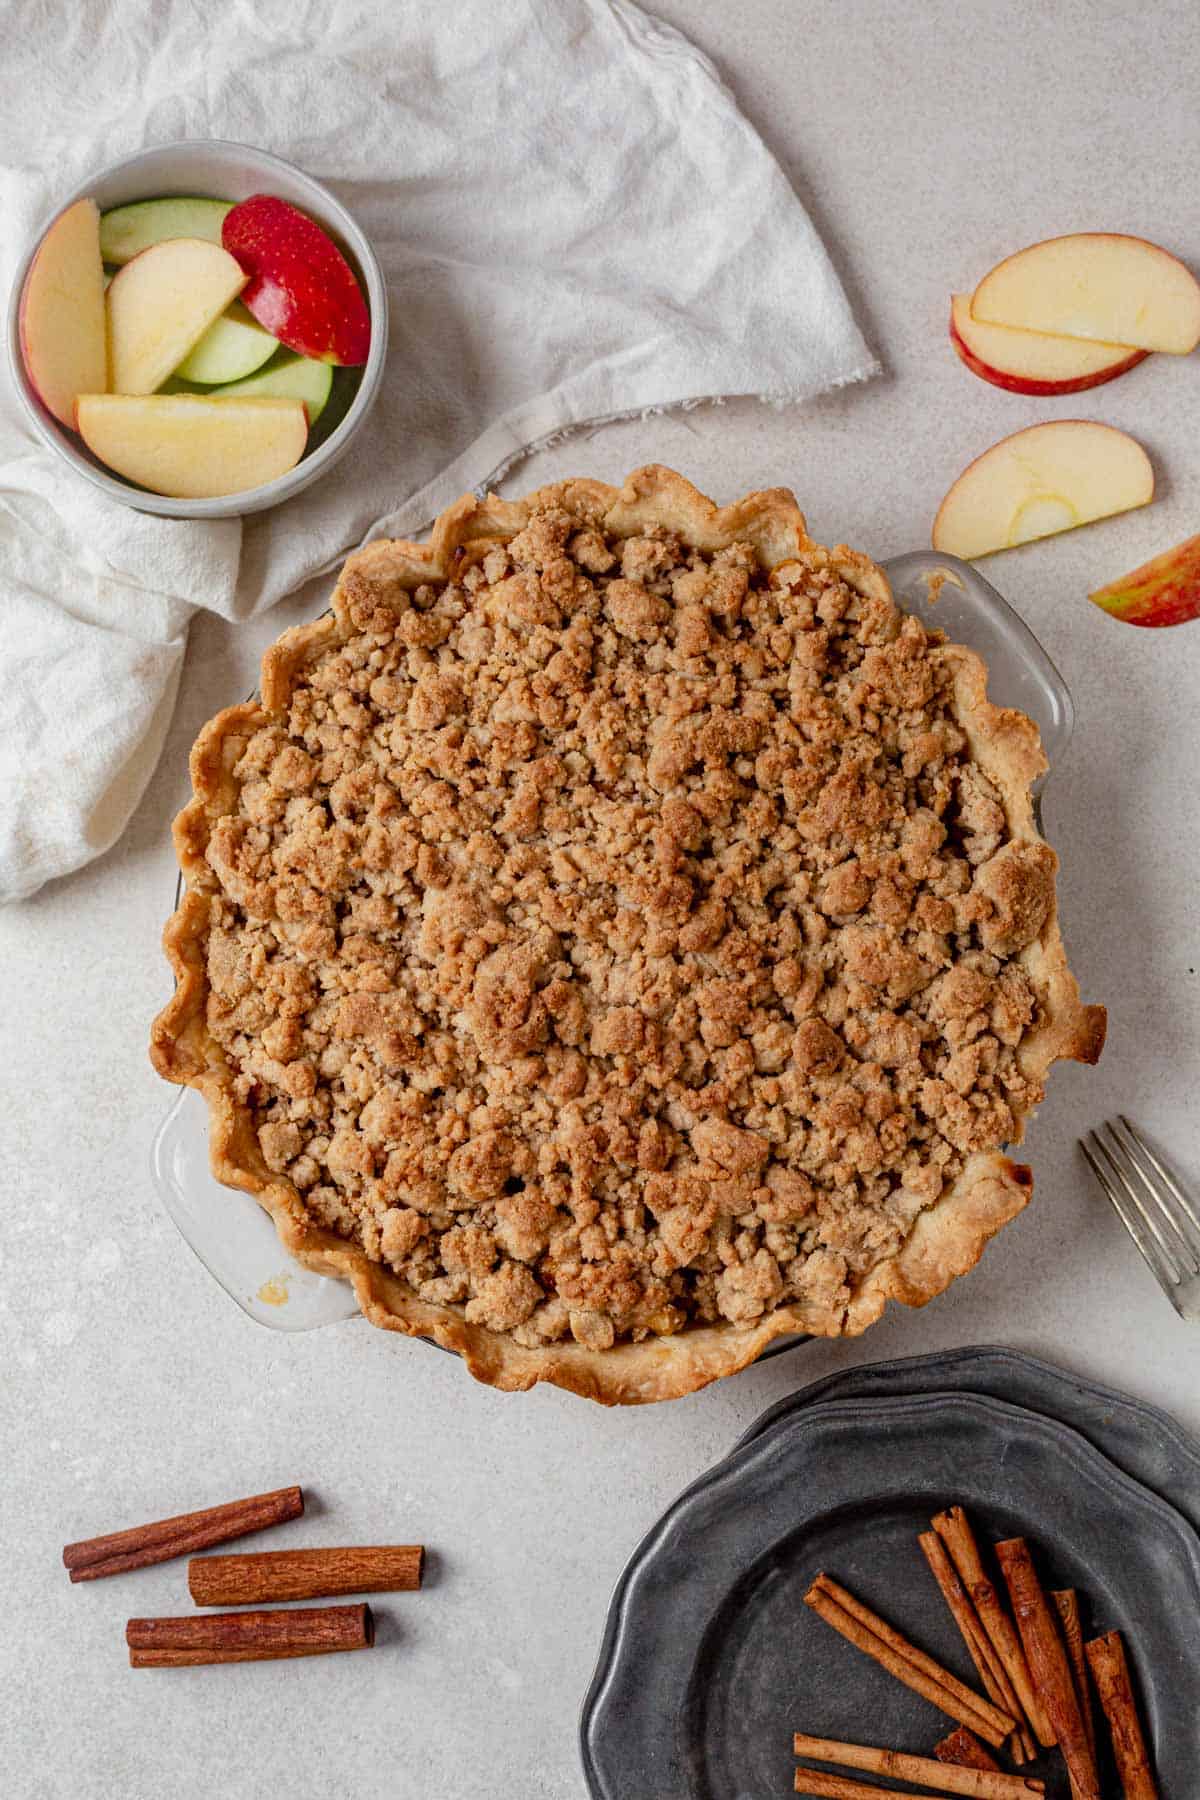
The Best Gluten Free Dutch Apple Pie (with Crumb Topping!)
Save this Recipe!
Ingredients
Gluten Free Pie Crust
- 1 1/2 cups gluten-free all purpose flour with xanthan gum
- 1 Tablespoons granulated sugar
- 1/4 teaspoon kosher salt
- 1/2 cup 1 stick, unsalted butter, cubed
- 1/4 cup cold water
Apple Filling
- 12 cups apples peeled and sliced into 1/4-inch pieces 9-10 apples
- 1/2 cup granulated sugar
- 1/4 cup light brown sugar packed
- 1/4 cup gluten-free flour
- 1 Tablespoon lemon juice
- 1 1/2 teaspoon cinnamon
- 1/2 teaspoon nutmeg
- 1 teaspoon vanilla
Gluten Free Crumb Topping
- 1/3 cup granulated sugar
- 1/2 cup light brown sugar packed
- 1 teaspoon cinnamon
- 1/4 teaspoon salt
- 1 1/2 cups gluten-free flour
- 3/4 cup unsalted butter melted
Instructions
- Make the Crust: In a large bowl, whisk together the gluten-free flour blend, sugar, and salt.1 1/2 cups gluten-free all purpose flour, 1 Tablespoons granulated sugar, 1/4 teaspoon kosher salt
- Add the cold cubed butter and toss it in the flour until each piece is coated. Using a pastry cutter or two forks to cut the butter into the dry ingredients until all flour is coated and the butter is the size of a pea. Some larger chunks of butter are okay. You can press and flatten them with your fingers.1/2 cup 1 stick, unsalted butter, cubed
- Add the cold water and mix well with a fork or rubber spatula until the dough starts coming together. The dough will seem dry, that’s okay. Don’t add any more water.1/4 cup cold water
- Turn the pie dough out onto a lightly floured work surface. Use floured hands to fold the dough into itself until the flour is fully incorporated into the fats and it starts to form a dough. Form it into a ball and flatten it into a 1-inch thick disc. Wrap it tightly in plastic wrap and refrigerate for at least 2 hours or up to 5 days.
- Make the Filling: In a large skillet or dutch oven, stir the apple slices, sugar, brown sugar, gluten-free flour, lemon juice, cinnamon, and nutmeg together until thoroughly combined. Cover and cook on the stove over medium-low heat for 10-12 minutes, stirring frequently, until the apples begin to soften. Remove from heat and stir in the vanilla extract. Allow it to cool slightly. You can spread it out onto a large-rimmed sheet pan and place in the fridge or freezer to speed this up.12 cups apples peeled and sliced into 1/4-inch pieces, 1/2 cup granulated sugar, 1/4 cup light brown sugar, 1/4 cup gluten-free flour, 1 Tablespoon lemon juice, 1 1/2 teaspoon cinnamon, 1/2 teaspoon nutmeg, 1 teaspoon vanilla
- Make the Crumb Topping: In a medium bowl, combine the sugar, brown sugar, cinnamon, salt, and gluten-free flour. Using a silicone spatula, stir in the butter. The crumble topping will be thick and crumbly.1/3 cup granulated sugar, 1/2 cup light brown sugar, 1 teaspoon cinnamon, 1/4 teaspoon salt, 1 1/2 cups gluten-free flour, 3/4 cup unsalted butter melted
- Preheat oven to 400°F (204°C) and place a large sheet pan inside while it preheats.
- Roll out the chilled dough on a well-floured work surface. Roll the dough 2-3 times then turn it a quarter until you have a 12-inch circle about 1/4-inch thick. Carefully place the dough into a 9-inch pie dish that’s 1.5- 2 inches deep. Trim off the edges and flute or tuck the dough in with your fingers, making sure it's smooth.
- Spoon the filling into the crust. Pile them high, and pack it down tightly together. Sprinkle the crumb topping over apples.
- Remove the baking sheet from the oven and place the pie on it and bake for 20 minutes. Keeping the pie in the oven, turn the temperature down to 375°F and cover the pie crust with a pie shield or foil around the edge. Continue to bake at 375 for 30-35 minutes, until the top is golden brown.
- Allow the pie to cool for 3 full hours at room temperature before serving. Cover and store at room temperature for up to 1 day or in the fridge for up to 3 days before serving. Serve room temperature or reheat at 350 for 15 minutes before serving.
Notes
- Make 1 day in advance: cool baked pie completely, wrap tightly in plastic wrap and store at room temp. Pie crust can also be prepared a day in advance and stored in the fridge.
- Make 3 days in advance: cool the baked pie, wrap tightly, and refrigerate for up to 3 days. Pie crust can also be refrigerated for up to 3 days.
- 3 months: Pie crust or the fully baked pie can be wrapped and frozen for up to 3 months. For the crust, thaw overnight in the fridge and proceed with the recipe. For the baked pie, thaw overnight in the fridge and reheat as directed above.
- To ensure a flaky crust keep the dough cold and use chilled butter and ice water. Warm dough will make your crust tough.
- Pile the apples high in the pie. Apples shrink as they bake, so don’t skimp on the filling.
- To protect the edges of the pie crust from browning too quickly or becoming too brown, cover it with aluminum foil or a pie shield halfway through baking
- Let the pie cool completely before slicing—it allows the filling to set.
Nutrition
Nutrition information is automatically calculated, so should only be used as an approximation.
This post may contain affiliate links. Read our disclosure policy.


I made your recipe this weekend for an early thanksgiving celebration and it was a hit!! Everything turned out perfectly
So glad everyone loved it. Thanks Jillian!
I didn’t have much luck with the pie crust – but maybe it’s just me. Pies and I struggle sometimes. It was tough and chewy and the dough itself was much too dry to roll out well – it crumbled as I was putting it in the pan. Maybe I’ll give it another go, I truly wanted this to be THE ONE when it comes to GF pie crusts 🙂
Thanks for the feedback, Hayley!! I’ll take another look at this recipe and see if there’s something that may help. Pie crust can be so tricky!