This post may contain affiliate links. Read our disclosure policy.
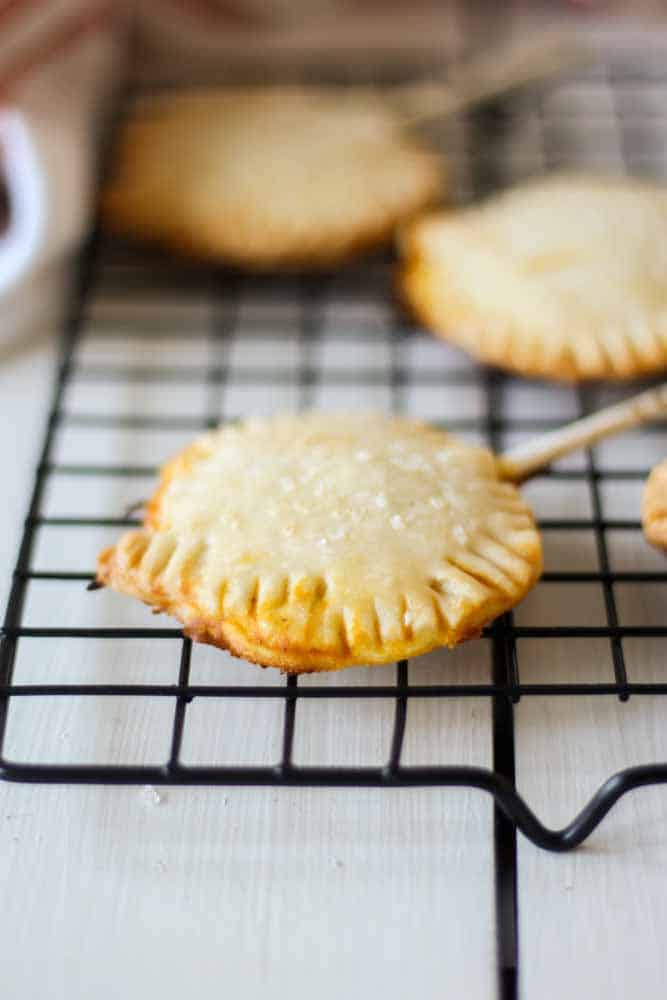
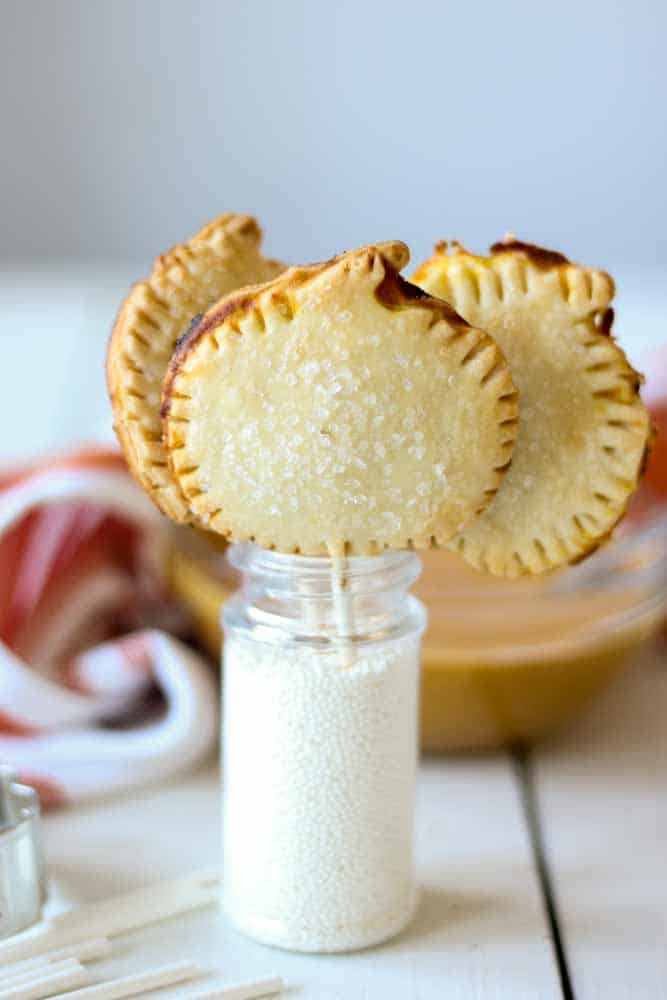
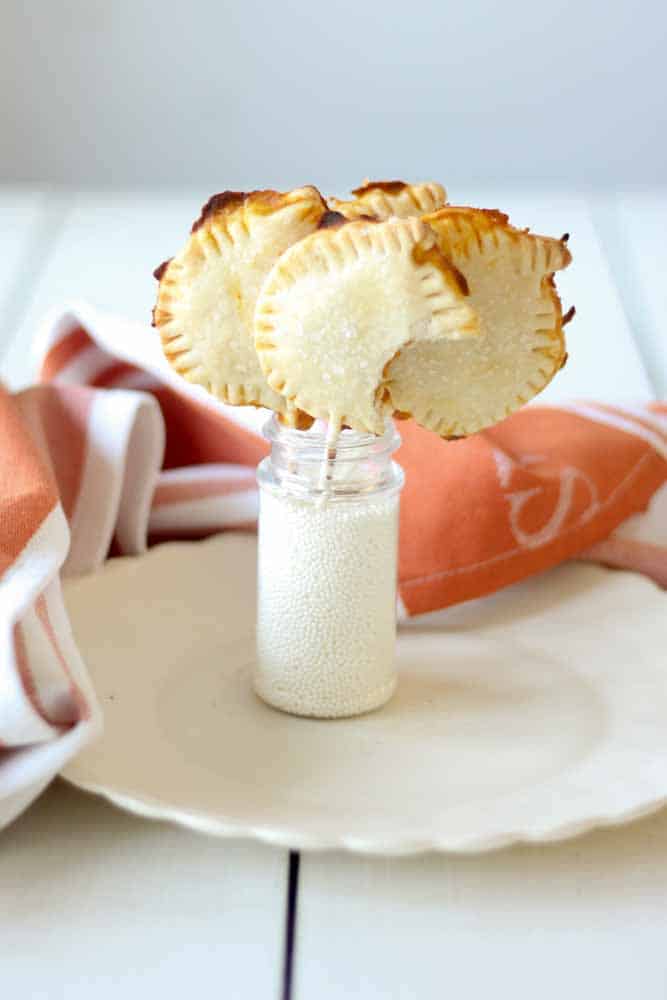
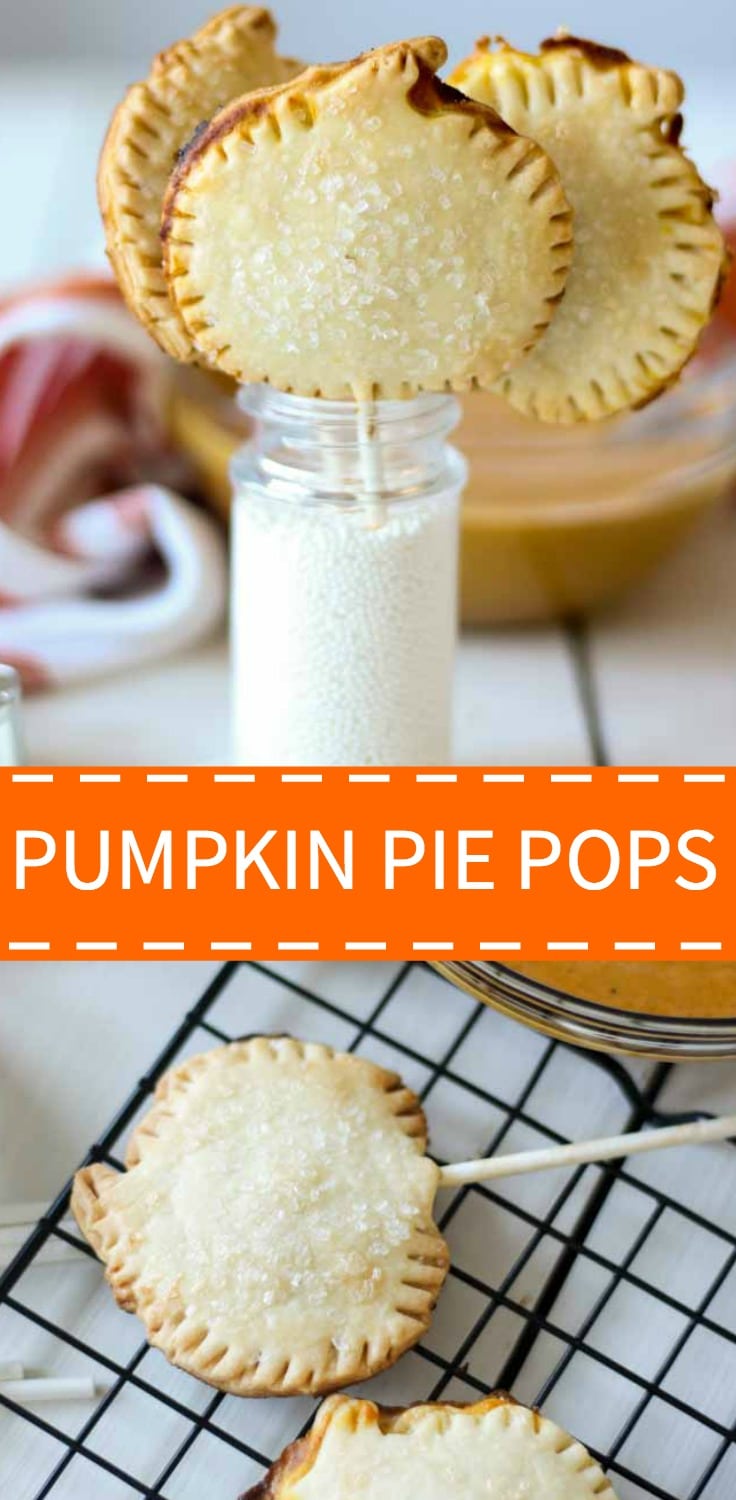
Have you ever had pie on a stick? There’s a first time for everything! These individual desserts are adorable and make the perfect Thanksgiving or fall dessert. Pumpkin pie filled mini crusts baked on a stick and ready for all the fall activities.
I have a confession. I’ve never really been a pie person. I know, I KNOW. Who am I? I’m more of a warm chocolate chip cookie kind of girl. I’ll eat warm apple pie with that ice cream, but I tend to avoid pies at the dessert table. It just doesn’t really do it for me the majority of the time. And then I made these little pops of joy. Just about the cutest little dessert you ever did see.
These can be filed under pumpkin heaven – little bites of pumpkin explosions tucked inside a flaky crust you can carry around wherever you please.
So very festive, yet so very functional.
- So easy to make! No homemade pie crust necessary (unless you’re feeling ambitious)
- All the pumpkin pie spice
- You can walk around and eat your dessert with one hand and still have the ability to do all the other activities (i.e. change the channel, peruse instagram, drink a cup of coffee)
- It’s super quick
- It’s got lots of crust. For some reason (could be carbs?) I love the crust so much, especially on pumpkin pie. The filling to crust ratio is very important to me and I like lots of crust to my filling.
I think I’m coming to a conclusion about my pie situation. Maybe I just haven’t been eating the right pies. Like these pumpkin pie pops! Maybe I need to find fun and exciting new ways to eat pie (like mini pies) rather than the traditional large slices. Don’t get me wrong, I’ll eat a good apple pie or chocolate peanut butter pie if offered, but I love mini and bite-sized desserts so much that if they’re in that format I have a feeling I’ll be craving them more often. Stay tuned on that, ya’ll!
How’s your pie game right now? Are you making all the pies and gearing up for Thanksgiving? Are you loving the fun and creative pie crusts and decorations out there (I totally am!)? Are you planning your Turkey Day lineup? Or are you just stearing clear?
I’m stepping up my pie game with these pumpkin pie pops. I used premade pie crust because I’m in the busiest season of my life (no joke!) and sometimes I just have to pick and choose where I want to spend my time. Homemade filling here won. Plus I like pre-made pie crust! It’s the perfect thickness for these pops. Fun fact, the first time I tested this recipe I rolled out the dough after cutting these for the first time and realized I didn’t quite get the dough thin enough and when I baked them they were, you could say, thicker than I expected. So make sure you get that dough rolled out!
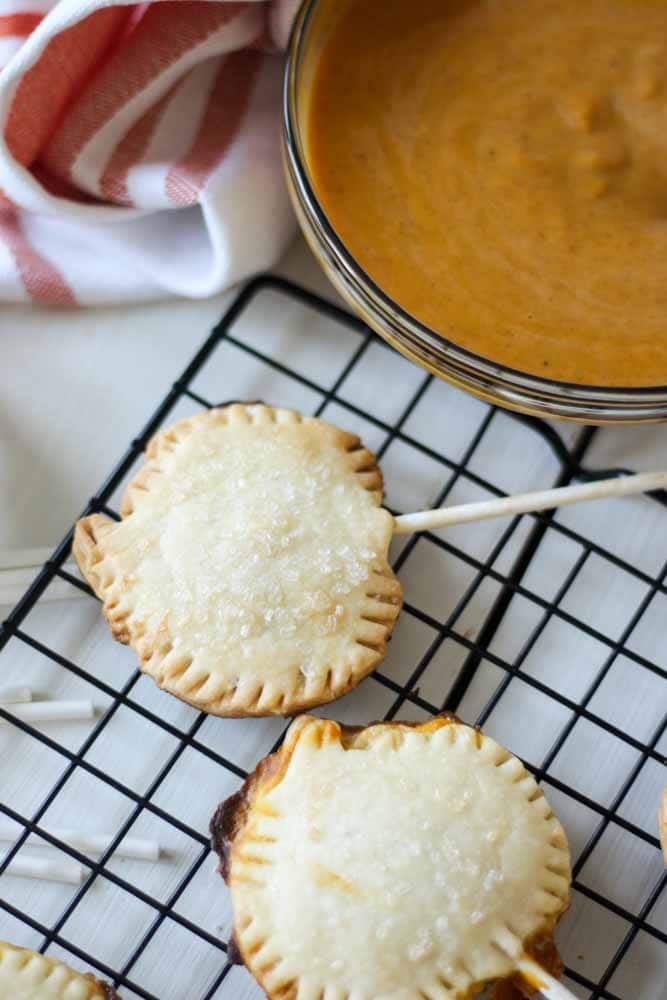
The pie filling here is so good. It’s a little thicker than normal pie filling because you need to spoon it on top of the pie filling and add another piece of dough on top without the filling spreading all over the place. Think ravioli here. Pumpkin pie ravioli? It’s kind of like that.
You cut little pumpkin shaped pie pieces out of the pie dough and spoon a dollop of the filling right in the middle. Then you place a symmetrical pumpkin shaped dough piece on top and pinch the seams together using a fork. Try your best to be as gentle here as you can in order to keep the pumpkin shape.
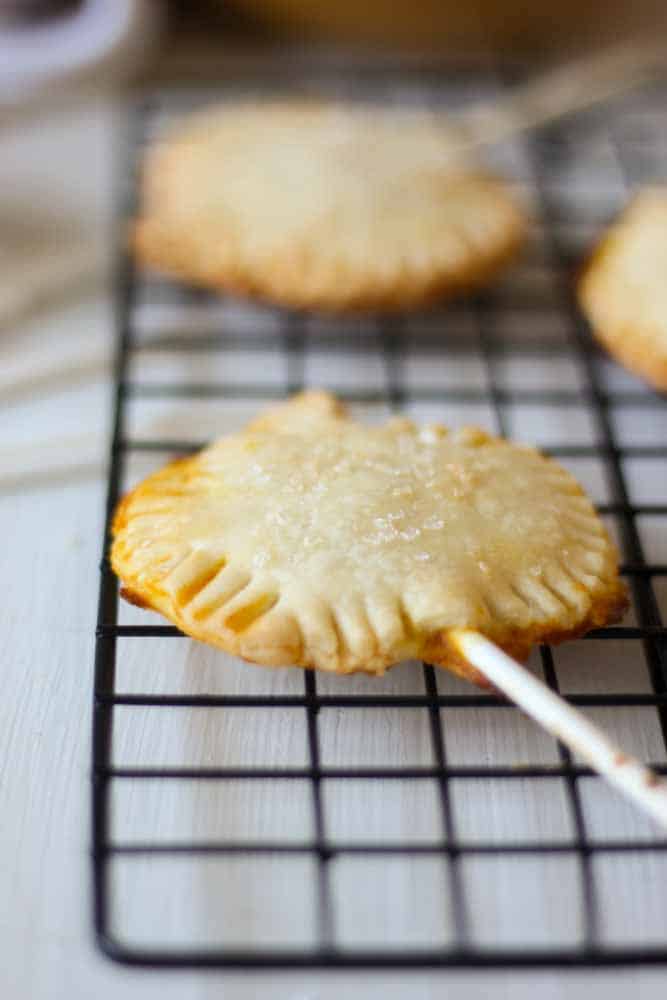
I brushed the top of these with a little milk and sprinkled them with them with coarse sugar. When you coat the dough with the milk it browns and makes the pies looks so delicious when you pull them out of the oven. And for the coarse sugar, it just adds another touch to the look and taste of this recipe I absolutely love.
Don’t forget to make sure you place the lollipop sticks in the pumpkin pie pops before you bake them! I almost forgot to do this one of the batches. Which I guess would have been okay because then they would have been like mini hand pies. But the pops are too cute!
Let them cool on the baking sheet for a couple minutes and carefully transfer them to a cooling rack by using a spatula to grab them off the sheet. Do not try to pick these up while they’re still warm. You’ll likely have a scenario that goes like this: grab the pop by the stick, start transferring to the cooking rack, and splat! You’ve got pumpkin pie pop on your wooden floor. I’m not speaking from experience or anything…
Once they’re cool they’re perfect to pick up any which way you want.
Pumpkin Pie Pops
Save this Recipe!
Ingredients
- 2 packages prepared pie crust
- 8 ounces pumpkin puree
- 1/3 cup brown sugar
- 1 tsp pumpkin pie spice
- 1/4 tsp salt
- 2 eggs
- 1/4 cup half and half
- 1/4 cup milk
- 1/4 cup coarse sugar
Instructions
- Preheat oven to 425 degrees (F). Line a large baking sheet with parchment paper and set aside.
- On a well floured surface, lay our pie dough and using a pumpkin shaped cookie cutter, cut out pie dough pieces. Grab scraps and roll out again to the same width and cut more pumpkin shaped pie dough pieces. Repeat the process until both pie crusts are used.
- Lay half of the pumpkin pie dough pieces on the prepared baking sheet and place a lollipop stick half way up the dough. Save the other half of the dough pieces for the tops. Set aside while you make the filling.
- In a medium bowl, combine the brown sugar and pumpkin puree and whisk together until combined. Add the pumpkin pie spice, salt, eggs and half and half and whisk well until combined.
- Spoon a heaping teaspoon of the pumpkin pie filling on top of prepared dough on the baking sheet. Lay the other piece of dough symmetrically on top and using a fork, pinch the edges of the dough together to seal in the filling.
- Pour the milk into a small bowl and use a pastry brush to brush the milk over the top of the crust. Sprinkle with coarse sugar.
- Bake in the oven for 15 minutes or until tops of pies are golden brown.
- Remove from oven and allow to cool on the baking sheet for five minutes. Transfer pies to a cooling rack by using a spatula to scoop the pies. Do not pick them up by the stick until completely cool. Allow to cool completely on wire rack and serve with with whipped cream.



Oh my goodness, everything is better when eaten off a stick, and these look way better than traditional pumpkin pie! I need to serve them with a big bowl of whipped cream! Also, I need that pumpkin cookie cutter!!
Thank you Aimee! I agree, I love desserts on a stick:) I definitely think you need the cookie cutter too, I got it on Amazon!