


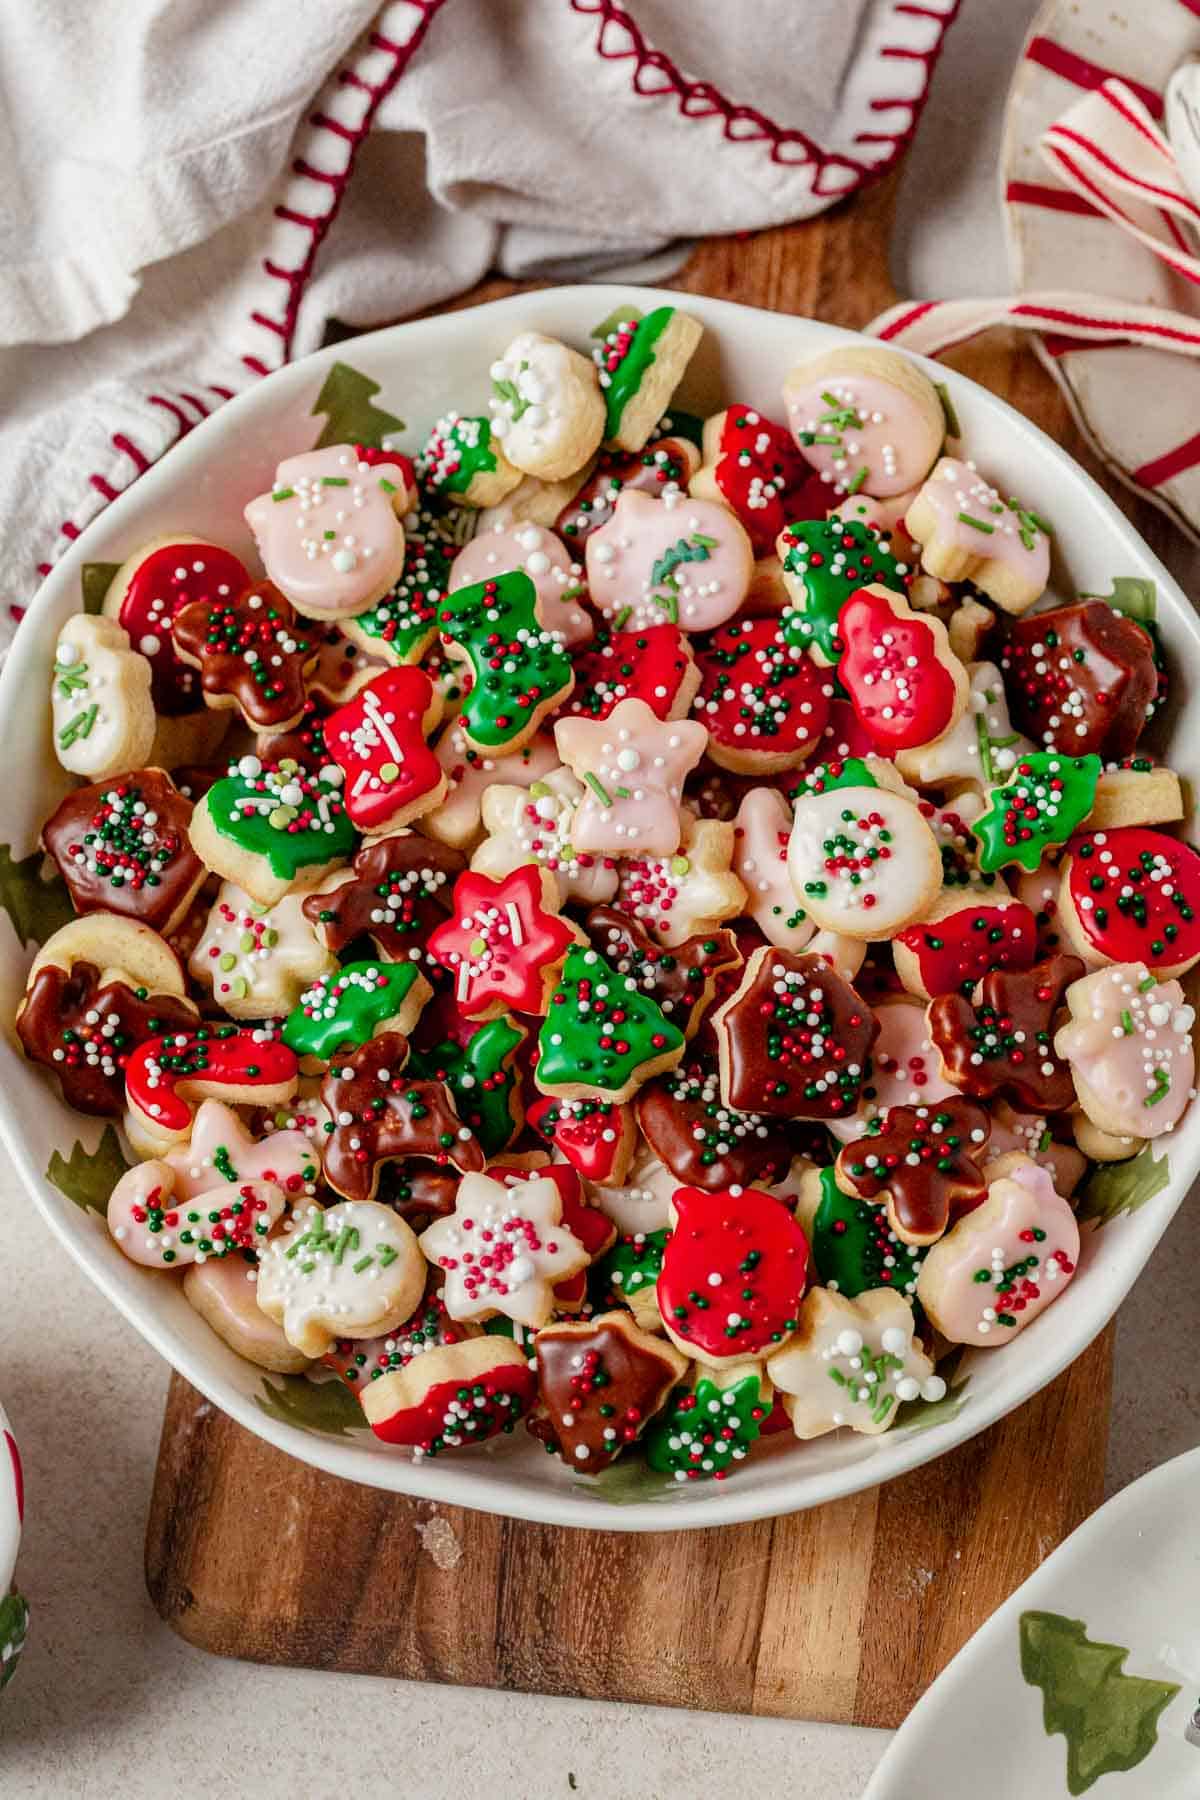
Mini Holiday Cookies

These mini Christmas cookies are soft, buttery bite-size sugar cookies that bake up with super clean edges and ice perfectly.
The dough doesn’t spread, even with the smallest cookie cutters!
I keep a little bowl of them out when hosting so guests can snack throughout the night rather than comitting to one big cookie. They also make amazing cookie tin fillers (along with polar bear paw Oreos), and I’ven even topped my hot chocolate with them!
These are the best mini cut-out sugar cookies because they stay tiny, hold their shape, and decorate easily.
My Top Tips Before You Start…
- Use a paint brush (a kid’s brush or a cookie decorating brush) to nudge dough out of mini cutters
- Chill the dough fully to make sure they don’t spread/distort.
- Cool cookies on the sheet pan for speed and less handling.
- Roll dough to exactly ¼ inch so they bake evenly.
- Use only gel food coloring to avoid thinning the icing.
A No-Spread Dough that Can Handle Mini Cookie Cutters
Because these cookies are only one bite, the dough must hold its edges without puffing or distorting, so every tree, stocking, or gingerbread man stays perfectly recognizable. These cookies are:
- No-spread: the chilled butter and low leavening keeps shapes crisp.
- Soft but durable: perfect for lifting tiny shapes.
- Easy to roll: between parchment or on the counter.
- Clean-cutting: ideal for detailed mini cutters.
The Key Ingredients
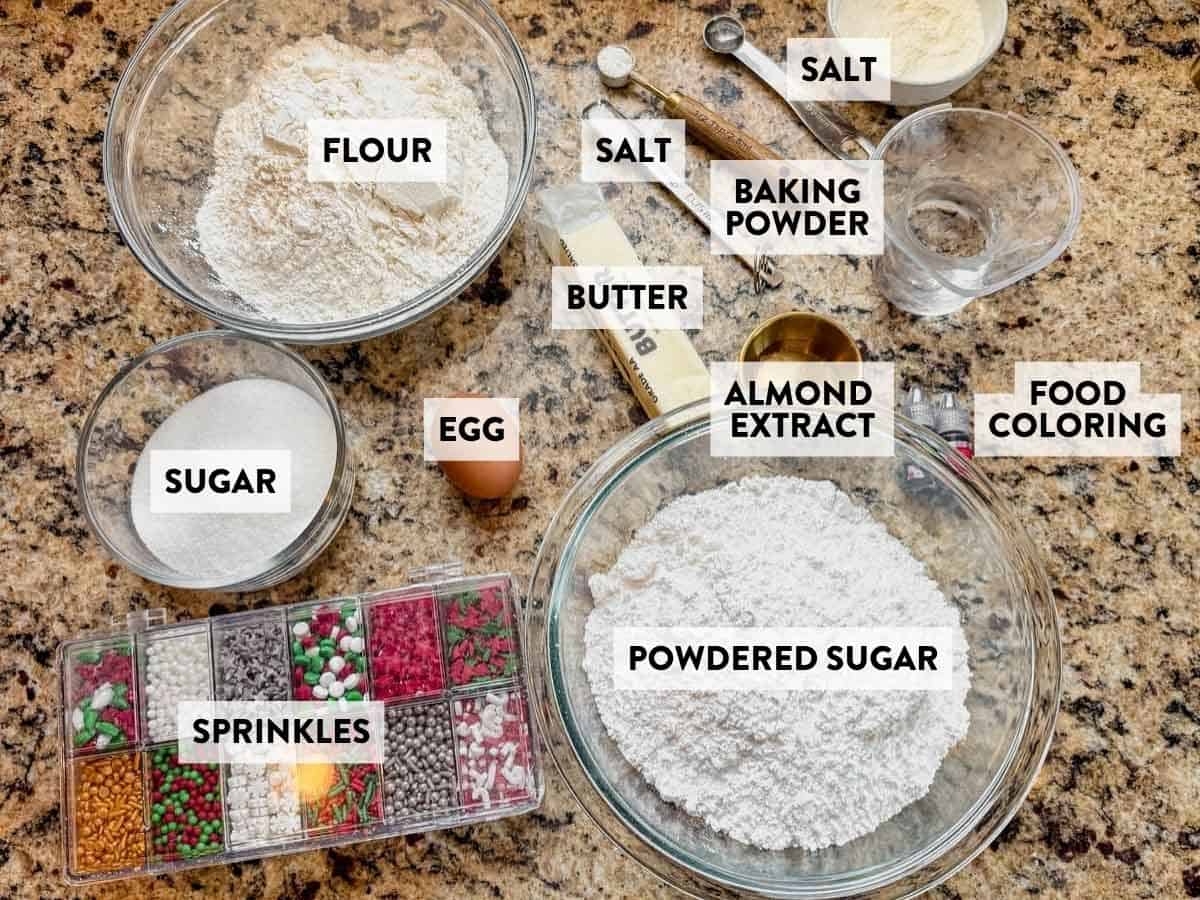
- Butter & sugar: Creamed until fluffy for a soft, tender crumb.
- Egg: Helps the cookies hold together without getting cakey.
- Vanilla + almond extract: Classic sugar-cookie flavor. Almond is subtle but makes them taste like a bakery cookie.
- Flour + baking powder: Just enough lift to keep them soft without losing definition.
- Powdered sugar + milk: Creates the smooth dipping icing that sets with a slight shine.
- Gel food coloring: Essential for rich colors that don’t thin the icing.
How to Make Mini Christmas Cookies
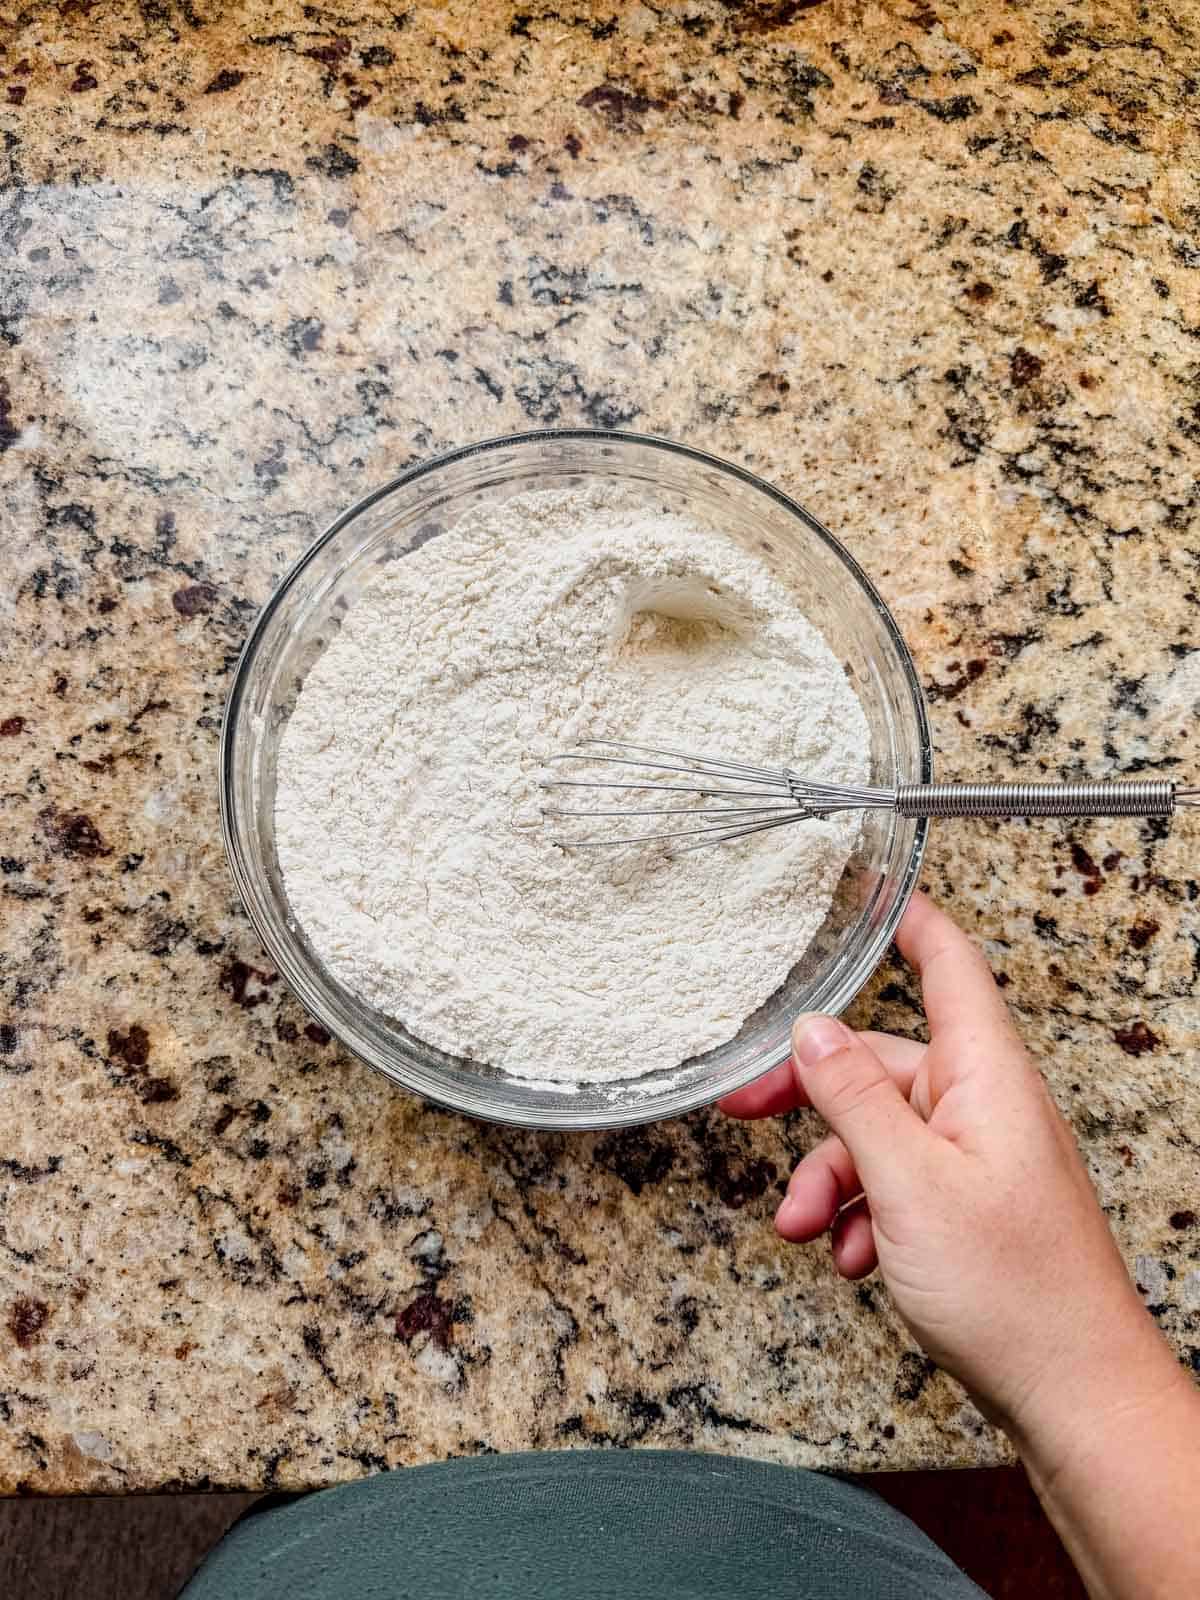
Step 1. Whisk dry ingredients: Flour, baking powder, and salt get evenly distributed for consistent cookies.
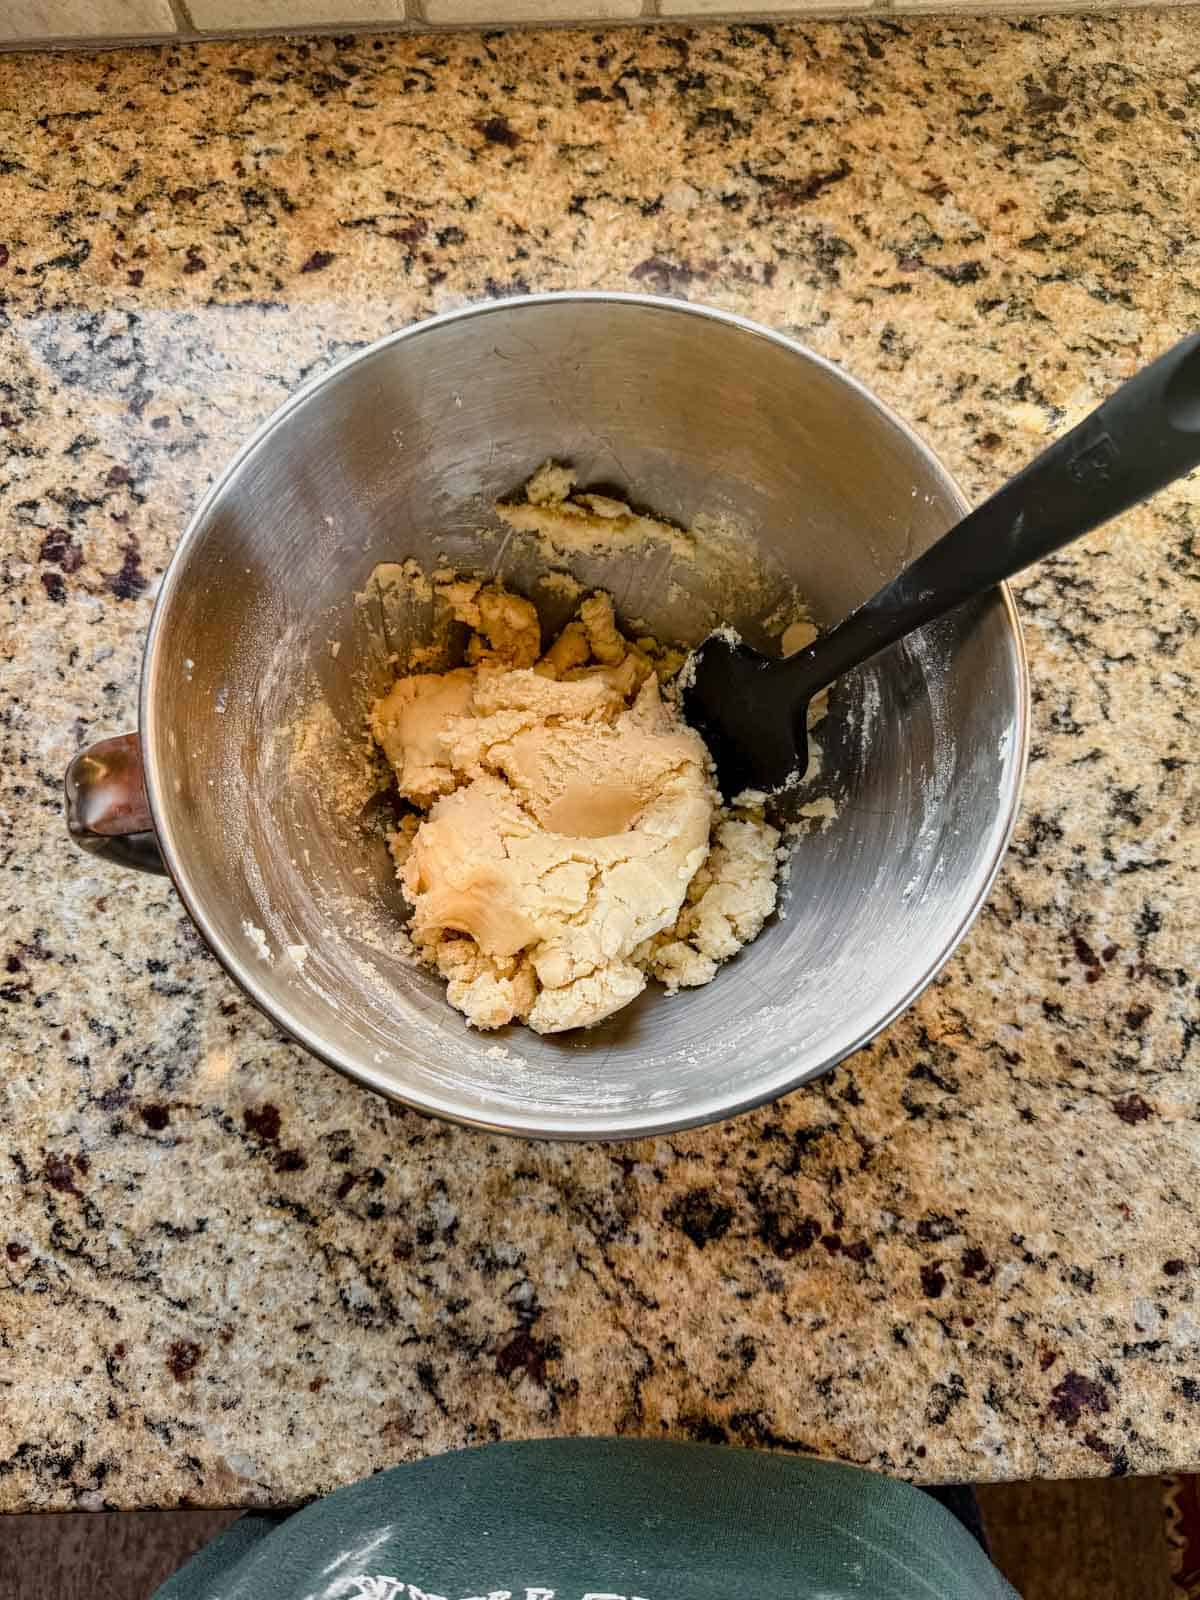
Step 2. Finish the dough: cream the butter and sugar, add the egg and extracts, then mix in the flour.
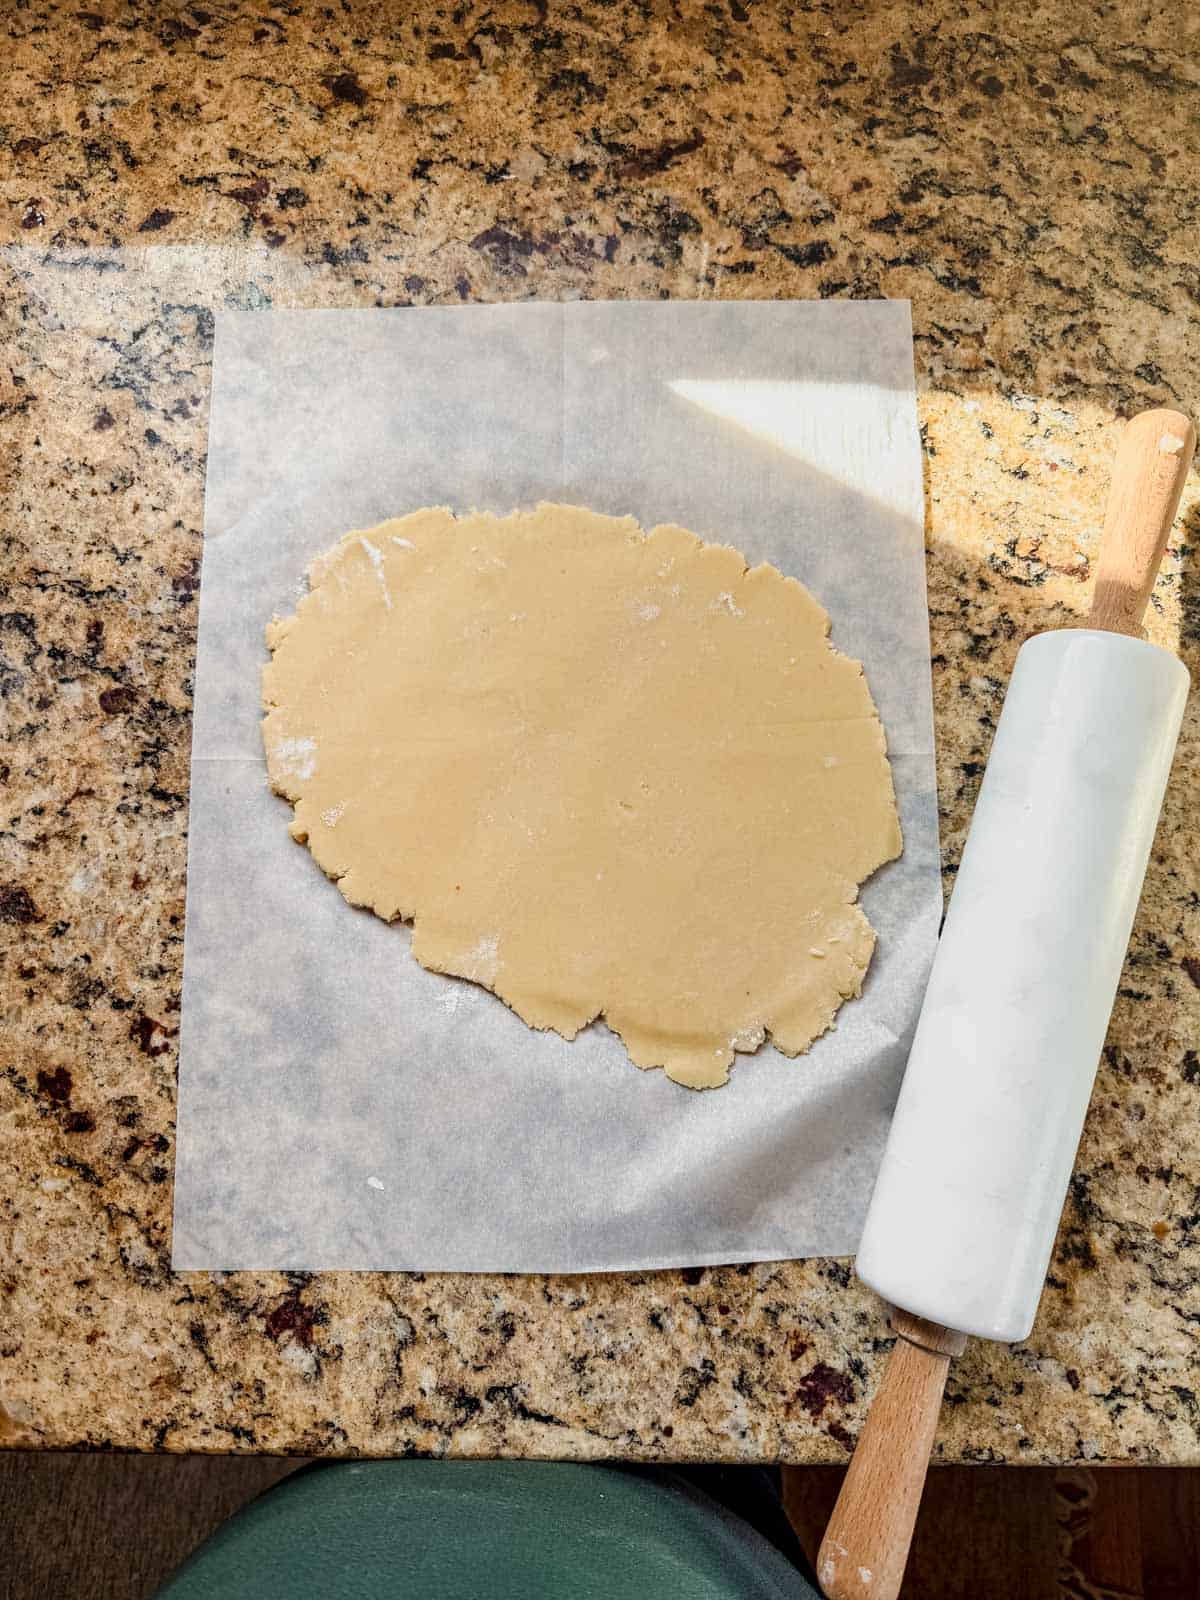
Step 3. Roll and chill: Roll the dough with a rolling pin to an even ¼-inch thick. Cover or wrap in plastic and chill for at least 2 hours so they don’t spread.
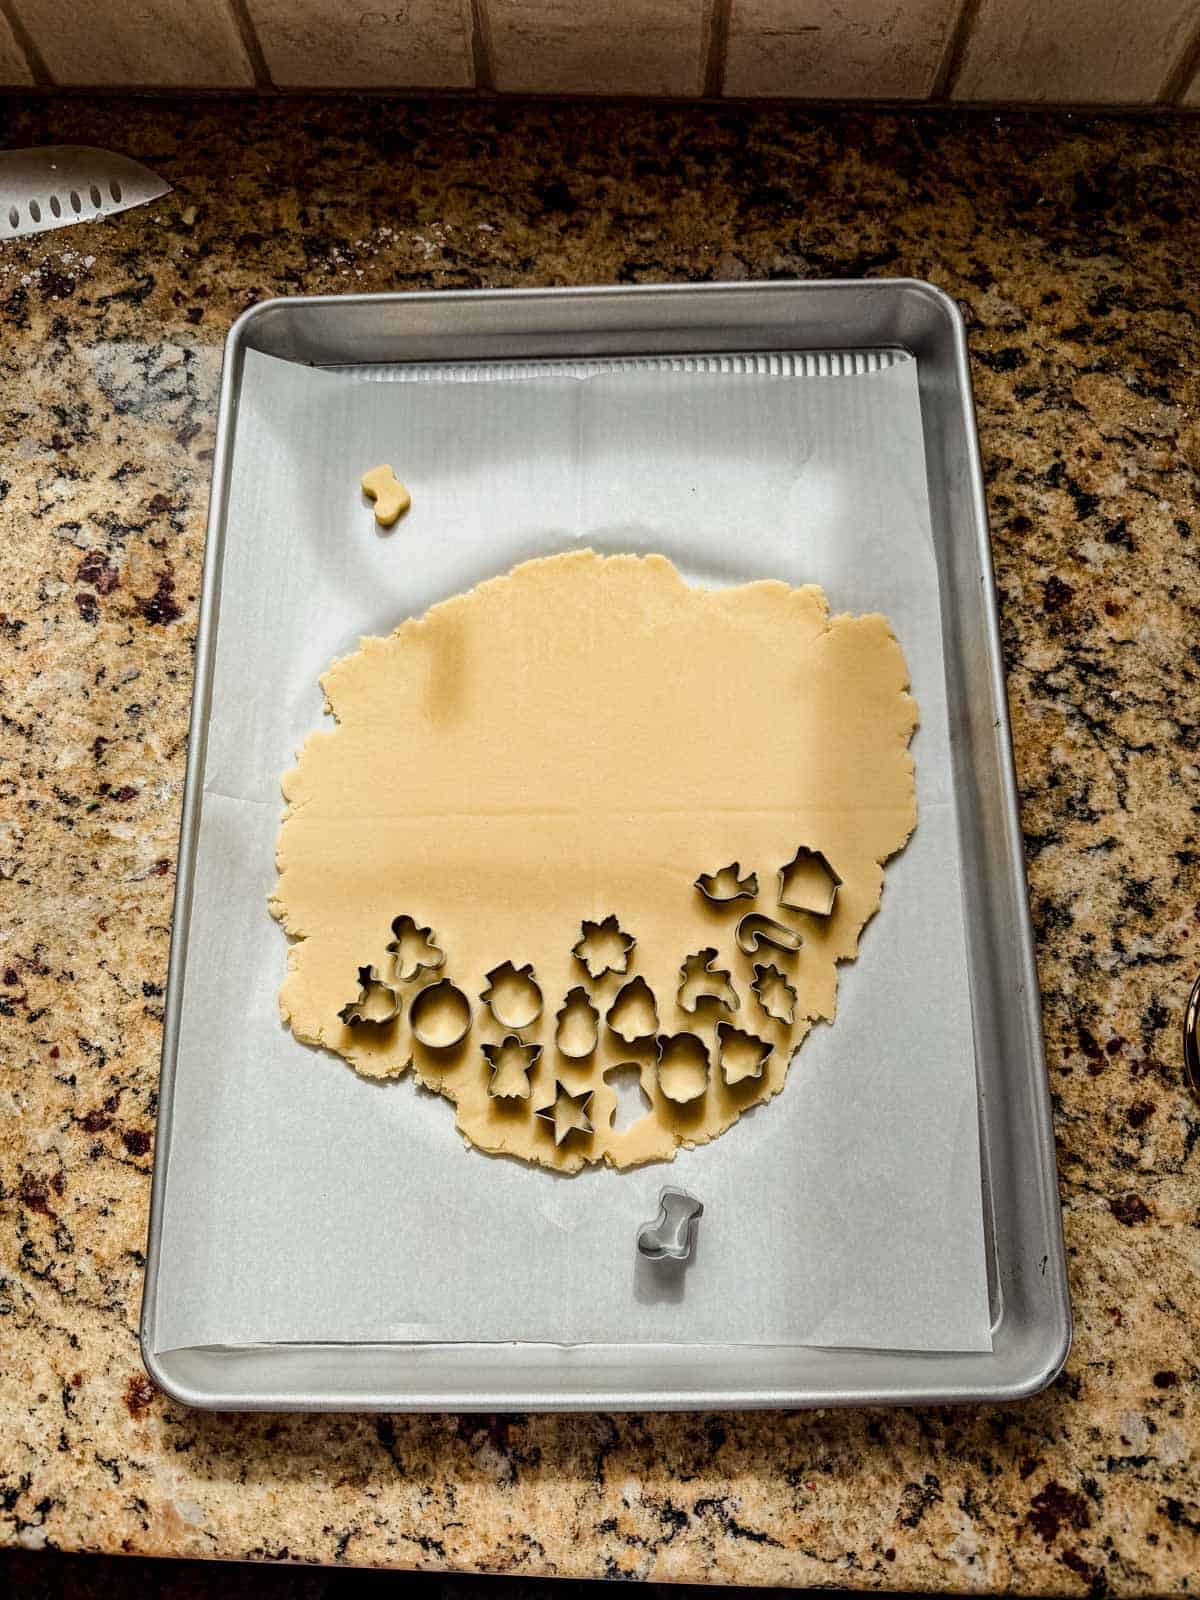
Step 4. Cut the mini shapes: Use mini cutters and lift them straight up so they come out clean. Use the bristle end of a small paint brush to gently push the dough out.
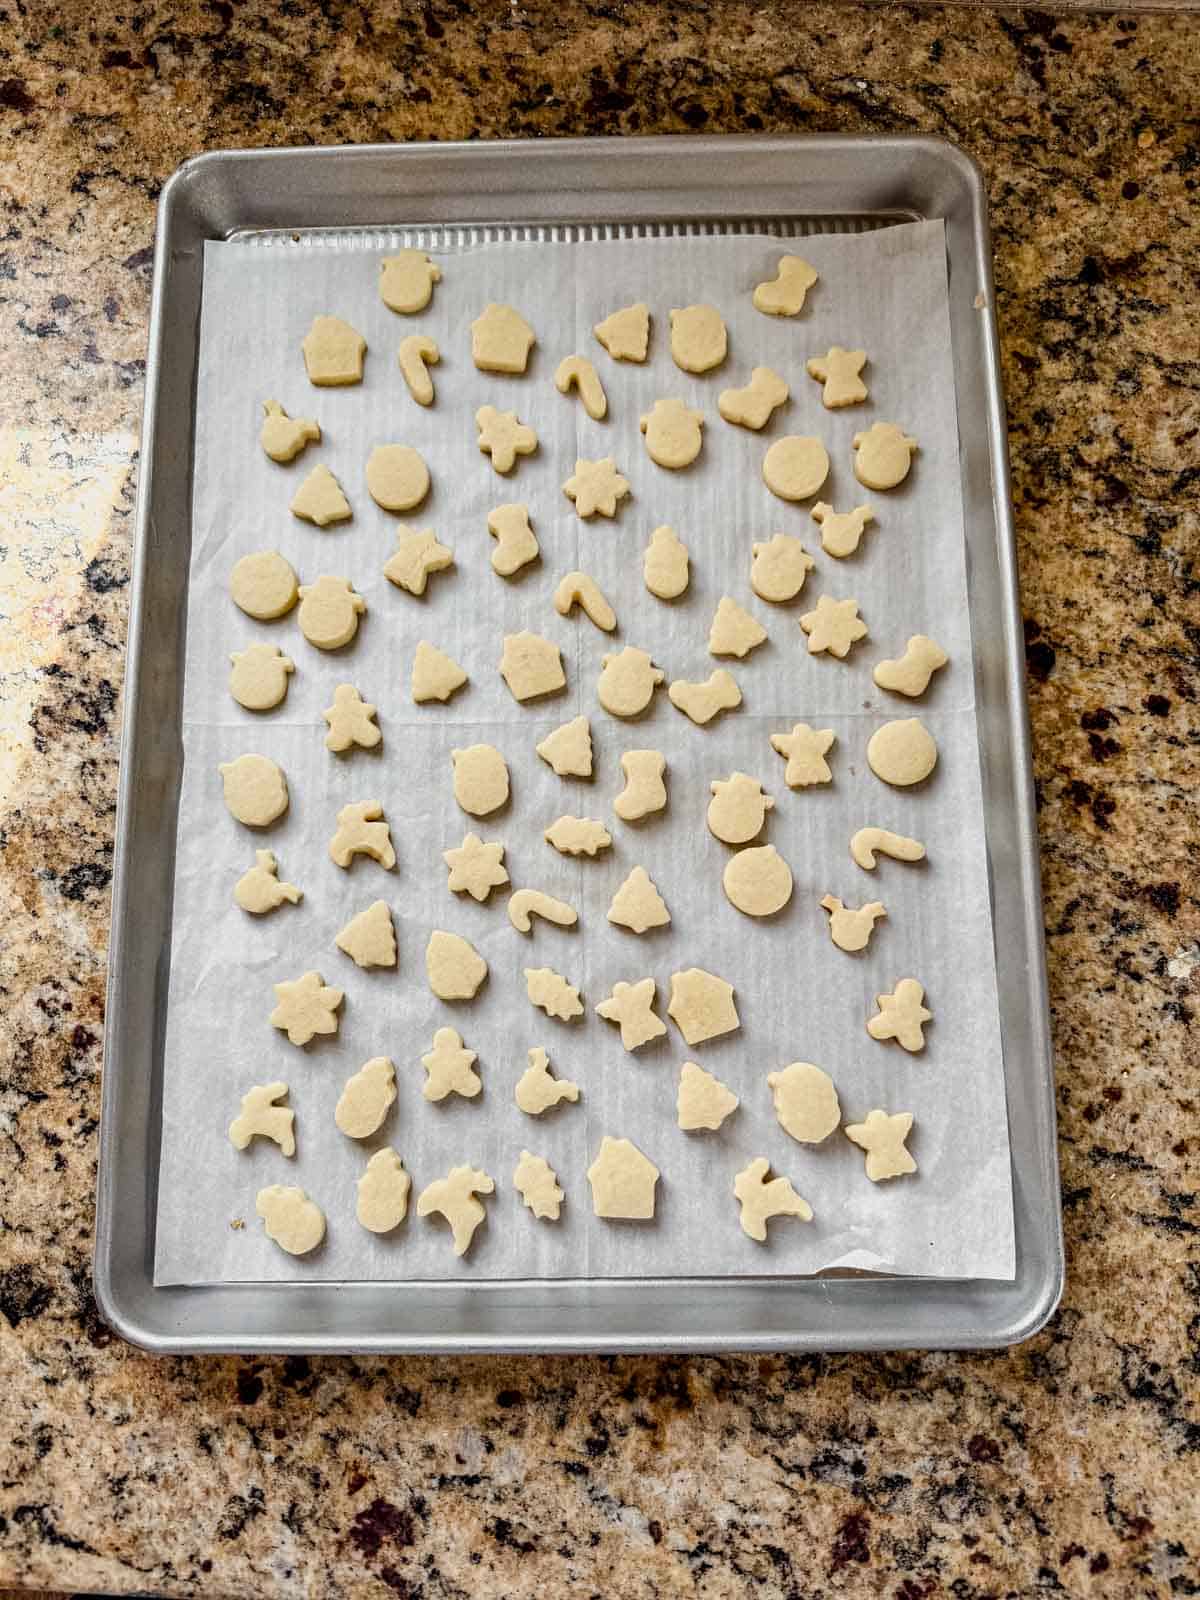
Step 5. Bake: Bake 8–10 minutes, until the tops look set and the bottoms are just lightly golden at the edges. Because they’re tiny, cool them right on the pan.
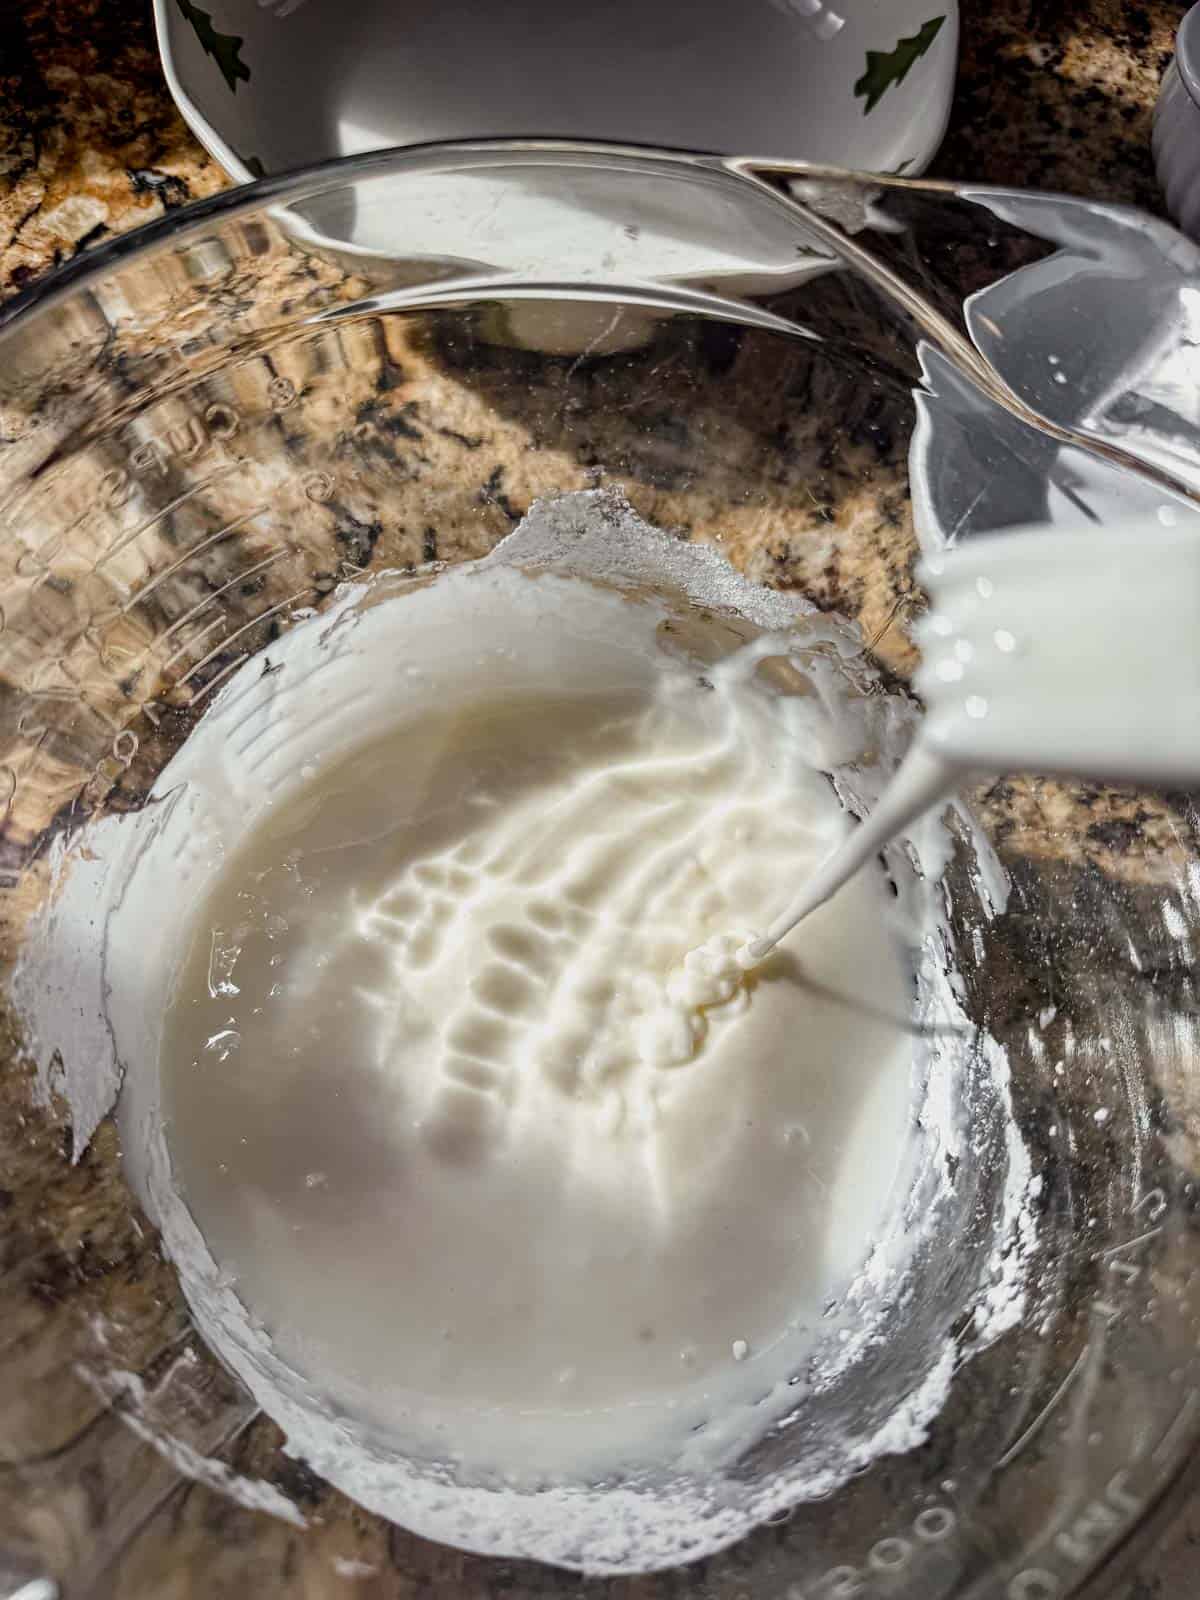
Step 4. Make the icing: Use a fork to mix the icing to a ribbon consistency. Separate them into small bowls and dye them the colors of your choice.

Step 5. Ice and decorate: Dip the tops of the cookies in the icing, shake off excess, and place them on parchment paper. Quickly sprinkle them with assorted sprinkles before the icing sets. I like to dip 5-7 in a row then sprinkle them and repeat. Whisk the icing again if it starts to set.
The Decorating Method that Makes them Look Professional
Mini Christmas cookies are much easier to decorate by dipping rather than piping (trust me, I tried!). I also tried dipping the entire cookie in icing to coat it. Dipping the tops was definitely the easiest and cleanest!
- Divide icing into small bowls
- Tint each bowl with gel food coloring. I used 2-3 drops of brown, 1 drop of pink, 3 drops of red, and 3 drops of green to reach the color hues in these pictures.
- Dip 5–10 cookies in each color at a time then sprinkle while they’re still wet.
- Stir icing if it starts to crust on top.
Fun Ways to Serve These Mini Christmas Cookies
- Perfect cookie-tin fillers for cookie boxes.
- A bowl of them makes an amazing grazing snack when hosting.
- Kids love them on hot chocolate!
- Sprinkle on to holiday dessert boards
- Pack in lunches or after-school treats
- Bake as a gift for teachers or friends.

Mini Sugar Cookies
Save this Recipe!
Ingredients
Mini Sugar Cookies
- 2 1/4 cups all-purpose flour
- 1/2 teaspoon baking powder
- 1/2 teaspoon salt
- 3/4 cup unsalted butter room temperature
- 3/4 cup granulated sugar
- 1 egg room temperature
- 1 1/2 teaspoons vanilla extract
- 1/4 teaspoon almond extract
Icing
- 3 cups powdered sugar sugar
- 4 Tablespoons milk
- 1 teaspoon vanilla extract
- Assorted gel food coloring
- Assorted sprinkles for decorating
Instructions
- Whisk dry ingredients (2 min): In a medium bowl, whisk together the flour, baking powder and salt.2 1/4 cups all-purpose flour, 1/2 teaspoon baking powder, 1/2 teaspoon salt
- Beat wet ingredients (5 min): In a large bowl with a hand mixer, or in the bowl of a stand mixer with the paddle attachment, beat the butter and sugar on medium-high speed for 2-3 full minutes. Add the egg, vanilla, and almond extract and beat for another 1-2 minutes. Scrape down the bottom and sides of the bowl as needed.3/4 cup unsalted butter, 3/4 cup granulated sugar, 1 egg, 1 1/2 teaspoons vanilla extract, 1/4 teaspoon almond extract
- Combine dough (2 min): With the mixer on low, add the dry ingredients until combined.
- Roll out and chill (2 hours): Divide the dough in half and place each on floured parchment paper. Place another piece on top and roll each out between two pieces of parchment paper 1/4 inch thick. Refrigerate for at least 2 hours, or up to 2 days.
- Cut the cookies out (10 min): When you’re ready to bake, preheat the oven to 350°F. Line two large baking sheets with parchment paper. Remove the cookies from the fridge and use mini cookie cutters to cut the dough out. Pick the cookie cutters up slowly so the cookie comes out with the cutter. I find this is the easiest way for the more intricate designs to keep their shape. Use the bristle end of a small brush, like a cookie decorating brush (or kid’s paint brush), to help nudge the dough out of the cutter. Arrange the cookies on the baking sheet. They don’t spread so you can arrange them closely.
- Bake (9 minutes): Bake in the preheated oven for 8-10 minutes (9 was perfect for me), until the tops are set and the bottoms are just barely golden. Re-roll any dough scraps and repeat until the dough is gone. Cool completely on the baking sheet before icing.
- Make the icing (3 min): Add the powdered sugar to a large bowl with the vanilla and 4 Tablespoons of milk. Use a fork to mix until smooth. It should be difficult to combine then start to smooth out. When you lift the fork out of the icing it should drizzle like a ribbon back into the bowl before melting back into the icing. Add a tiny drop of water or a smalls poonful of powdered sugar to to reach this consistency.3 cups powdered sugar sugar, 4 Tablespoons milk, 1 teaspoon vanilla extract
- Decorate (30 min): Divide the icing into separate bowls. Add food coloring to reach your desired colors (see notes for what I used). Dip the tops of each cookie into the icing and let it drizzle off slightly before setting it back on the parchment lined baking sheet and decorate with sprinkles. I like to dip 5-10 at once then sprinkle and repeat. If any of the icing starts to set on top, stir well with a fork before dipping again. The cookies take 1-2 hours to full set after dipping.Assorted gel food coloring, Assorted sprinkles for decorating
Notes
Nutrition
Nutrition information is automatically calculated, so should only be used as an approximation.
This post may contain affiliate links. Read our disclosure policy.


I made these during the holidays and they were perfect!! Would it work to make them with larger cookie cutters?
Hi Sara! Yes but I would increase the baking time slightly by a few minutes. Let me know how it goes!
These were fantastic! A great recipe!
Thank you!!
Has anyone tried making these gluten free?
Yes! The recipe is perfect for gluten free! I have made this recipe now twice with gf flour and they come out perfect both times!
Perfect, thank you so much for the reply! I’m going to try baking then today/tomorrow
Sorry if this is a repost: computer froze submitting last one.
Loved the cookies—so tasty and many compliments! Please, though—any tips for the icing? I tried just dipping but it was a huge mess and I had to smooth out every single one, which left me with dyed fingers. Eventually I piped a few and left a few unfrosted. How do yours come out so beautifully? Does anyone have a video? Thanks again for sharing—this is our new favorite cut out cookie!!
Saw it on Tik Tok and knew I had to make these! Immediately ordered the recommended cutters. Followed the recipe to the letter. The cookies turned out perfectly and held their shape beautifully. Froze them for nearly a week before icing and finally got around to it today. They turned out perfectly! Amazing recipe! Can’t wait to bring them to work potlucks next week!
Wow, thank you so much Nance!
So easy, cute and delicious!
Thank you so much!
How do you store these, and how long will they keep? Thank you!
Hey Jess! Store them in an airtight container for up to 1 week. You can also freeze them from up to a month!
Could I omit the almond extract? And if I do would I need a substitute?
Yes you can! The cookies will still taste great without it, and you don’t need a substitute. The vanilla alone provides plenty of flavor.
I’ve had a problem w the mix being crumbly. What am I doing wrong?
Would it be okay to freeze half the dough and use it later?
Yep! You can definitely freeze half the dough. Just wrap it well and freeze for up to 2–3 months. Let it thaw in the fridge before rolling and baking.