

My Nightly Ninja Creami Protein Ice Cream

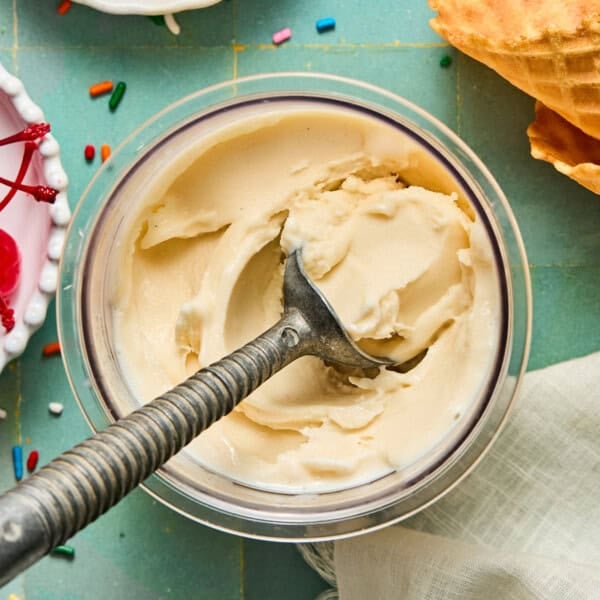
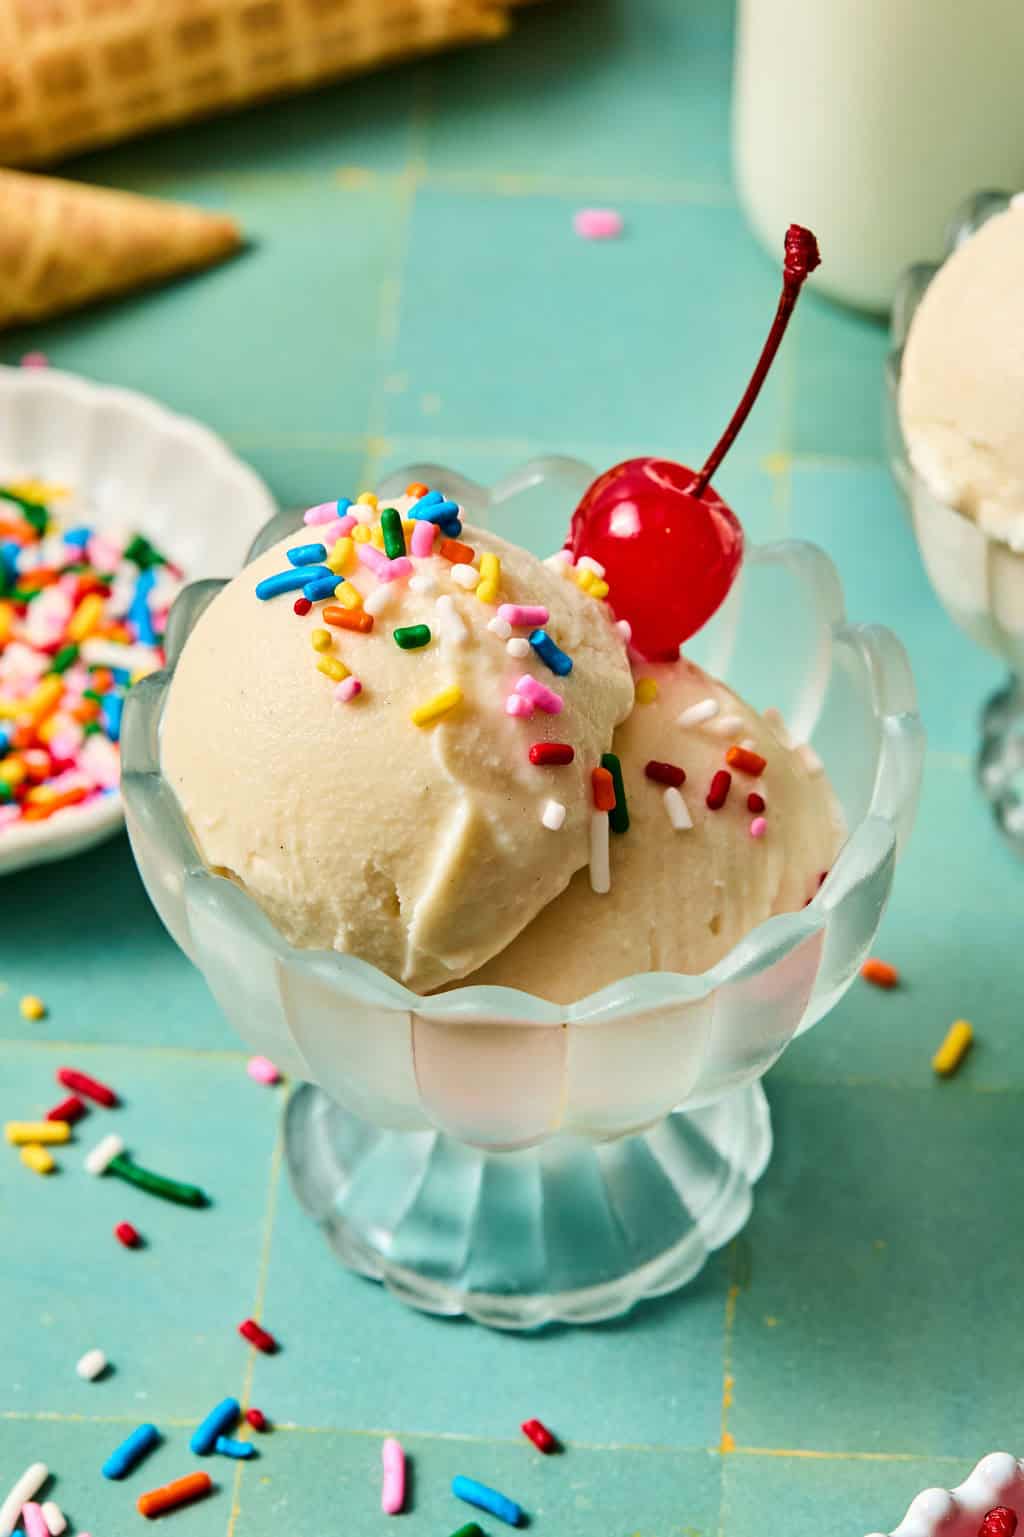
You don’t need pudding mix to make thick and creamy Ninja Creami protein ice cream with 35g of protein in each serving.
Whole milk and full-fat cottage cheese give this base enough richness and body on their own, then a splash of milk and a re-spin turns the frozen base into a thick soft-serve consistency.
I’ve been making variations of protein ice cream in my Ninja Creami for over a year now, so I already knew the base and texture I liked going into recipe. The thing I really wanted to nail was a truly rich and creamy base and really good vanilla flavor.
I tested this with vanilla extract and vanilla bean paste, and vanilla bean paste is the clear winner. You get those little vanilla bean flecks and a deeper, classic vanilla flavor that makes this feel much more like vanilla ice cream and less like a frozen protein shake.
And because the vanilla base is so good on its own, it also works with just about any mix-in. I’ve added in chocolate chips, healthy edible cookie dough, and protein Reese’s eggs.
How to Make Protein Ice Cream in the Ninja Creami
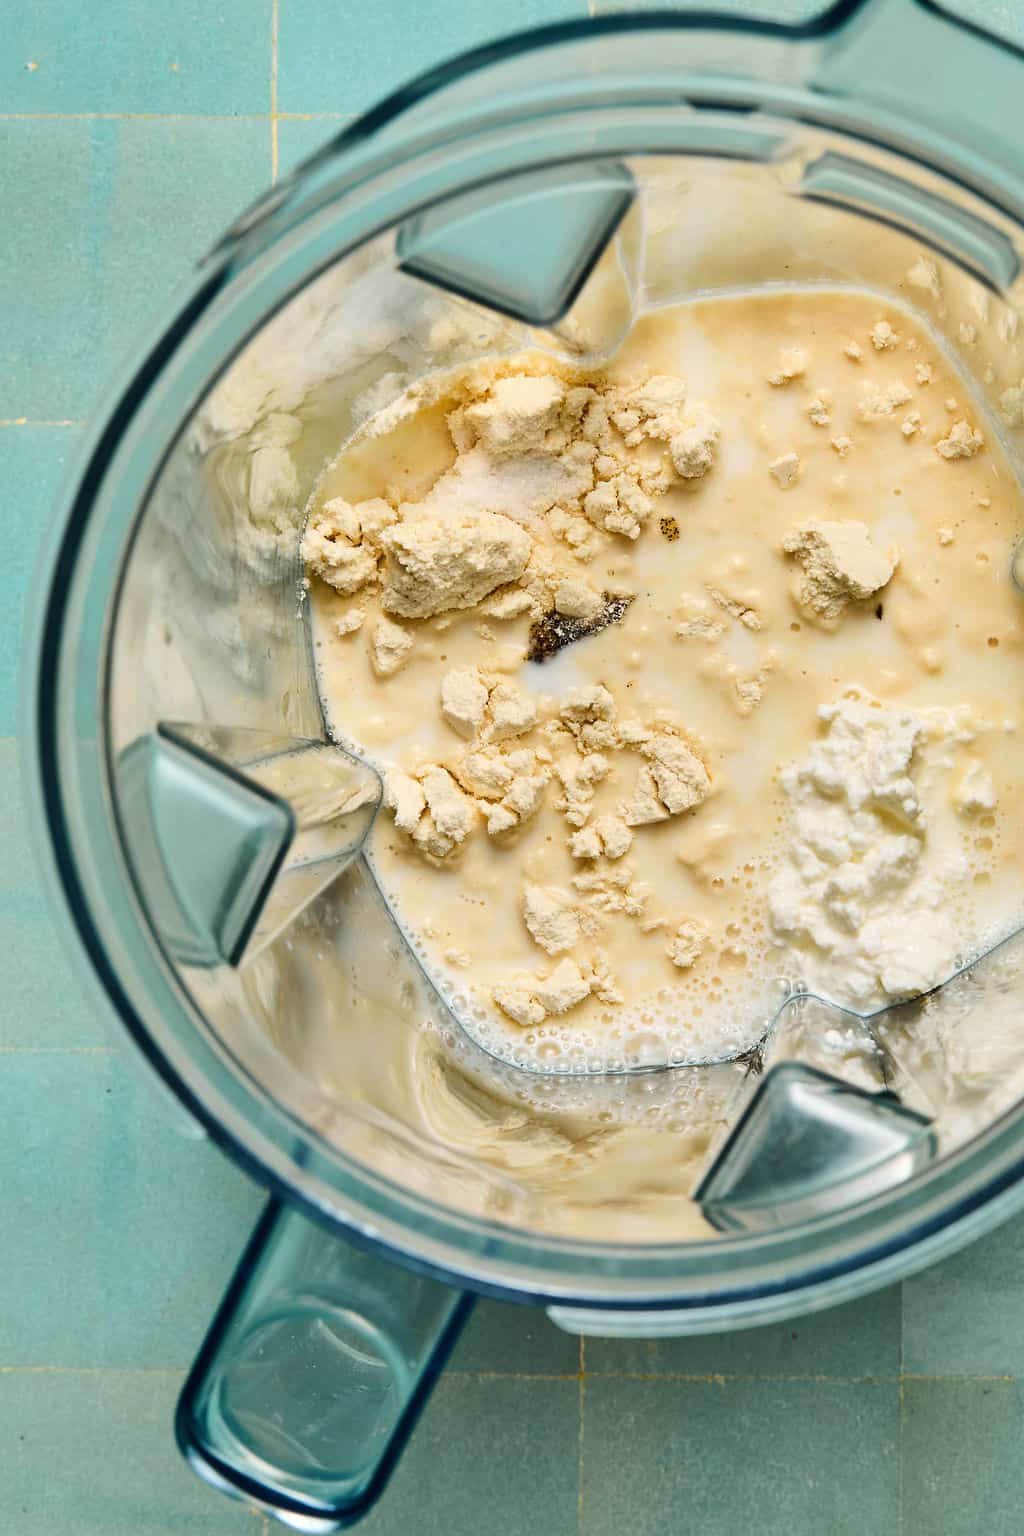
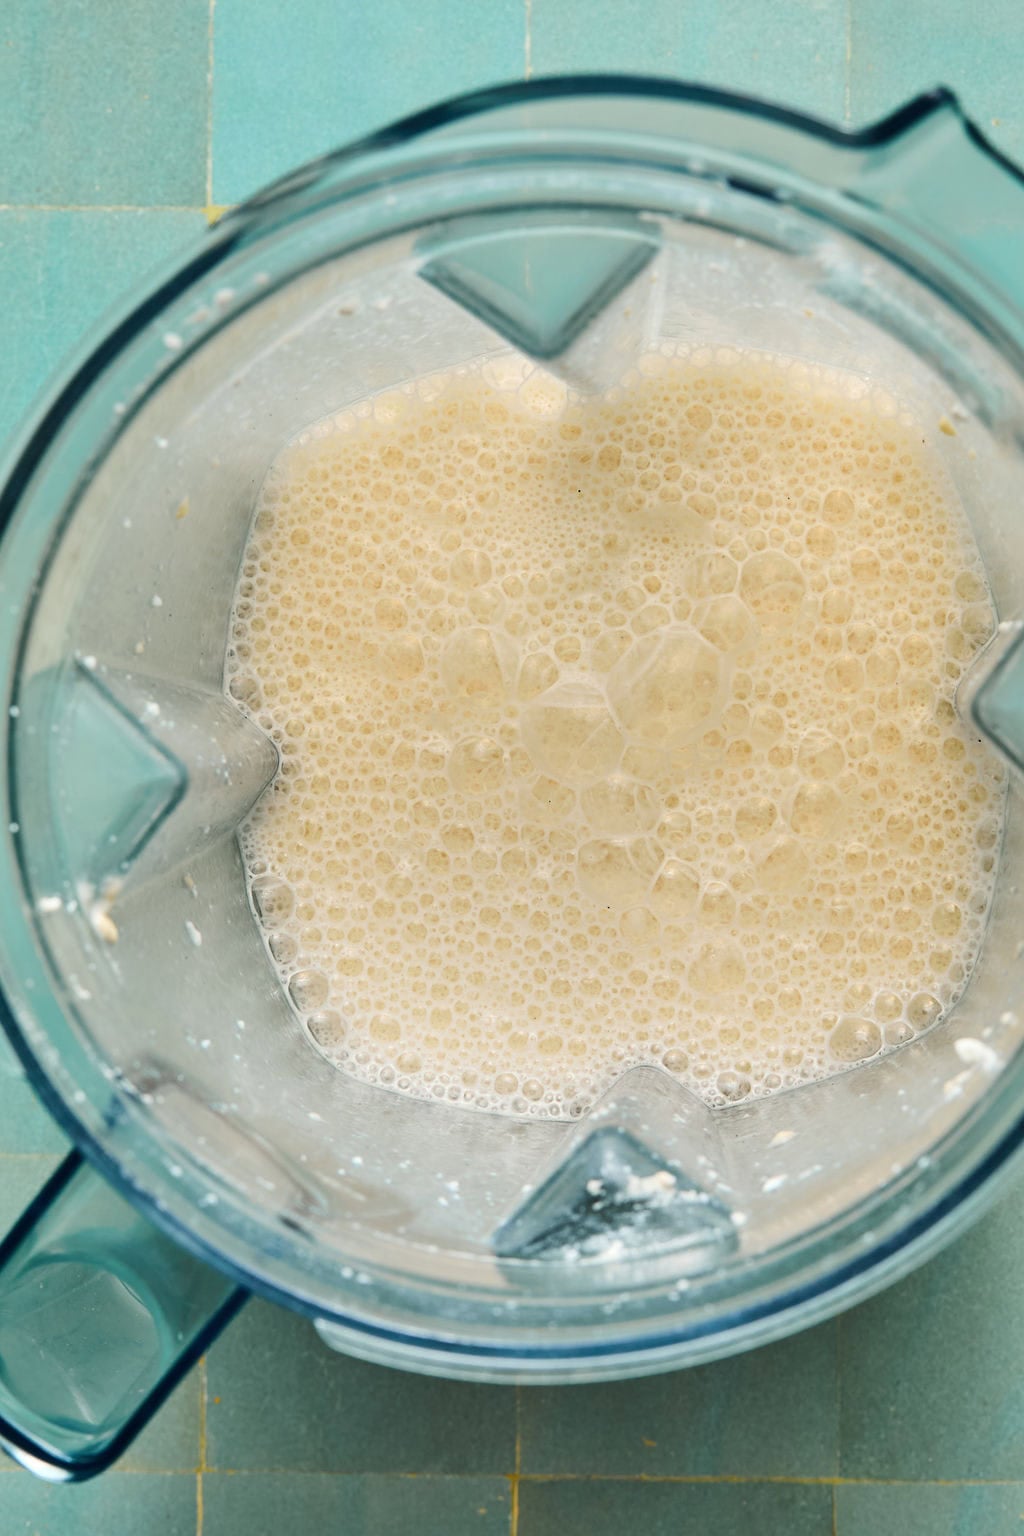
Step 1. Blend the Base: Blend everything until completely smooth (I like to use an handheld blender right in the Ninja creami cup).
Step 2. Freeze Overnight: Freeze it uncovered for at least 8 hours. No worries if the vanilla settles and the edges darken, it all gets blended back up.
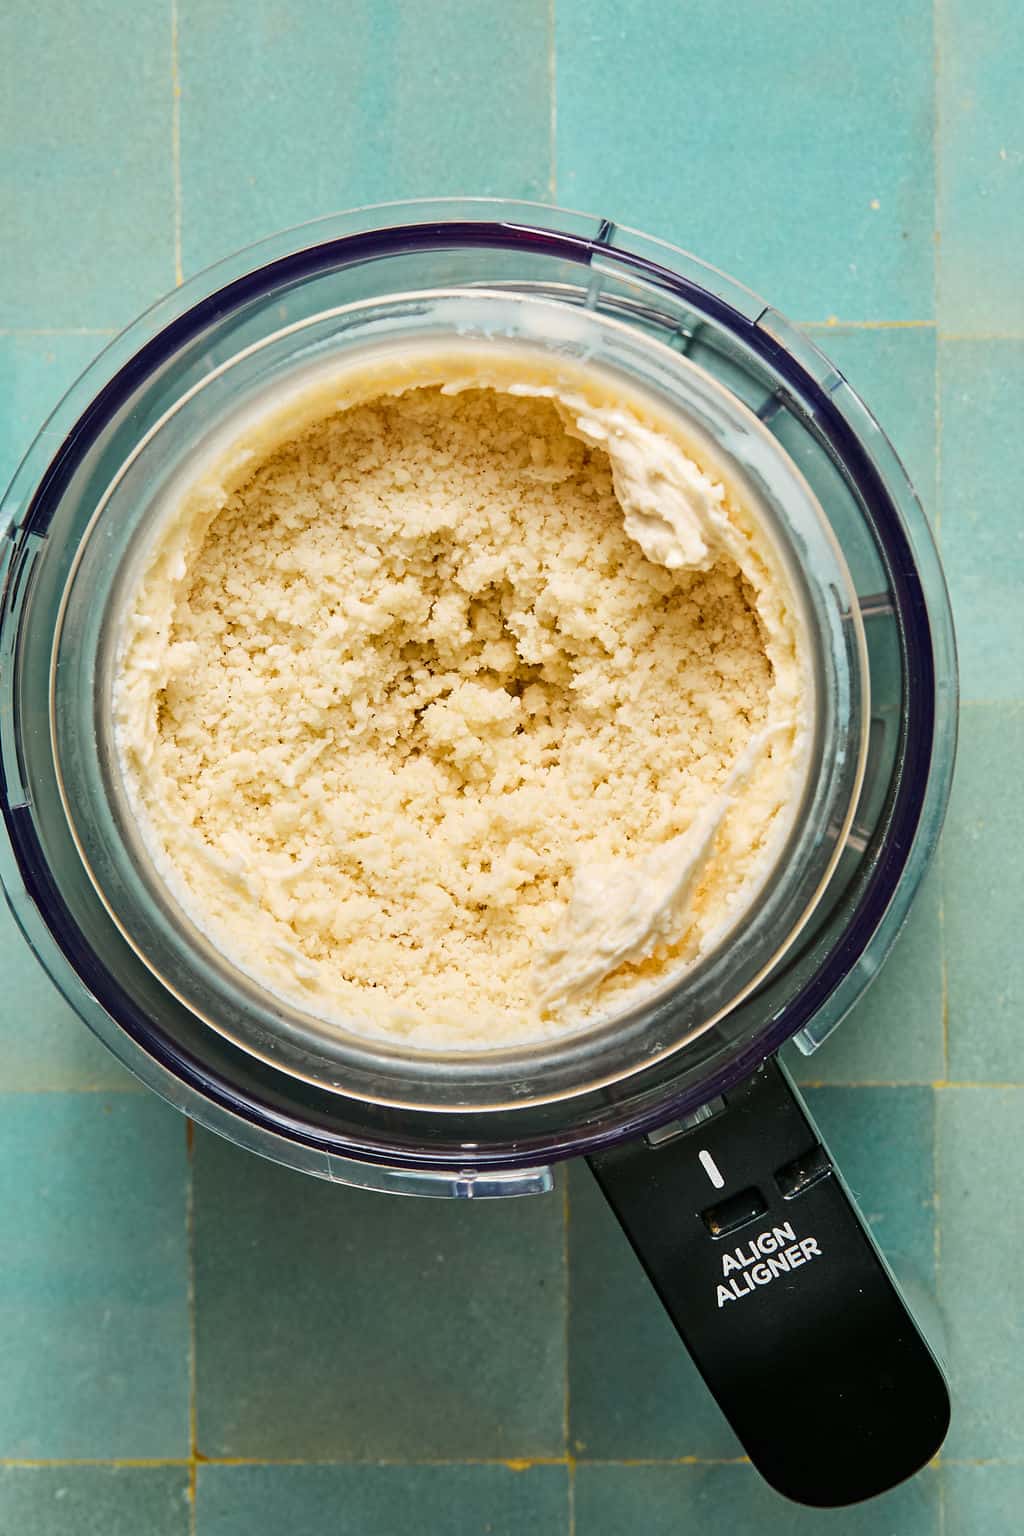
Step 3. Spin on Lite Ice Cream: The first spin will probably look fluffy and powdery rather than creamy, which is completely expected.
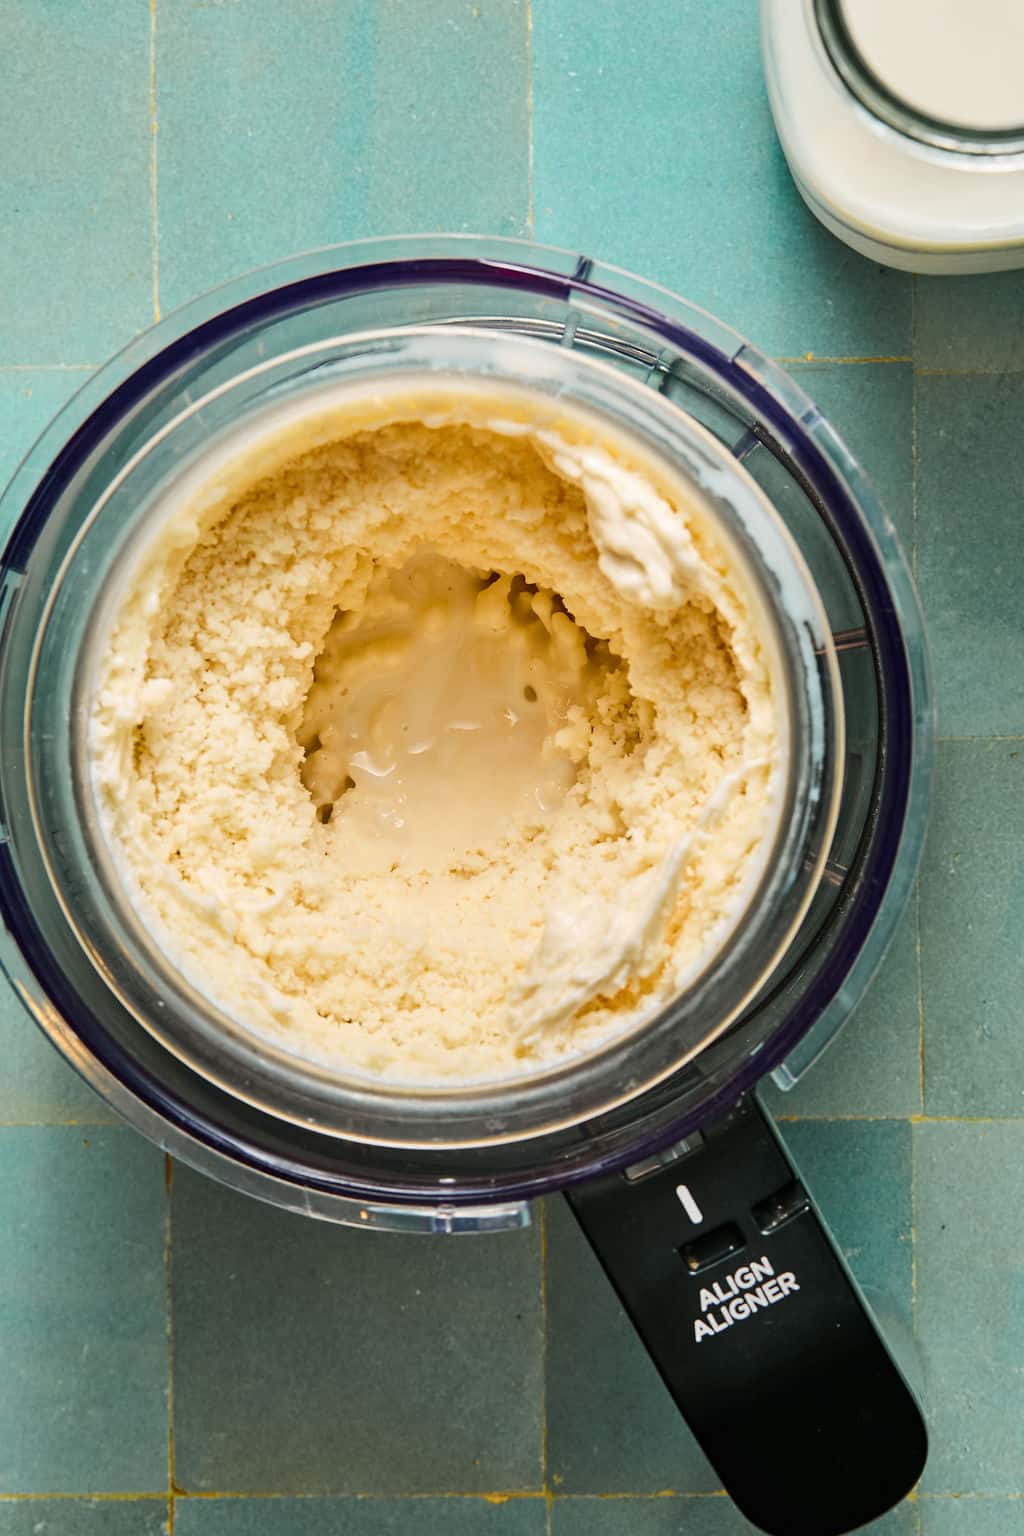
Step 4. Add Milk and Re-Spin: Make a hole in the center, start with 3 Tbsp of milk and re-spin until it turns thick and creamy.
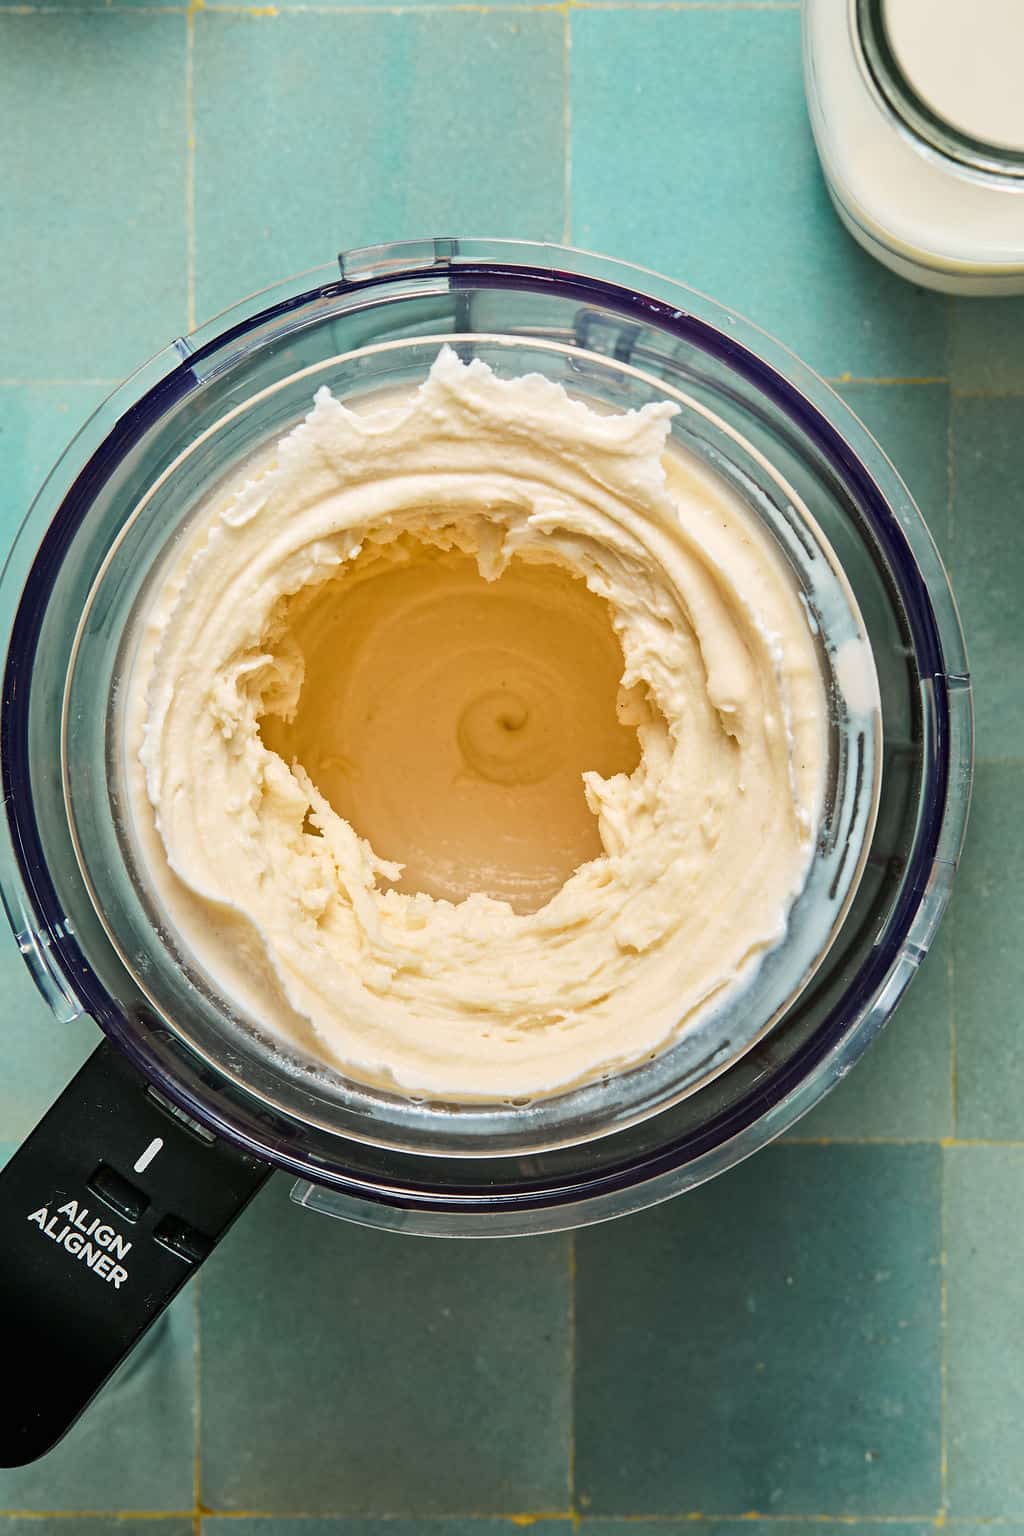
Check the texture: You’re looking for a thick soft-serve consistency, so add another tablespoon of milk and re-spin only if it still looks dry.
Ninja Creami Mix-Ins
Once the texture is right, add your mix-ins and use the Mix-Ins setting, or pil crunchy toppings on after spinning. A few of my favorite mix-ins for this protein ice cream:
- Chocolate chips
- Frozen berries
- Crushed Oreos
- Hot fudge or peanut butter
- Chopped pretzels
- M&Ms, Reese’s, or Twix
- Fresh fruit
Watch How to Make Protein Ice Cream
Ninja Creami Protein Ice Cream (No Pudding Mix)
Save this Recipe!
Ingredients
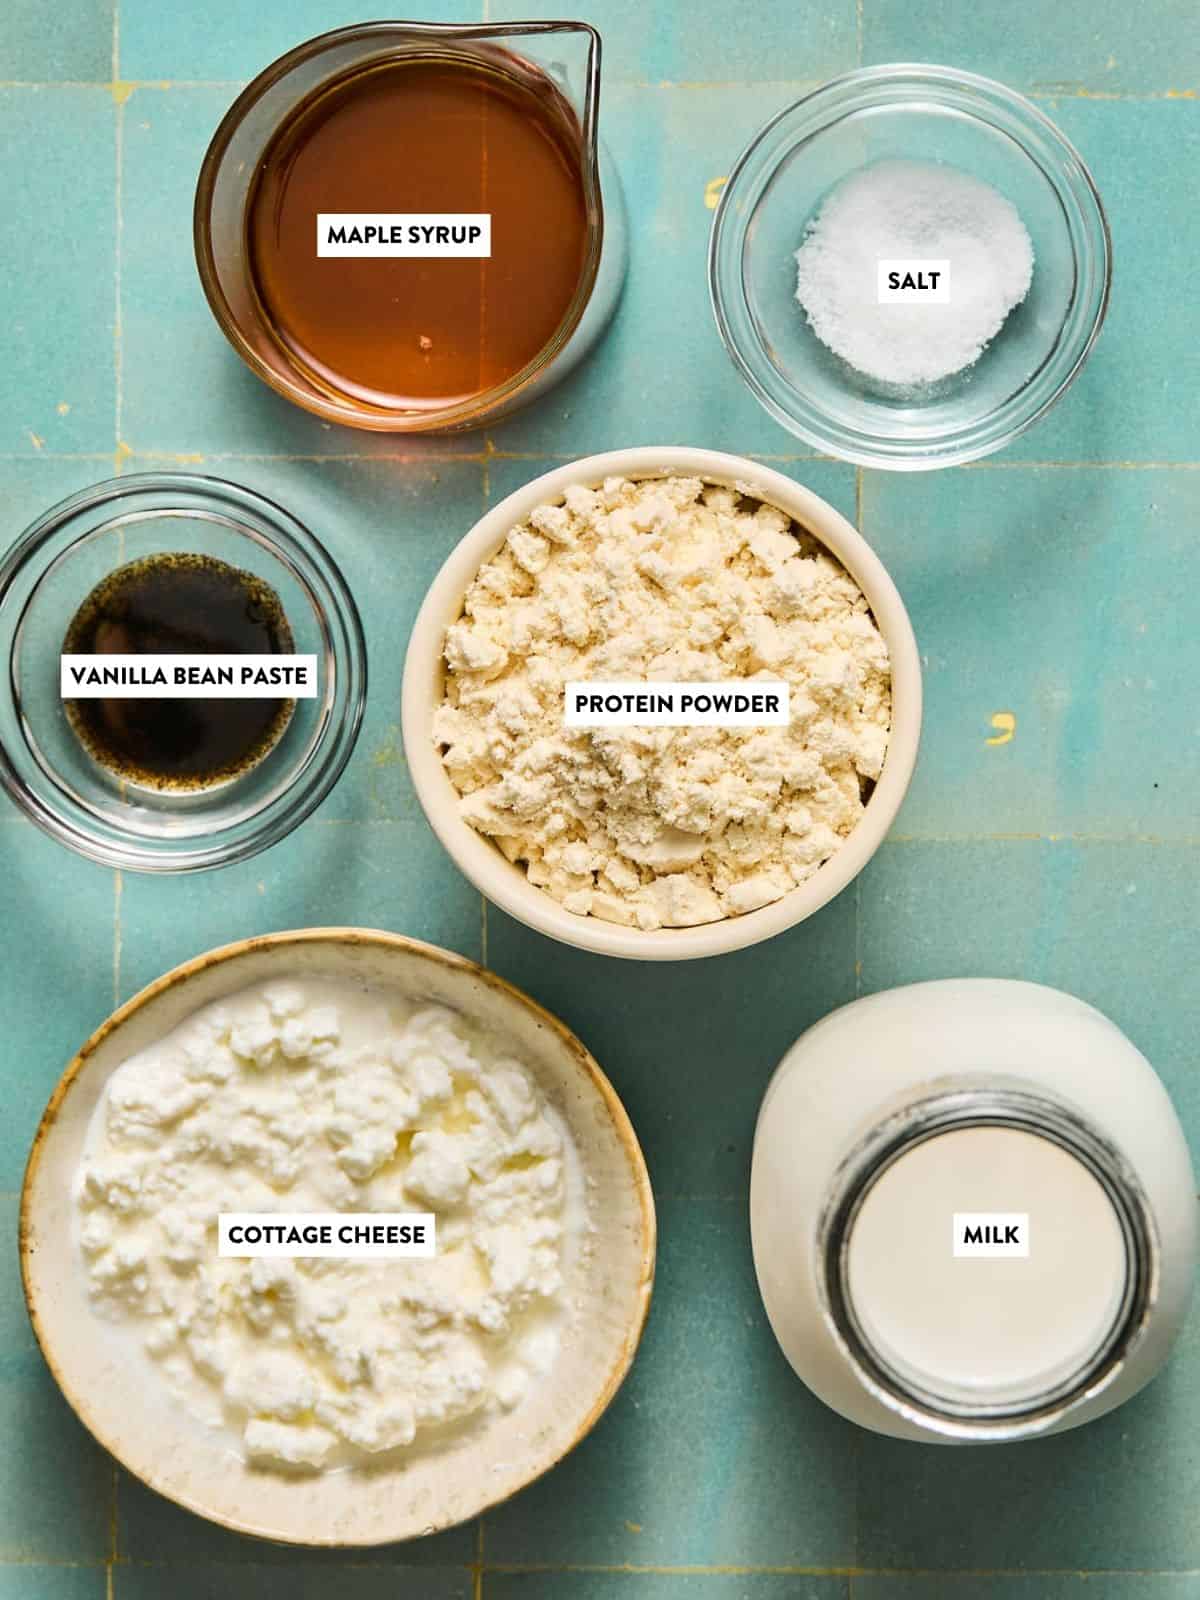
- 1 1/4 cups whole milk plus up to 1/4 cup more for mixing
- 1 scoop vanilla protein powder I use Be Well by Kelly
- 3 Tablespoons full fat cottage cheese
- 1 Tablespoon maple syrup honey or monk fruit sweetener work
- 2 teaspoons vanilla bean paste or 1 tsp vanilla extract
Instructions
- Blend: Add all of the ingredients to a high-speed blender or use an immersion blender to blend until smooth in the Ninja Creami container. Pour the mixture into the Ninja CREAMi pint, making sure it does not go above the fill line.1 1/4 cups whole milk, 1 scoop vanilla protein powder, 3 Tablespoons full fat cottage cheese, 1 Tablespoon maple syrup, 2 teaspoons vanilla bean paste
- Freeze: Freeze uncovered overnight, ideally for 12 hours.
- First spin: Remove the pint from the freezer and place it in the Ninja CREAMi. Close the lid and select Lite Ice Cream.
- Add milk and re-spin: Remove the pint and open the lid. The mixture will likely look fluffy and powdery. Use a spoon to make a hole in the center, then pour 3 tablespoons of milk. Close the lid and respin.
- Check the consistency: The ice cream should be smooth but thick, similar to thick soft serve. If the ice cream is still on the dry side, add 1 more tablespoon of milk and re-spin again.
Nutrition
Nutrition information is automatically calculated, so should only be used as an approximation.
This post may contain affiliate links. Read our disclosure policy.