With a no bake crust, this mini greek yogurt fruit tart is as simple and easy as they come! Filled with raw and healthy ingredients, greek yogurt and topped with fresh fruit, this recipe will not disappoint on your Easter brunch menu.

But I’m wired right now! Because I just went to my fiance’s school’s basketball game. They made it to the final four in the state tournament for the second year in a row. They left last year’s game defeated, but this year they WON! They’re headed to the Ohio state basketball championship on Saturday.
You should have seen me at this game, you guys. Being a cheerleader in college I just naturally have yelling and screaming in my blood. Only problem is I don’t actually know the basketball rules so I strictly stick to non-technical cheers like “defense” and “let’s win.” It’s a good strategy, right?

Let’s first talk about the crust. Because that’s what makes this greek yogurt fruit tart recipe so unique. It’s healthy, vegan, no bake, refined sugar and gluten-free! That’s a whole lotta healthy in one mini tart.
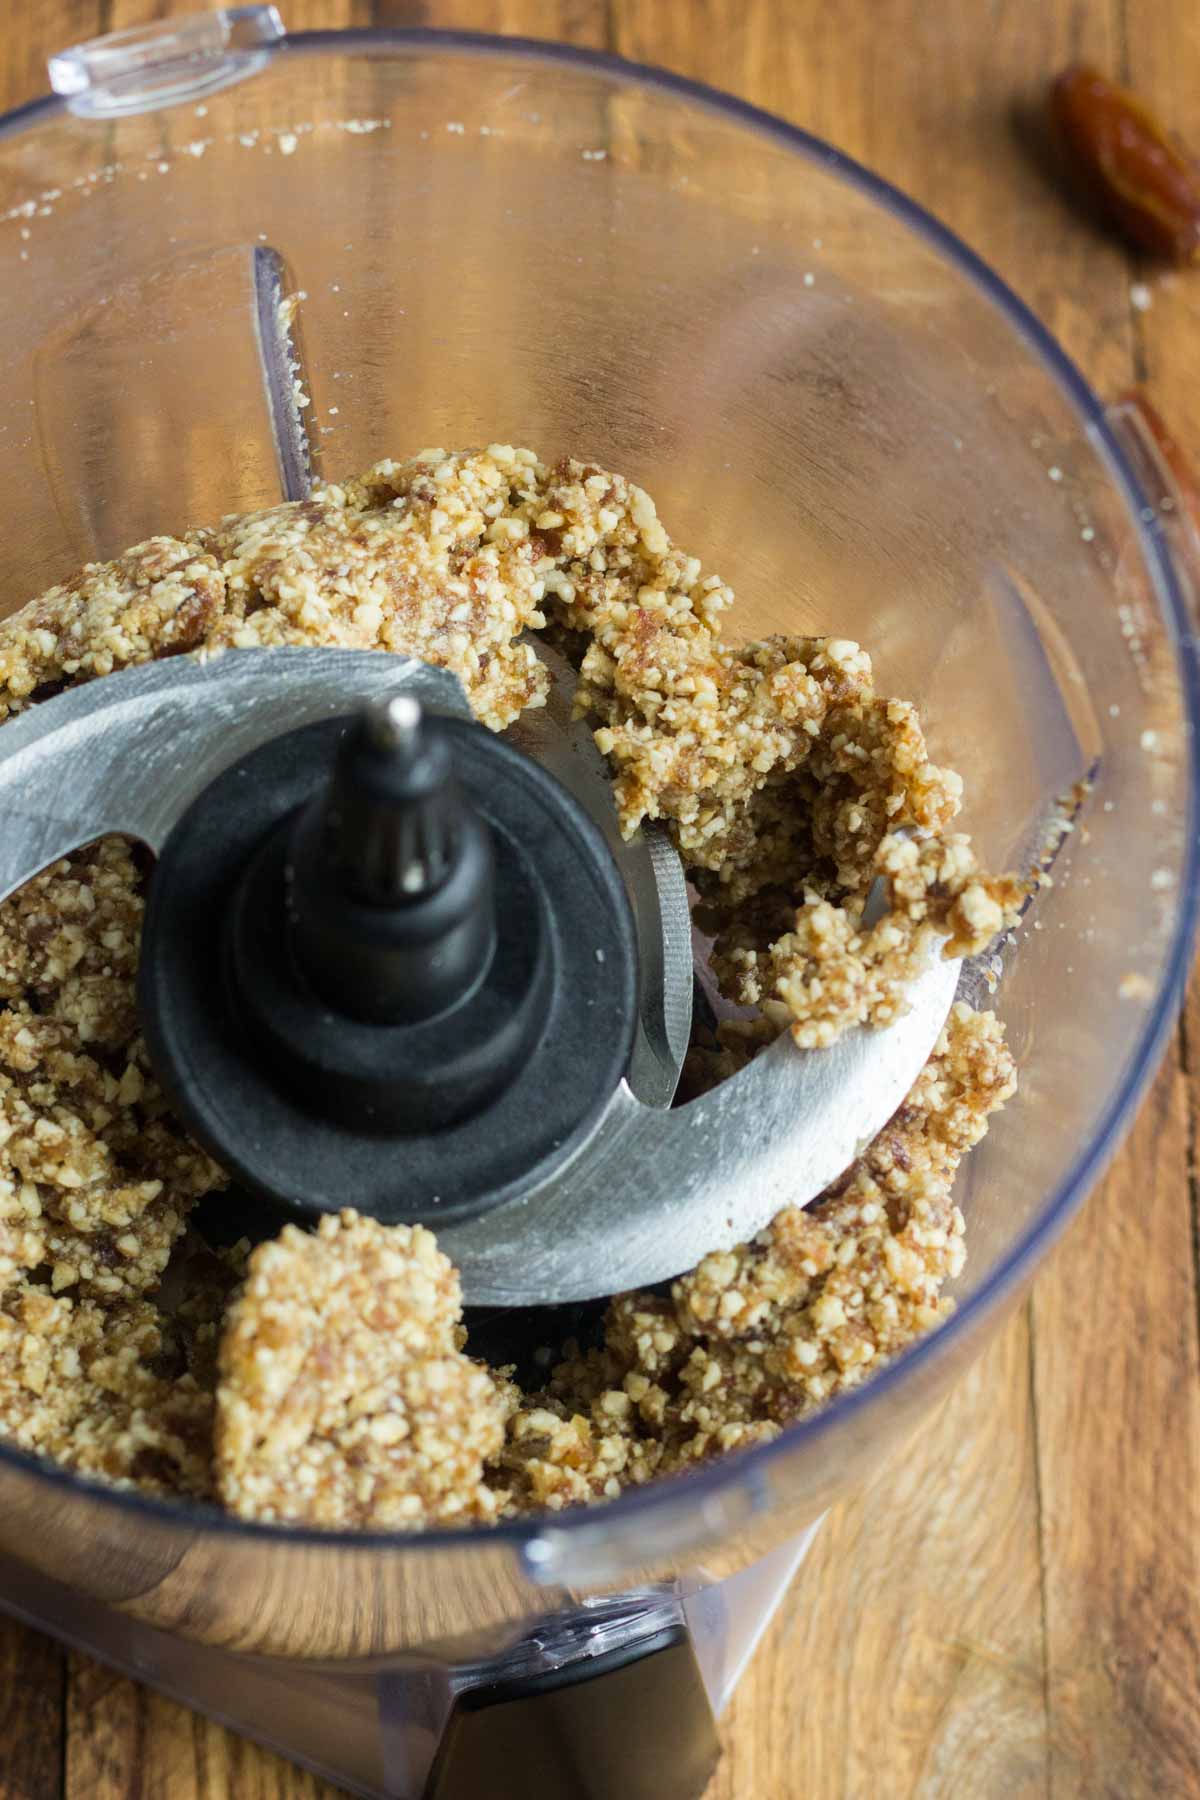
You start by throwing the whopping 3 ingredients in the food processor. Those three ingredients being cashews, dates and salt. I’m a huge cashew fan so I absolutely love the flavor.

My dates weren’t super moist so I ended up adding a tablespoon of water to the mixture to make the crust really come together. After blending for about one minute the dough for the crust should start pulling away from the edges of the food processor to look more like a dough. When you reach this consistency you’re golden (see picture for example).
Now you’re ready to assemble the greek yogurt fruit tart:
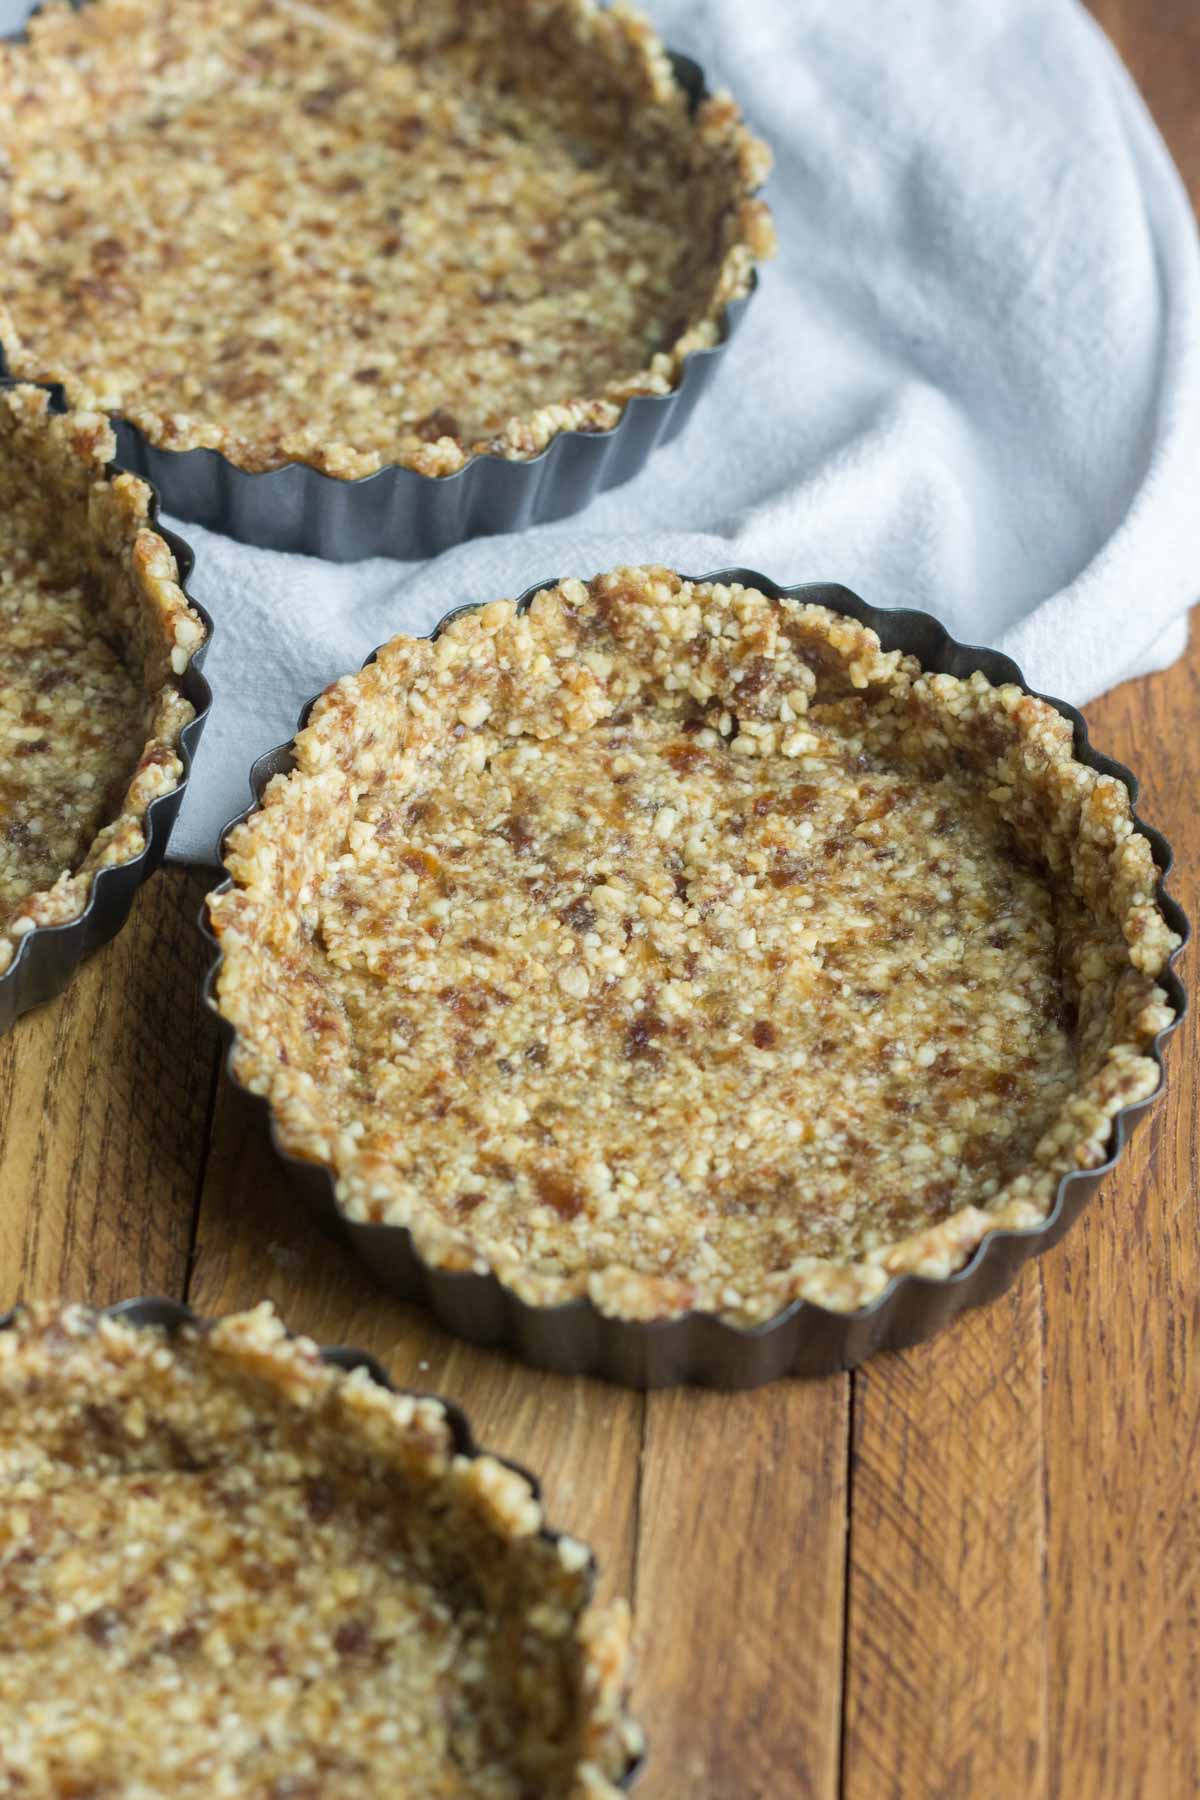
First, take the dough and press it into the mini tart pans. I found using a rubber spatula for this worked best because the dough is somewhat sticky. Make sure you get an even consistency on the bottom and the sides. Repeat this process for the rest of the mini pans. Wha-la, greek yogurt fruit tart crust at your service.
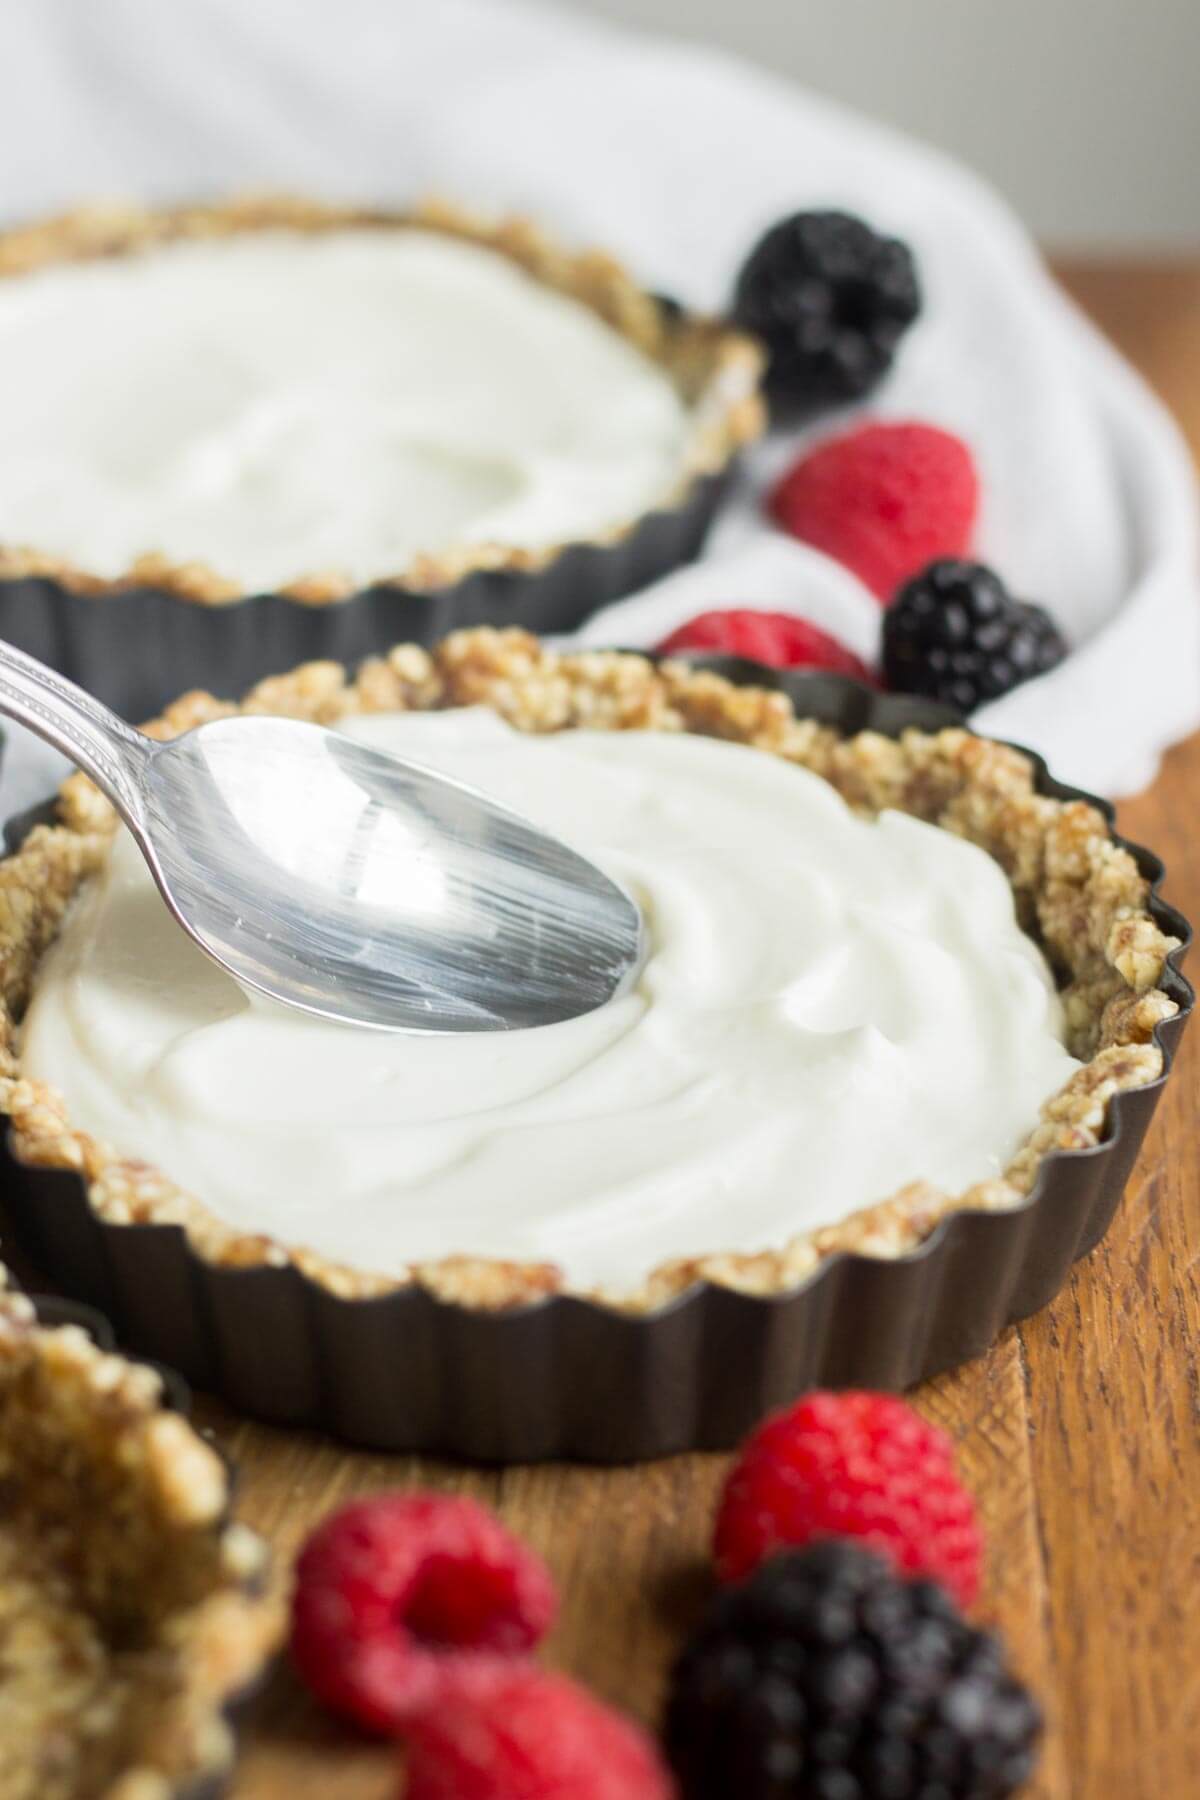
Second, fill the greek yogurt fruit tart with, you guessed it, greek yogurt. You can use your favorite greek yogurt here, and even a flavored greek yogurt if you want to get crazy. My fave is the Yoplait vanilla greek yogurt so that’s what I used. Fill the greek yogurt fruit tart almost to the top of the crust with yogurt, leaving some room for the fruit.
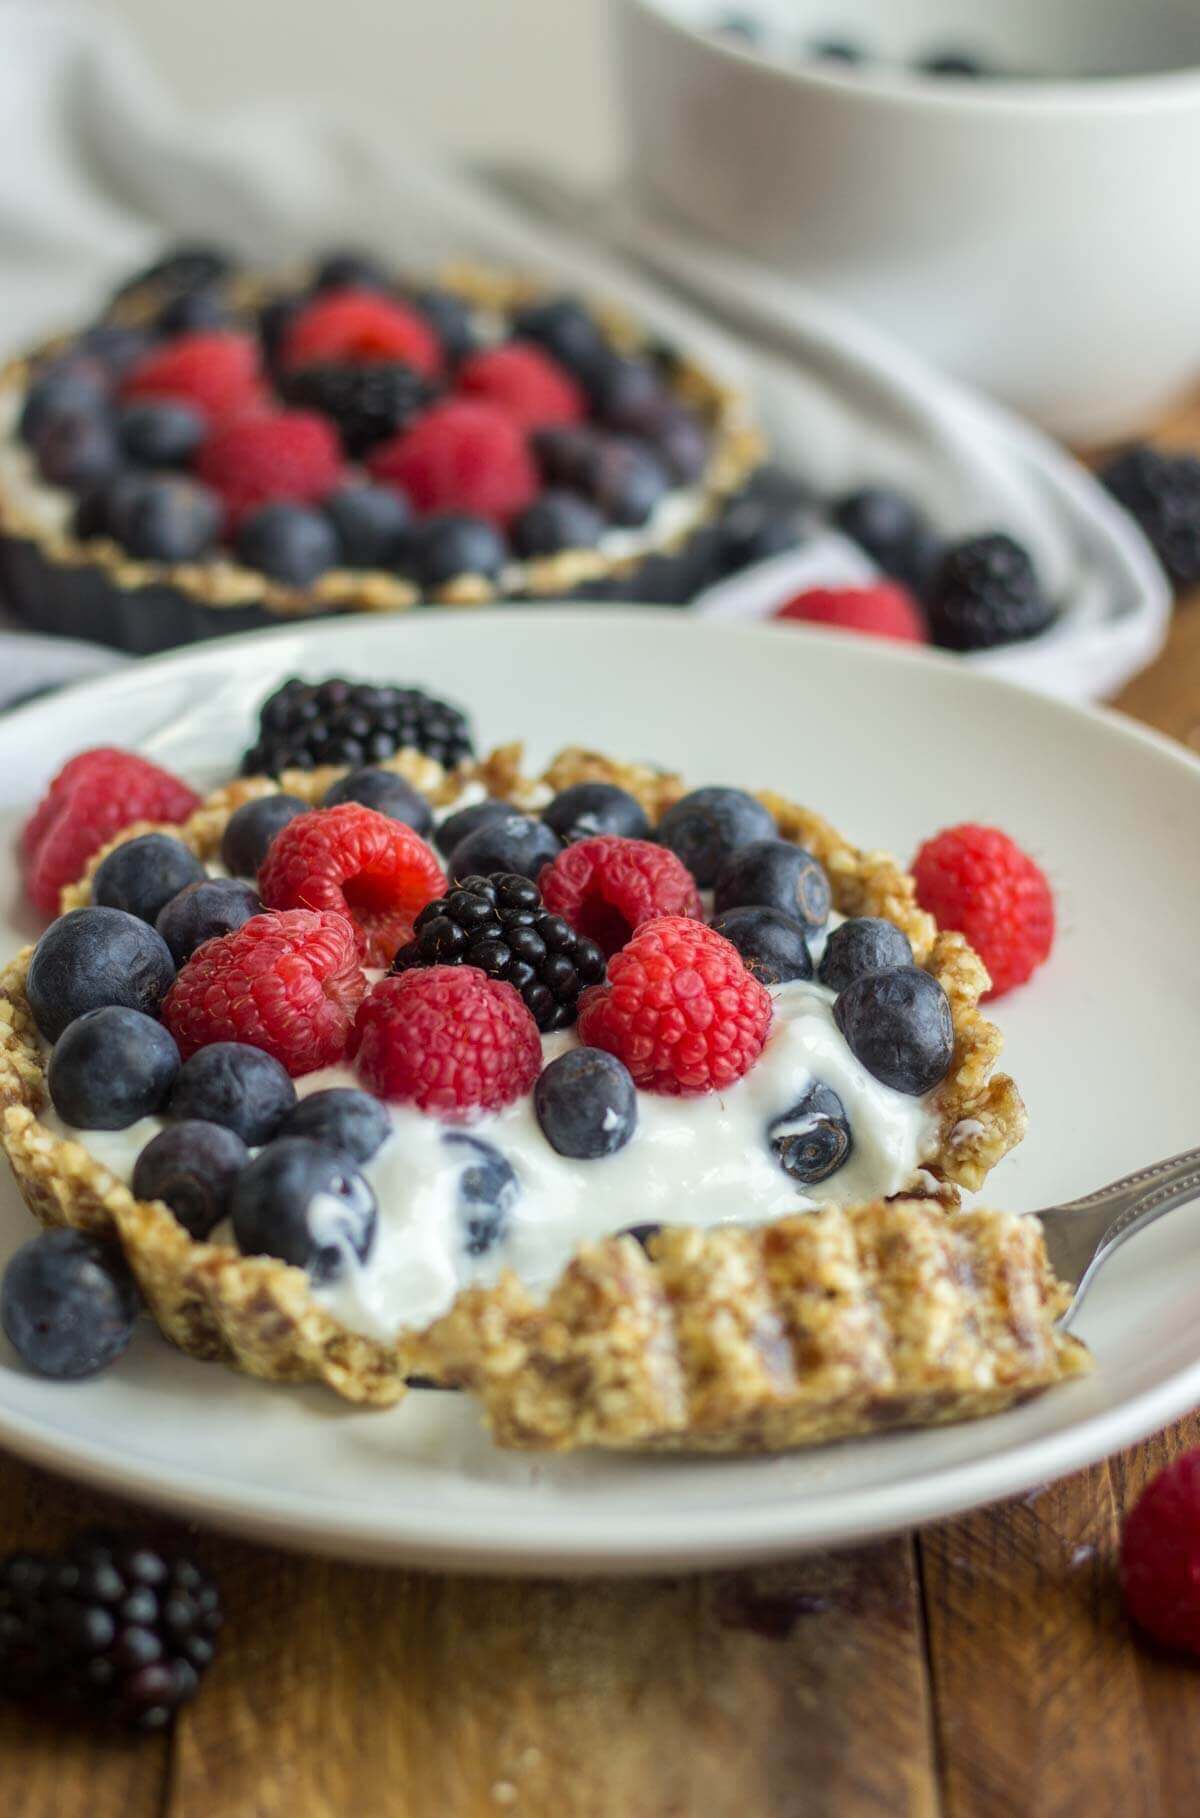
Finally, top the greek yogurt with your favorite fruit. I absolutely love fresh berries when it starts to feel like spring, but you can put any an all fruit on top of this recipe. Creativity welcome!

A delicious combo, maybe one of my favorites of all time actually, but definitely an interesting choice. He said it was good!
So the lesson here is, this crust is very versatile. Go crazy with the toppings. But the greek yogurt fruit tart is the best way to go. It’s naturally sweet, super healthy, filled with protein and I see it sitting on your Easter brunch table right now.

Mini Greek Yogurt Fruit Tart [Gluten Free]
Save this Recipe!
Ingredients
- 15 Medjool dates
- 1 and 1/2 cups raw unsalted cashews
- 1/2 teaspoon sea salt
- 1 tablespoon water if necessary
- 1-2 cups vanilla greek yogurt or flavor of choice
- Assorted berries
Instructions
- Add the dates, cashews and salt to the bowl of a food processor. Blend on high for 1-2 minutes until the ingredients start to form a dough and pull away from the sides of the bowl. If ingredients aren't mixing well add a tablespoon of water and blend until combined.
- Press dough into the bottom and sides of the mini tart pan using a rubber spatula to avoid sticking. Make sure you get an even consistency on the bottom and the sides. Repeat this process for all of the tarts
- Fill each tart about 3/4 way full with greek yogurt. Top with assorted berries or fruit and serve.
- Keep crusts covered in an air tight container in the refrigerator for up to 5 days. Top with greek yogurt and berries before serving.
This post may contain affiliate links. Read our disclosure policy.


