This post may contain affiliate links. Read our disclosure policy.
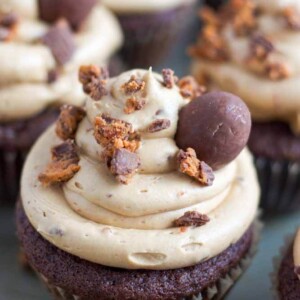
Seriously you guys, I love these things with all the heart emojis in the world?. Which is why I used three different types of BUTTERFINGER® in them! How much is too much, you ask? No such thing!
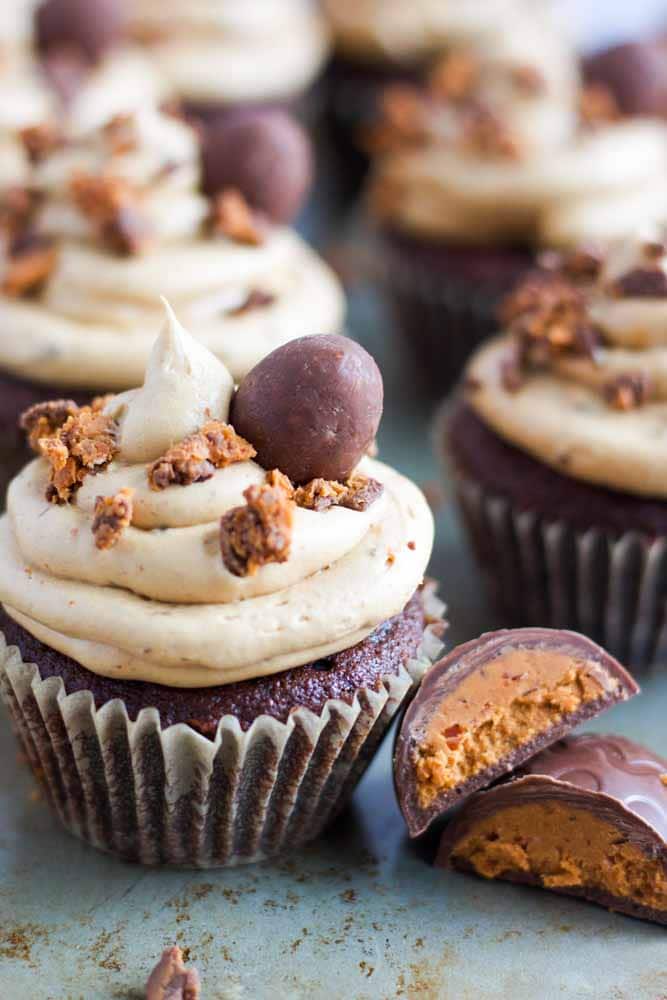
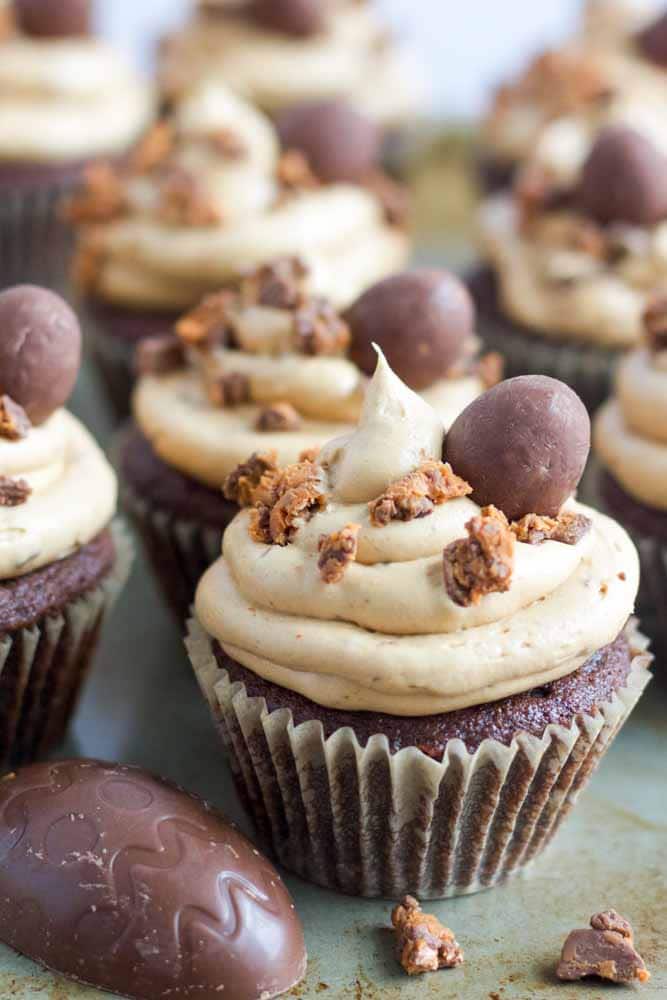
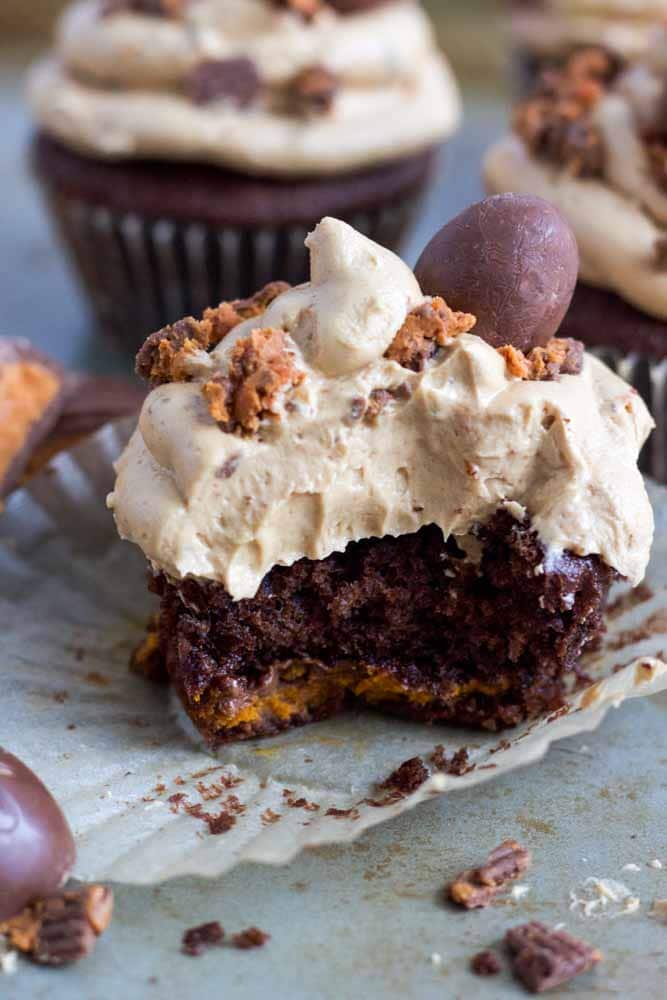
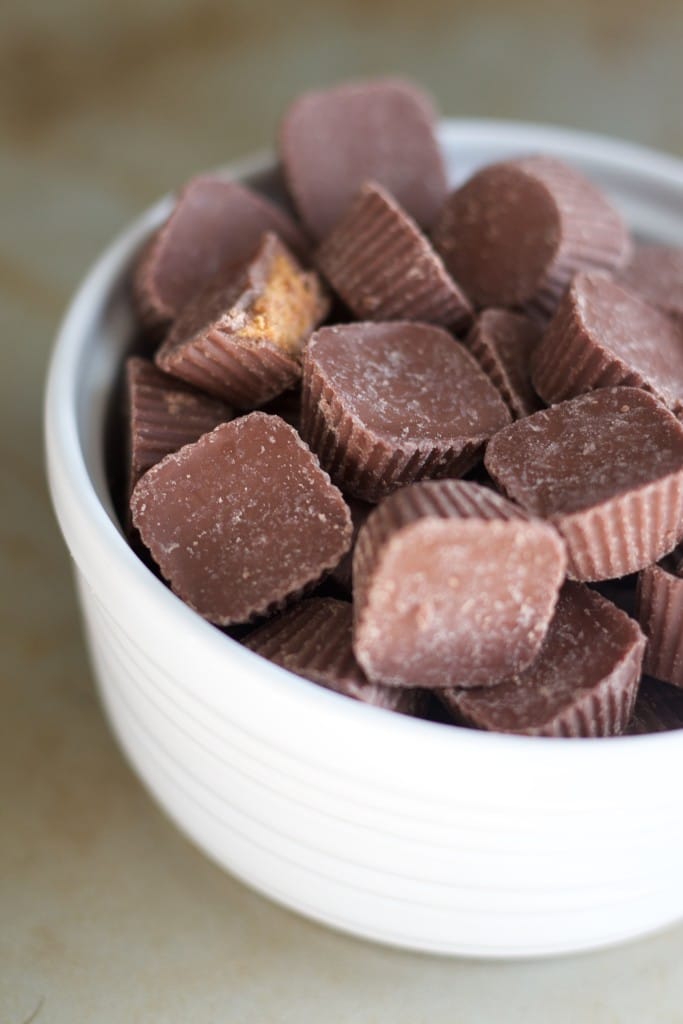
So let’s break this down and start with the actual cupcake. It’s my most favorite chocolate cupcakes recipe with the BUTTERFINGER® Cup Eggs 6pk right in the middle. Yep, light and fluffy and chocolatey batter with half the Egg inside and more chocolatey batter on top.
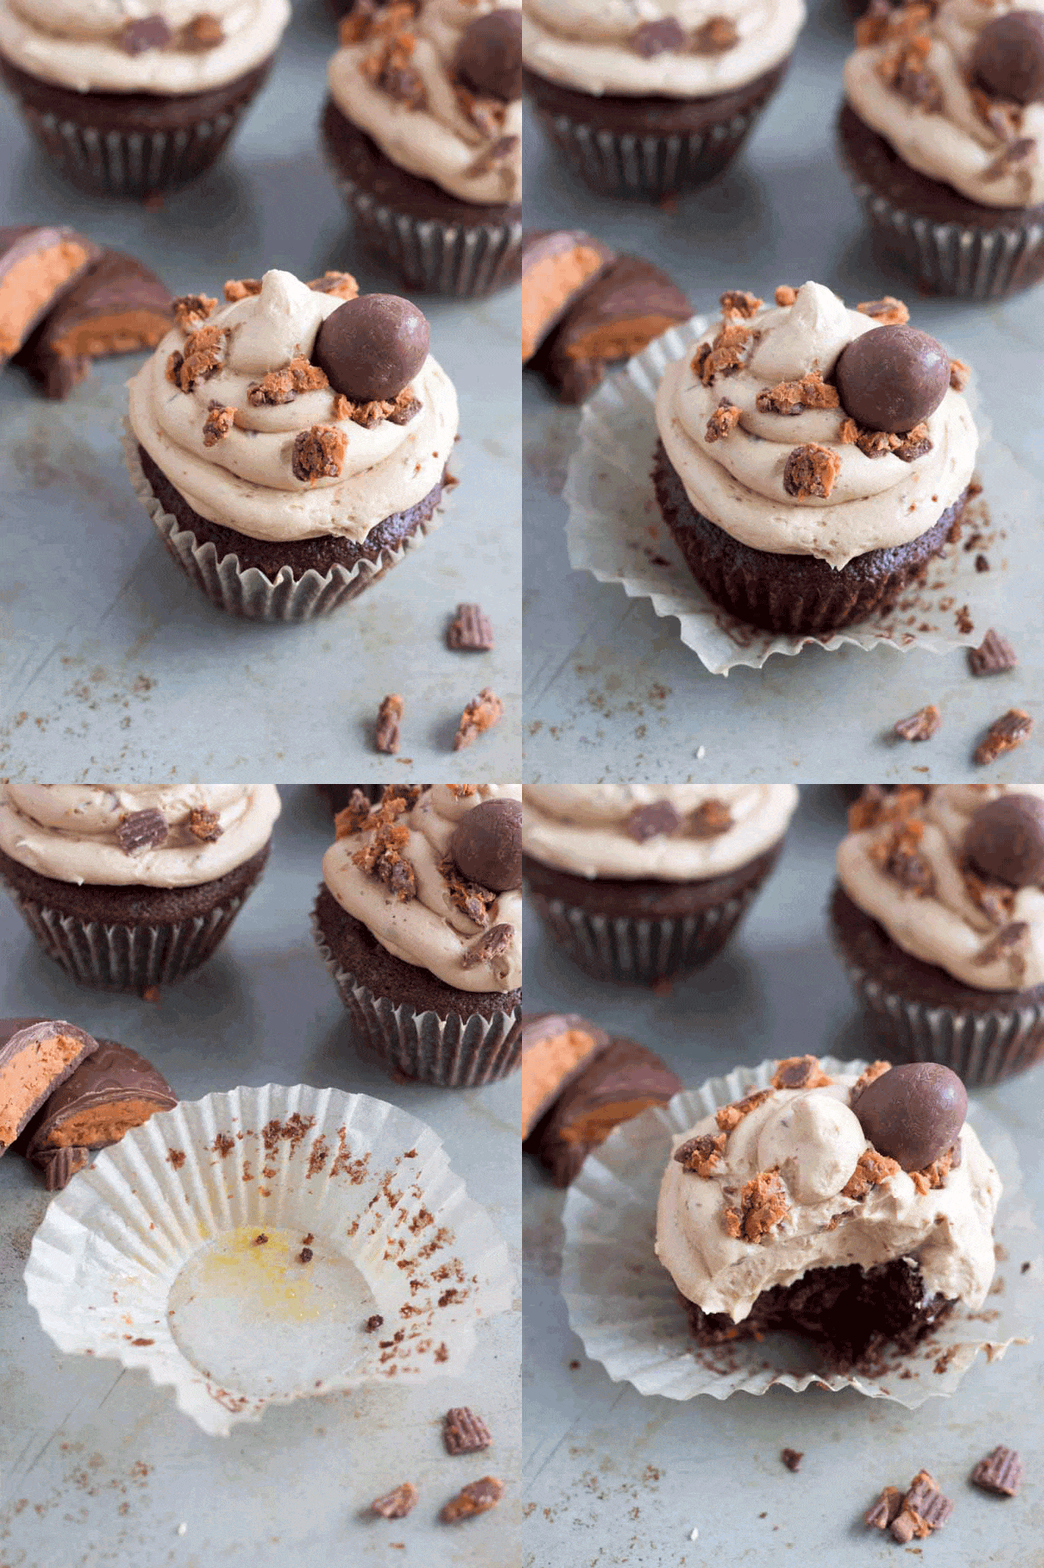
They bake up in the oven perfectly and they get so slight and decadent that when you bite into them the they lit-er-ally melt in your mouth.
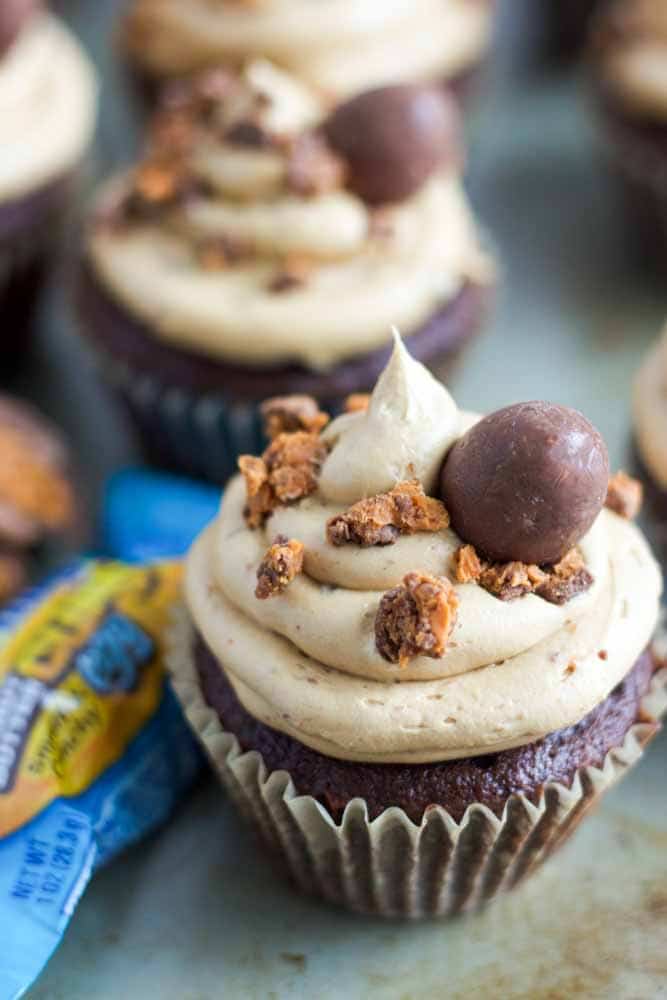
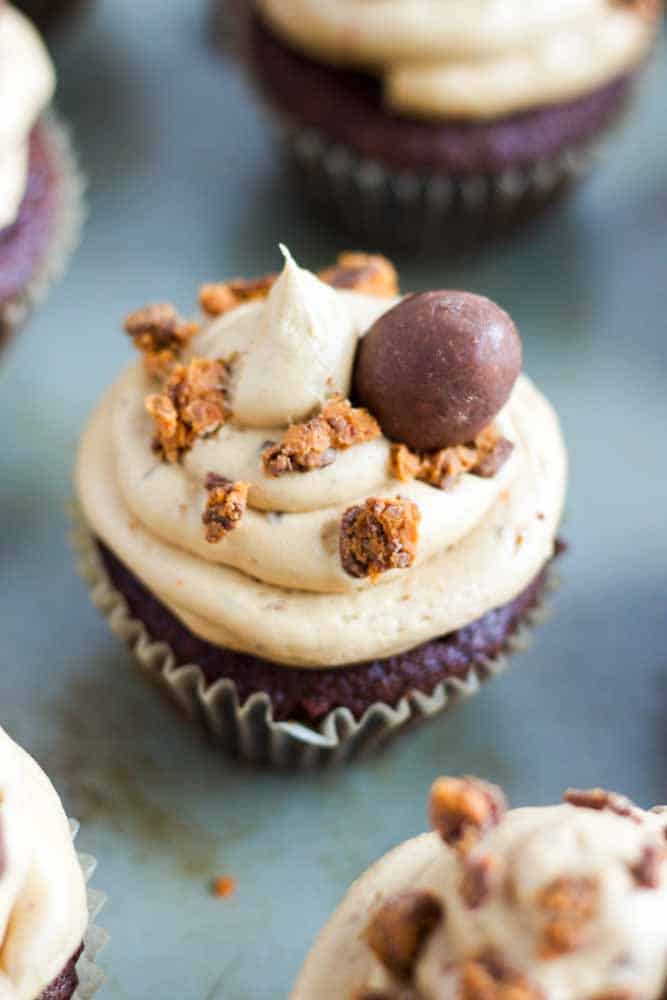
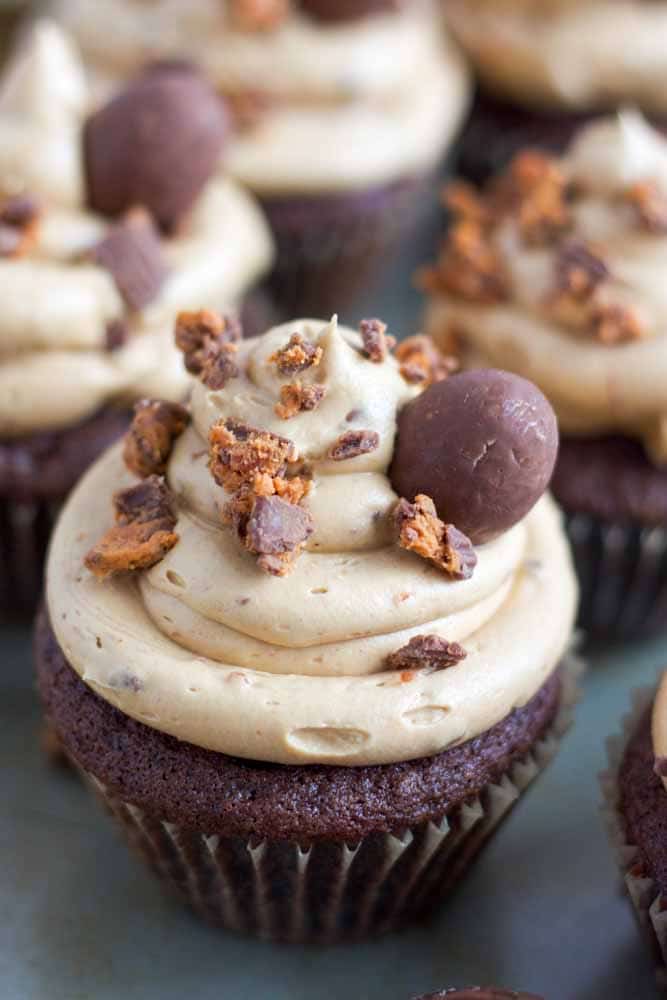
Then there’s the frosting. A PEANUT BUTTER buttercream made with melted BUTTERFINGER® Minis. This frosting is the bees knees. It’s silky smooth and creamy with the perfect amount of peanut butter flavor and a gorgeous color! Then crush up and sprinkle some BUTTERFINGER® Minis on the top and stick a cute little BUTTERFINGER® NestEgg in the side and you’ve got an over the top, chocolate and delicious cupcake!
Seriouly, I’m making myself drool.
But, wanna know my favorite part? Hopefully you do, because I’m telling (writing?) you?. We all know I have an equal obsession with healthy food as I do with desserts. So I’m always concerned about what’s in the products I’m using in my recipes even if they are a big delicious chocolatey and BUTTERFINGER® dessert.
All of the BUTTERFINGER® products have no artificial colors and flavors, added colors from natural sources. That’s HUGE. Not containing artificial flavors and colors is always important, even if you’re eating an awesomely delicious cupcake.
Somehow Easter always sneaks up on me. I’m so engulfed in my hatred for winter that out of nowhere it’s March and Easter is fastly approaching. Even more so this year because Easter arrives at the end of March! That’s this month. Holy cow (holy cow? am I turning in to my mother?) that’s soon!
If you’re anything like my family, you get together on Sunday and celebrate together, usually with lots of food. That’s the only way to do things! And if you’re like me and Easter came out of nowhere, have no fear, because these cupcakes will steal the show in comparison to deviled eggs and jelly beans. Well, compared to anything really, but those are typically on the menu at our house.
And if you’re also like me and you walk into the store and see the overwhelming amount of Easter candy in your face, I’ve got you covered. Just head to Walmart, look for the giant Easter candy sign, make a right (or left) and they’re the fun bright blue package screaming “I would be delicious in cupcakes!”
If you don’t have tons of time to prepare these I’ve got a special hack for you! You can always use boxed chocolate cake mix. Grab a box at the store and you’ve got a delectable semi-homemade dessert but people will think you spent hours making them.
More cupcakes:
Chocolate Butterfinger Cupcakes
Save this Recipe!
Ingredients
- For the Cupcakes:
- ½ cup butter 1 stick
- ¼ cup semi-sweet chocolate chips
- ½ unsweetened cocoa powder
- ¾ cup all purpose flour
- ½ teaspoon baking soda
- ¾ teaspoon baking powder
- ¼ teaspoon salt
- 2 eggs
- ½ cup granulated sugar
- ¼ cup light brown sugar packed
- 1 teaspoon vanilla extract
- ½ buttermilk
- 1 pack BUTTERFINGER® Cup Eggs 6pk
- For the Frosting:
- 1 cup 2 sticks unsalted butter, softened
- 3/4 cup creamy peanut butter
- 1 teaspoon vanilla
- 1 cup BUTTERFINGER® Minis divided
- 3 cups powdered sugar
- 12 BUTTERFINGER® NestEggs
Instructions
- For the cupcakes, preheat the oven to 350 degrees. Line a 12 cup cupcake pan with liners and set aside.
- Melt the butter and chocolate together in the microwave in 30 second increments, stirring between each. Stir until combined and set aside to slightly cool.
- In a medium bowl, whisk the cocoa powder, flour, baking soda, baking powder and salt until combined. Set aside. In a large bowl, whisk together the eggs, sugar, brown sugar and vanilla until well combined. Add the cooled butter and chocolate mixture and mix until smooth. Add half of the flour mixture then half of the buttermilk. Repeat until both are gone and whisk until just combined. Be careful not to over mix. The batter will be very thick.
- Fill the cupcakes with one tablespoon of batter. Break the BUTTERFINGER® Cup Eggs 6pk in half and place a half in each cupcake tin. Place another tablespoon of batter on top of each and smooth until the BUTTERFINGER® is covered. Bake for 18 minutes or until tops of cupcakes are firm. Allow to cool completely.
- While the cupcakes are baking, place 3/4 cup of BUTTERFINGER® Minis in a microwave safe bowl and heat on high for 20 seconds. Repeat until they're melted. Using a hand or stand mixer, beat the butter and peanut butter on medium speed until creamy and whipped, about two minutes. Add the vanilla and melted BUTTERFINGER® minis and beat until smooth. Sift in the powdered sugar and add to the butter mixture a cup at a time. Beat on low after each addition.
- Frost cooled cupcakes with buttercream frosting using a piping bag or plastic freezer bag with the tip cut off. Sprinkle with the remaining BUTTERFINGER® Minis and place a BUTTERFINGER® NestEgg on the side.



Cocoa powder measurement is missing!